Cluster Stitch Crochet Blanket Pattern
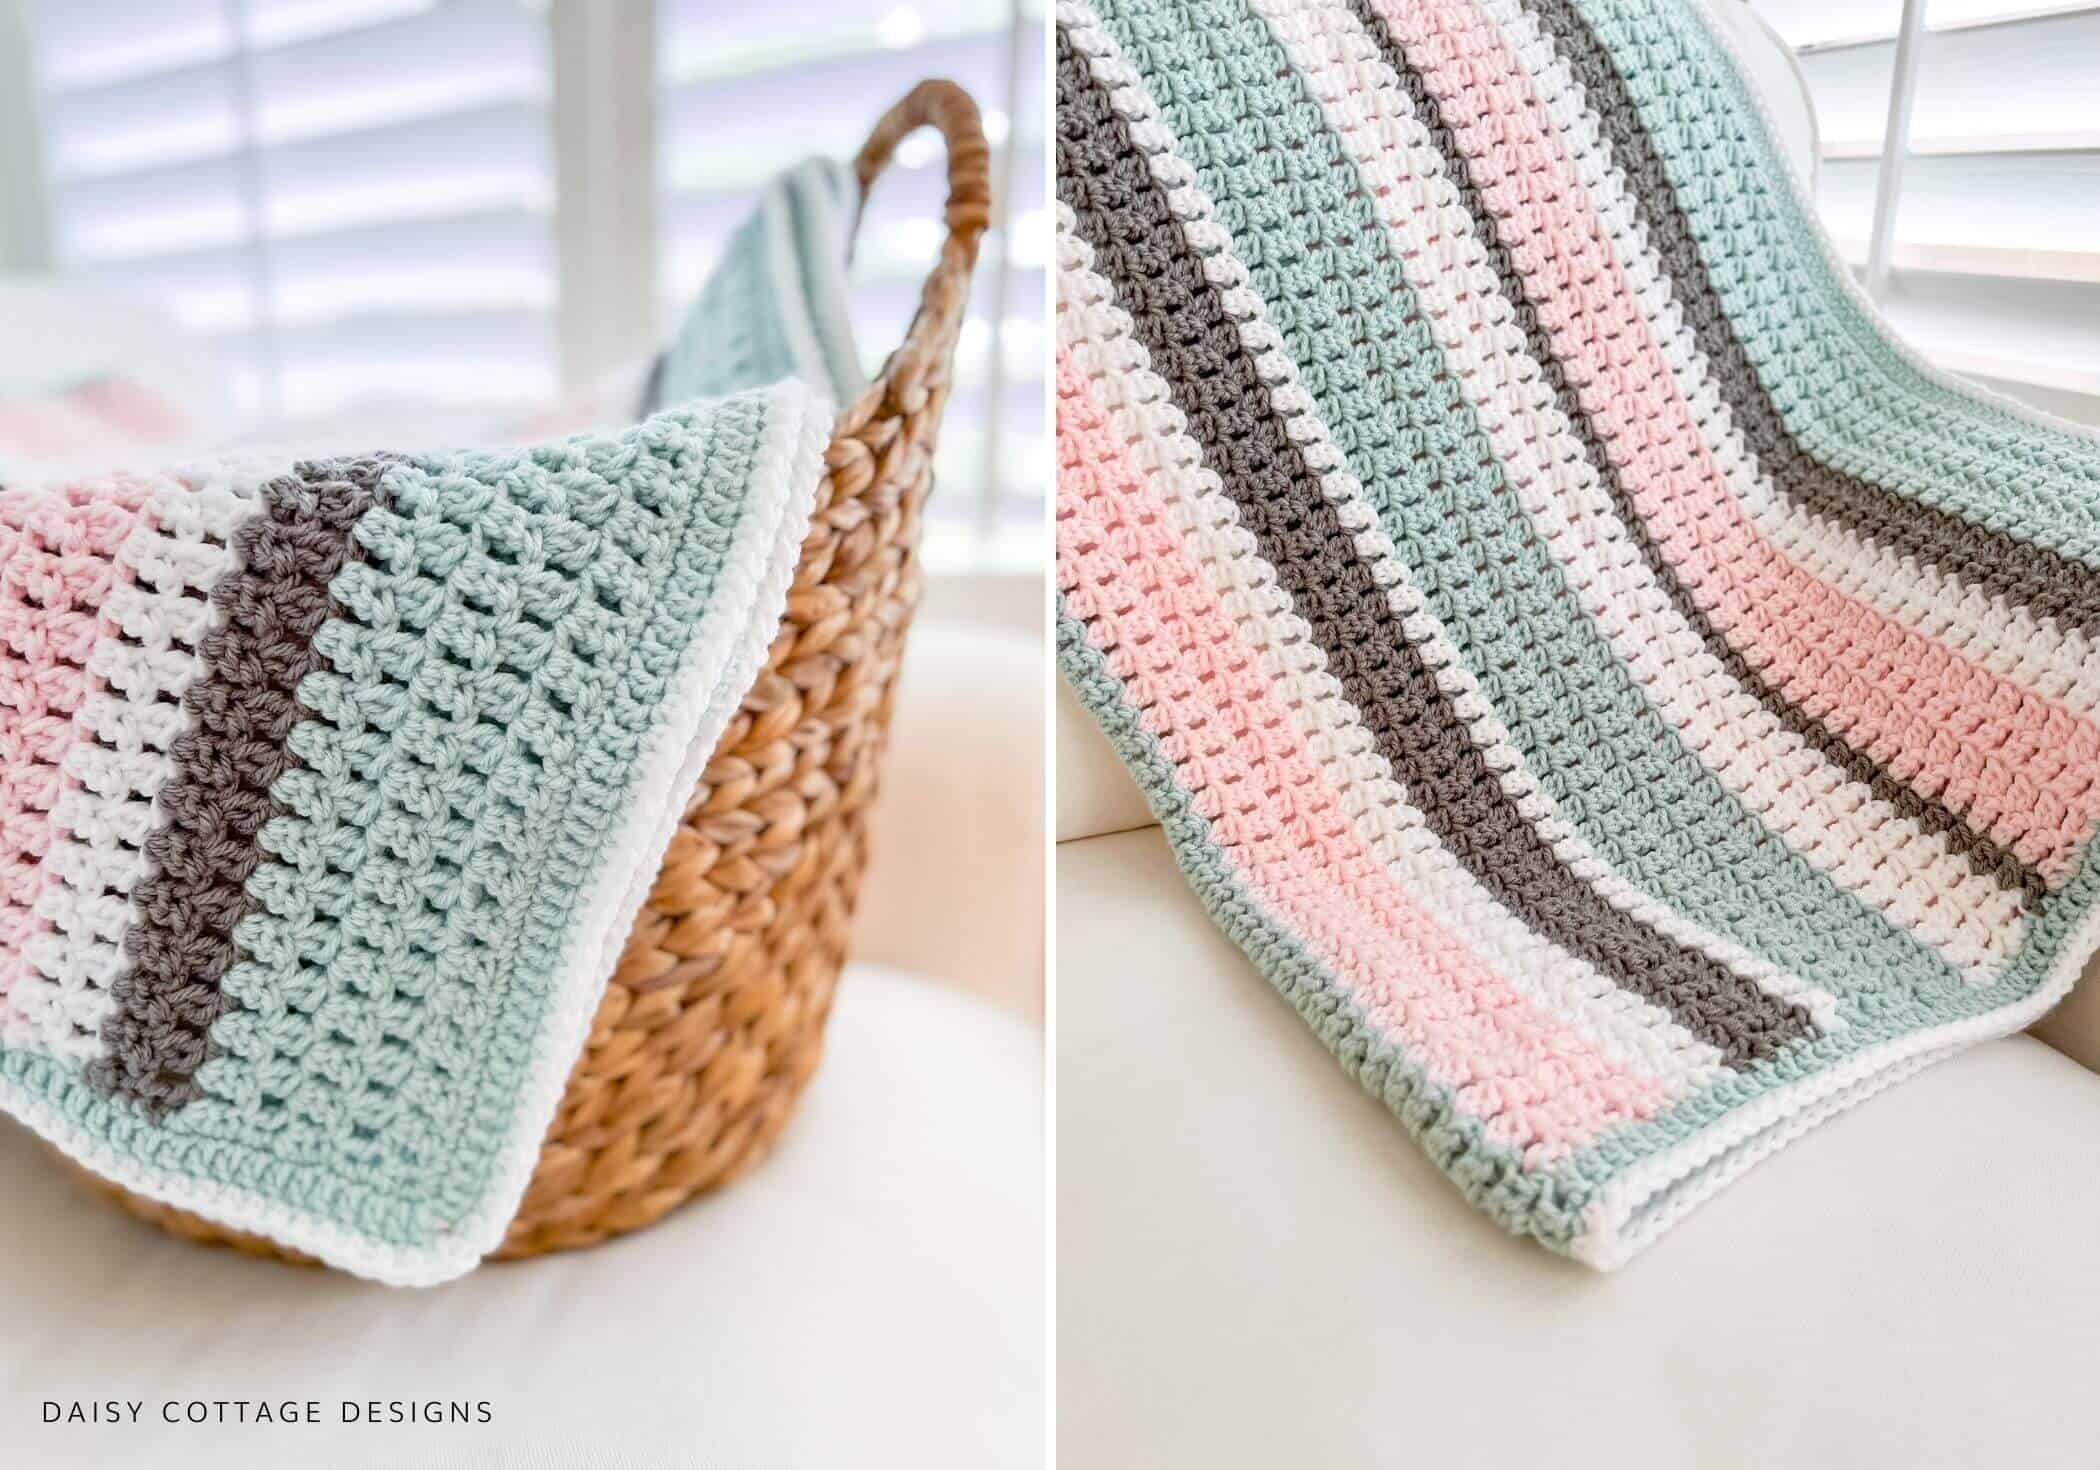
In the last couple of years, cluster stitch crochet projects have become some of my favorites. First of all, I’ll be honest. When you work a double crochet cluster stitch, they’re tall which means they work up fast. That makes something a winner in my book. I love a good moss stitch project, but give me something taller than single crochet stitches most of the time.
I also love seeing how changing things up just a little bit can totally alter the look of a project – even if you’re still using the same stitch. For instance, this baby blanket uses the same basic stitch as this project, but the final look, though just as pretty, is totally different. This project does, too. And guess what… both of these patterns use a cluster stitch.
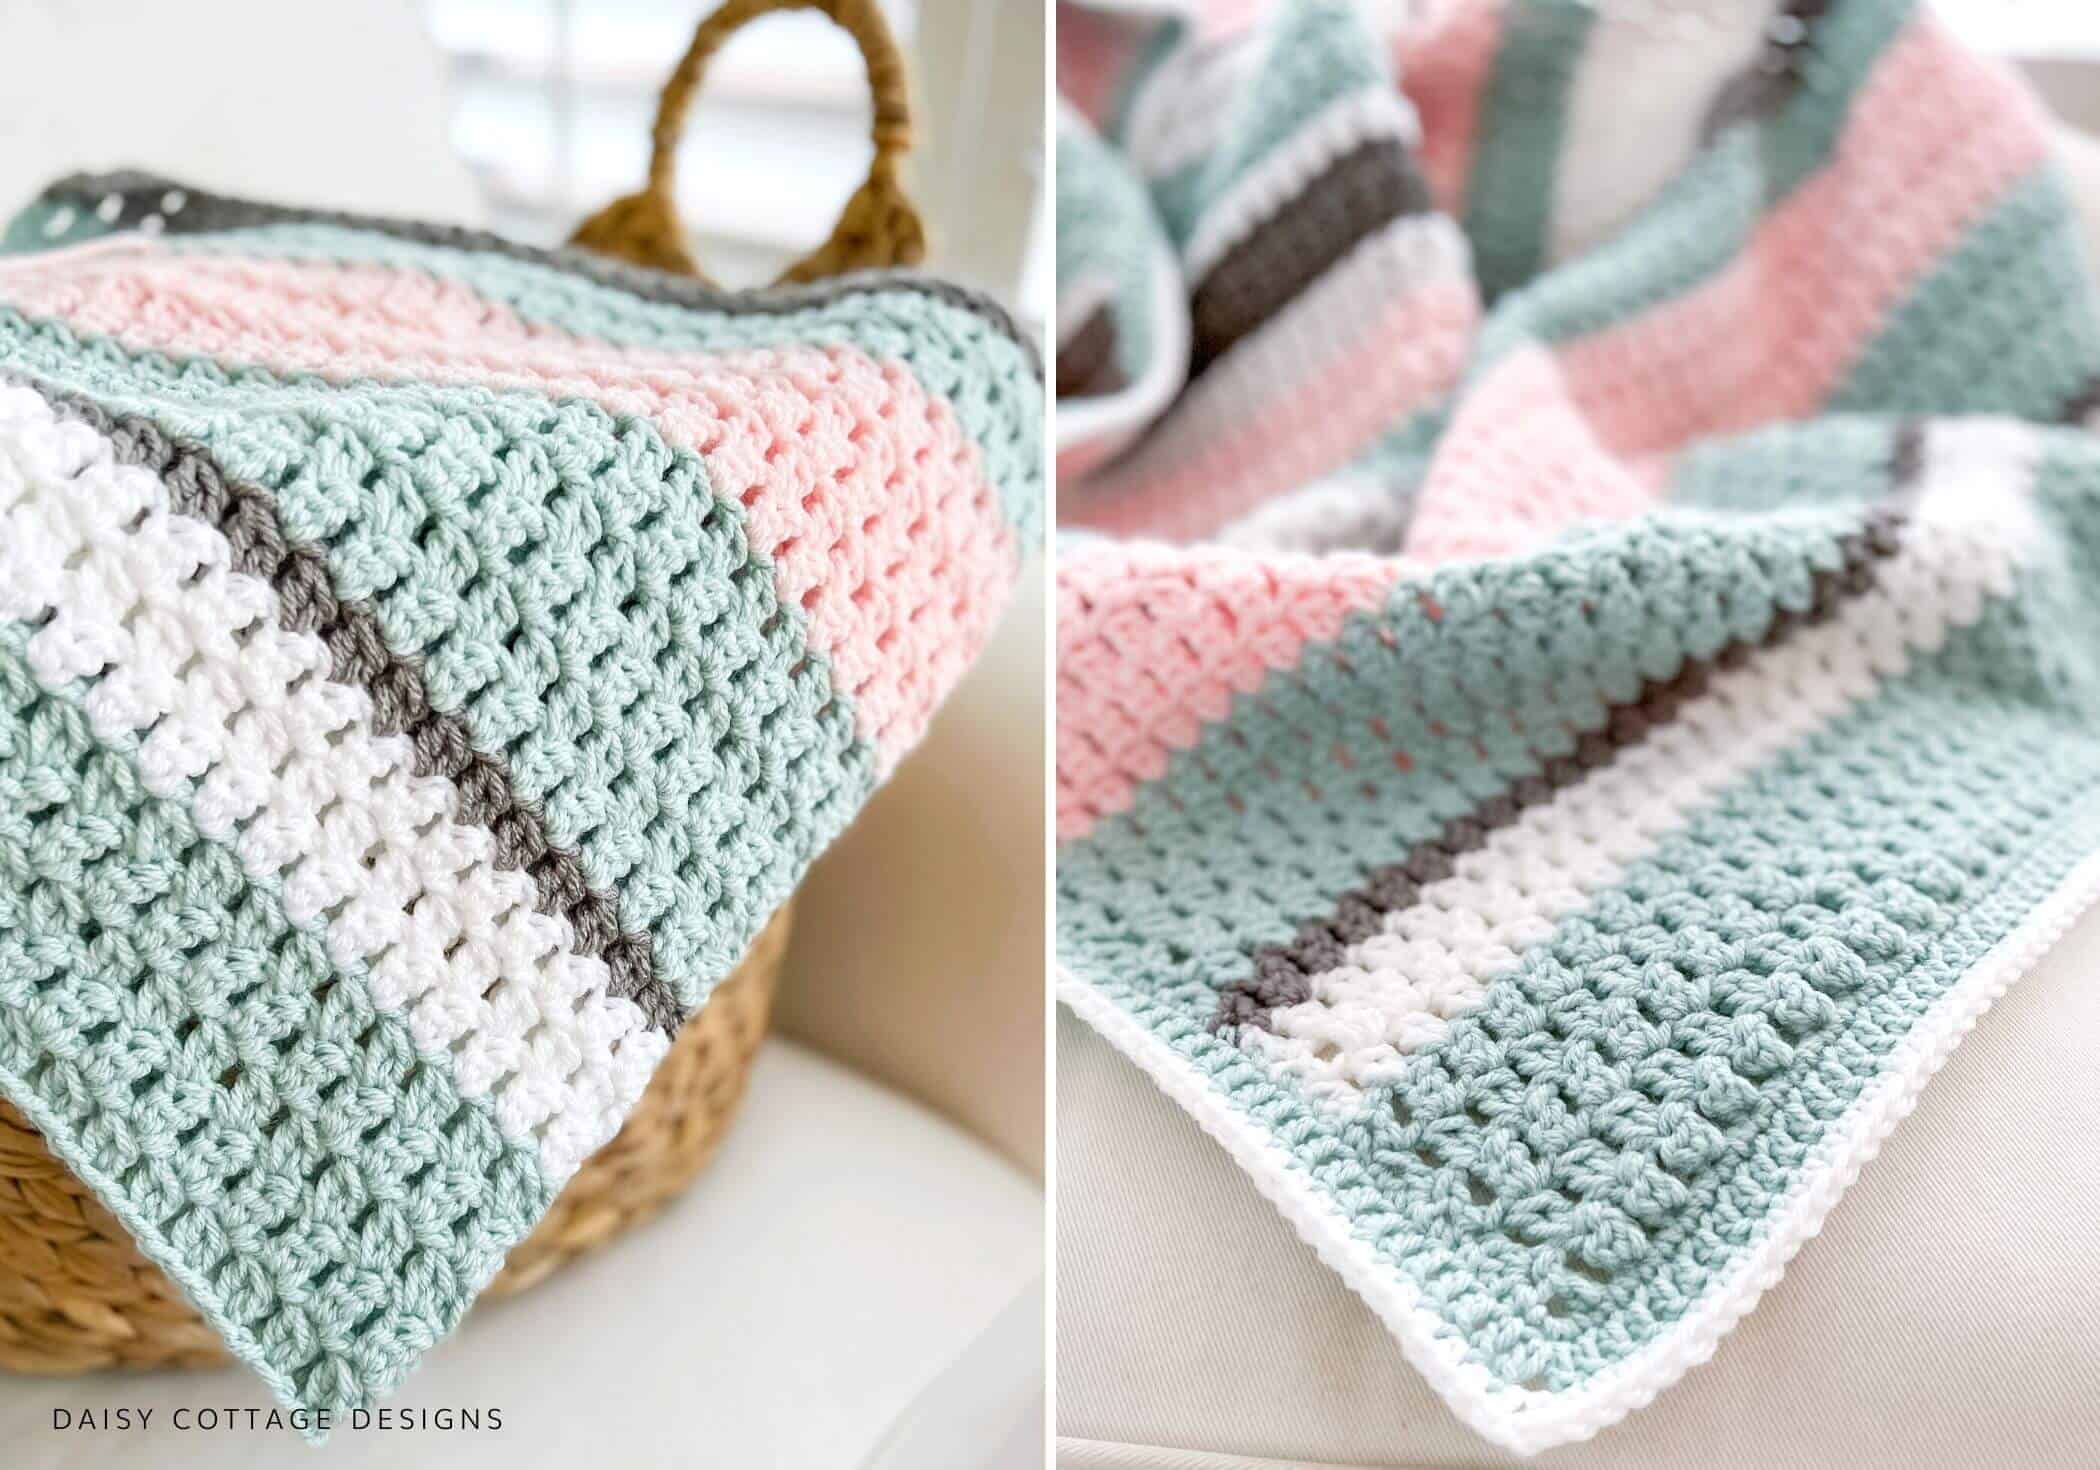
Cluster stitch crochet projects work up quickly and add beautiful texture to your projects!
Ready to get started? You might want to check out the video tutorial first. I’ll take you step-by-step through the stitch used in this blanket.
Cozy Morning Light Crochet Blanket Pattern
- Buy the inexpensive and ad-free, print-friendly PDF on Etsy
- Add it to your Ravelry queue
- If you love it, grab the link and email or text it to a friend who loves to crochet!
- PIN IT! for later if you can’t crochet it now
Materials:
- J (10/6mm) & I (9/5.5) Crochet Hooks
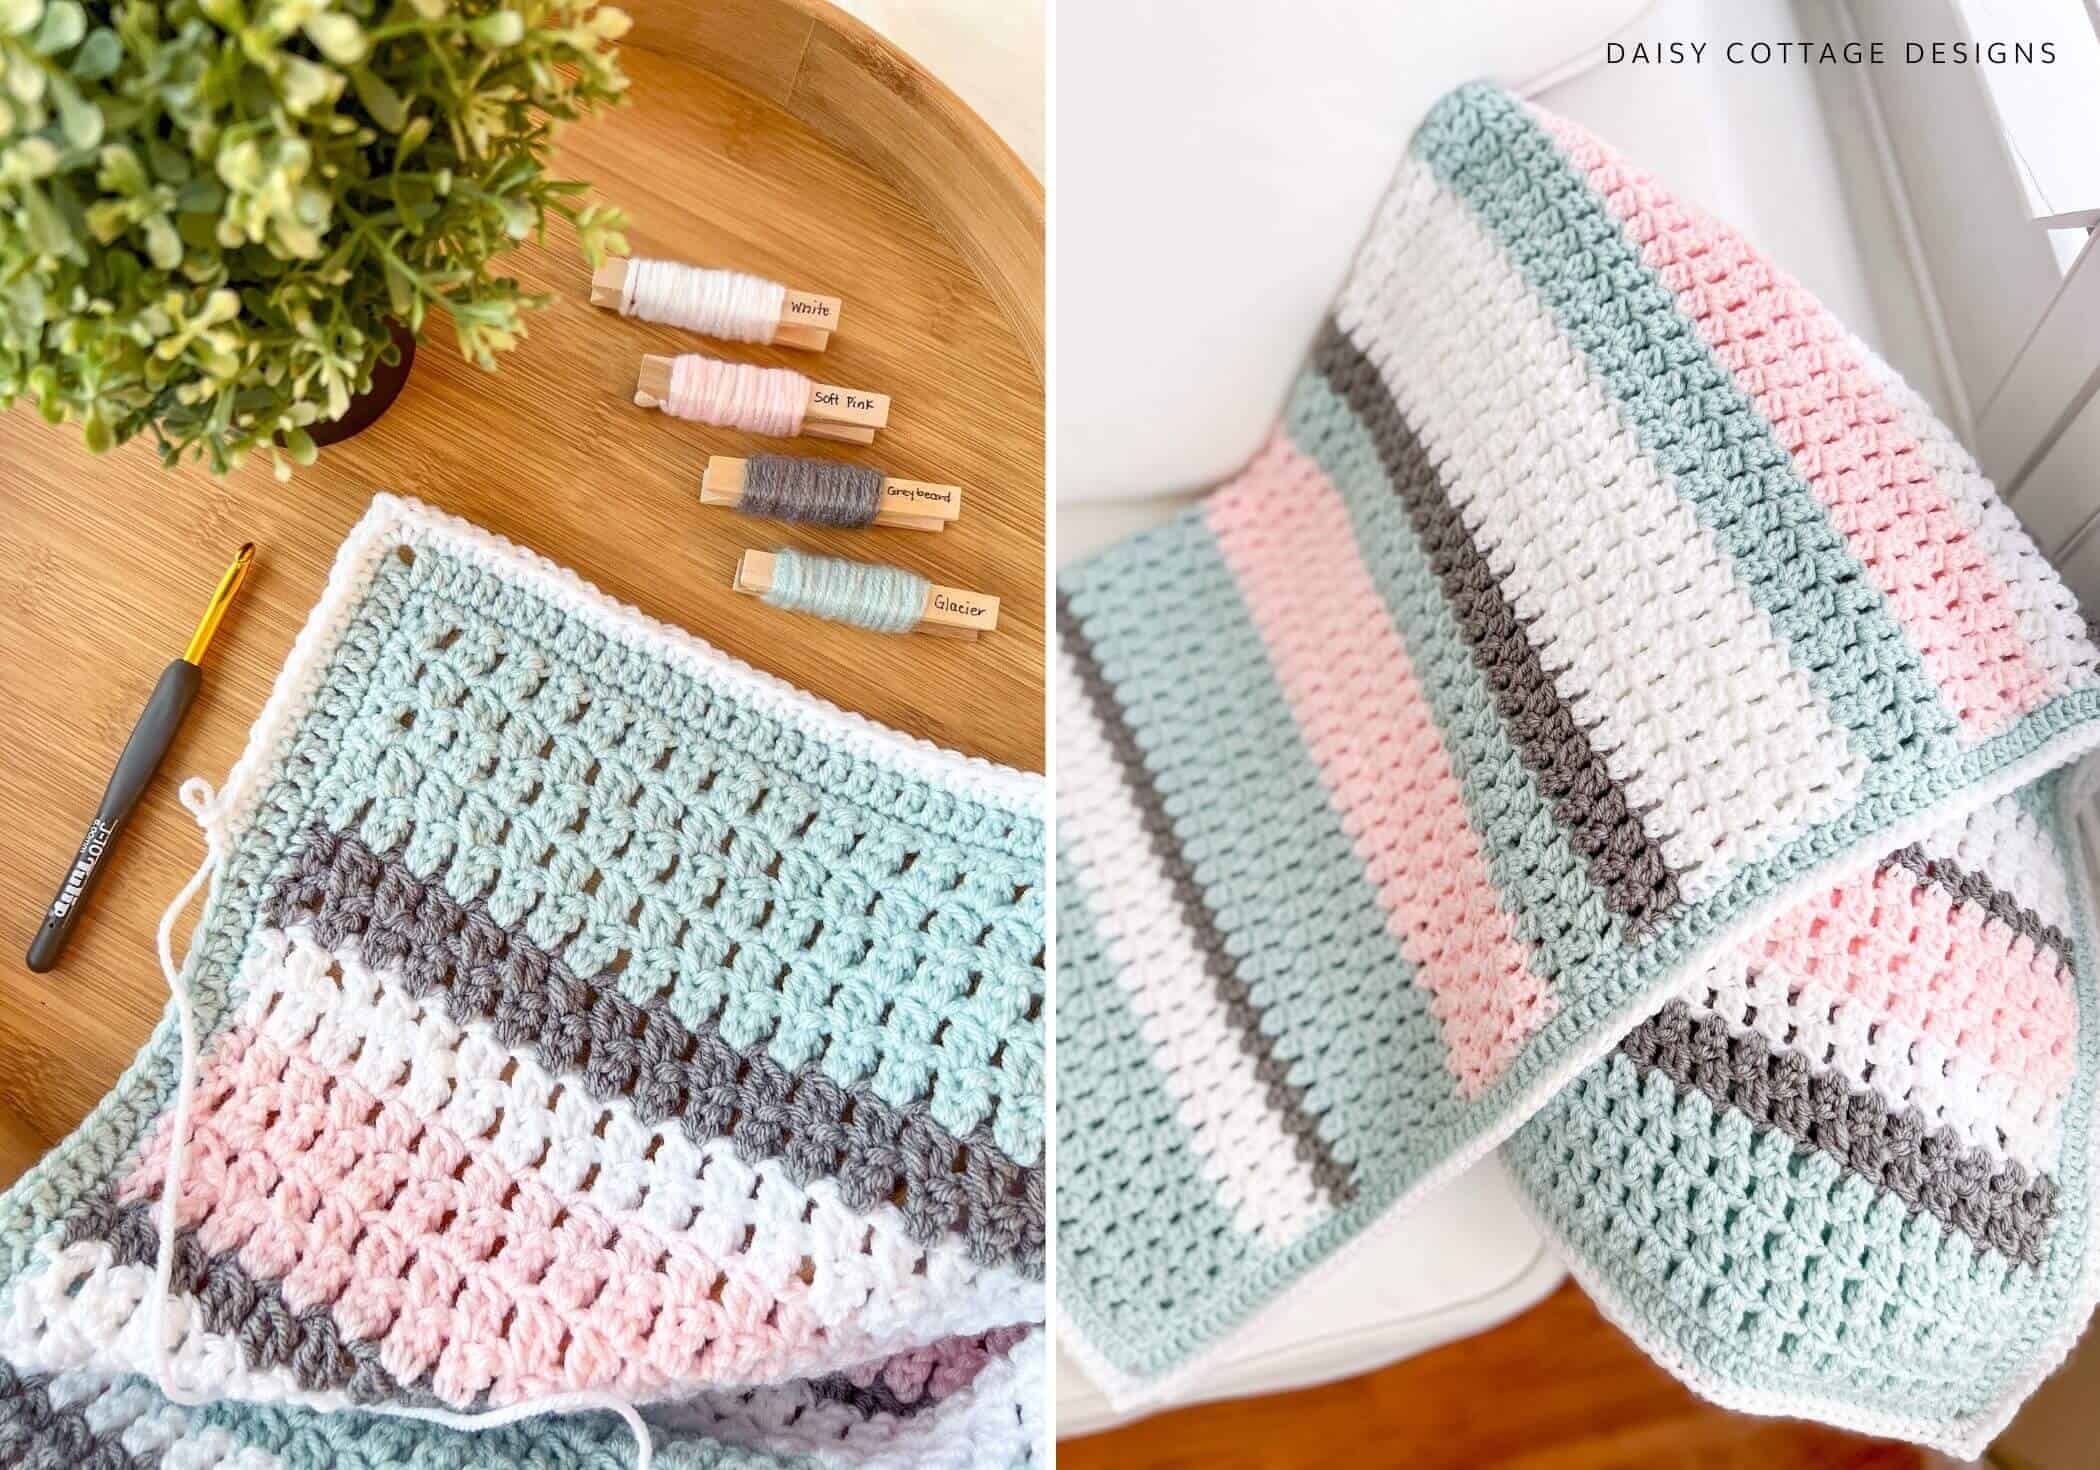
- Hobby Lobby I Love This Yarn! in Glacier (2 Skeins), Soft Pink (1 skein), Graybeard, and White (1 Skein)
- If you’d like to see similar colors from other yarn brands, check out this post.
- If your’e using a different brand of yarn, you’ll need approximately 1150 yards of worsted weight yarn: 500 yards in the turquoise color, 250 yards in white and pink, and 150 yards in white.
- Tapestry needle & scissors for weaving ends.
Pattern Notes:
- Finished blanket measures approximately 32” x 40”
- This pattern is worked through both loops.
- The chain 2 at the beginning of each row counts as part of your first cluster stitch.
- You will not work into the turning chains in this pattern.
- A cluster stitch is the same thing as a dc2tog – I have written out the instructions step-by-step below and you can find a tutorial for this pattern here.
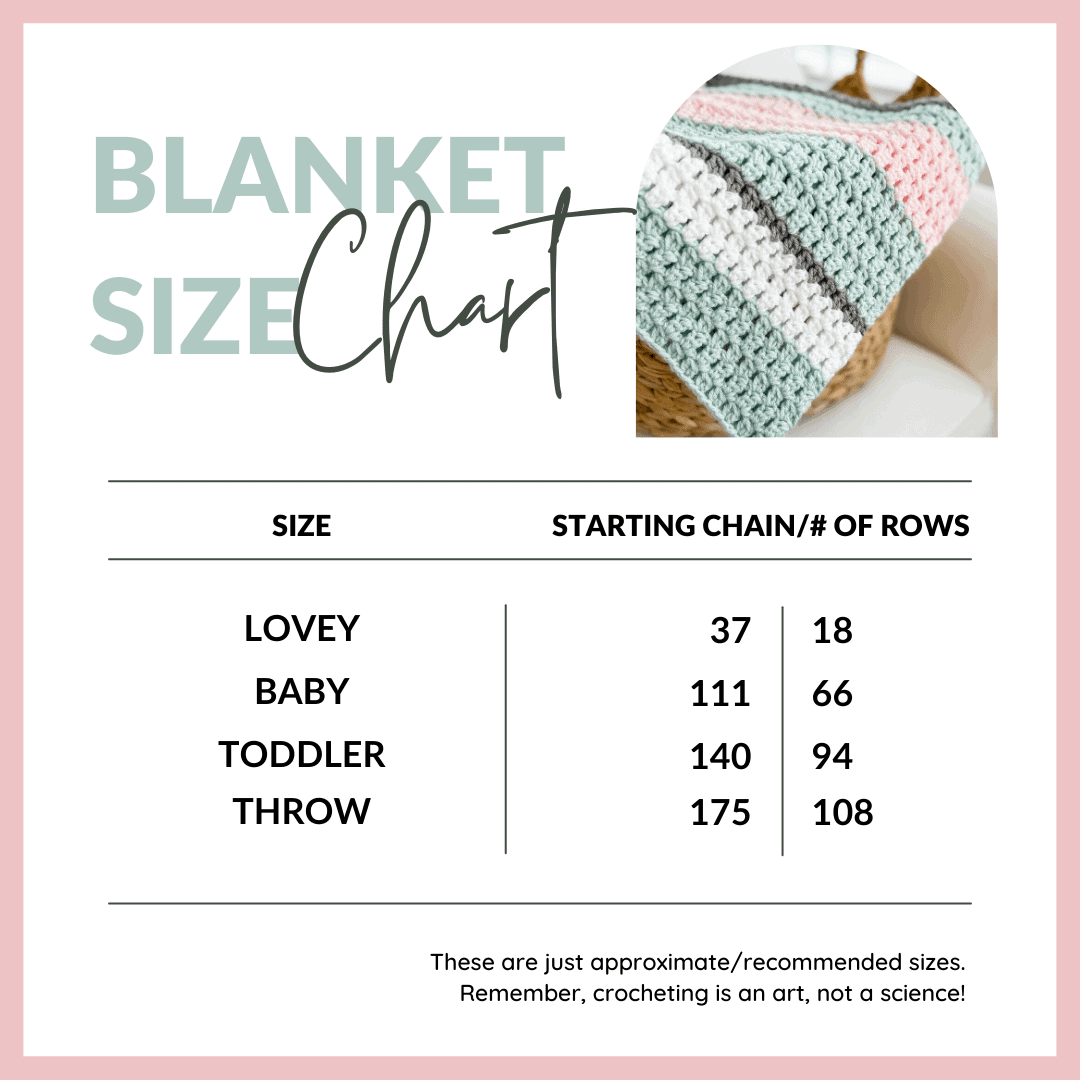
- Instructions for adjusting the size of this blanket are given at the end of this pattern.
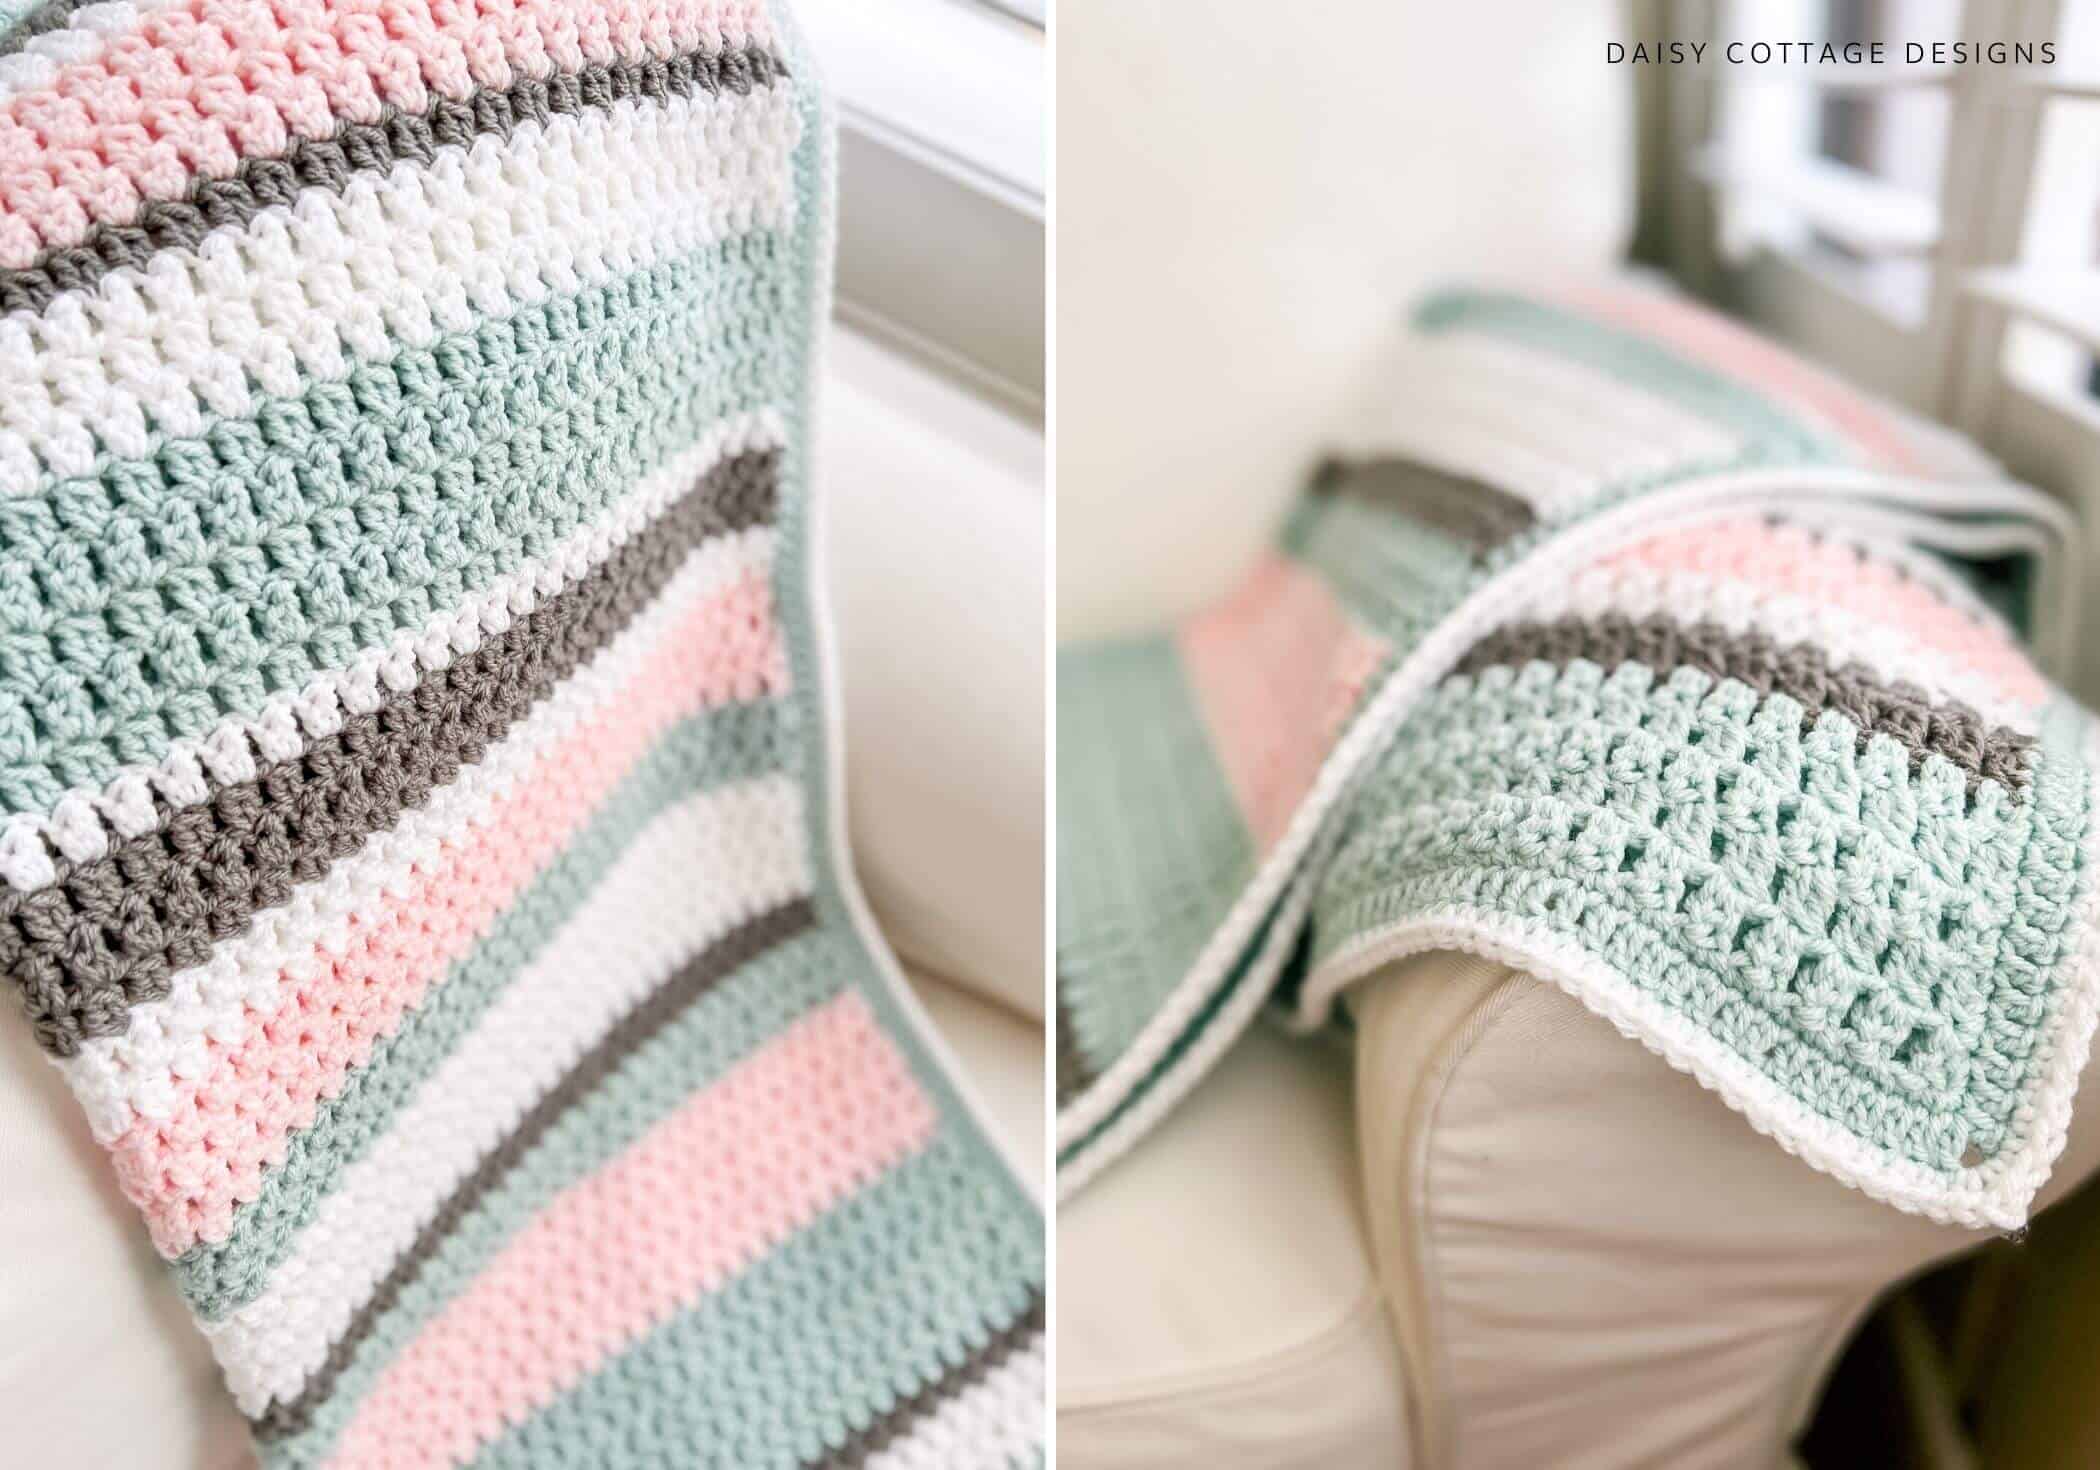
Special Stitch: (explained in the video linked above, too)
- cluster stitch (also known as a dc2tog in the same stitch): Yarn over, insert hook into the stitch, pull up a loop. Pull through the first two loops. Yarn over, insert hook into the same stitch and pull up a loop. Pull through the first two loops. Pull through the remaining 3 loops.
Pattern:
Using Glacier and an I/9 crochet hook, ch 111.
After the starting chain, switch to your J/10 hook.
Row 1: dc in the third chain from the hook. *ch1, skip the next chain, cluster stitch in the next chain* across. Ch 2, turn.
Row 2: dc in the first st (your ch 2 and your first dc are worked in the same stitch and count as the first cluster stitch). *ch 1, skip the ch 1 space, cluster stitch in the next stitch* across.
NOTE: You will not work into the turning chain at the ends of your rows. Due to the nature of the pattern, working into the turning chain would cause you to add a stitch each row.
Repeat row 2 for a total of 66 Rows.
At the end of row 66, do not cut yarn and weave ends. Ch 1 and turn your work to begin the border. The border instructions are on pg. 4.
The stripe pattern is as follows:
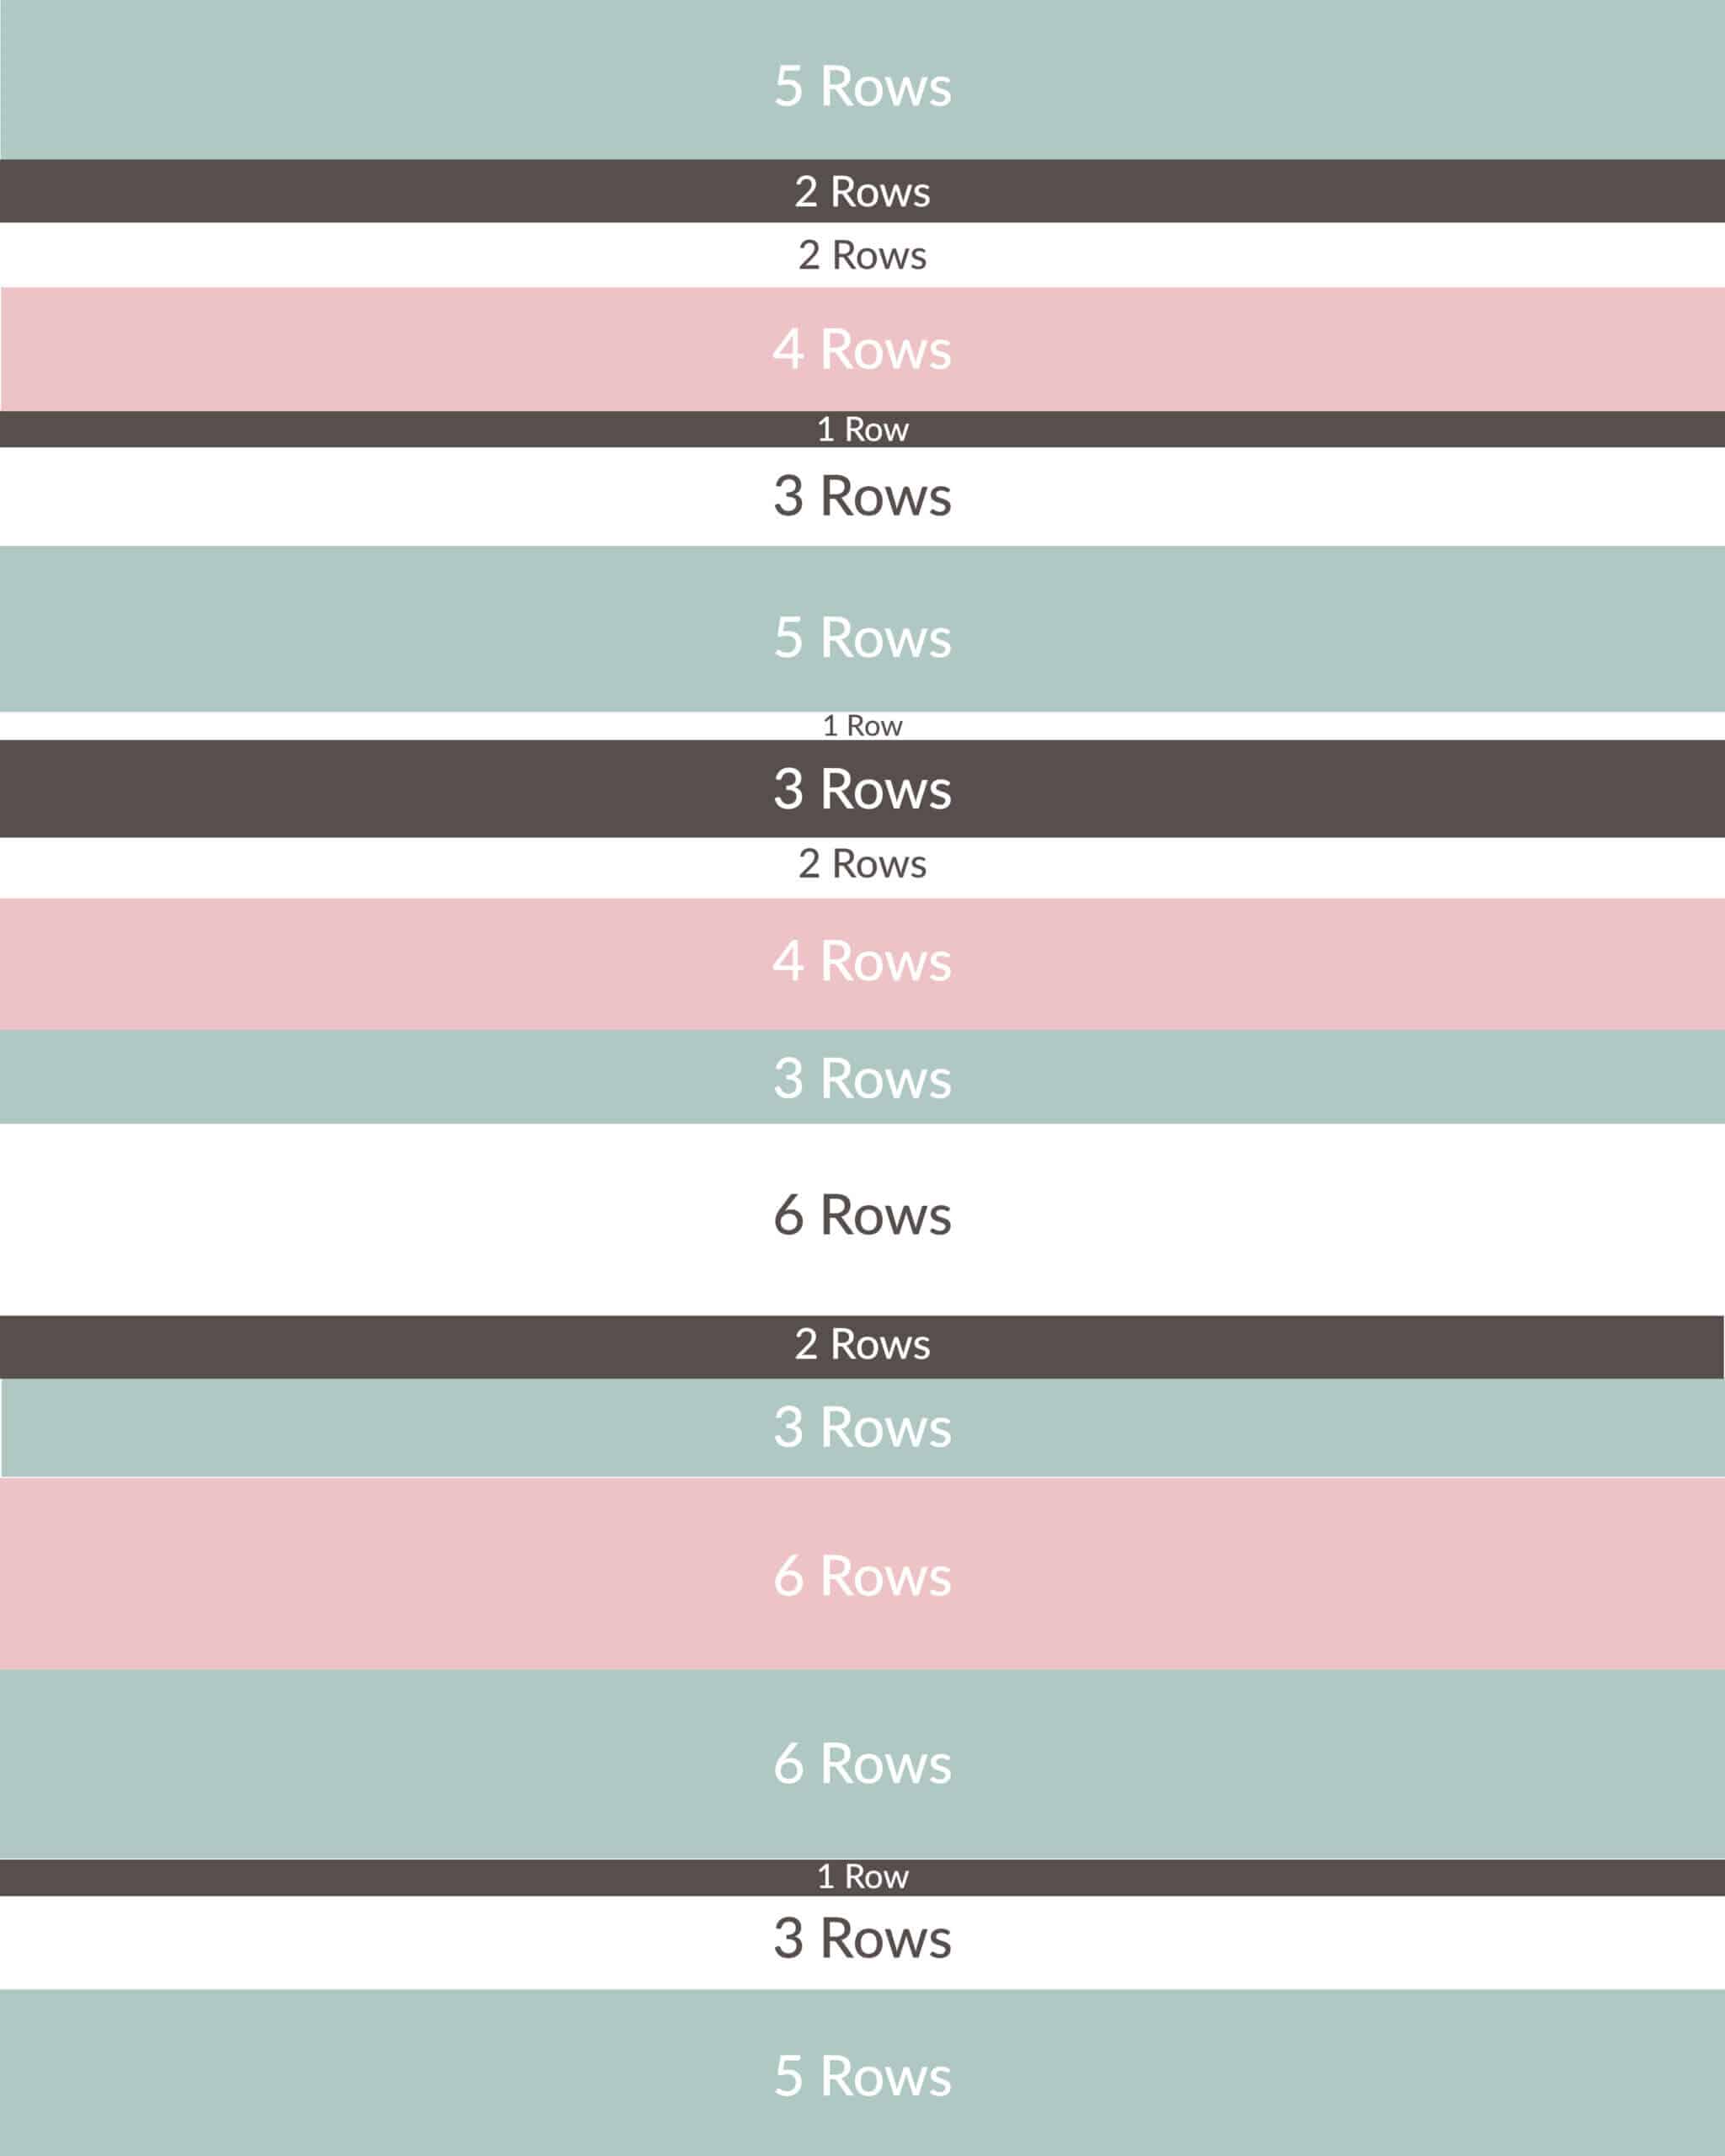
While this pattern will look beautiful without a border, the border explained below will really give your cluster stitch blanket a polished look. You could end after Round 2 if you like the look without adding the pop of white.
Border Pattern:
Round 1: Glacier
Sc around the edges of the blanket.
Along the finished edges (the short sides), work 1 sc into each stitch.
Along the unfinished sides, you will work approximately 119 sc stitches.
Work 3 sc into each corner stitch.
Sl st to the top of the first sc to join. Ch 2 but do not turn.
Round 2 – Glacier
Dc around the entire blanket. Work 1 dc into each sc stitch except in the corners.
In each corner stitch work the following: dc, ch 2, dc
Sl st to the top of the first row to join. Cut yarn and weave ends.
Round 3 – White
Join white yarn with a slip stitch. Ch 1.
Hdc around the entire blanket. Work 1 hdc into each stitch.
In each corner ch 2 space, work the following: hdc, ch 2, hdc.
Adjusting the Size:
This pattern works as long as you start with an odd number of chains.
If you’re making your blanket larger or smaller, you will want to adjust the width of the stripes to keep the overall look the same. This is an art, not a science! Have fun playing around with the width and order of your stripes.

Shouldn’t you start with the J and then switch to the I ??
Hi, Kathy. I start with the smaller hook and then switch to the larger hook. Otherwise, my chain gets a little too loose for my liking.
Happy Crocheting,
Lauren
Hello,this is a beautiful baby blanket pattern,
The colors are so pretty.
Can you please explain how you did color changes so nicely,did you weave in ends or work yarn ends into stitches?
Thank you,i plan to make as a baby gift.
Hi, Jen.
Thank you for your sweet comment! This quick 1 minute video shows how I change colors.
Hope it helps,
Lauren
Is there a way to print your patterns to make it easier fir me?
Kikky
Hi, Kikky. My patterns are available in print-friendly PDF format on Etsy. You can find them here.