Rainbow Moss Stitch Crochet Blanket
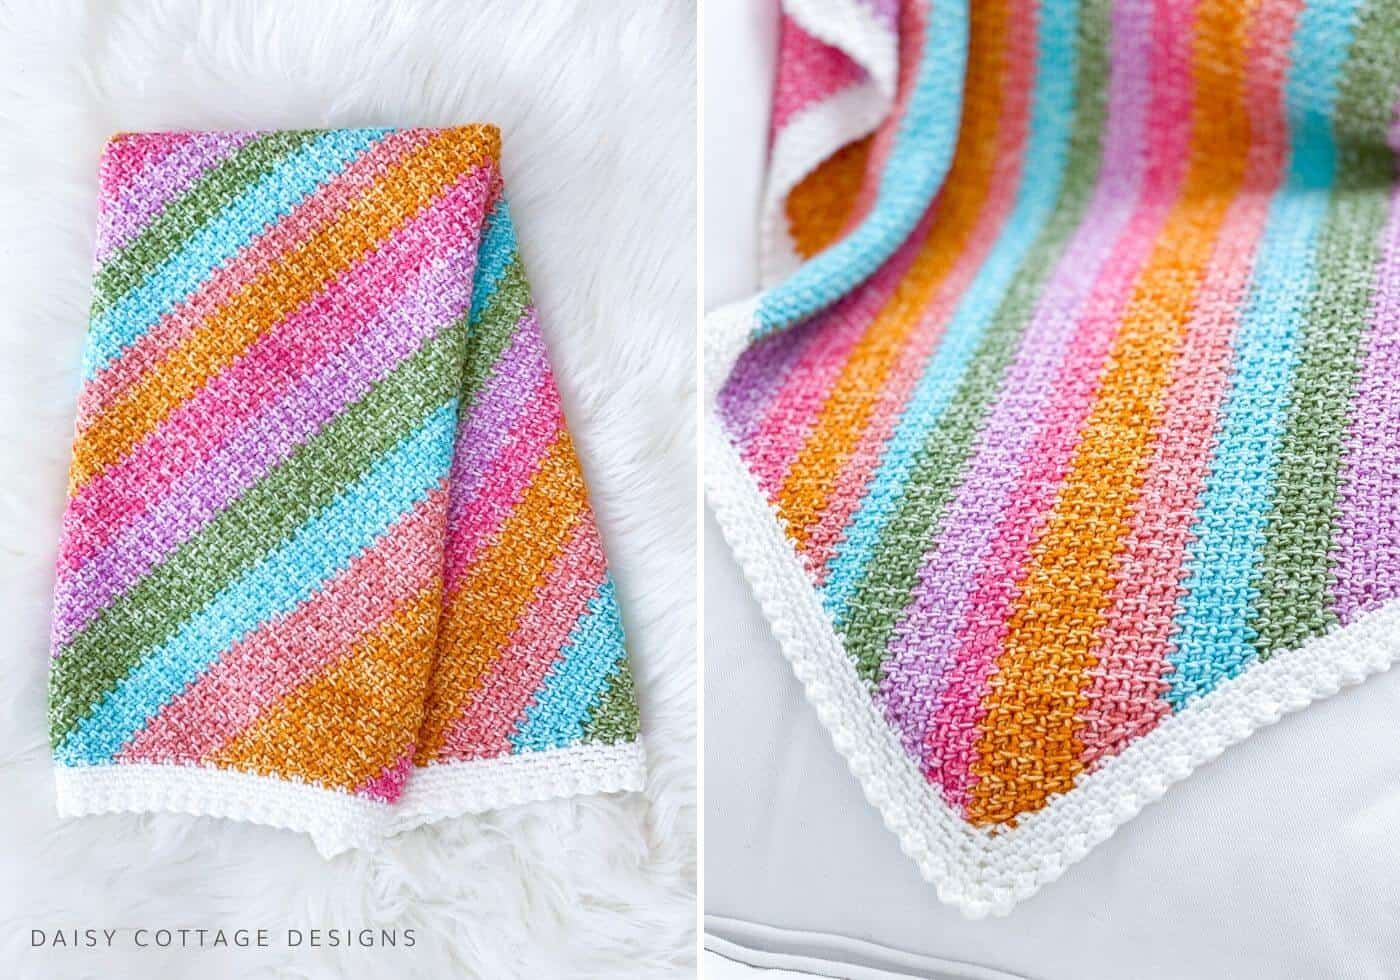
I recently made this C2C Moss Stitch Blanket and enjoyed it so much that I went straight into another. I loved working with the stitch. Since I had heard the moss stitch pairs well with self-striping and variegated yarns, I had to try it for myself. The result, the Sherbet Baby Blanket Pattern.
Want to jump right to the pattern? Click here jump right to it!
I was not disappointed with the results of this project. If you want the free crochet pattern, keep reading. If you’d rather get straight to making this blanket, scroll toward end of the post. Or you can buy the ad-free, print-friendly PDF here.
Moss Stitch Crochet Blanket Details
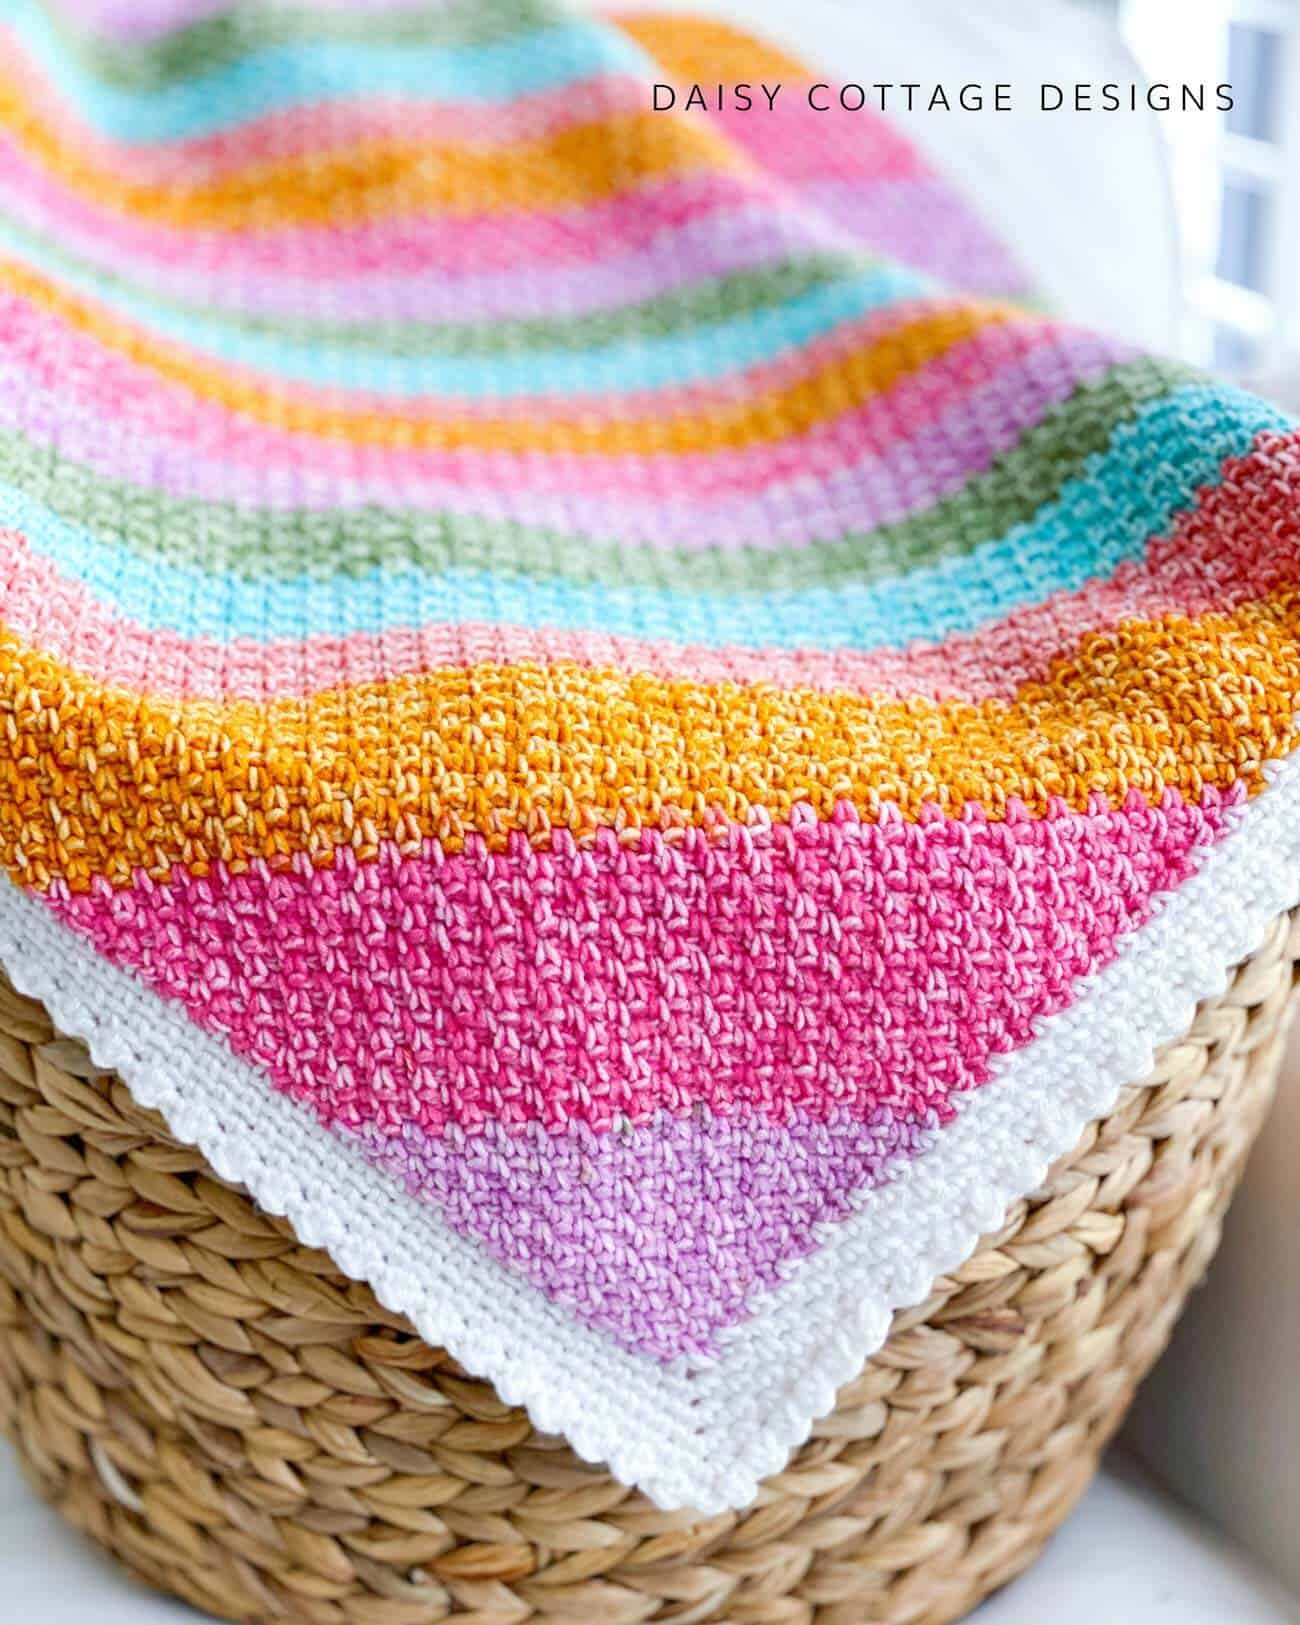
I worked this blanket using Lion Brand’s Mandala Ombré yarn in the shade Tranquil. These bright colors are right up my alley. Typically, I separate bright colors with rows of white, but I decided to let this yarn do its thing.
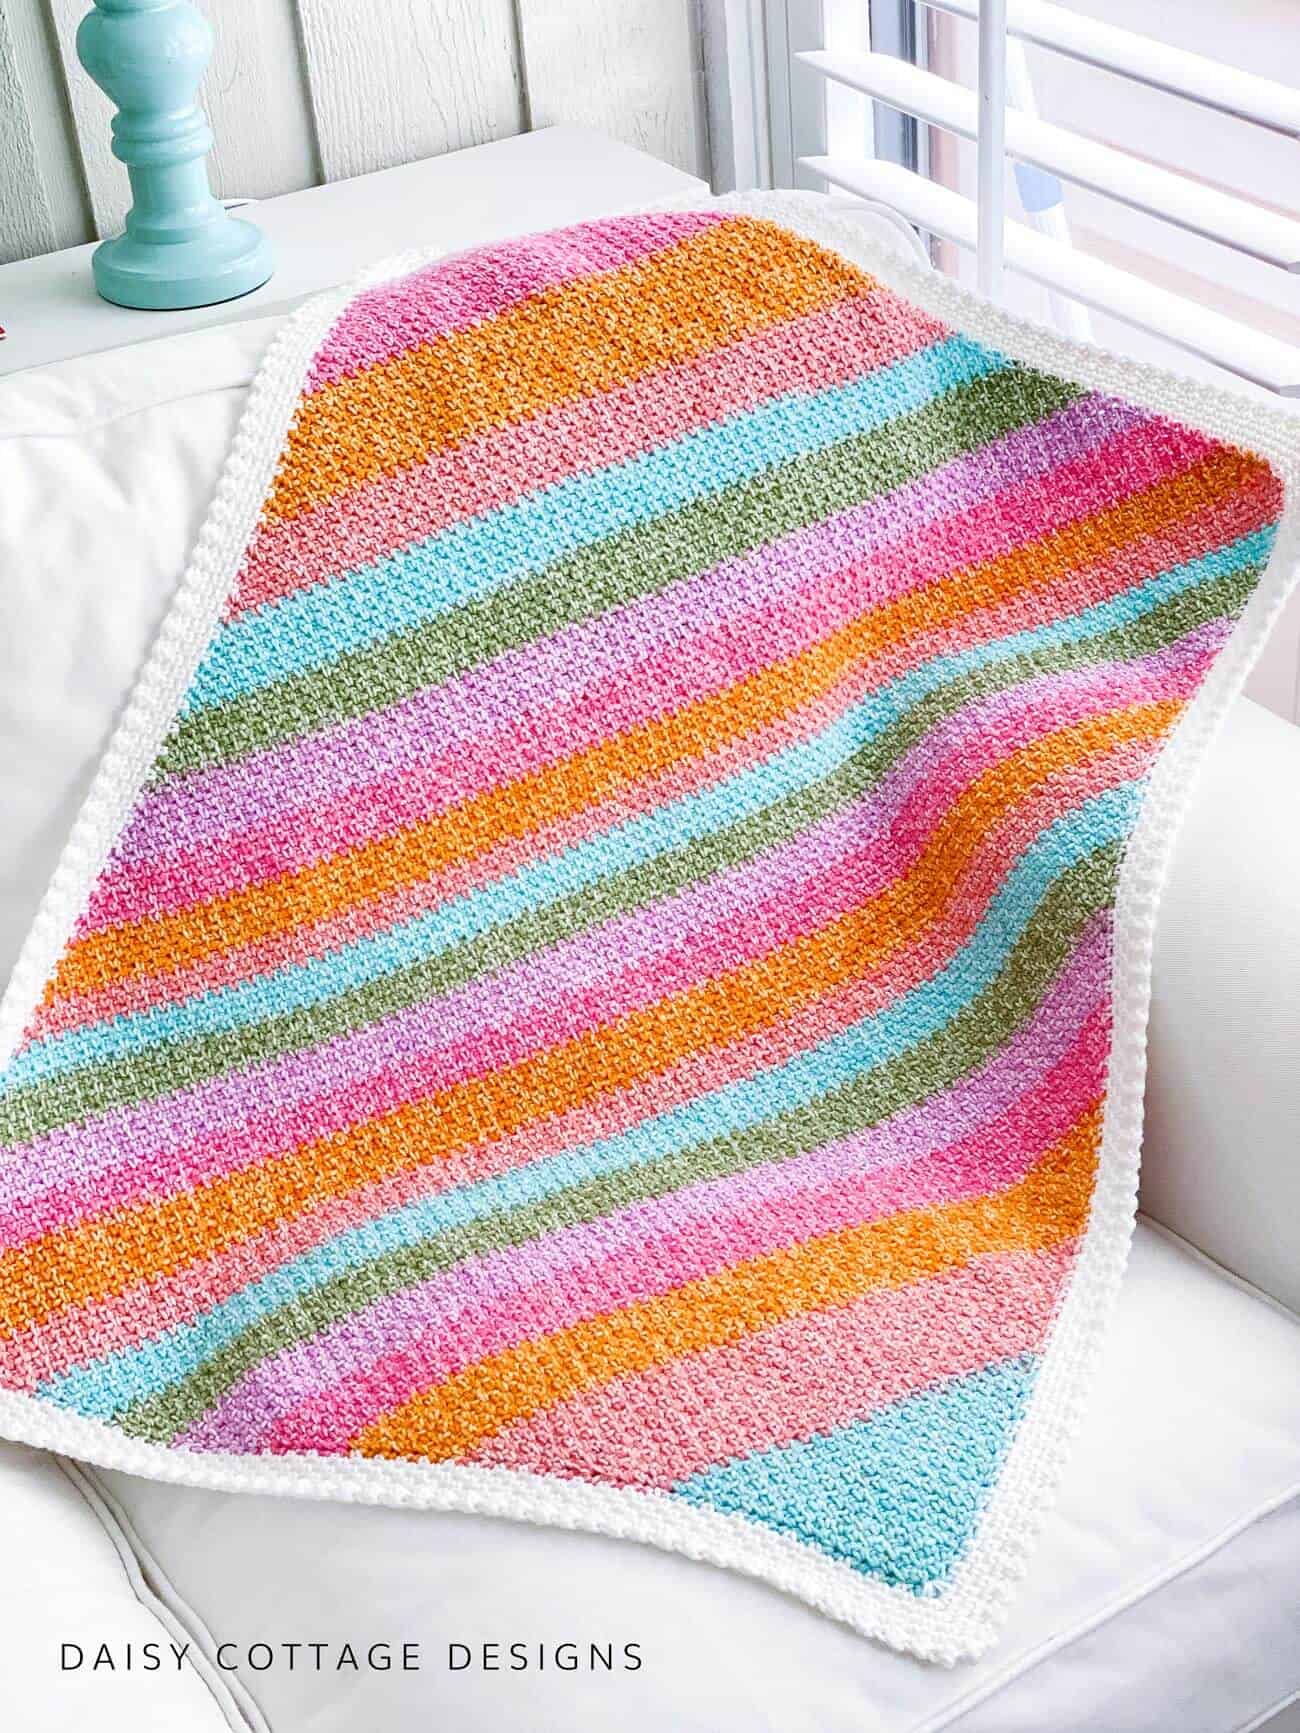
The color changes are pretty abrupt with this particular color way, but pairing it with the moss stitch made them barely noticeable. Because I worked corner to corner, the stripes aren’t all the same width; but I found that didn’t bother me. If you look closely at the photo above, you might be able to see where the yarn changes color. Even the crochet perfectionist in me can deal with that.
The best part of using a self-striping yarn? There are only a few ends to weave rather than 40+. Sign me up for that!
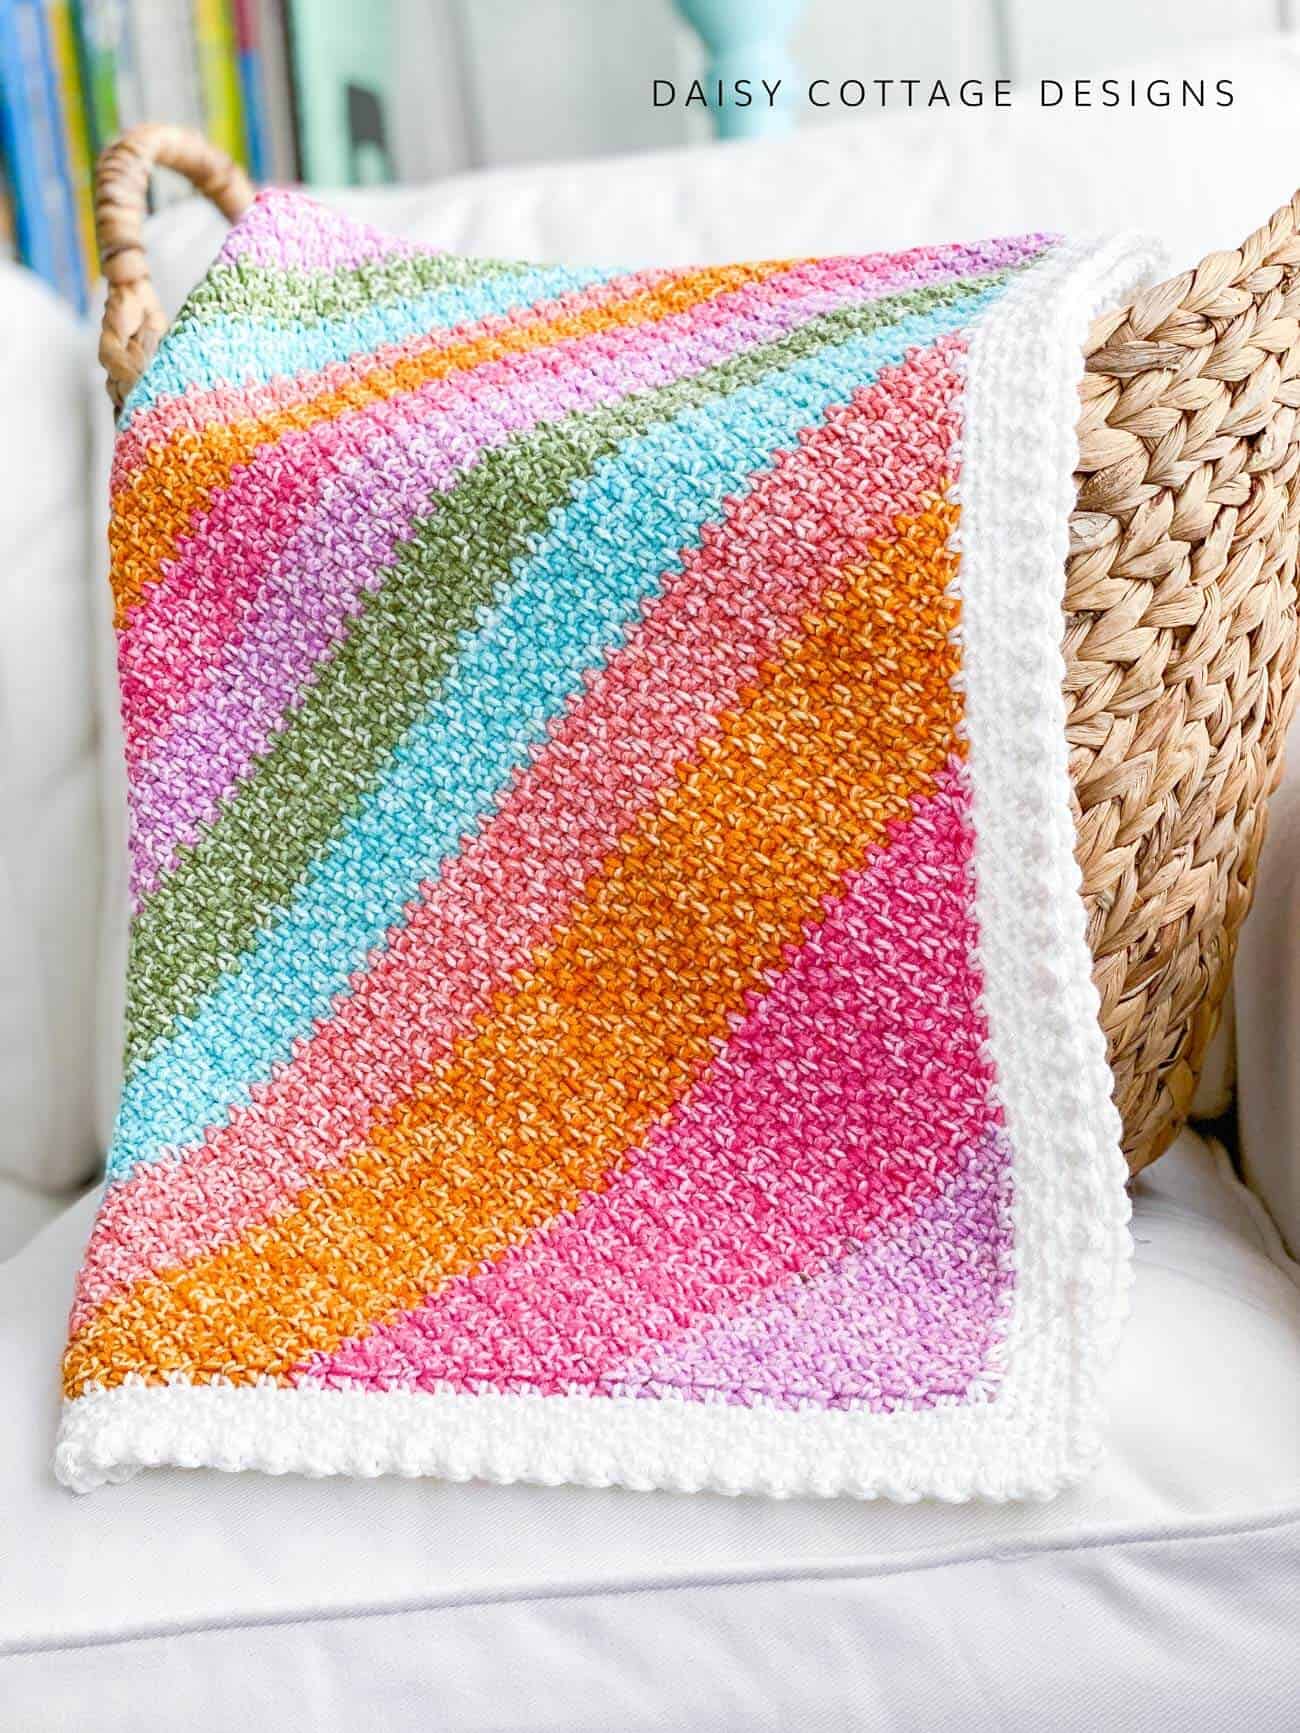
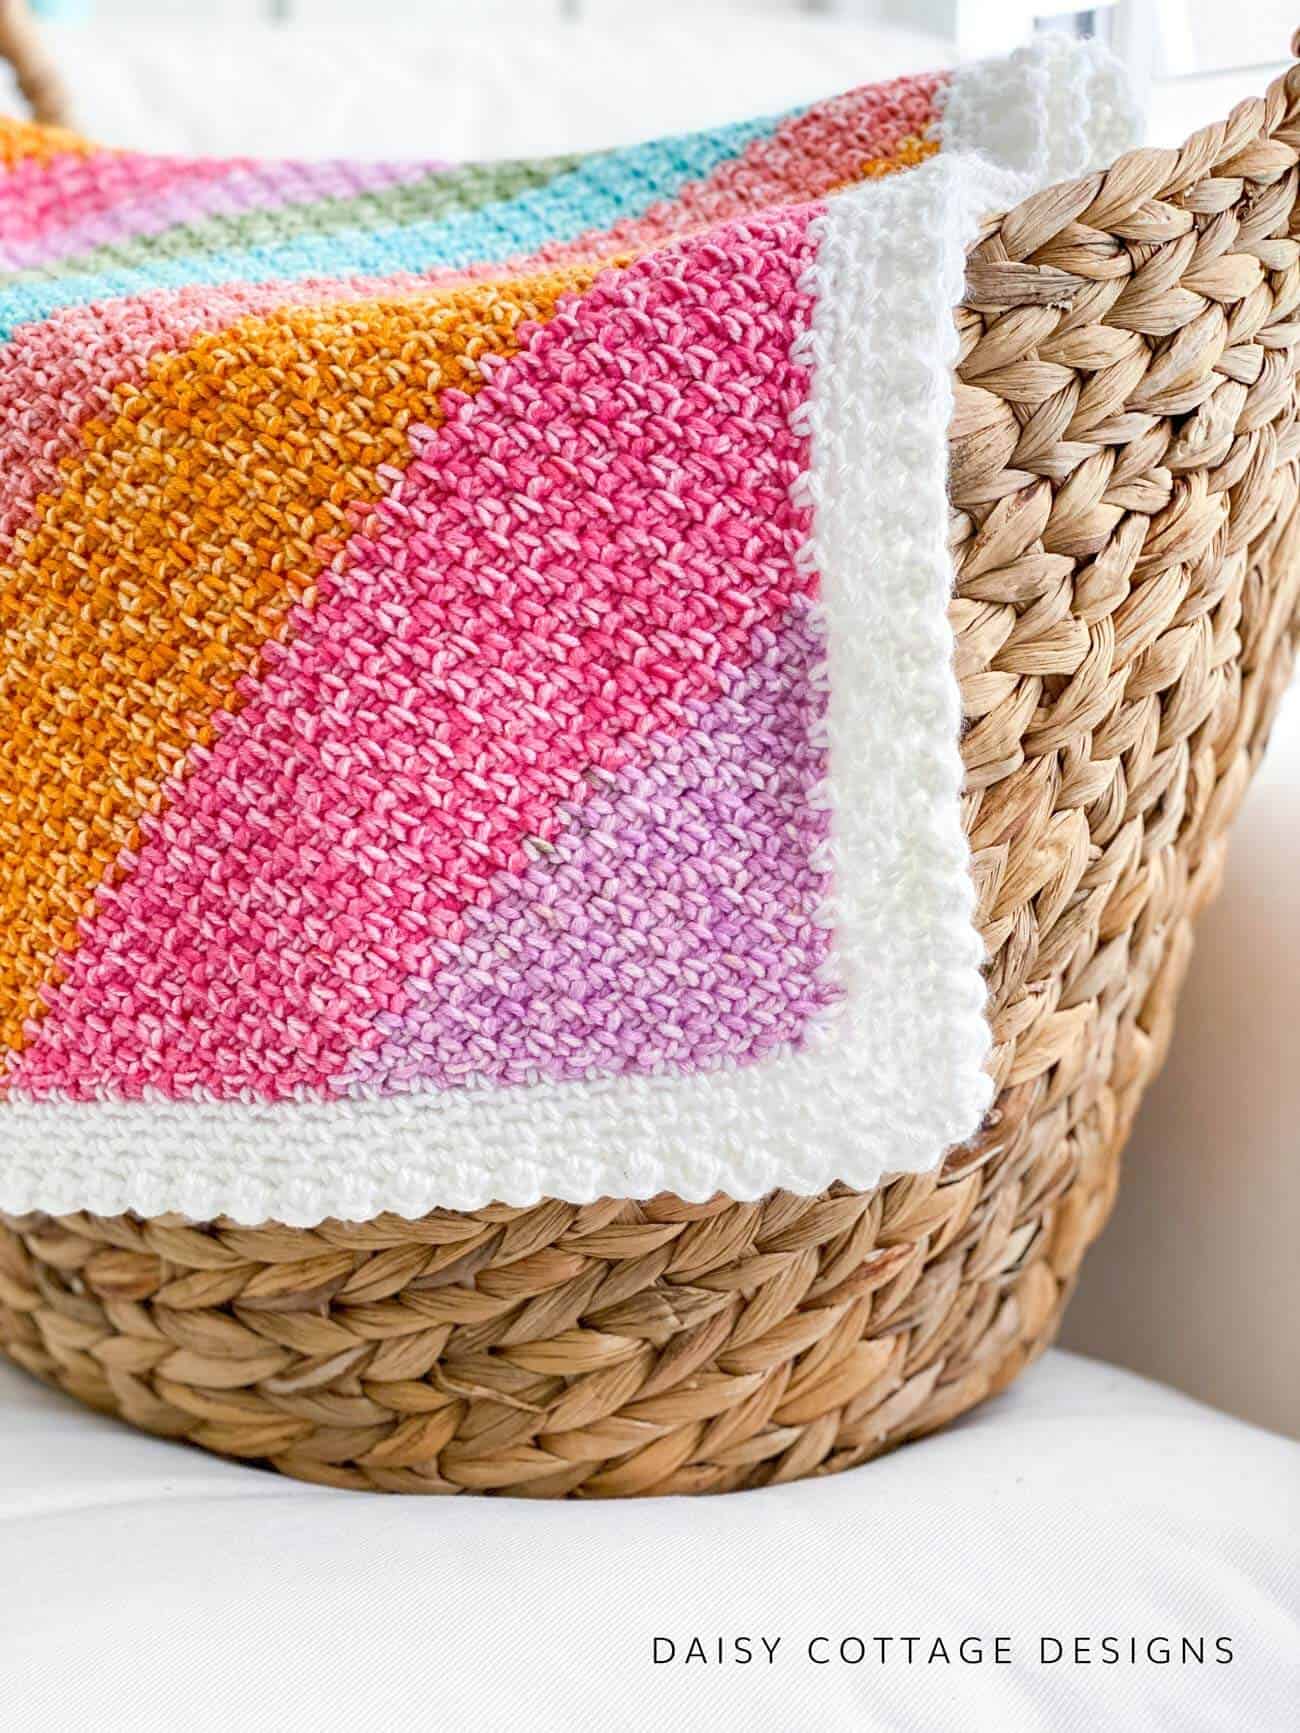
To tie this blanket together, I used a mid-size white border with a tiny bobble edging. It was just what it needed to pull this blanket together.
The Moss Stitch Blanket Pattern
Materials:
- 3 Skeins of Lion Brand Mandala Ombré in Tranquil
- 1 Skein of Lion Brand Basic Stitch in Snow
- I/9 (5.5 mm) Crochet Hook
- J/10 (6.0 mm) Crochet Hook
- For yarn substitutions I used approximately 160 yards of Snow yarn and approximately 1000 yards of Tranquil.
Pattern Notes:
- This video will help the written pattern make more sense. I suggest watching it first.
- This blanket measures approximately 30×35 inches as written. Instructions to change the size are included below.
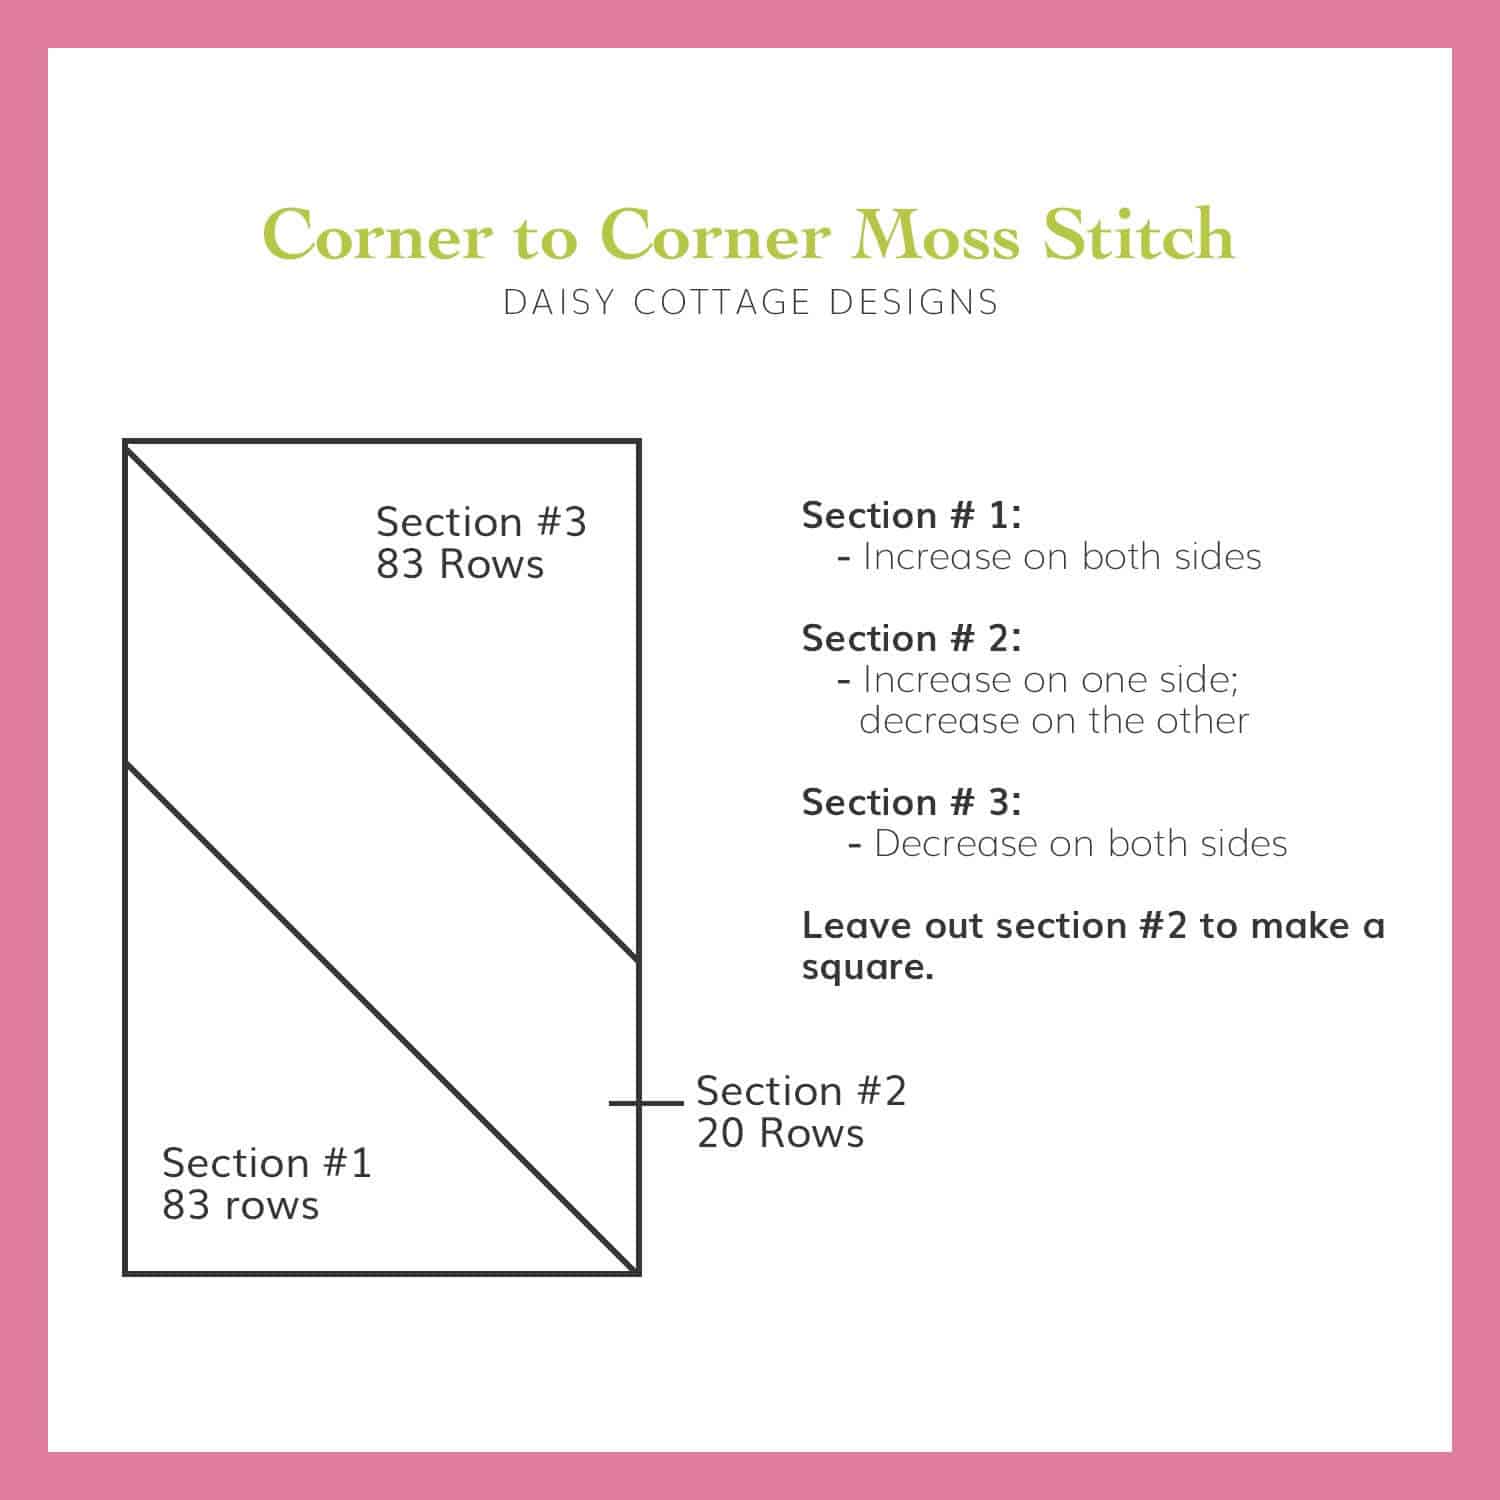
- This diagonally striped blanket is worked from corner to corner in three sections.
- In section 1, you’ll be increasing on both sides. This is where your blanket will grow in width and in length.
- In section 2, you’ll increase on one side of the blanket and decrease on the other. In these rows your blanket will grow only in length. This section may be omitted if you would like a square project instead of a rectangle.
- In section 3, you’ll decrease on both sides. In this section you’ll finish off the rectangle.
- See the diagram below for a visual.
Section 1:
Using your I/9 crochet hook, ch 3 with Tranquil.
Row 1: sc into the third chain from the hook.
Row 2: *sc, ch 1, sc* into the ch 2 space. Ch 2, turn.
Helpful Hint: Place a stitch marker into the first ch 1 space for the next few rows so you can easily see where to make your first stitch on each row.
Row 3: *sc, ch 1* in the ch 1 space. *sc, ch 1, sc* in the ch 2 space. Ch 2, turn.
Rows 4-83: *sc, ch 1* in the first ch 1 space and in each ch 1 space across. *sc, ch 1, sc* in the ch 2 space at the end of the row. Ch 2, turn.
Note: After row 80, you’re going to switch to the second section of the blanket.
Section 2:
(If you want a square blanket, work 91 rows rather than 80 in Section 1 and skip to Section 3)
Row 84: *sc, ch 1* in the first ch 1 space and in each ch 1 space across to the last ch 1 space. In the last ch 1 space of the row, sc (don’t ch 1) and then work just 1 sc into the ch 2 space. ch 2, turn.
Place a stitch marker into the edge of the last sc. This will help you remember which side is your decrease side during the remainder of section 2.
Row 85: Skip the first two sc. *sc, ch 1* into the first ch 1 space and in each ch 1 space across. At the end of the row, *sc, ch 1, sc* into the ch 2 space. Ch 2, turn.
Rows 83-103: Repeat rows 84 & 85.
After row 103, you’re going to switch to the third section of the blanket.
Section 3:
Rows 104-185: Skip the first two stitches, *sc, ch 1* in the first ch 1 space and in each ch 1 space across to the last ch 1 space.. In the last ch 1 space of the row, sc (don’t ch 1) and then work just 1 sc into the ch 2 space. ch 2, turn.
Row 186: sc in the first ch 1 space (do not ch 1 between), sc in the ch 2 space. Ch 1, turn.
Row 187: sc in the ch 2 space.
Cut yarn and weave ends.
Bobble & Moss Border Instructions
If you’d like a video tutorial for a moss stitch border, check out this video: https://youtu.be/pR6-RyYshQQ
Using your J/10 hook and white yarn, pull up a loop in the middle of any row.
Round 1: Ch 1, sc in the same spot. *ch 1, sc* around the entire blanket working *sc, ch 2, sc* into each corner. At the end of the first round, sl st to the top of the first sc (not the ch 1) to join.
Note: The sc should be separated a little bit. You don’t want them worked immediately next to each other. You’ll want to have approximately 75 sc and ch 1 spaces on the long sides and 60 sc and ch 1 spaces on the shorter sides.
Rounds 2-5: sl st into the next ch 1 space. Ch 1. *sc, ch 1* in the same ch 1 space and in each ch 1 space around the entire blanket. Work *sc, ch 2, sc* into each corner. At the end of the round, sl st to the to of the first sc (not the ch 1) to join.
The following round is your bobble round. You’ll be working into the ch 1 spaces, as well as the sc in this round.
Round 6: dc into the first ch 1 space, sl st into the next st. *dc in the ch 1 space, sl st in the next sc* around the entire blanket. There are no special instructions for corners in this round.
The difference in the height of the stitches is what creates the “mini bobble” effect.
At the end of round 6, cut yarn and weave ends.

