How to Make a Wavy Crochet Blanket

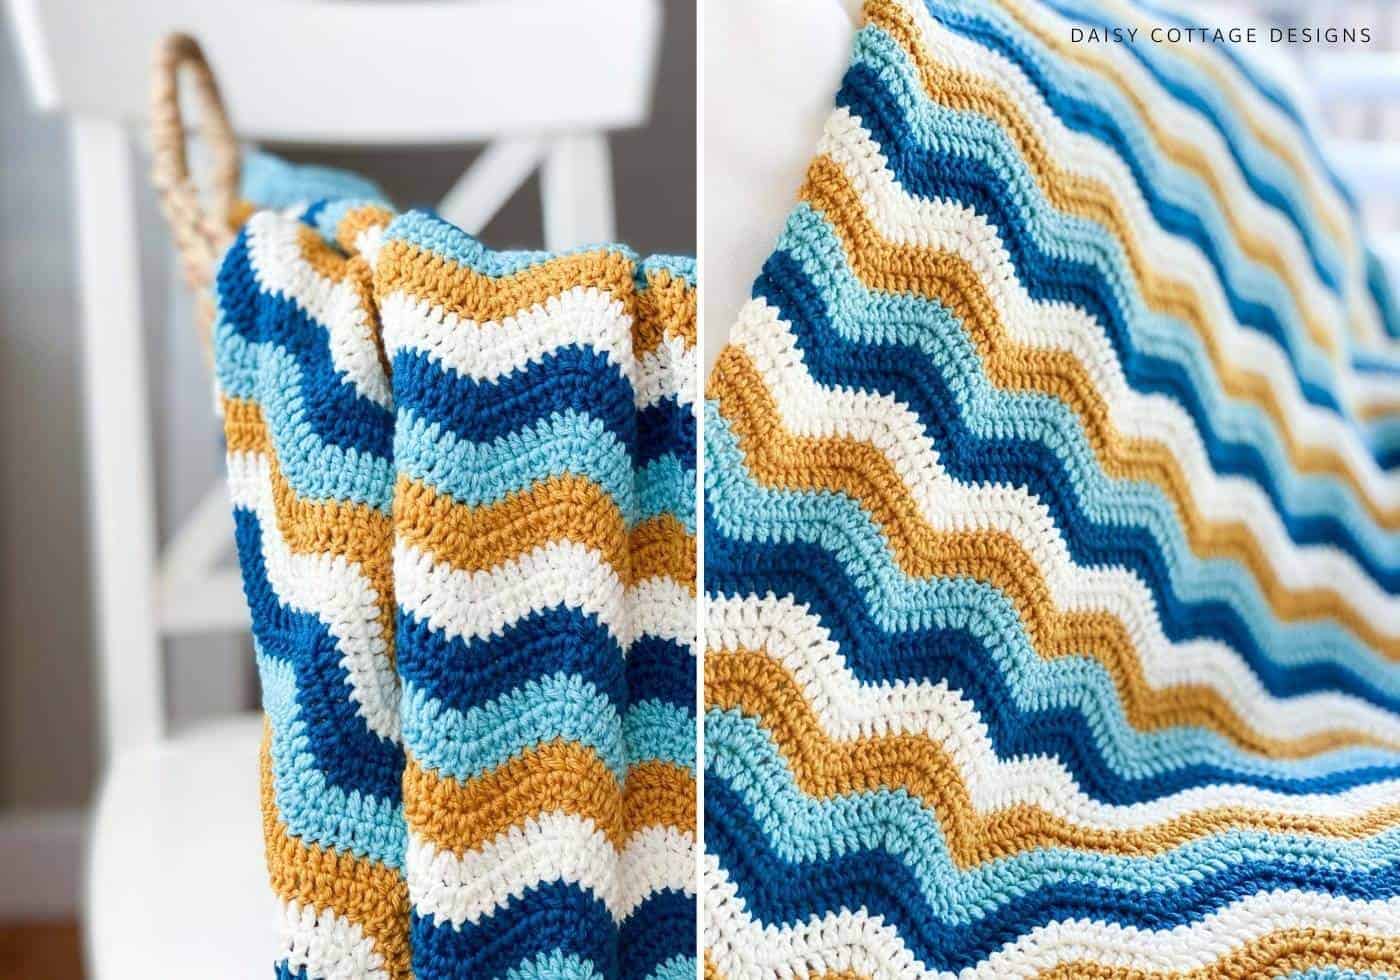
I started this wavy crochet blanket pattern on our family’s trip to the Upper Peninsula of Michigan earlier this summer. I didn’t have big plans to make a ripple blanket when I purchased the yarn from a little shop I came across on our vacation, but maybe being along the shores of three of the Great Lakes inspired me.
Whether you call this a ripple, a chevron, or a wave crochet blanket, most crocheters find this type of pattern fun and addicting. Believe it or not, they’re not hard to make either. In fact, a wavy crochet blanket works up pretty quickly and looks great without a border.

If this is your first time attempting to crochet a ripple blanket, you’re going to want to start with a small swatch. Like I said earlier, it isn’t difficult. However, starting small will give you the chance to work out all the kinks.
Make a Swatch!
This video will walk you through the exact steps you need to know to learn how to make a wavy blanket. The stripe pattern is different, but the steps for the stitches are the same!
If you’d like a written pattern for a sample swatch, here you go!
For the swatch, ch 30.
Row 1: dc in the third chain from the hook. Dc in the next 4 stitches. Dc2tog, dc 2 tog. Dc in the next 4 stitches. *Work 2 dc into the next 2 stitches. Dc in the next 4 stitches. Dc2tog, dc2tog. Dc in the next 4 stitches.* End with 2 dc in the last chain. Ch 2, turn.
Row 2: dc in the first stitch (do not skip the first dc because of the chain) and in the next 4 stitches. dc2tog, dc2tog. Dc in the next 4 stitches. *Work 2 dc into the next 2 stitches. dc in the next 4 stitches. dc2tog, dc2tog. dc in the next 4 stitches.* End with 2 dc in the last stitch (thiswill be the top of your ch 2 from the previous round). Ch 2, turn.
Once you have that down, you’re ready to move on to the actual pattern. I know you can do it!

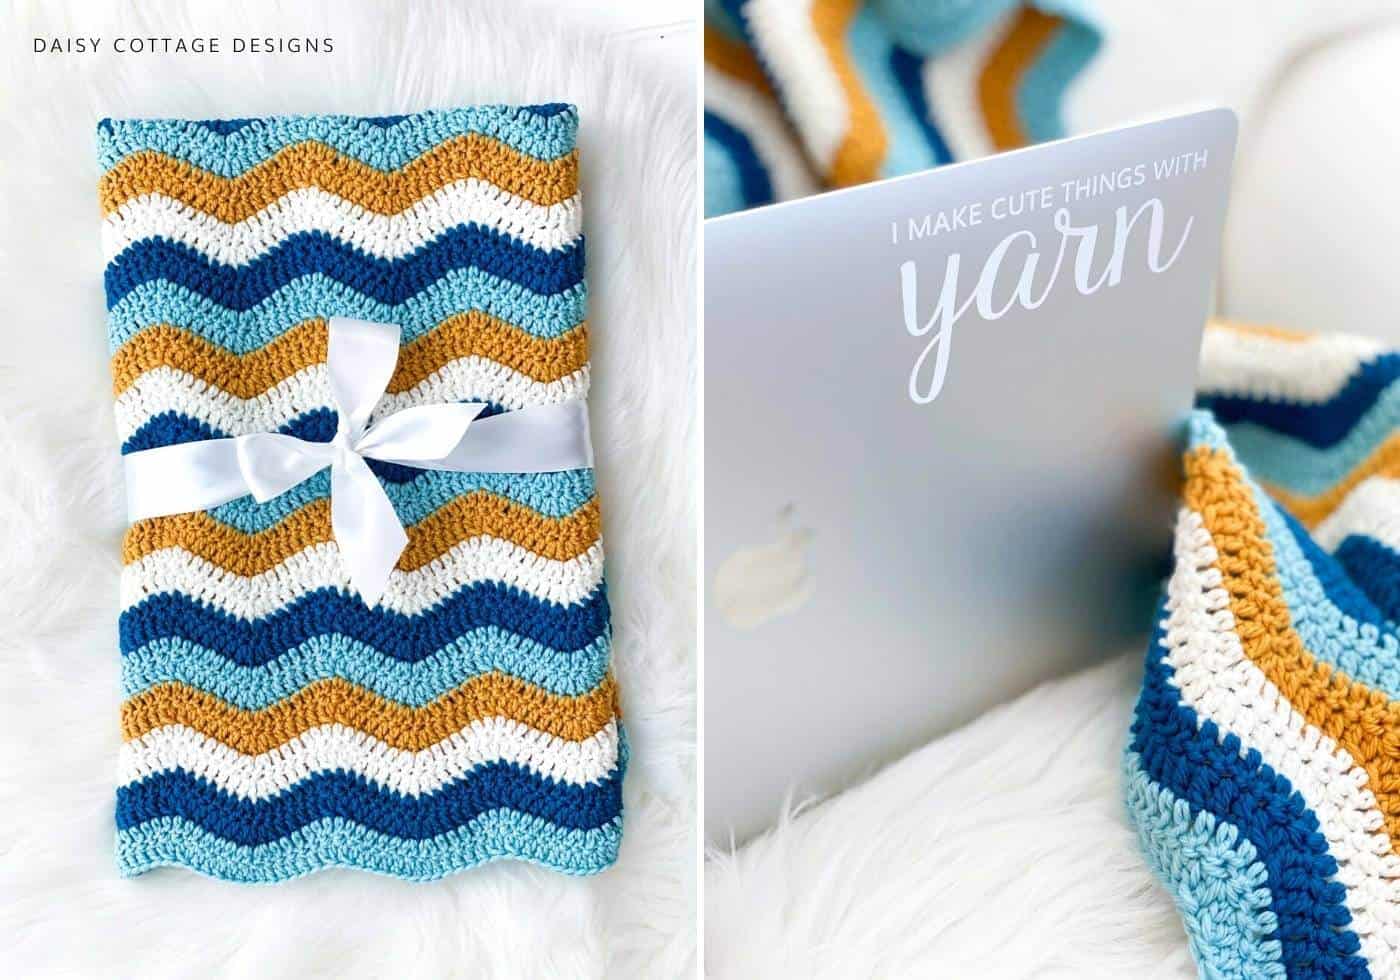
See that cute decal on my laptop? That’s part of the new Crochet Merch line I launched earlier this month. You can find it here.
Don’t have time to make this pattern right now?
Wave Crochet Blanket Pattern
Materials:
- I Crochet Hook (9/5.5 mm)
- 2 Skeins each of Cascade 220 Superwash Merino – Aqua Haze (89), Dark Teal (34), Golden Yellow (5), Cream (01)
- This yarn is a little bit expensive. If you’d like to make this blanket using more affordable yarn choices, you can find other brands with this same palette here.
- If you’re using a different brand of yarn, you’ll need approximately 250 yds of the dark teal, mustard, and cream and 290 yds of the lighter turquoise. This equals a total of approximately 1100 yards.
- Tapestry Needle & Scissors for weaving ends
Pattern Notes:
- Pattern is worked through both loops
- The chain 2 at the beginning of each row counts as a stitch. I recommend marking this stitch in some way so that you don’t forget to work into the top of the turning chain at the end of each row. If you fail to work into the top of each turning chain, all of your ripples will be “wonky.”
- Sometimes a dc2tog is called a dc decrease in other patterns.
- As written, the finished blanket measures approximately 31 x 33 inches.
- I have a video tutorial explaining the ripple stitch here.
- If you’d like to make this blanket bigger, the multiple for the starting chain is 14+2.
Special Stitches: Explained in the video, too.
- dc2tog (double crochet two together): Yarn over, pull up a loop. Pull through the first two loops. Yarn over, insert hook into the next stitch and pull up a loop. Pull through the first two loops. Pull through the remaining 3 loops. Instructions are included in the video tutorial.
Pattern:
Using Aqua Haze, Chain 128.
Row 1: dc in the third chain from the hook. Dc in the next 4 stitches. Dc2tog, dc 2 tog. Dc in the next 4 stitches. *Work 2 dc into the next 2 stitches. Dc in the next 4 stitches. Dc2tog, dc2tog. Dc in the next 4 stitches.* End with 2 dc in the last chain. Ch 2, turn.
Row 2: dc in the first stitch (do not skip the first dc because of the chain) and in the next 4 stitches. dc2tog, dc2tog. Dc in the next 4 stitches. *Work 2 dc into the next 2 stitches. dc in the next 4 stitches. dc2tog, dc2tog. dc in the next 4 stitches.* End with 2 dc in the last stitch (thiswill be the top of your ch 2 from the previous round). Ch 2, turn.
Continue repeating row 2 until you have 66 rows.
Repeat the Following Stripe Pattern:
- 2 Rows Aqua Haze
- 2 Rows Golden Yellow
- 2 Rows Cream
- 2 Rows Dark Teal
I repeated the pattern 8 times and then ended with 2 last rows of Aqua Haze.
Optional: I left the edges of my wavy crochet blanket “unfinished.” If you prefer a more polished look, single crochet up each side of the blanket. The rippled edges will already have a finished look.

