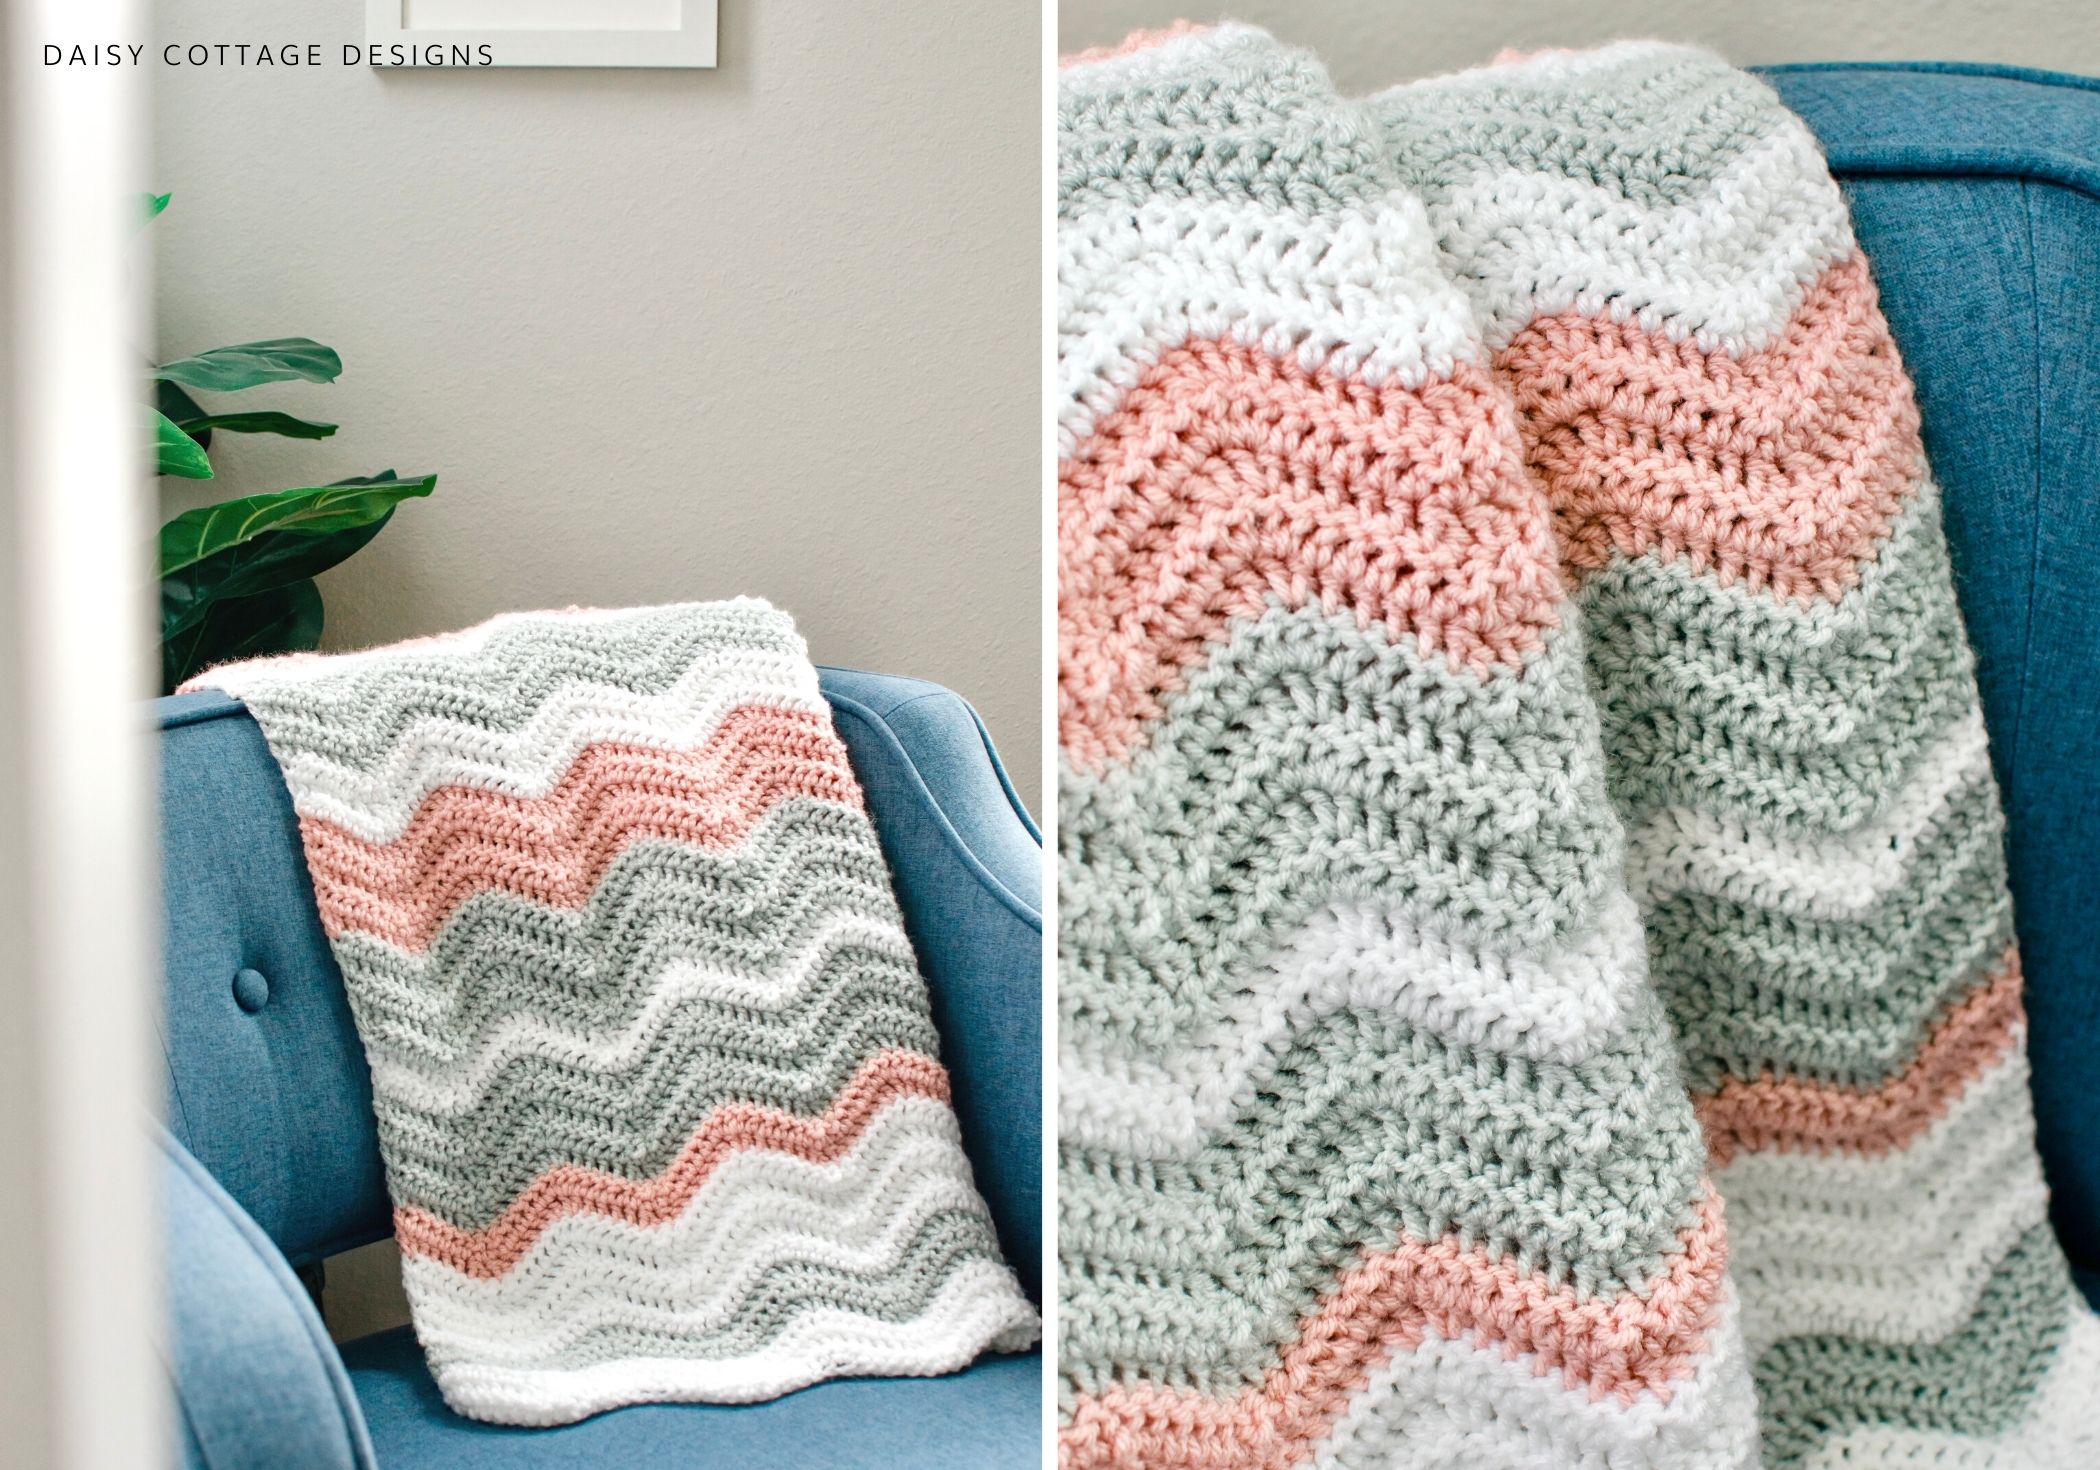
How to Crochet a Ripple Blanket (With Video Tutorial)
On the search for the perfect ripple blanket crochet pattern to add to your collection? Here’s a fun and simple double crochet ripple that works up quickly and produces stunning results.
I’ve had so many people tell me they’re intimidated by the thought of making their first crochet ripple blanket. Honestly, of all the crochet patterns that I’ve made, I think those that use the ripple stitch are my favorites.
Don’t be scared! Crochet ripple blankets use basic crochet stitches – mainly double crochets! Once you master the pattern, it’s an easy one row repeat
If you love this ripple, you’re also going to love this chevron blanket pattern.
Want an add-free, pdf version of this pattern? It’s available in my Etsy shop.
Ripple Baby Blanket Free Crochet Pattern
Ready to get started?
Materials:
- I/9 (5.50 mm) Crochet Hook (these are my FAVORITES!)
- Approximately 720 yards of worsted weight yarn.
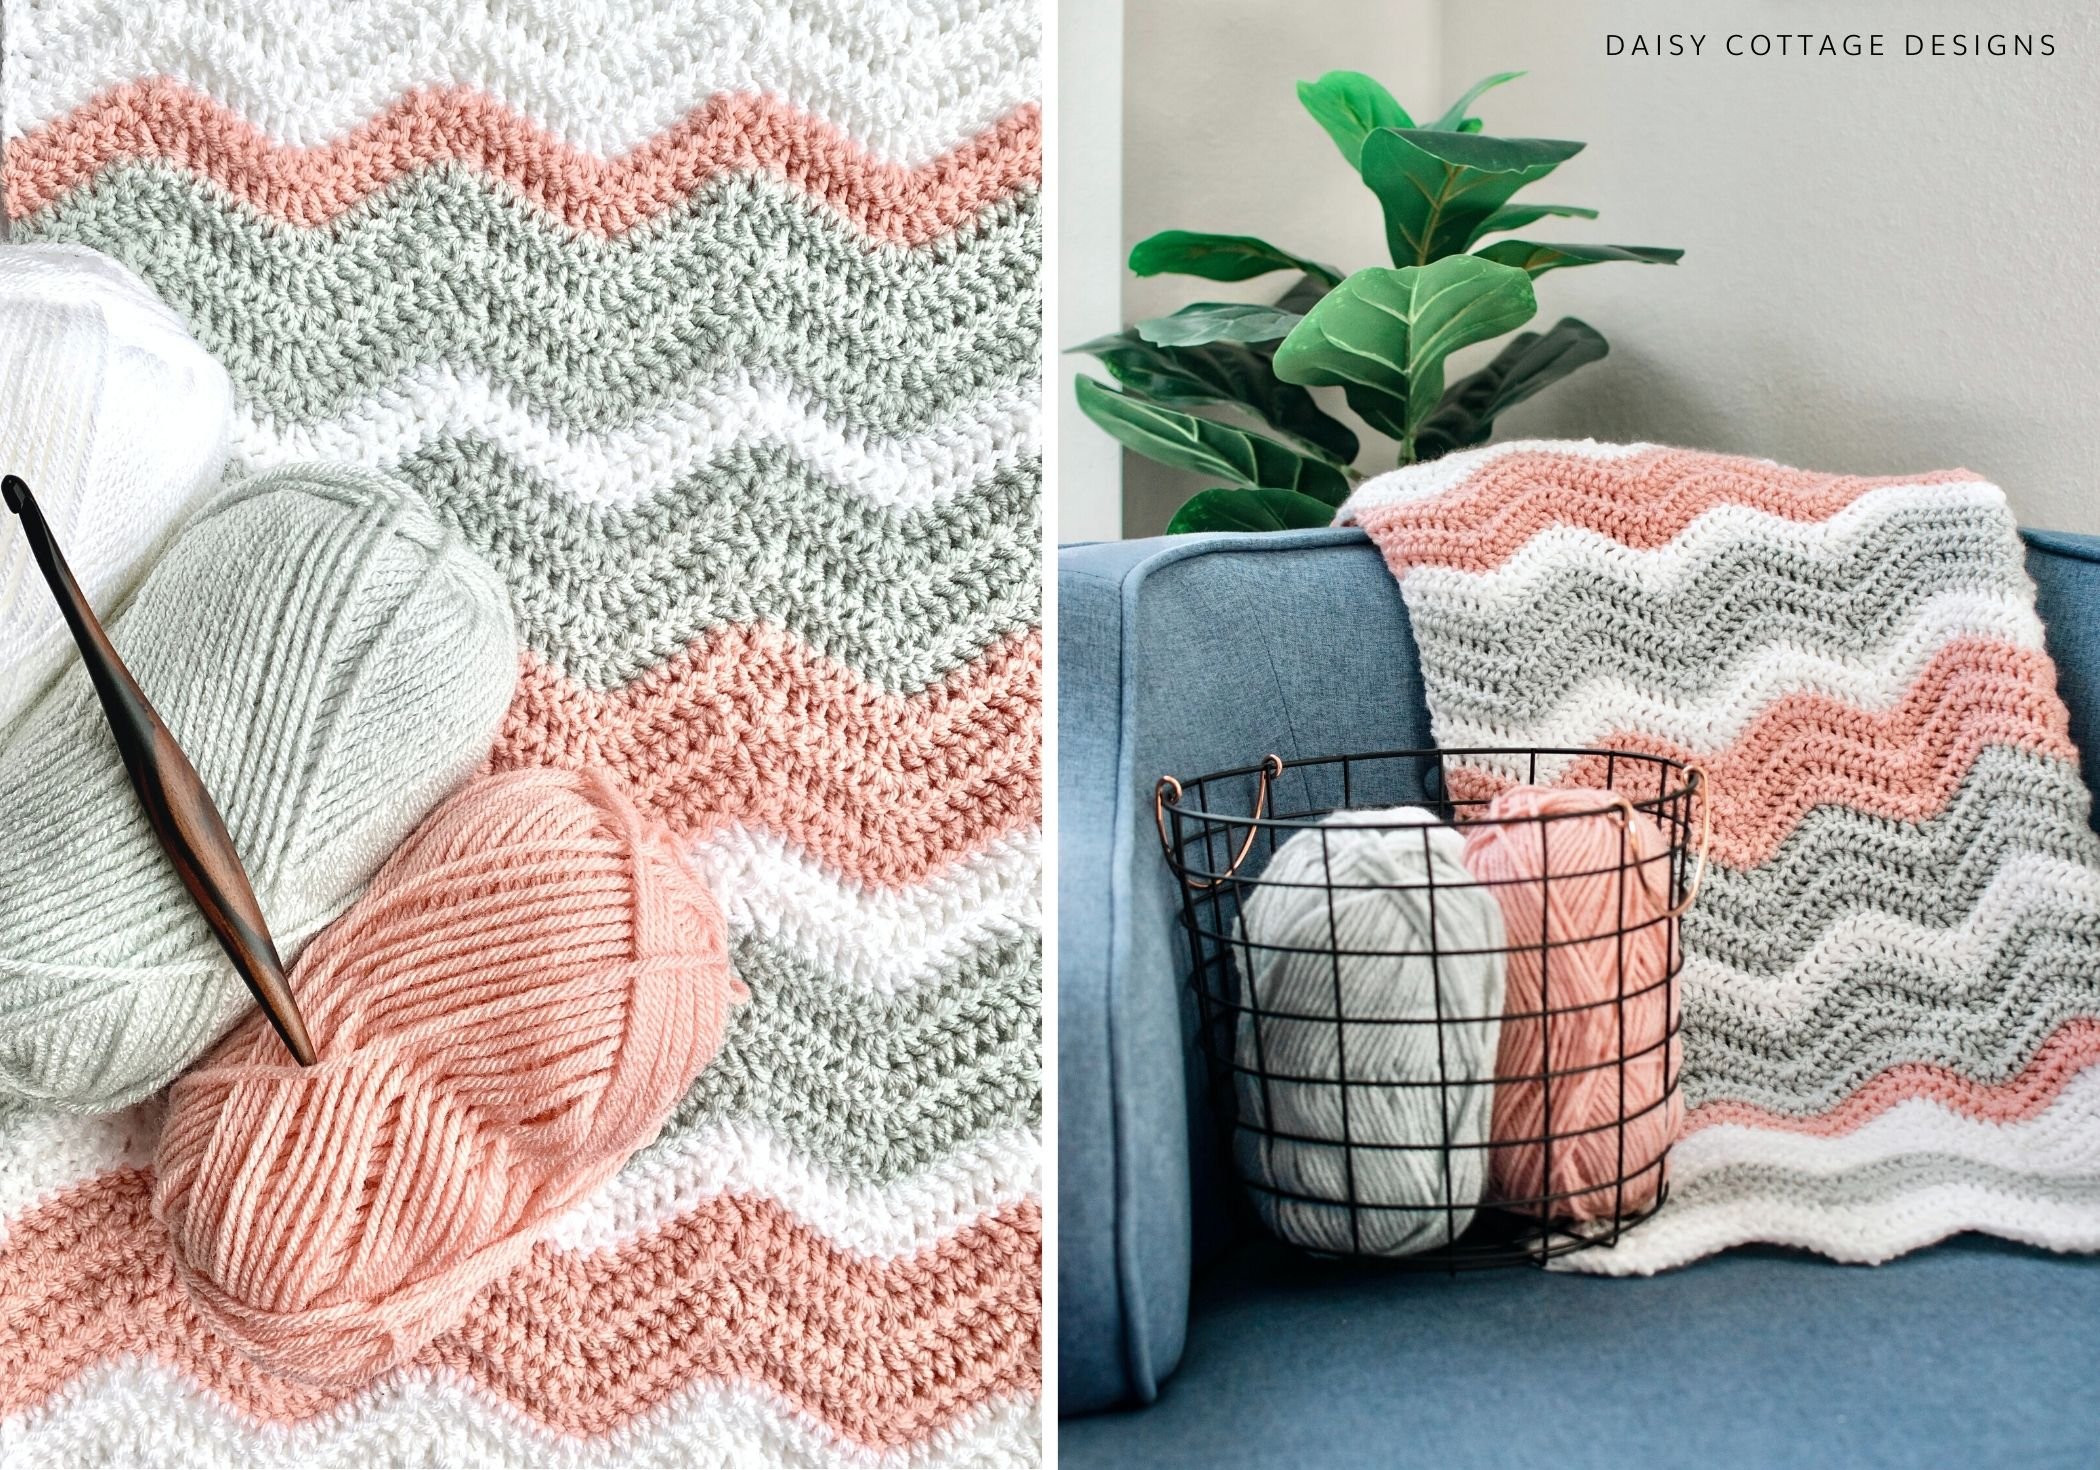
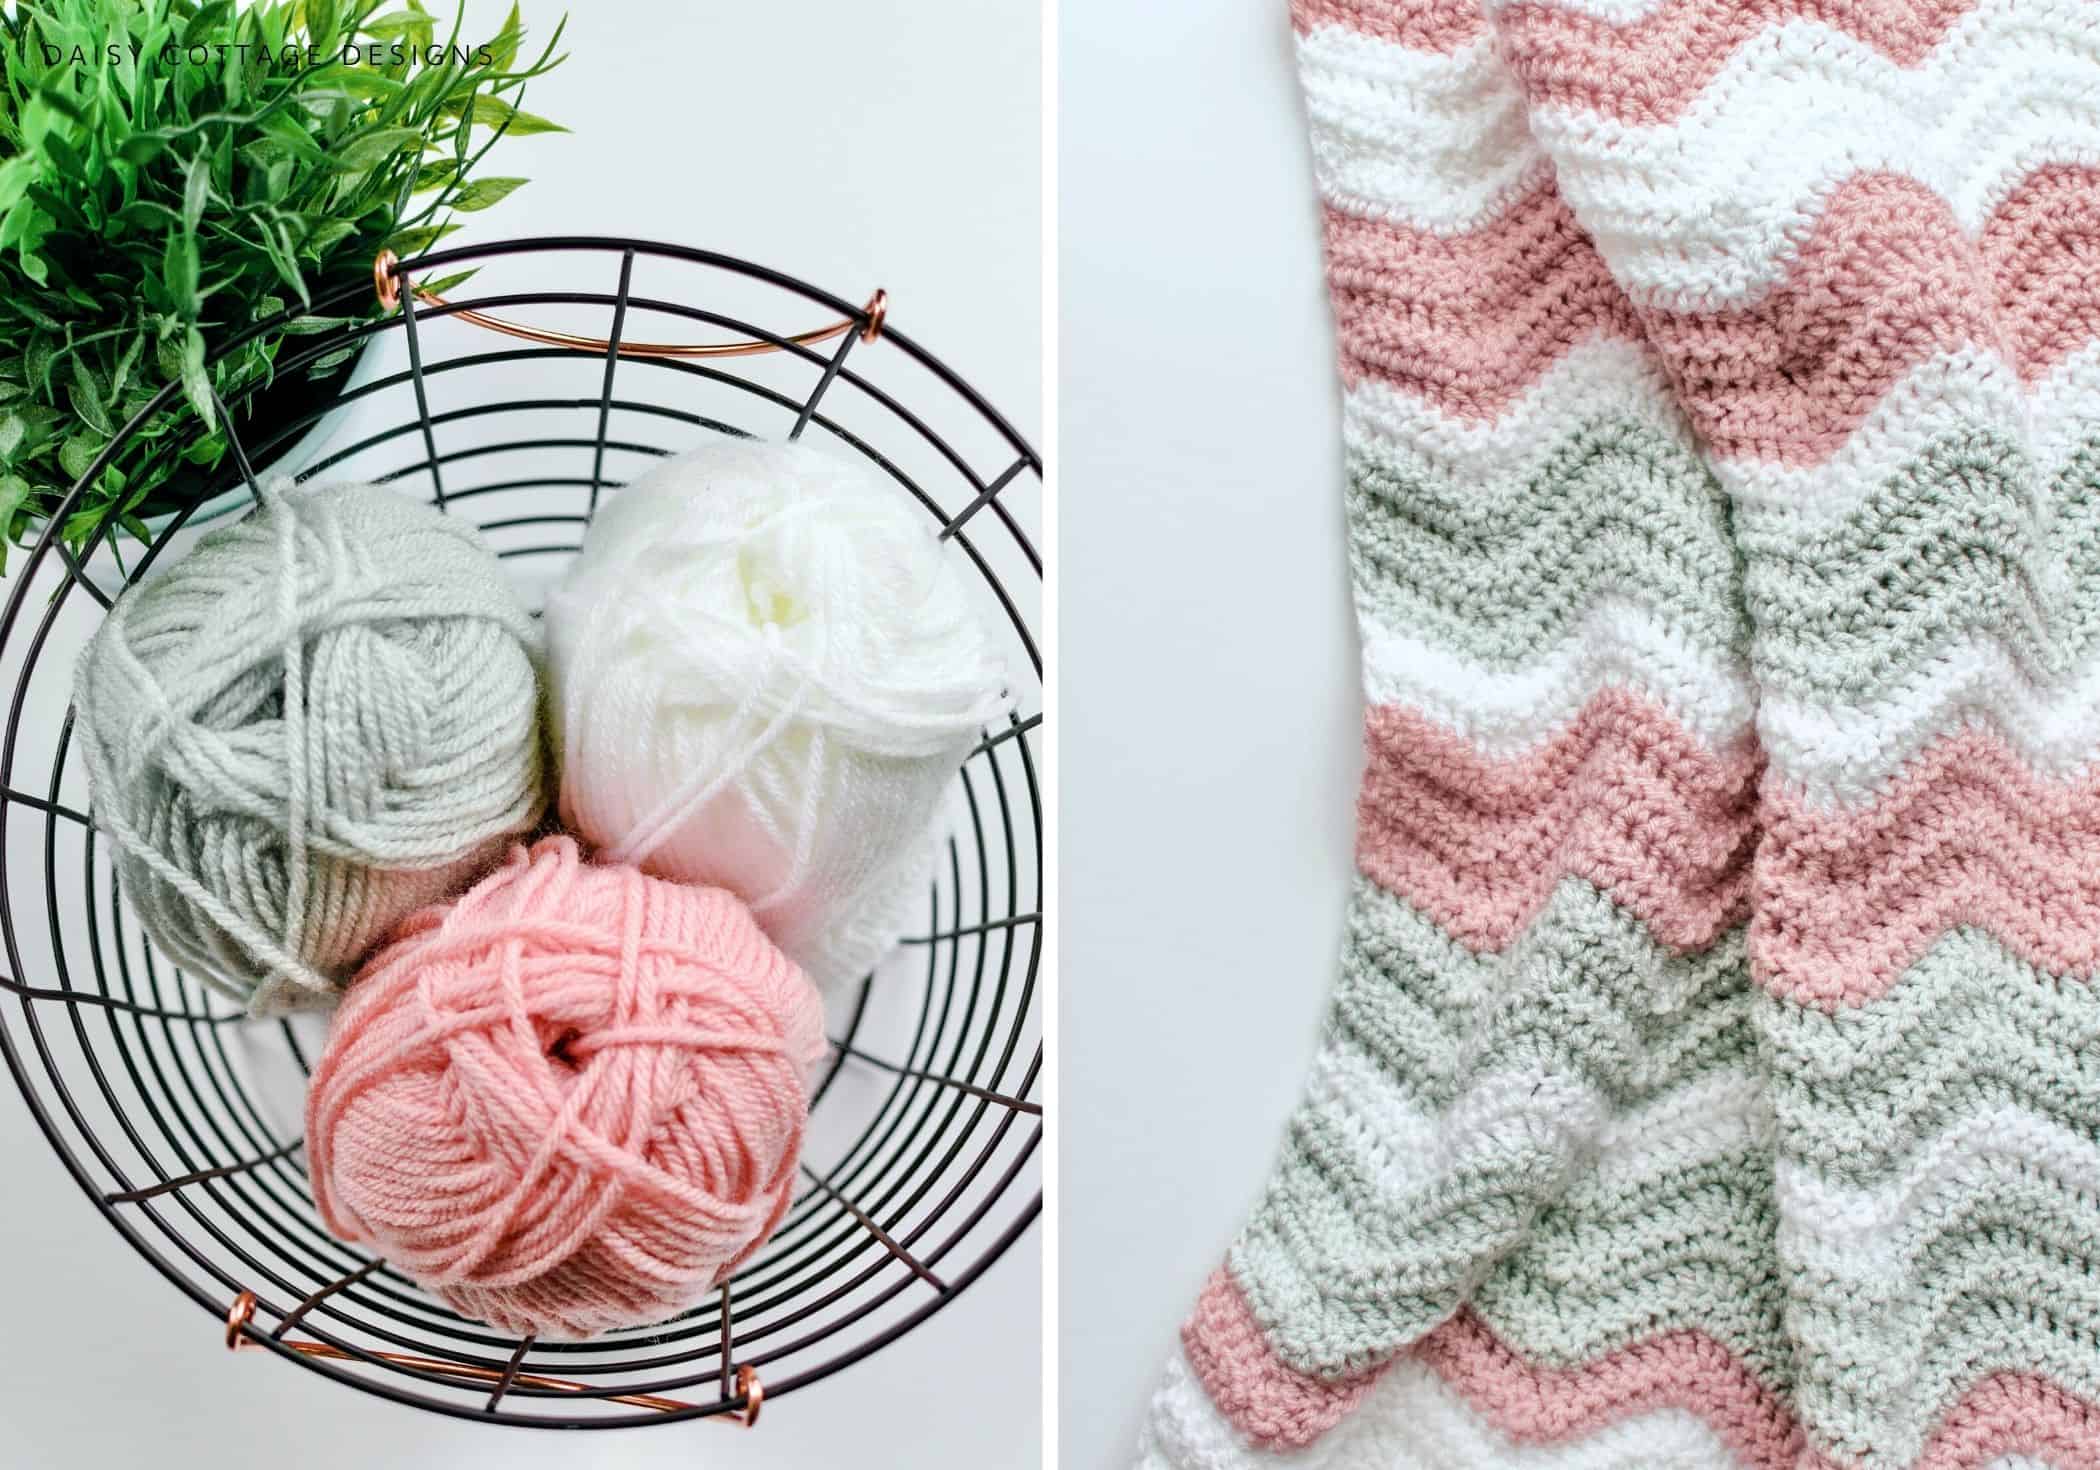
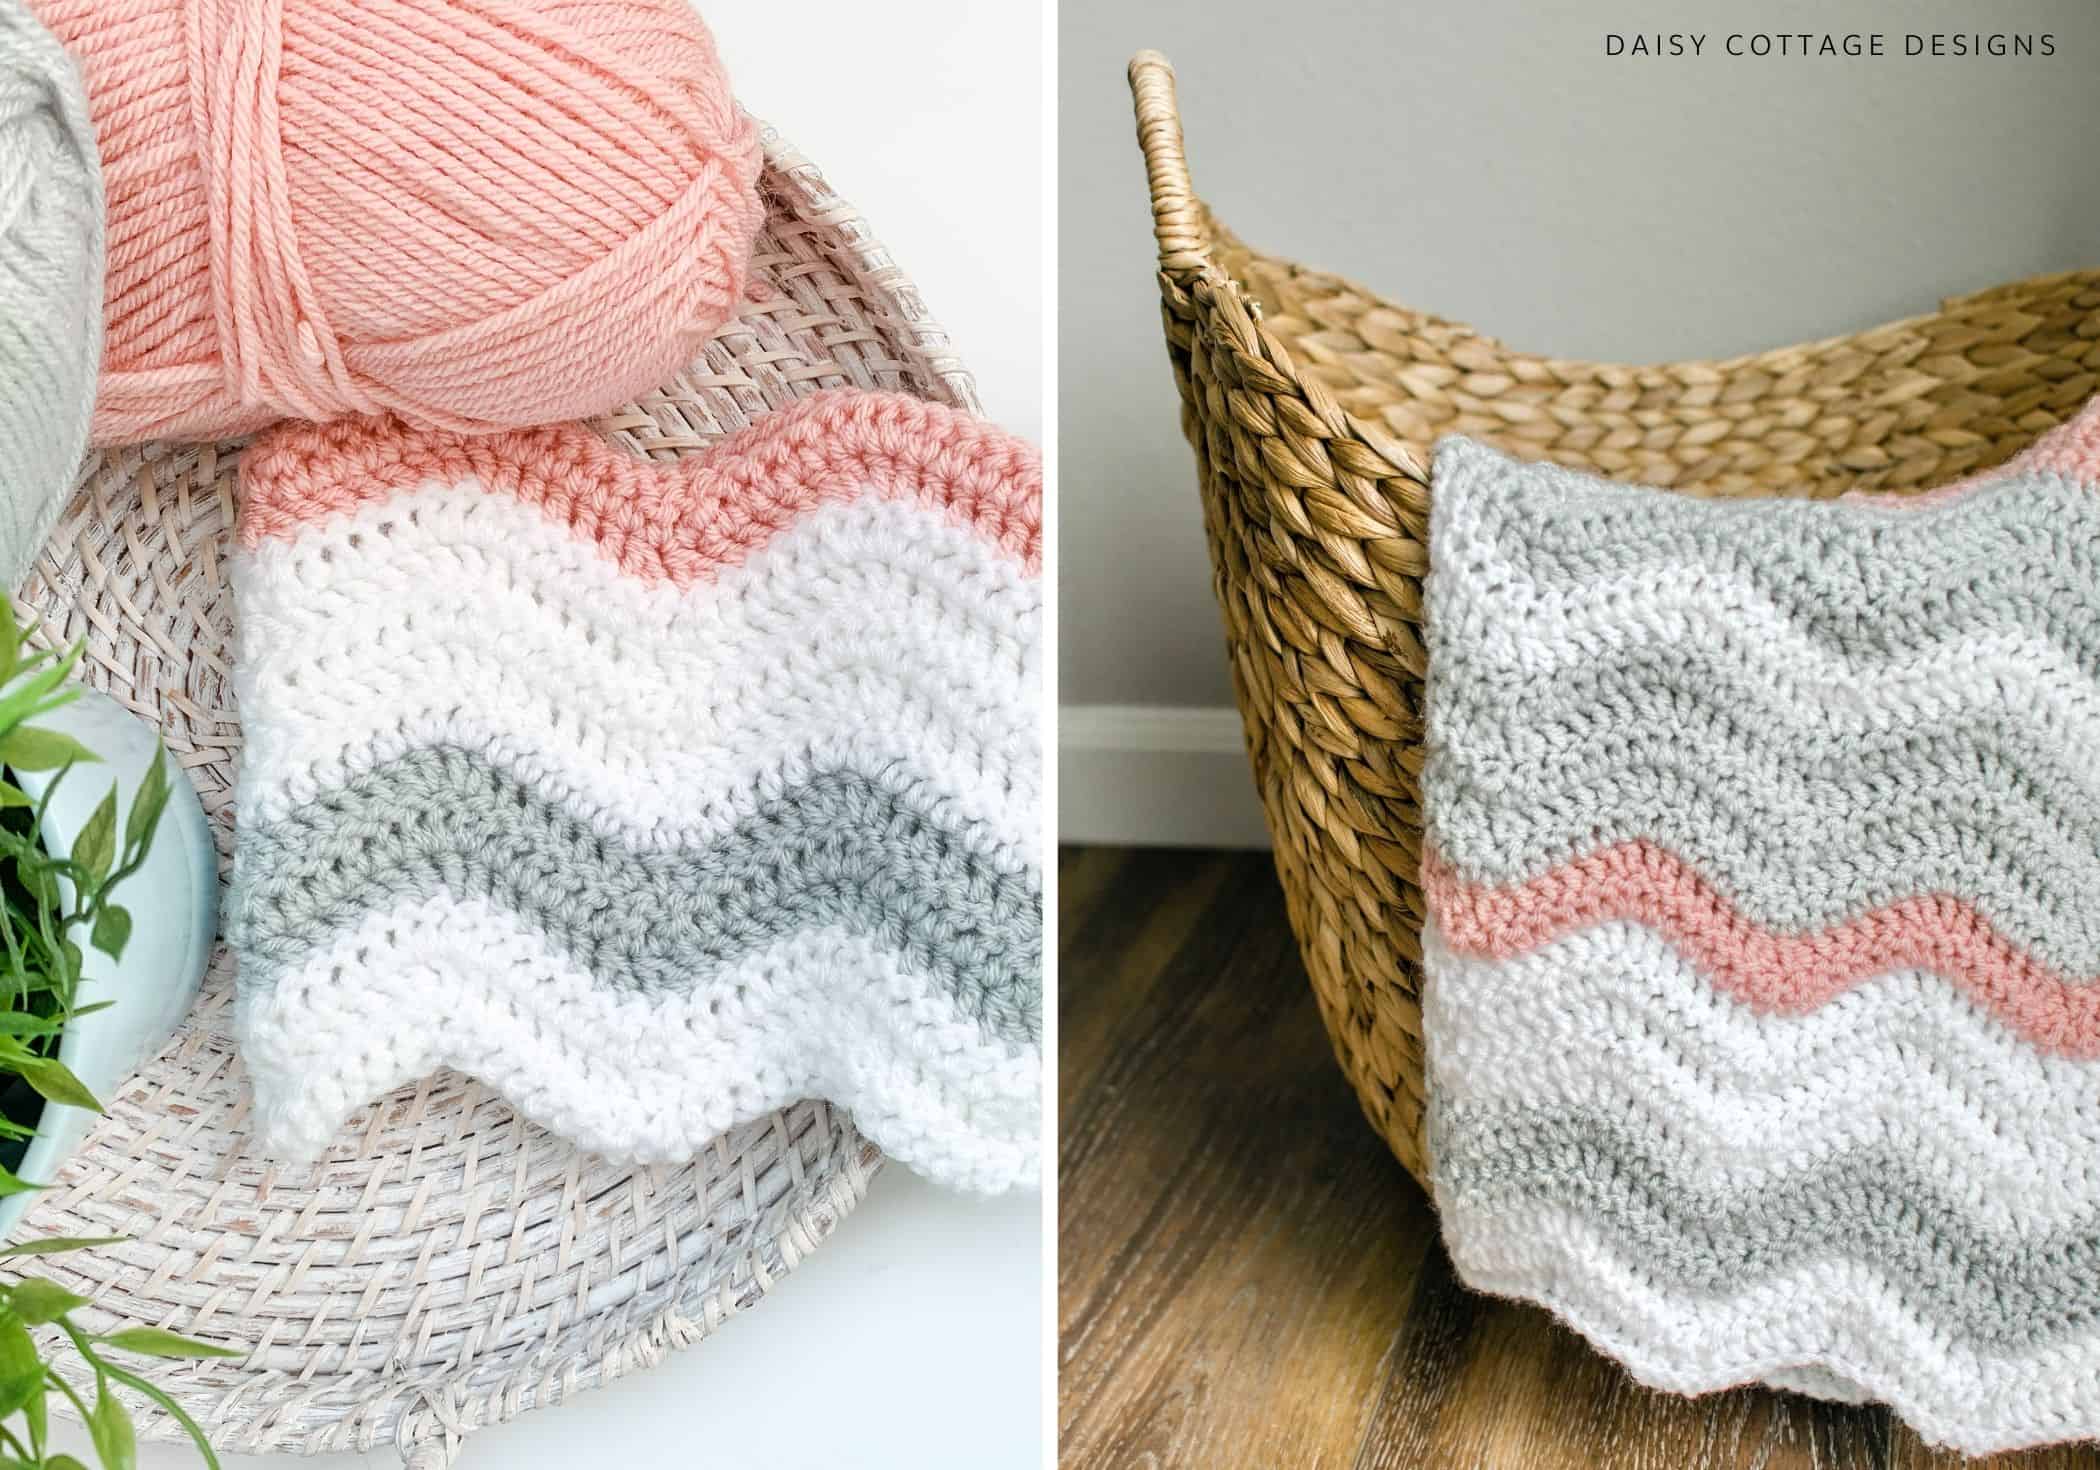
- I used Vanna’s Choice in the following shades:
- 2 Skeins Vanna’s Choice Pale Gray
- 2 Skeins Vanna’s Choice in White
- 2 Skeins Vanna’s Choie in Pink or Aquamarine if you’re making this for a boy
- Tapestry Needle and scissors for weaving ends
Pattern Notes:
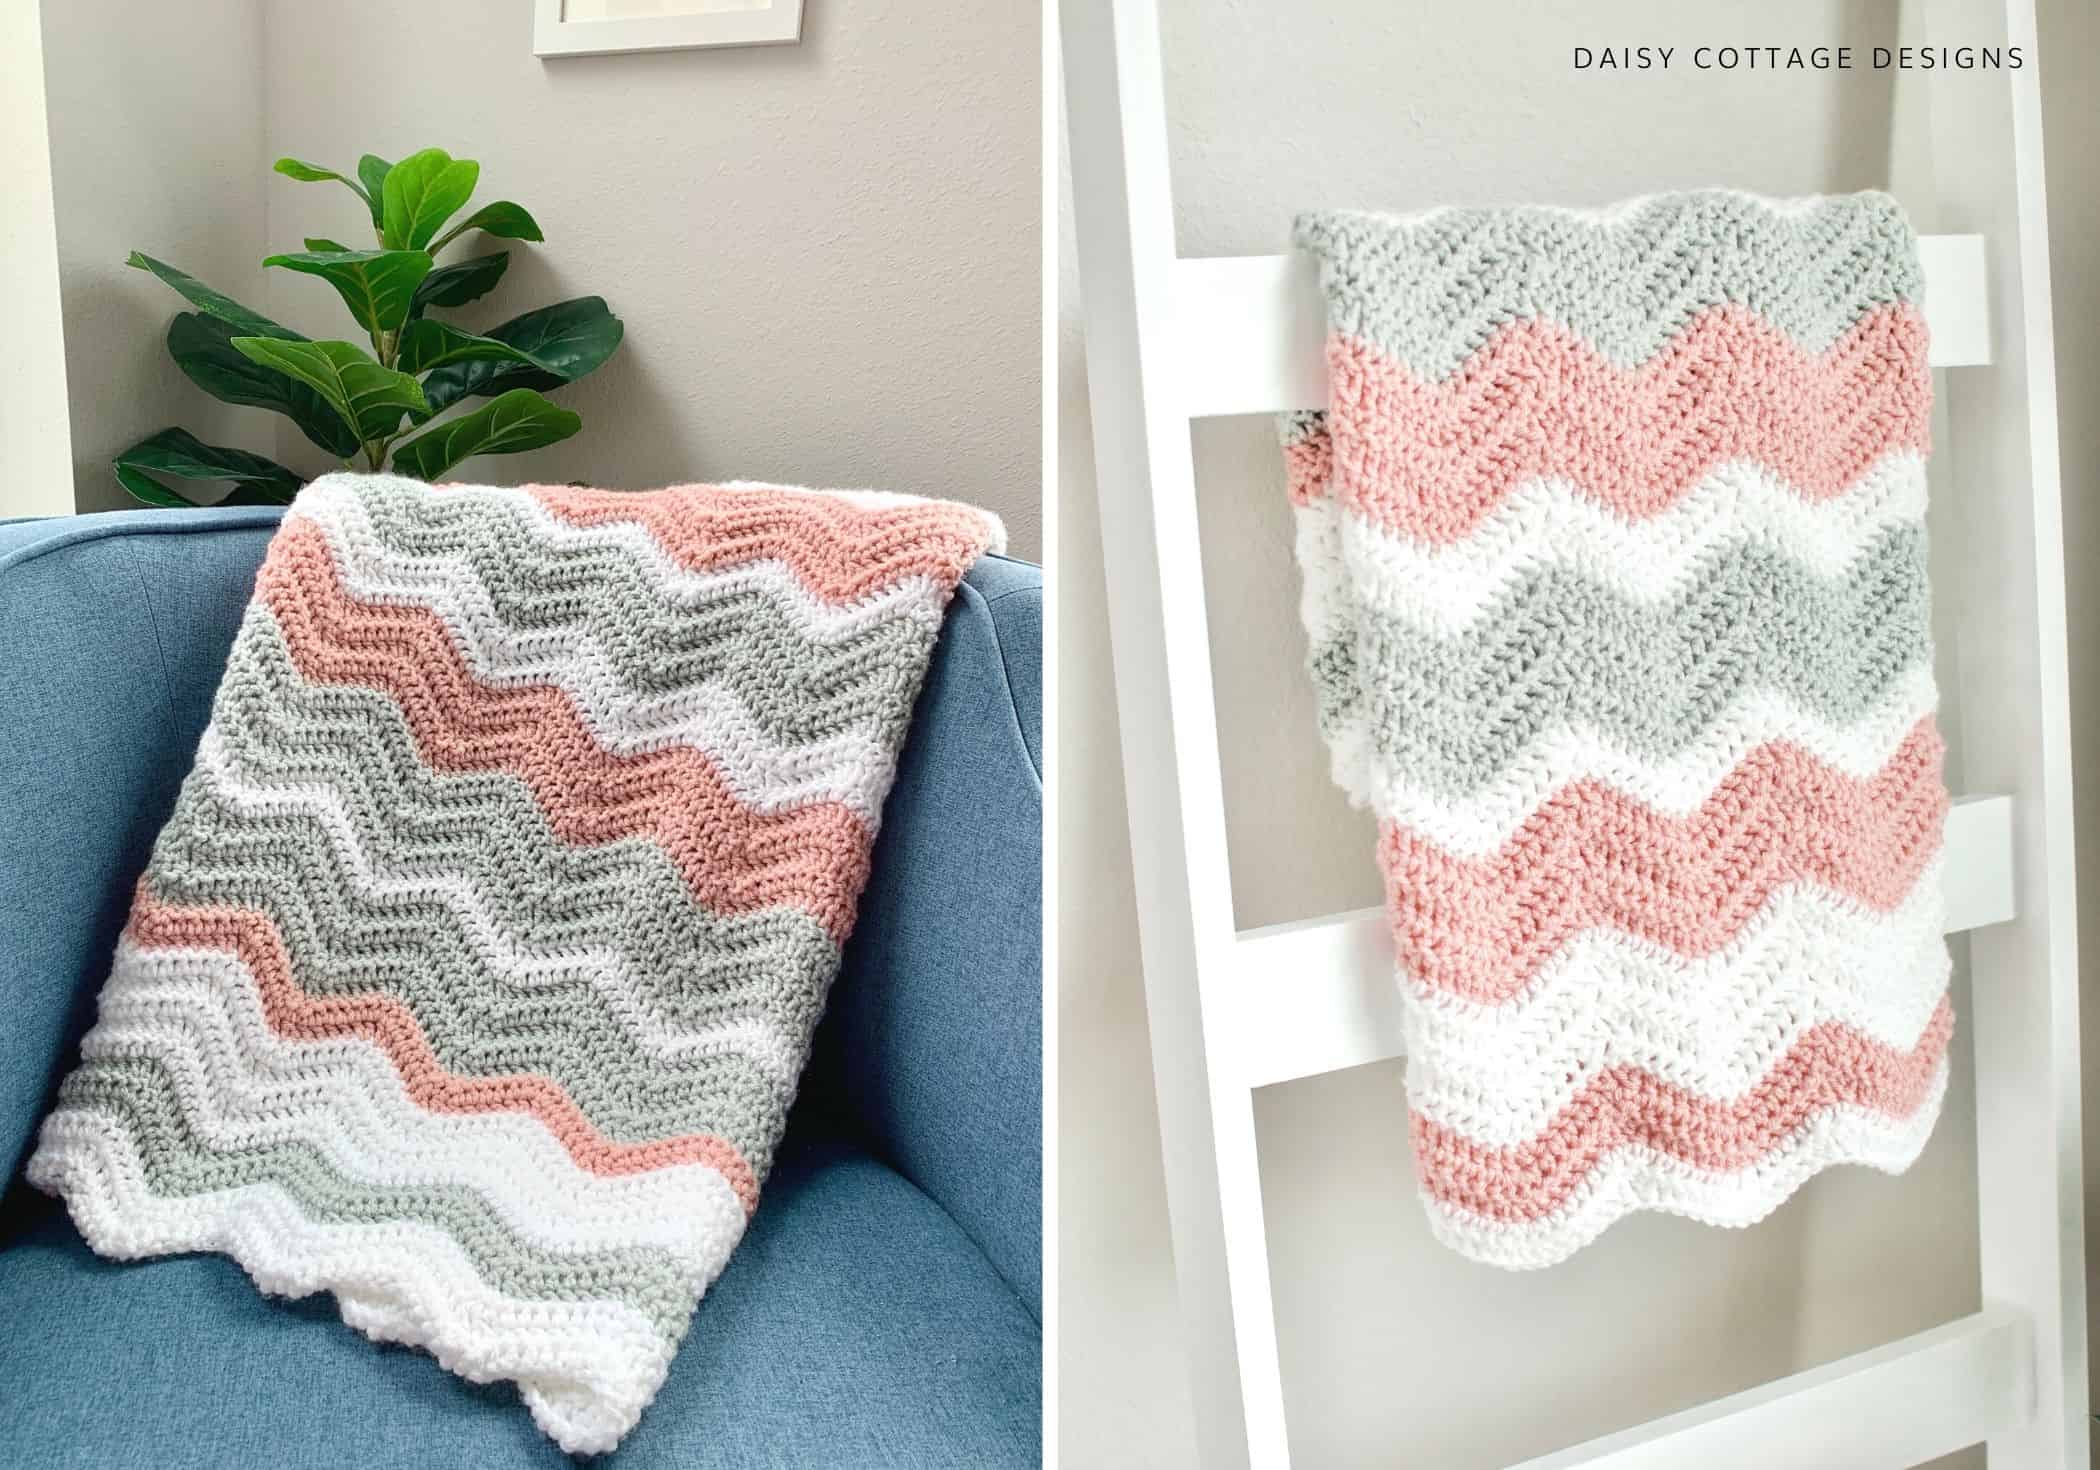
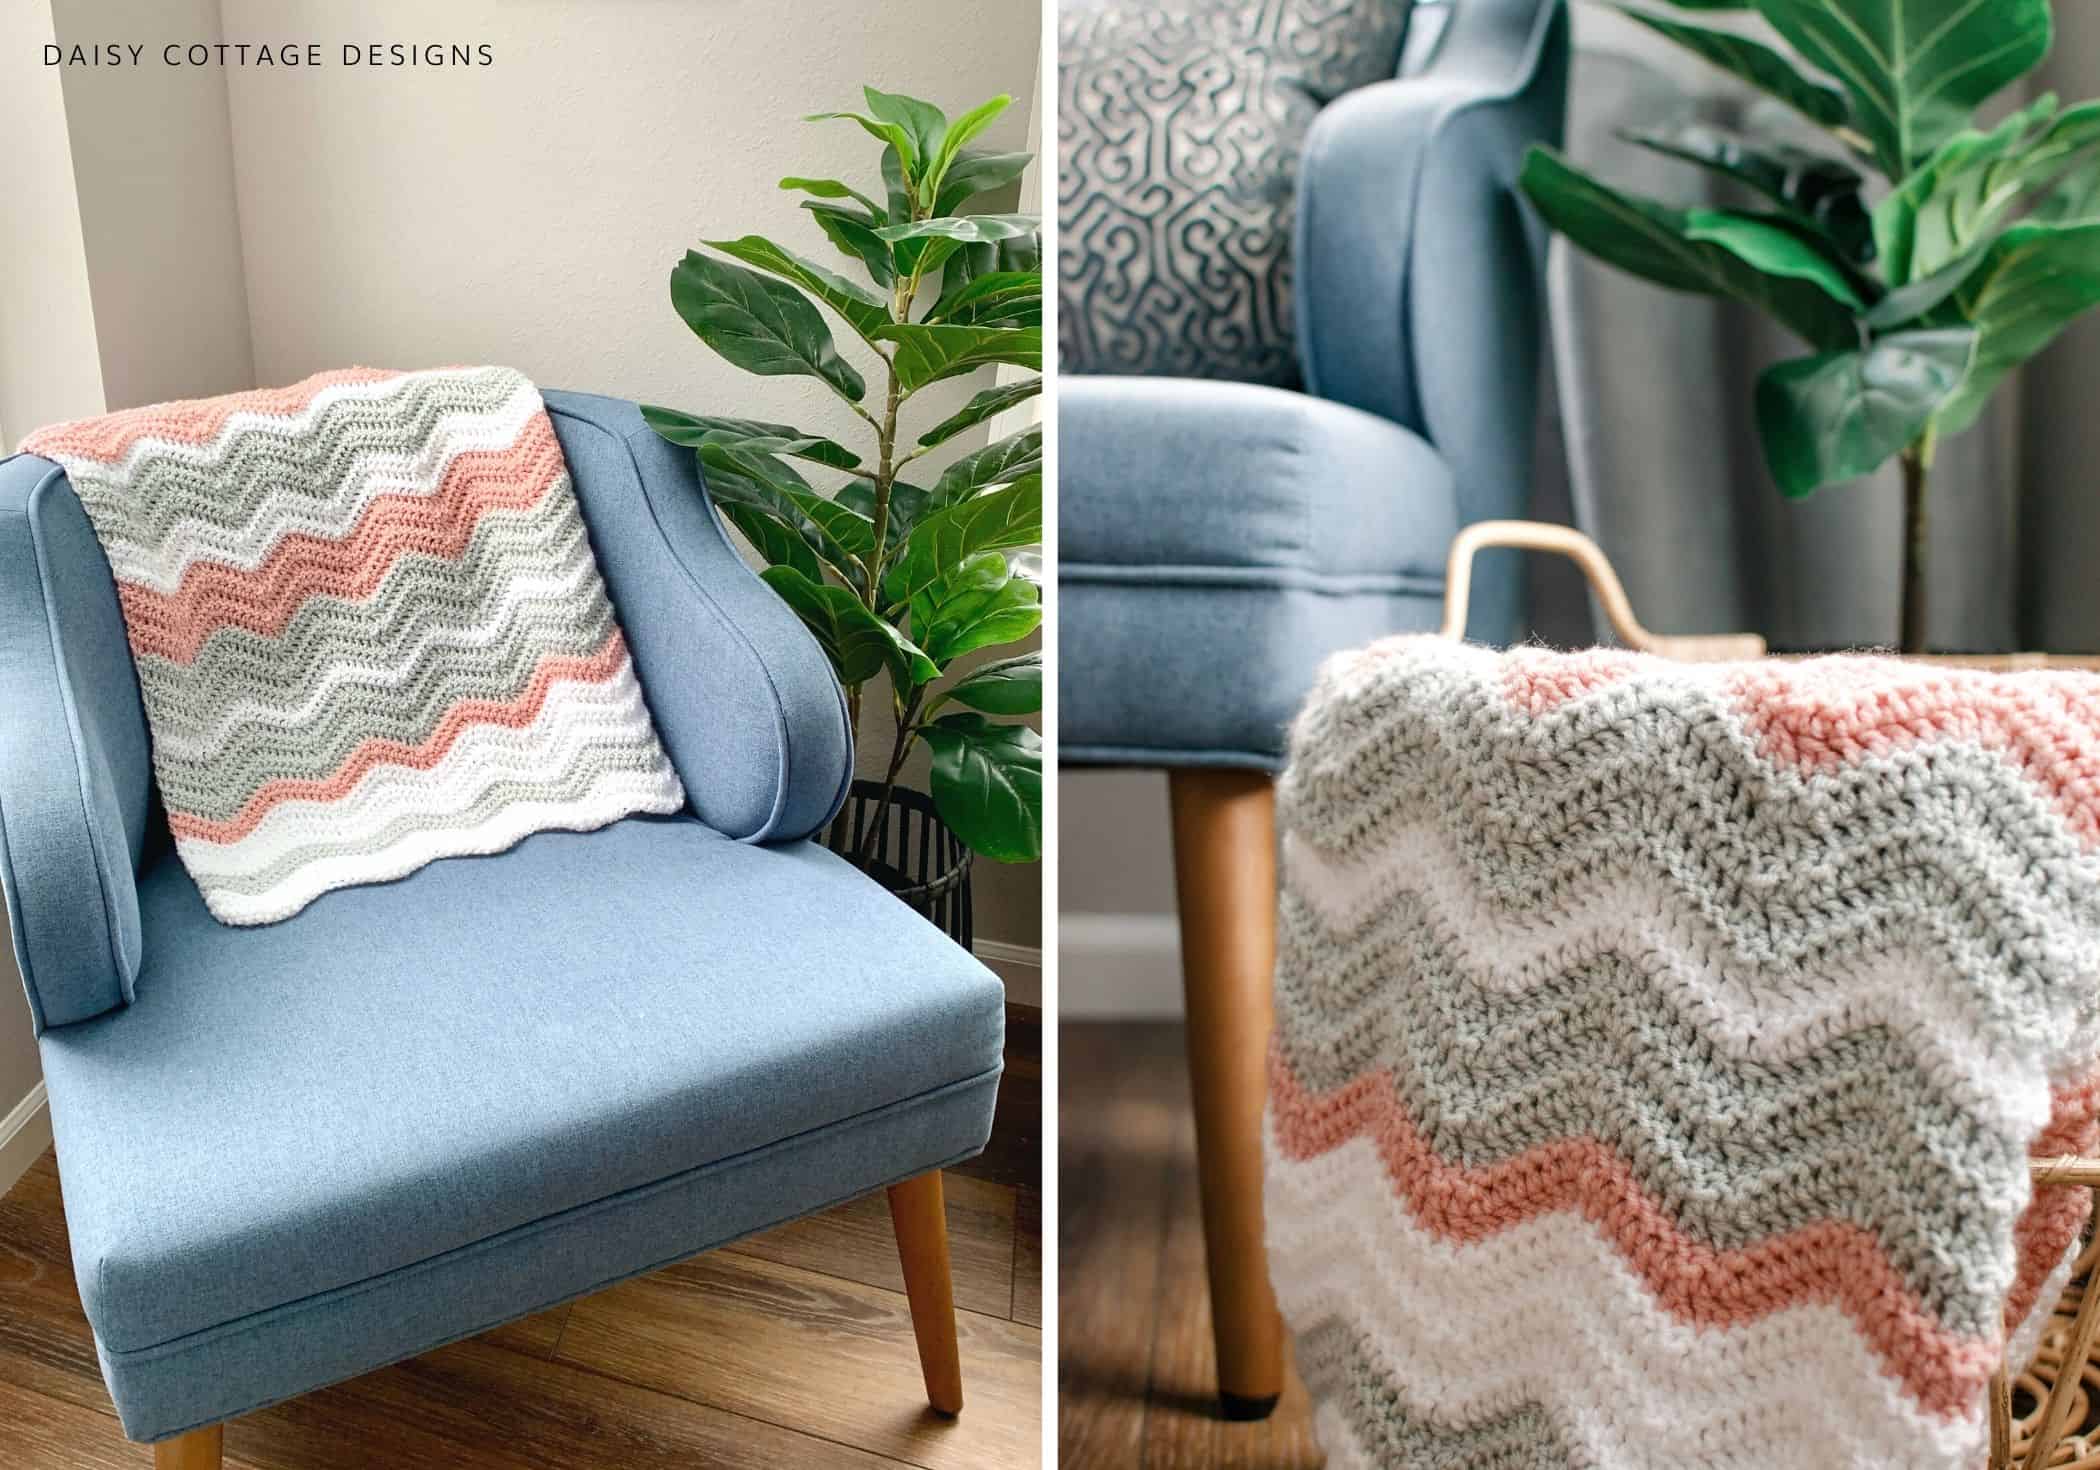
- The finished size of this blanket is approximately 28″ x 30″, but there are instructions for adjusting the size of this blanket at the end of the pattern.
- Crochet hook sizes are not something that is set in stone. If you crochet tightly, go up a hook. If your tension is loose, go down a hook. Crocheting is an art!
- You’ll work into the turning chain at the end of each row.
- Gauge is not important for this project.
- A dc2tog is the same thing as a double crochet decrease.
- There is a video tutorial for this pattern. You can find it here.
Stitches Used:
- For this easy ripple stitch blanket, you’ll use three stitches: chain stitches (ch sts), a traditional double crochet stitches, and dc2tog stitches(also called a double crochet decrease). I’ll walk you through that last one right below.
- dc2tog (double crochet two together): Yarn over, insert hook into the next stitch and pull up a loop. Yarn over, pull through the first two loops on your hook. Yarn over, insert hook into the next stitch and pull up a loop. Yarn over, pull through the first two loops on your hok. Yarn over, pull through the remaining three loops on your hook.
Ripple Blanket Pattern:
A video tutorial is available here.
Using white, Ch 100.
Row 1: dc in the 3rd ch from the hook. Dc in the next 4 stitches. Dc2tog, dc 2 tog. Dc in the next 4 stitches. *Work 2 dc into the next 2 stitches. Dc in the next 4 stitches. Dc2tog, dc2tog. Dc in the next 4 stitches.* End with 2 dc in the last chain. Ch 2, turn.
NOTE: you will have 2 dc in the first stitch and last stitch of each row (ch 2 counts as dc).
Row 2: dc in the first st (your ch 2 and your first dc are worked in the same stitch) and in the next 4 stitches. dc2tog, dc2tog. Dc in the next 4 stitches. *Work 2 dc into the next 2 stitches. dc in the next 4 stitches. dc2tog, dc2tog. dc in the next 4 stitches.* End with 2 dc in the last stitch. Ch 2, turn.
Rows 3-55: repeat row 2 (or really, you could keep going as long as you’d like).
NOTE: you will have 2 dc in the first stitch and last stitch of each row (ch 2 counts as dc).
The Stripe Pattern:
- 3 rows white
- 3 rows gray
- 5 rows white
- 2 rows pink
- 5 rows gray
- 2 rows white
- 5 rows gray
- 5 rows pink
- 3 rows white
- 5 rows gray
- 2 rows white
- 5 rows pink
- 5 rows white
- 3 rows pink
- 2 rows white
To change colors:
On the last stitch of the row, do not pull your working yarn through the final two loops to complete the last dc. Instead of pulling the yarn you’ve been working with through those final two loops, place the new yarn on your hook and pull it through the last two loops. Be sure to leave a long tail on both colors so you can weave your ends later.
If you prefer video instructions, click here for a video tutorial on changing colors.
Get creative and choose your own colors – you can use as many different colors as you like!
Adjusting the Size of Your Ripple Blanket:
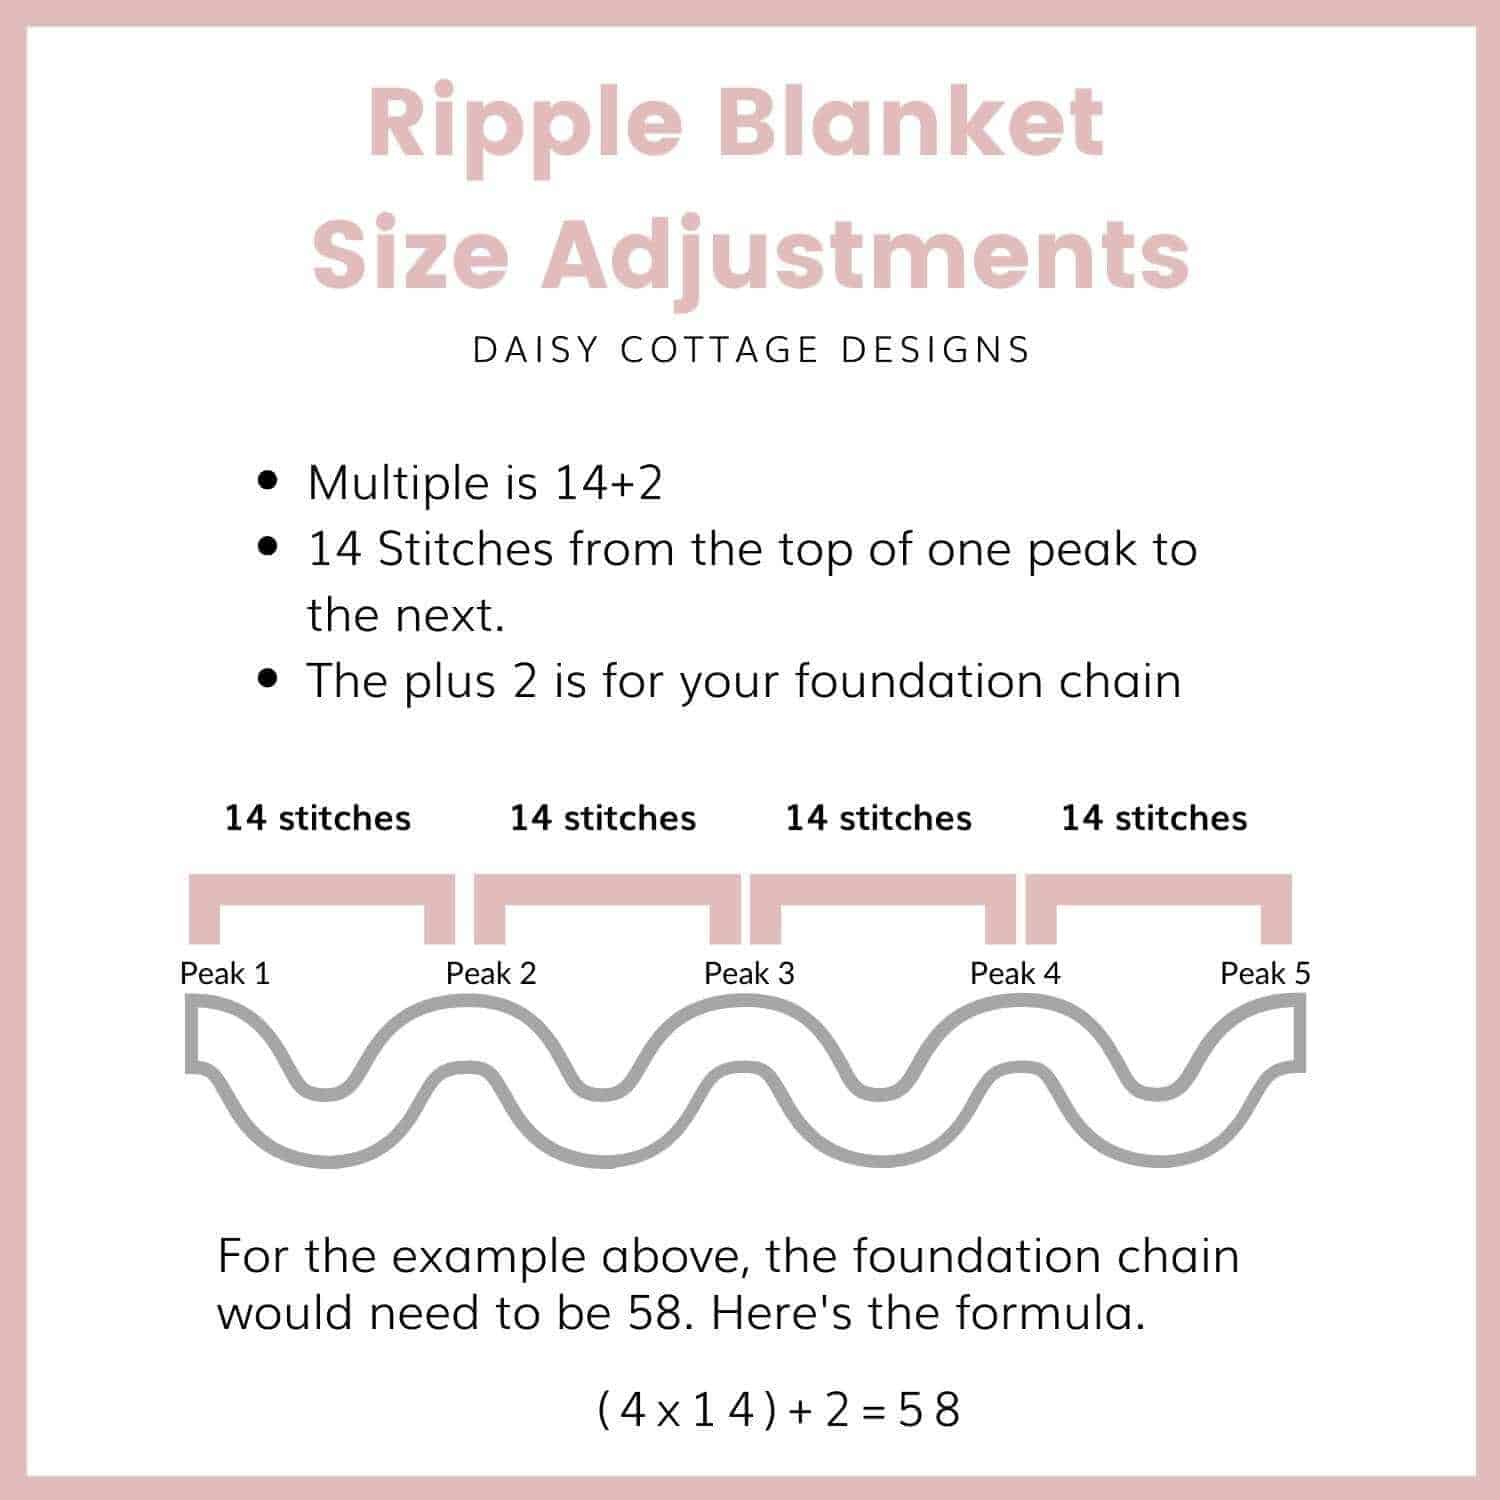
The multiple for this ripple stitch is 14+2.
The chart above should help you get started changing the size of your ripple blanket. Once you determine the length of your starting chain, rows will be worked following the same instructions given above.
Get creative and make this blanket as big or as small as you’d like. If you have questions about adjusting the size of your ripple blanket, feel free to send me a message on Etsy.
The size chart below will give you the starting chain, number of rows, and total yardage for 6 common sizes.
Wondering Why Your Ripples Aren’t Lining Up?
If your peaks and valleys aren’t lining up perfectly, there are usually two issues that cause this.
- First, if you’re not working into the ch 2 at the end of the row, you’re going to have issues! This pattern looks complete without working into the top of the turning chain so just be careful not to miss it.
- The second reason you might notice your peaks and valleys don’t line up when you get to the end of a row is if you’re working your dc2tog all in one stitch rather than working them over two stitches.
Have More Questions?
I’m going to answer some FAQ below, but if you have other questions, please feel free to reach out to me and I’ll do my best to walk you through the steps!
Once you get the hang of the ripple pattern, it really is a quick baby blanket pattern that you’ll go back to time and time again.
Your starting chain should be in multiples of 14+2. For more information, see the “Adjusting the Size of This Blanket” portion of the pattern.
Ripple patterns usually use three basic stitches. The double crochet, the double crochet decrease (dc2tog), and chain stitches.
In general, I think of chevrons as being a little more sharp on the peaks and valleys. However, in the crochet world, most people use the terms interchangeably.
Don’t let the names confuse you!
Yes. Just realize that sometimes using a bulky yarn can really change the look of a pattern. It’s always a good call to make a swatch before committing to a larger size.
I hope you’ve enjoyed this pattern like thousands of others have. I really have found that it’s the perfect blanket for so many occasions.
Please Share Your Work!
If you used this free pattern to make the perfect blanket, I’d love it if you’d tag me in a photo on Instagram or my Facebook page. I love seeing your beautiful creations!
Please note: You’re more than welcome to sell items that you make using this pattern on Etsy, at craft fairs, or anywhere else you might sell your items – just be sure to take your own photos!
Hello, my name is Cheryl. I am going to crochet the blanket you shared on Daisy Cottage Designs. The rippled blanket. I have a question I want to ask you. The example you have on the website says to adjust your blanket size you need to add in multiples of 14+2. So, my question is, to start the blanket you said to chain 100. If I want to make the blanket bigger do I add just 14 x 2 however many times I want to make it big or have you already added the 2 chains in the 100 start chains?
Hello Cheryl, she added the plus 2 …. She did 14×7=98+2=100.
Hope this answers your question . Happy hooking.
This has become my favorite pattern. Thank you for making the video so easy to follow!