How to Make a Shell Stitch Crochet Blanket
Create a beautiful and cozy crochet blanket using the versatile shell stitch pattern. This easy-to-follow tutorial will guide you through the steps, making it perfect for beginners and experienced crocheters alike!
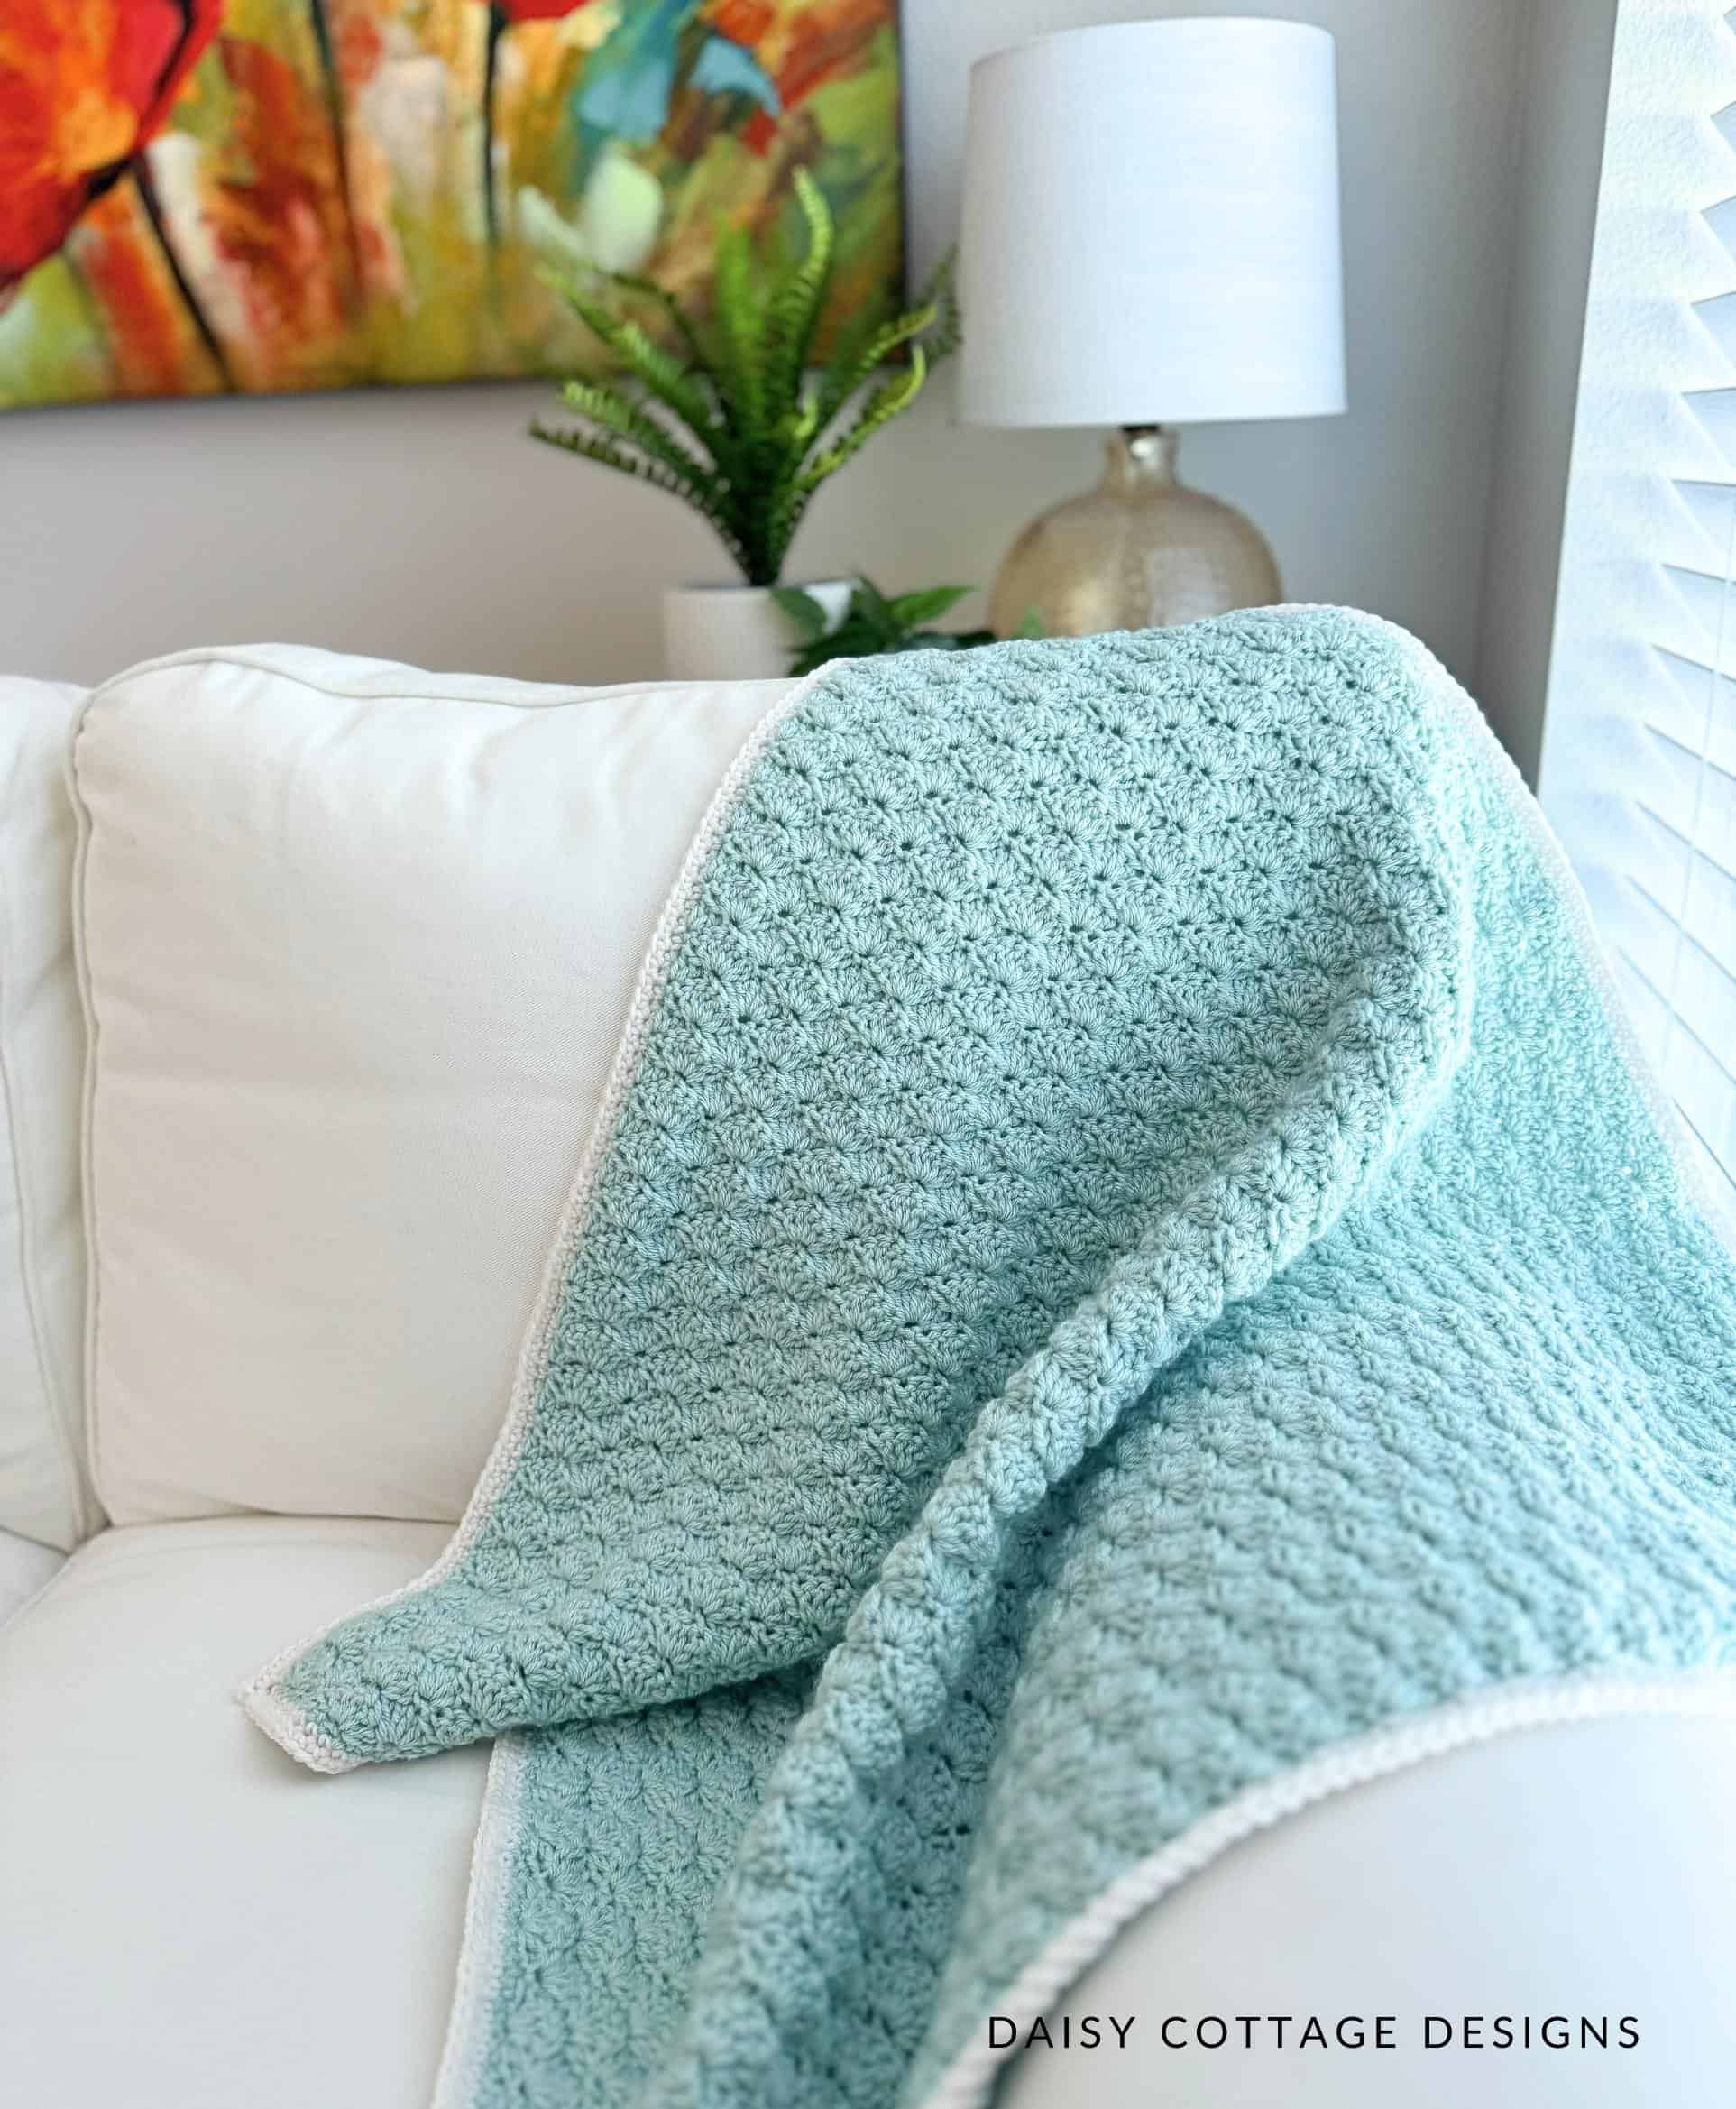
I’m excited to share a new pattern with my fellow crochet enthusiasts. It’s been a while since I’ve been active on the blog due to moving and my mom battling cancer. But, I recently completed this beautiful shell stitch crochet blanket and I love the results.
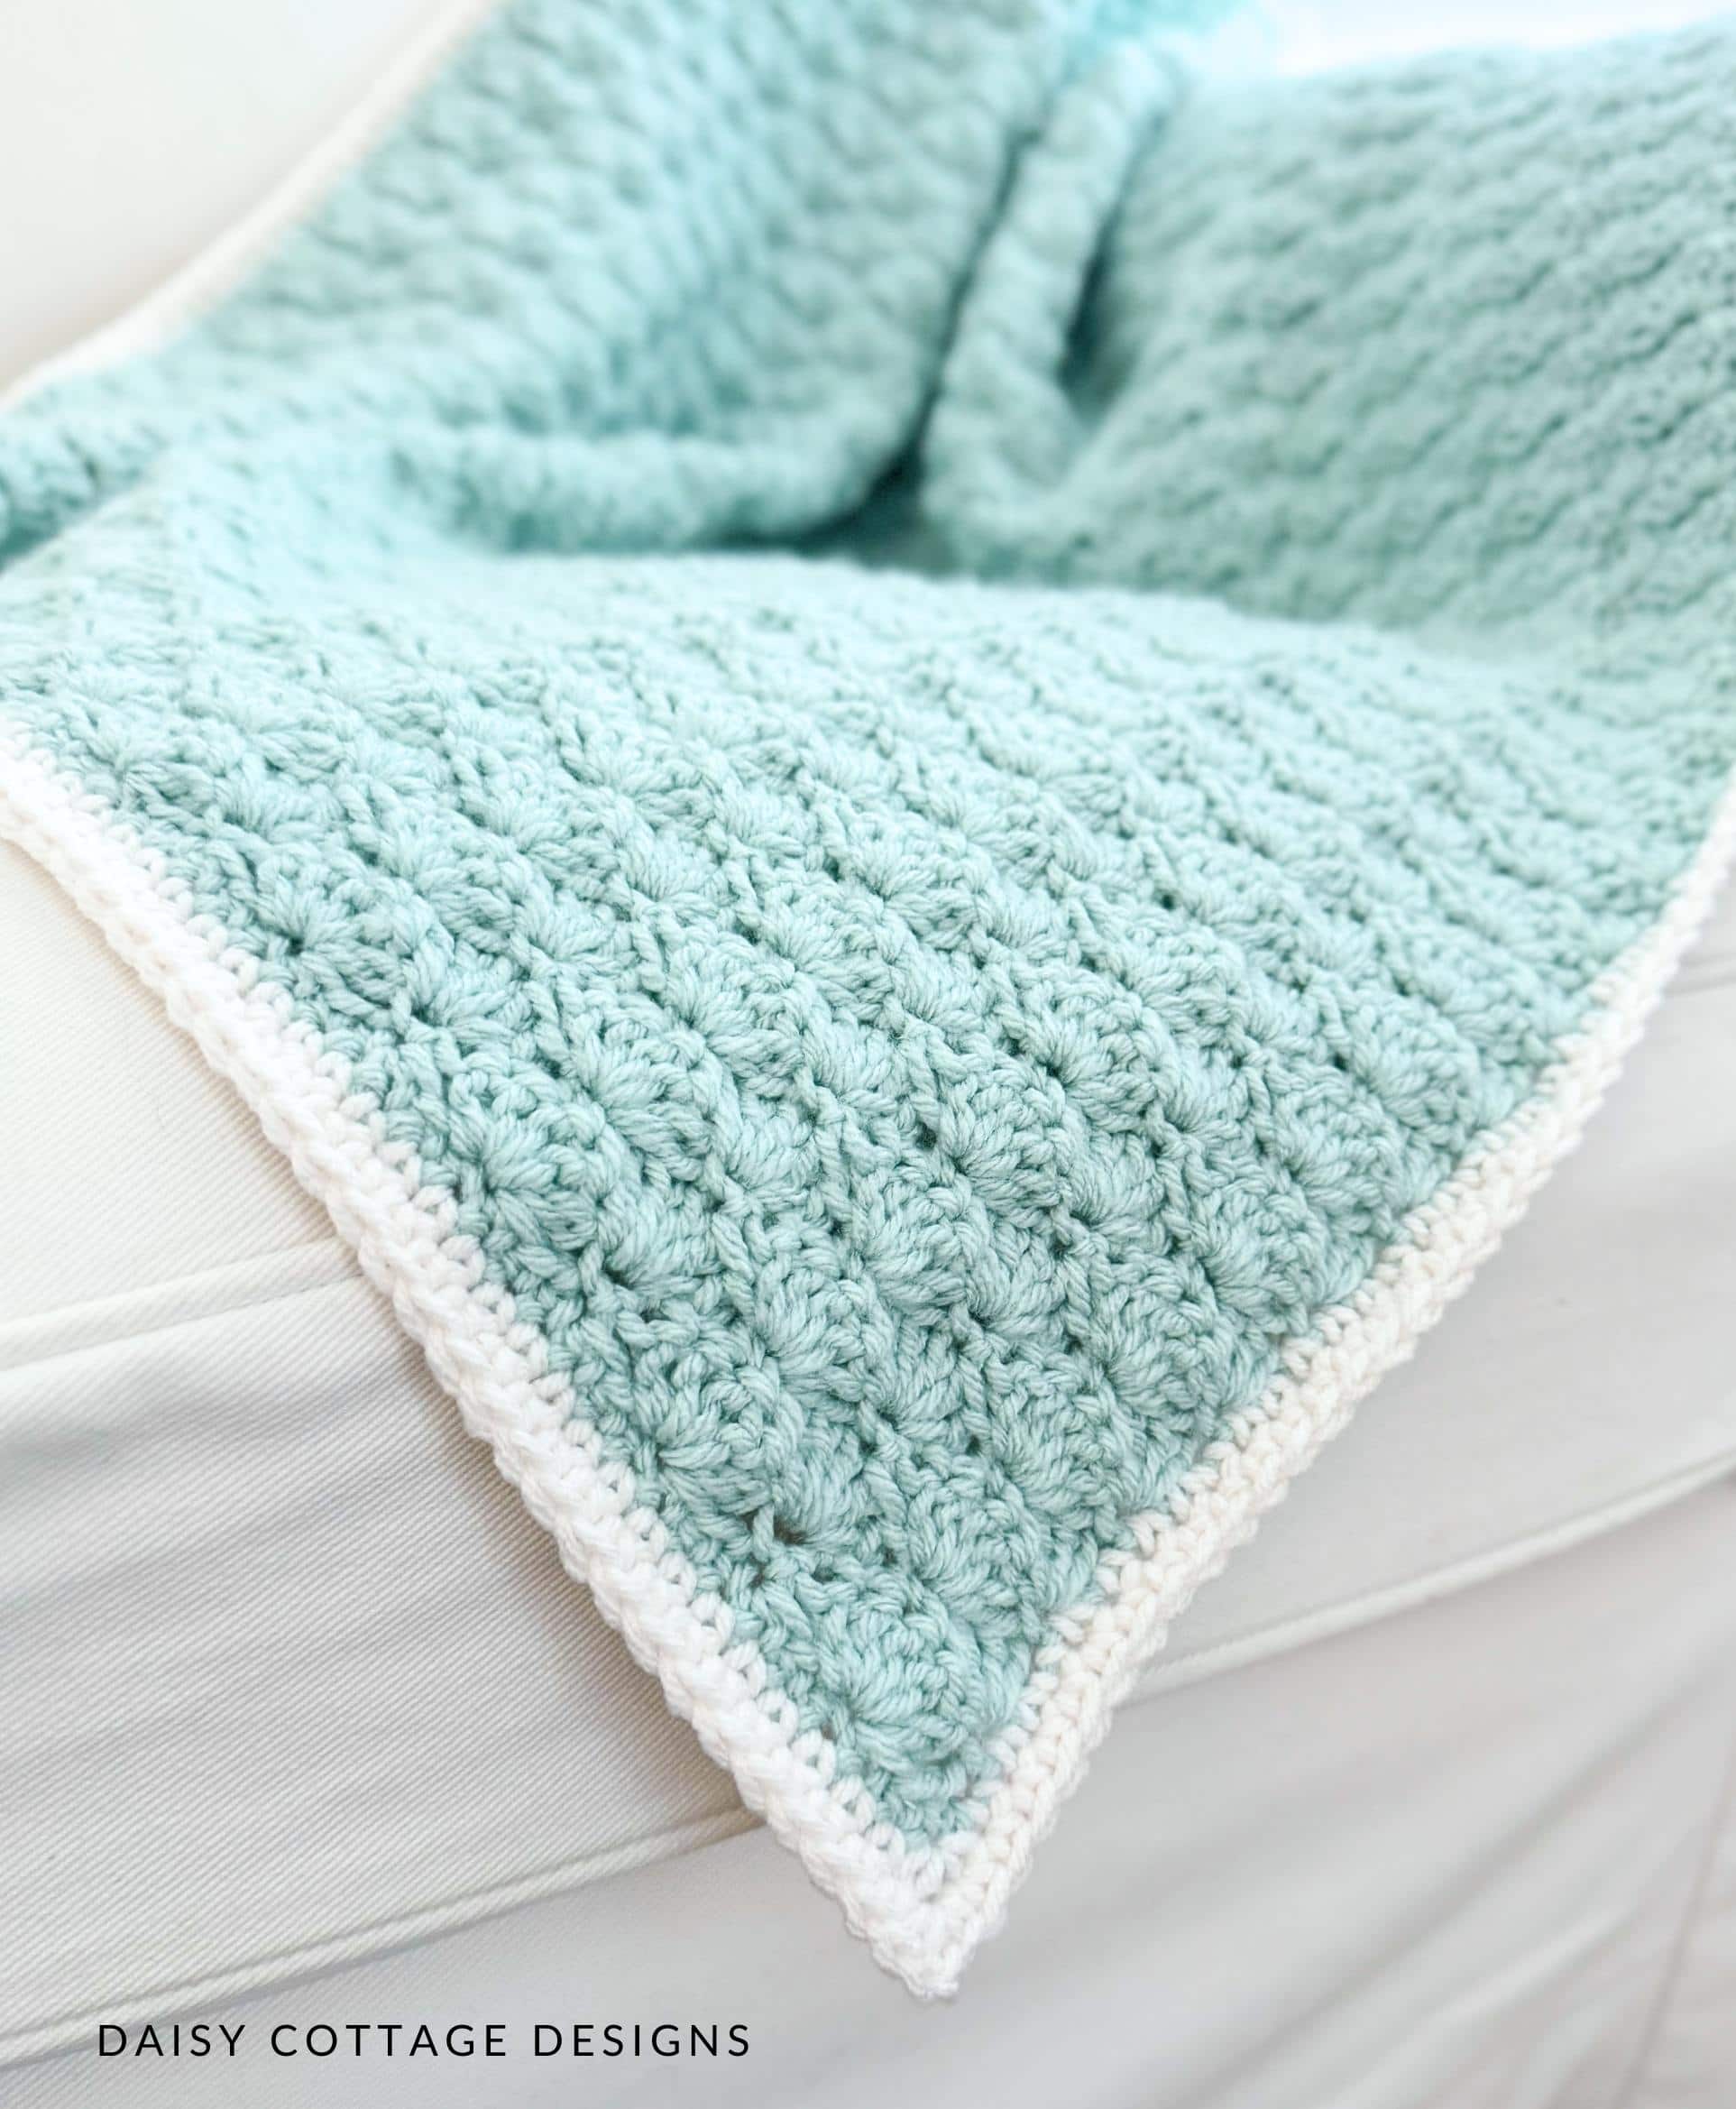
If you’ve been around Daisy Cottage Designs for any length of time, you know I’m a fan of borderless blankets – I think it helps give them a modern feel. However, the classic nature of a shell stitch pattern encouraged me to find a border that would give this classic blanket a modern twist.
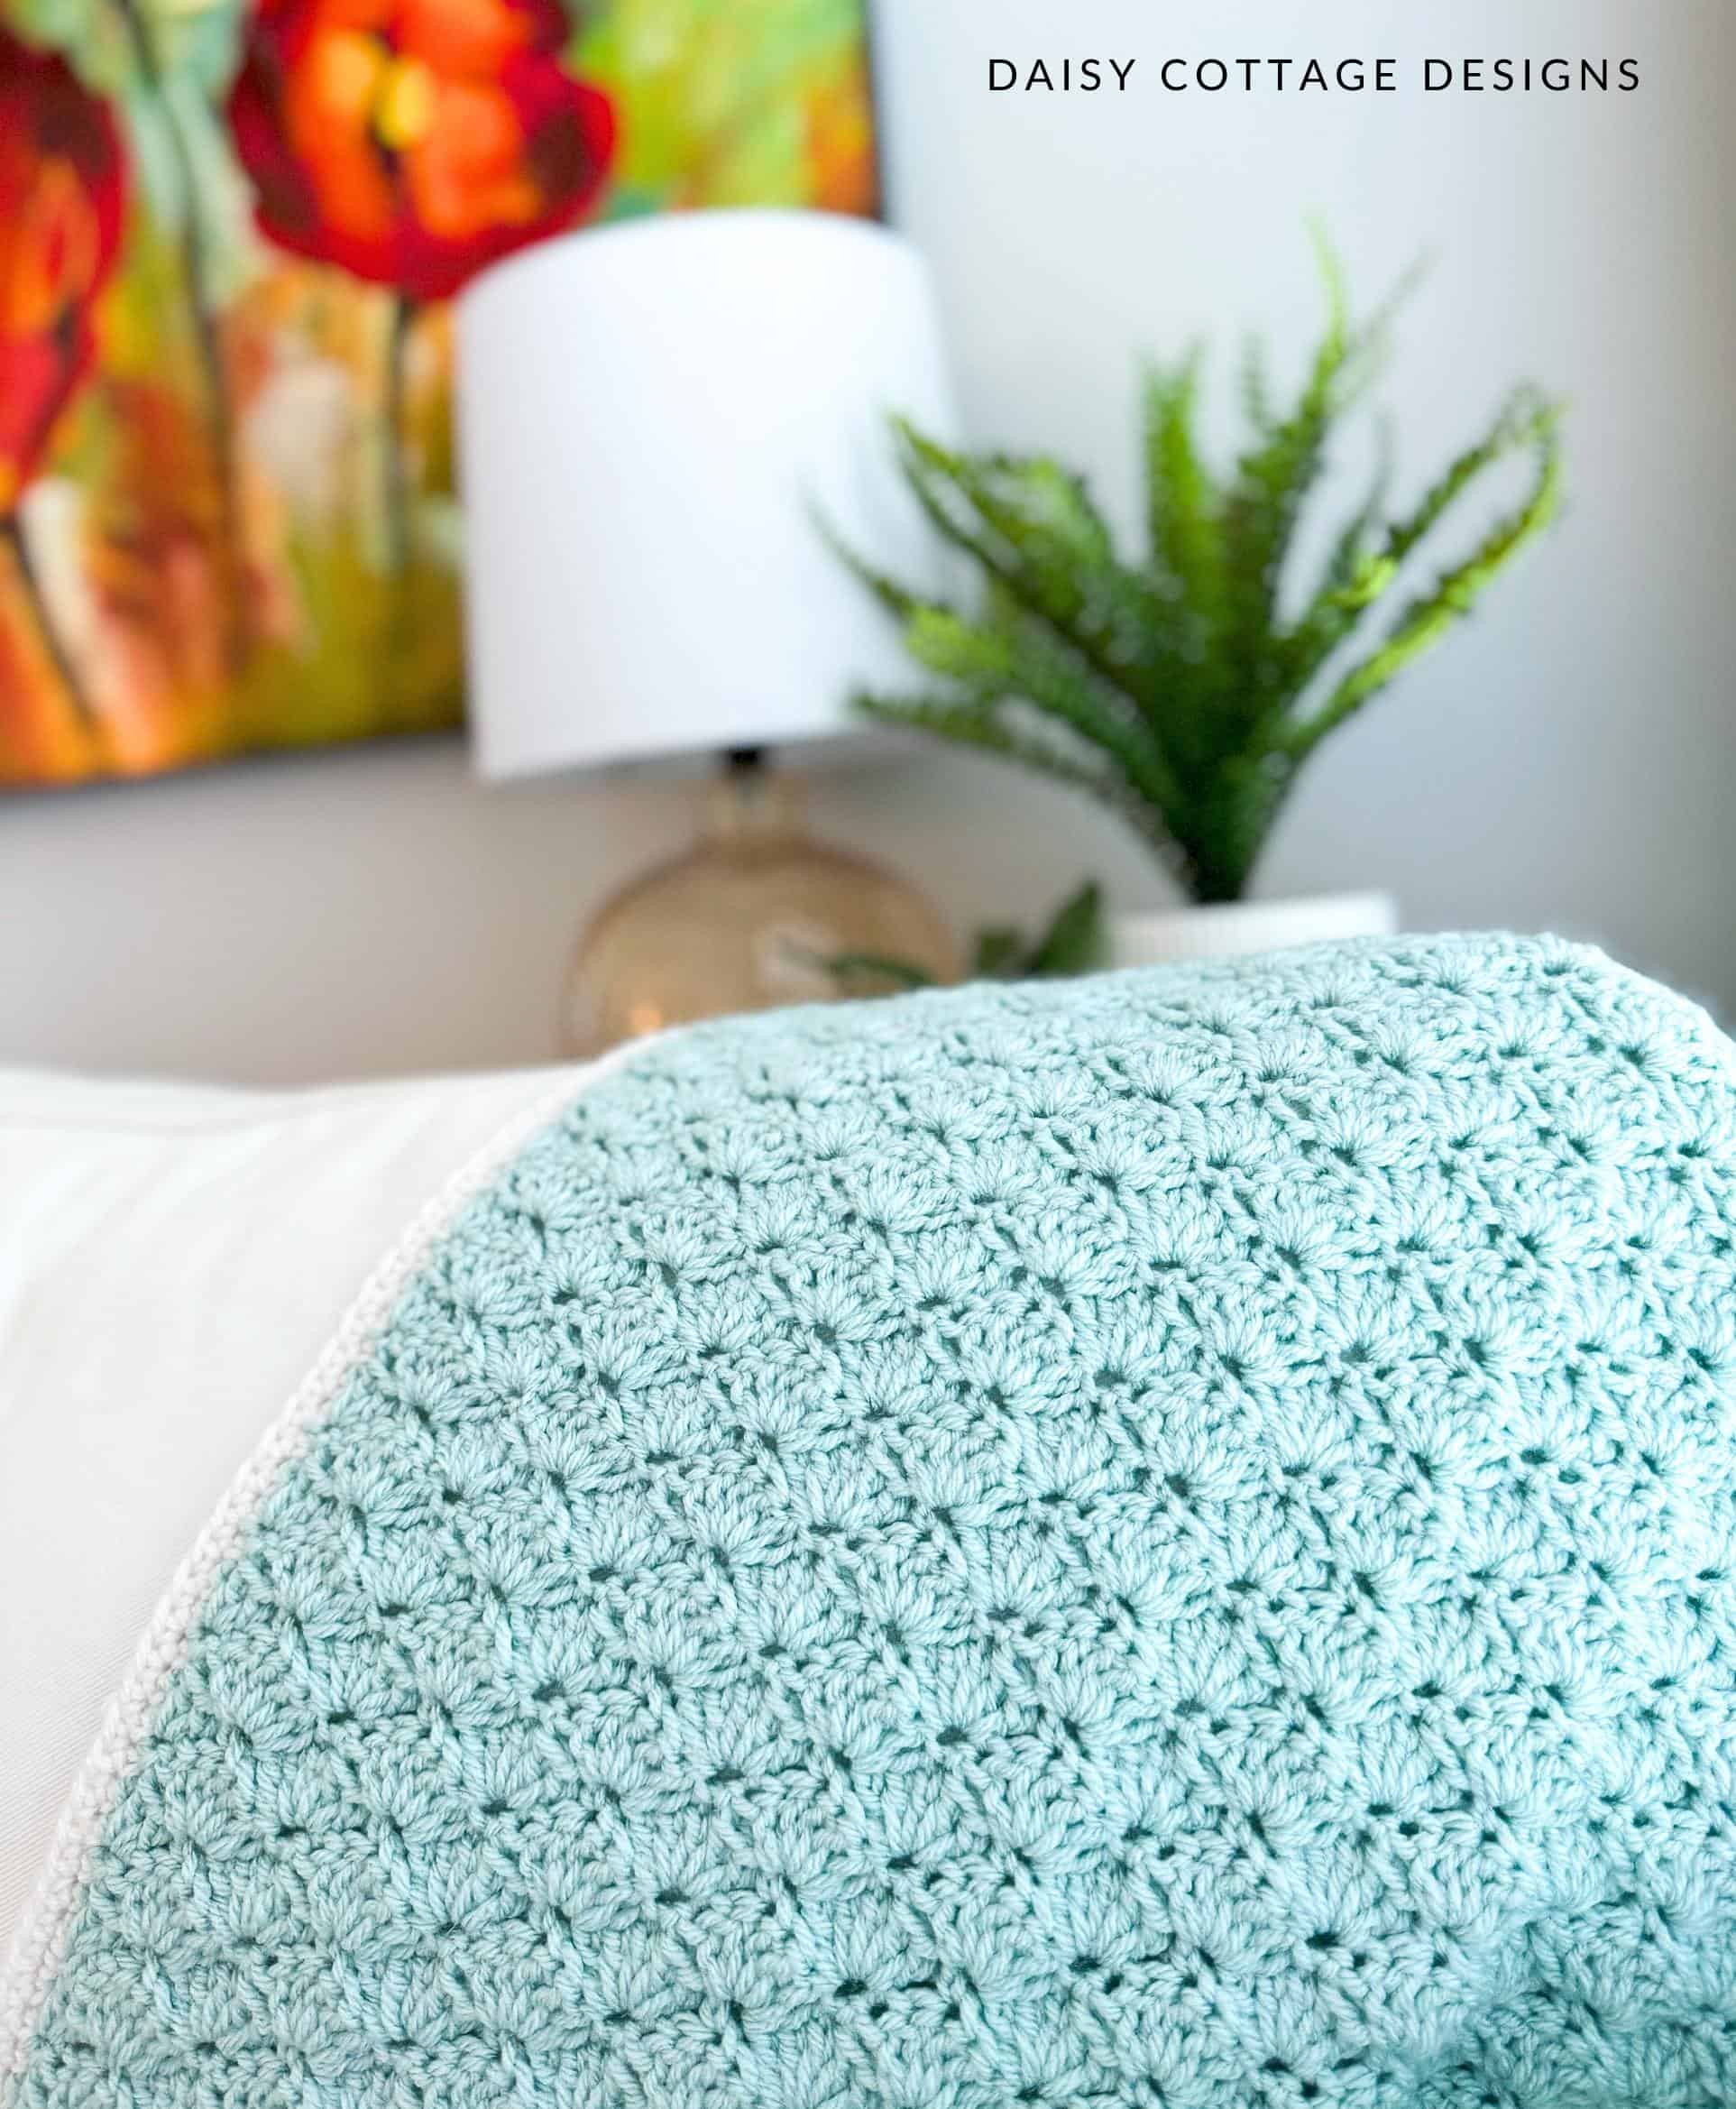
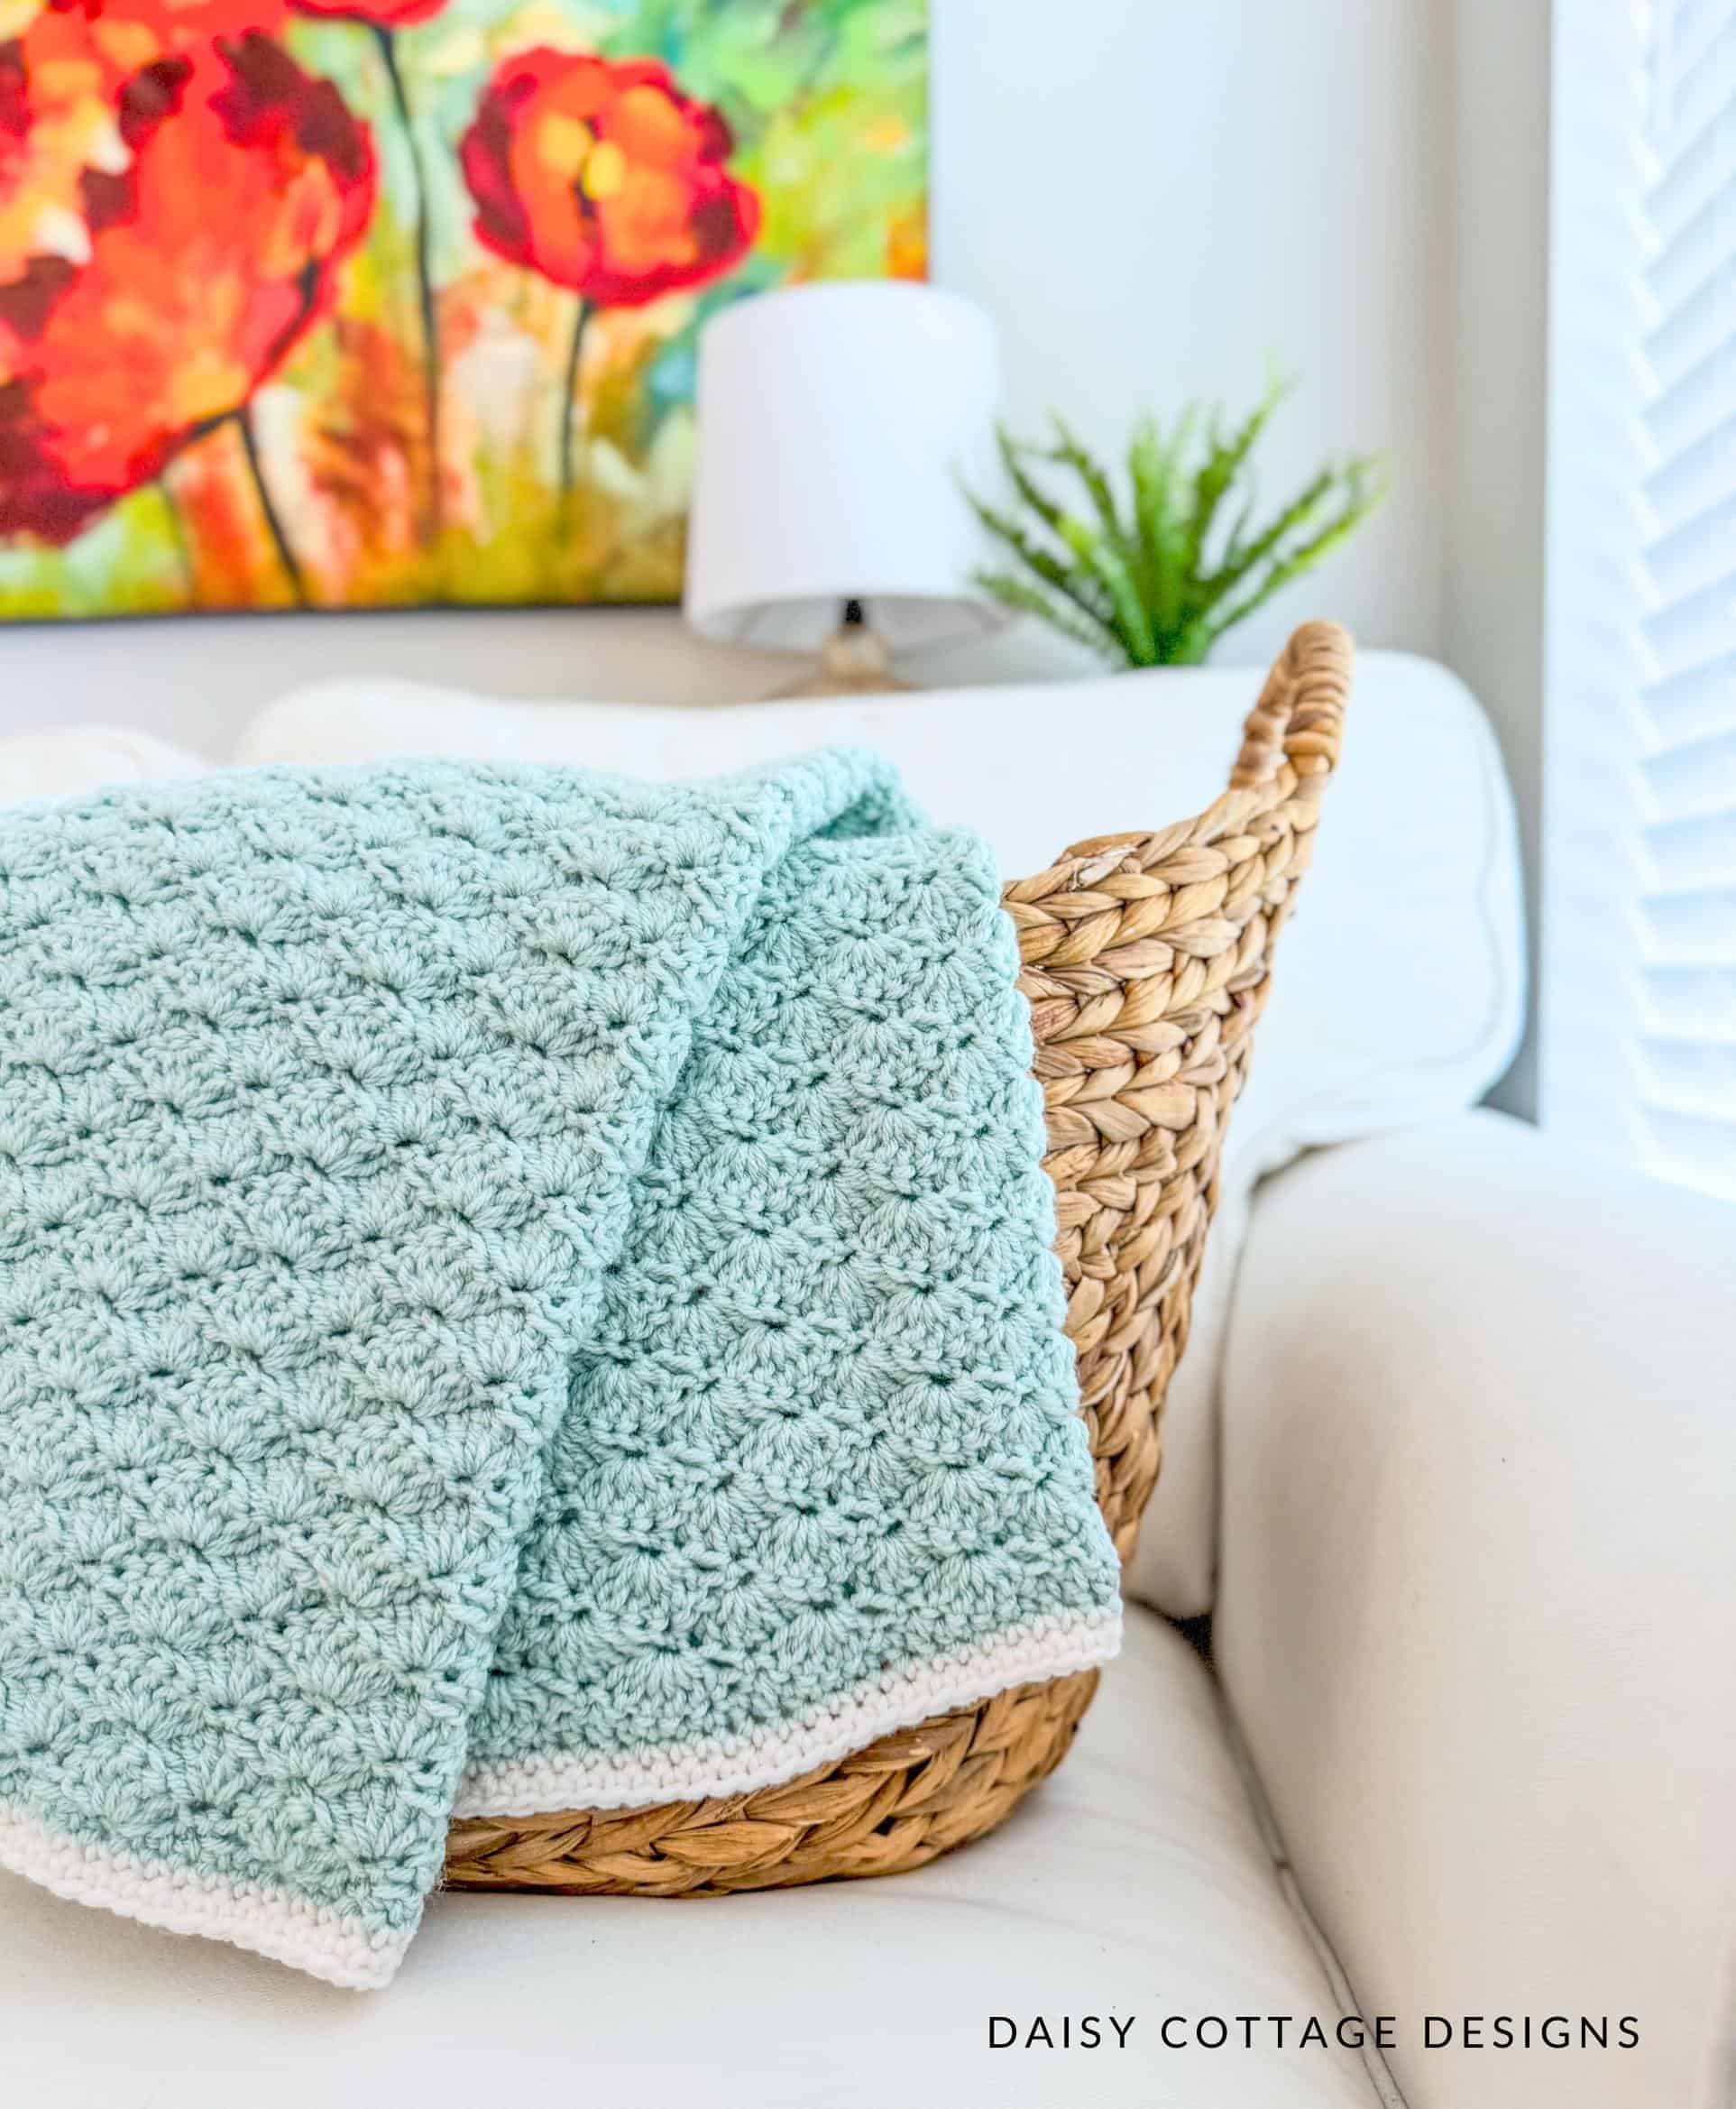
The shell stitch pattern used in this blanket creates a beautiful, textured fabric that is unbelievably cozy and beautiful. It’s fun to work up, and guess what! This shell stitch project is made using beginner-friendly stitches.
So, grab your crochet supplies, and join me in creating this timeless blanket.
Materials:
- J/10 Crochet Hook
- Approximately 700 yards of worsted weight yarn in the main color.
- Approximately 100 yards of worsted weight yarn in the border color
- See the size chart for yarn amounts for various sizes.
- Tapestry needle and scissors for weaving ends.
Shell Stitch Crochet Pattern Notes:
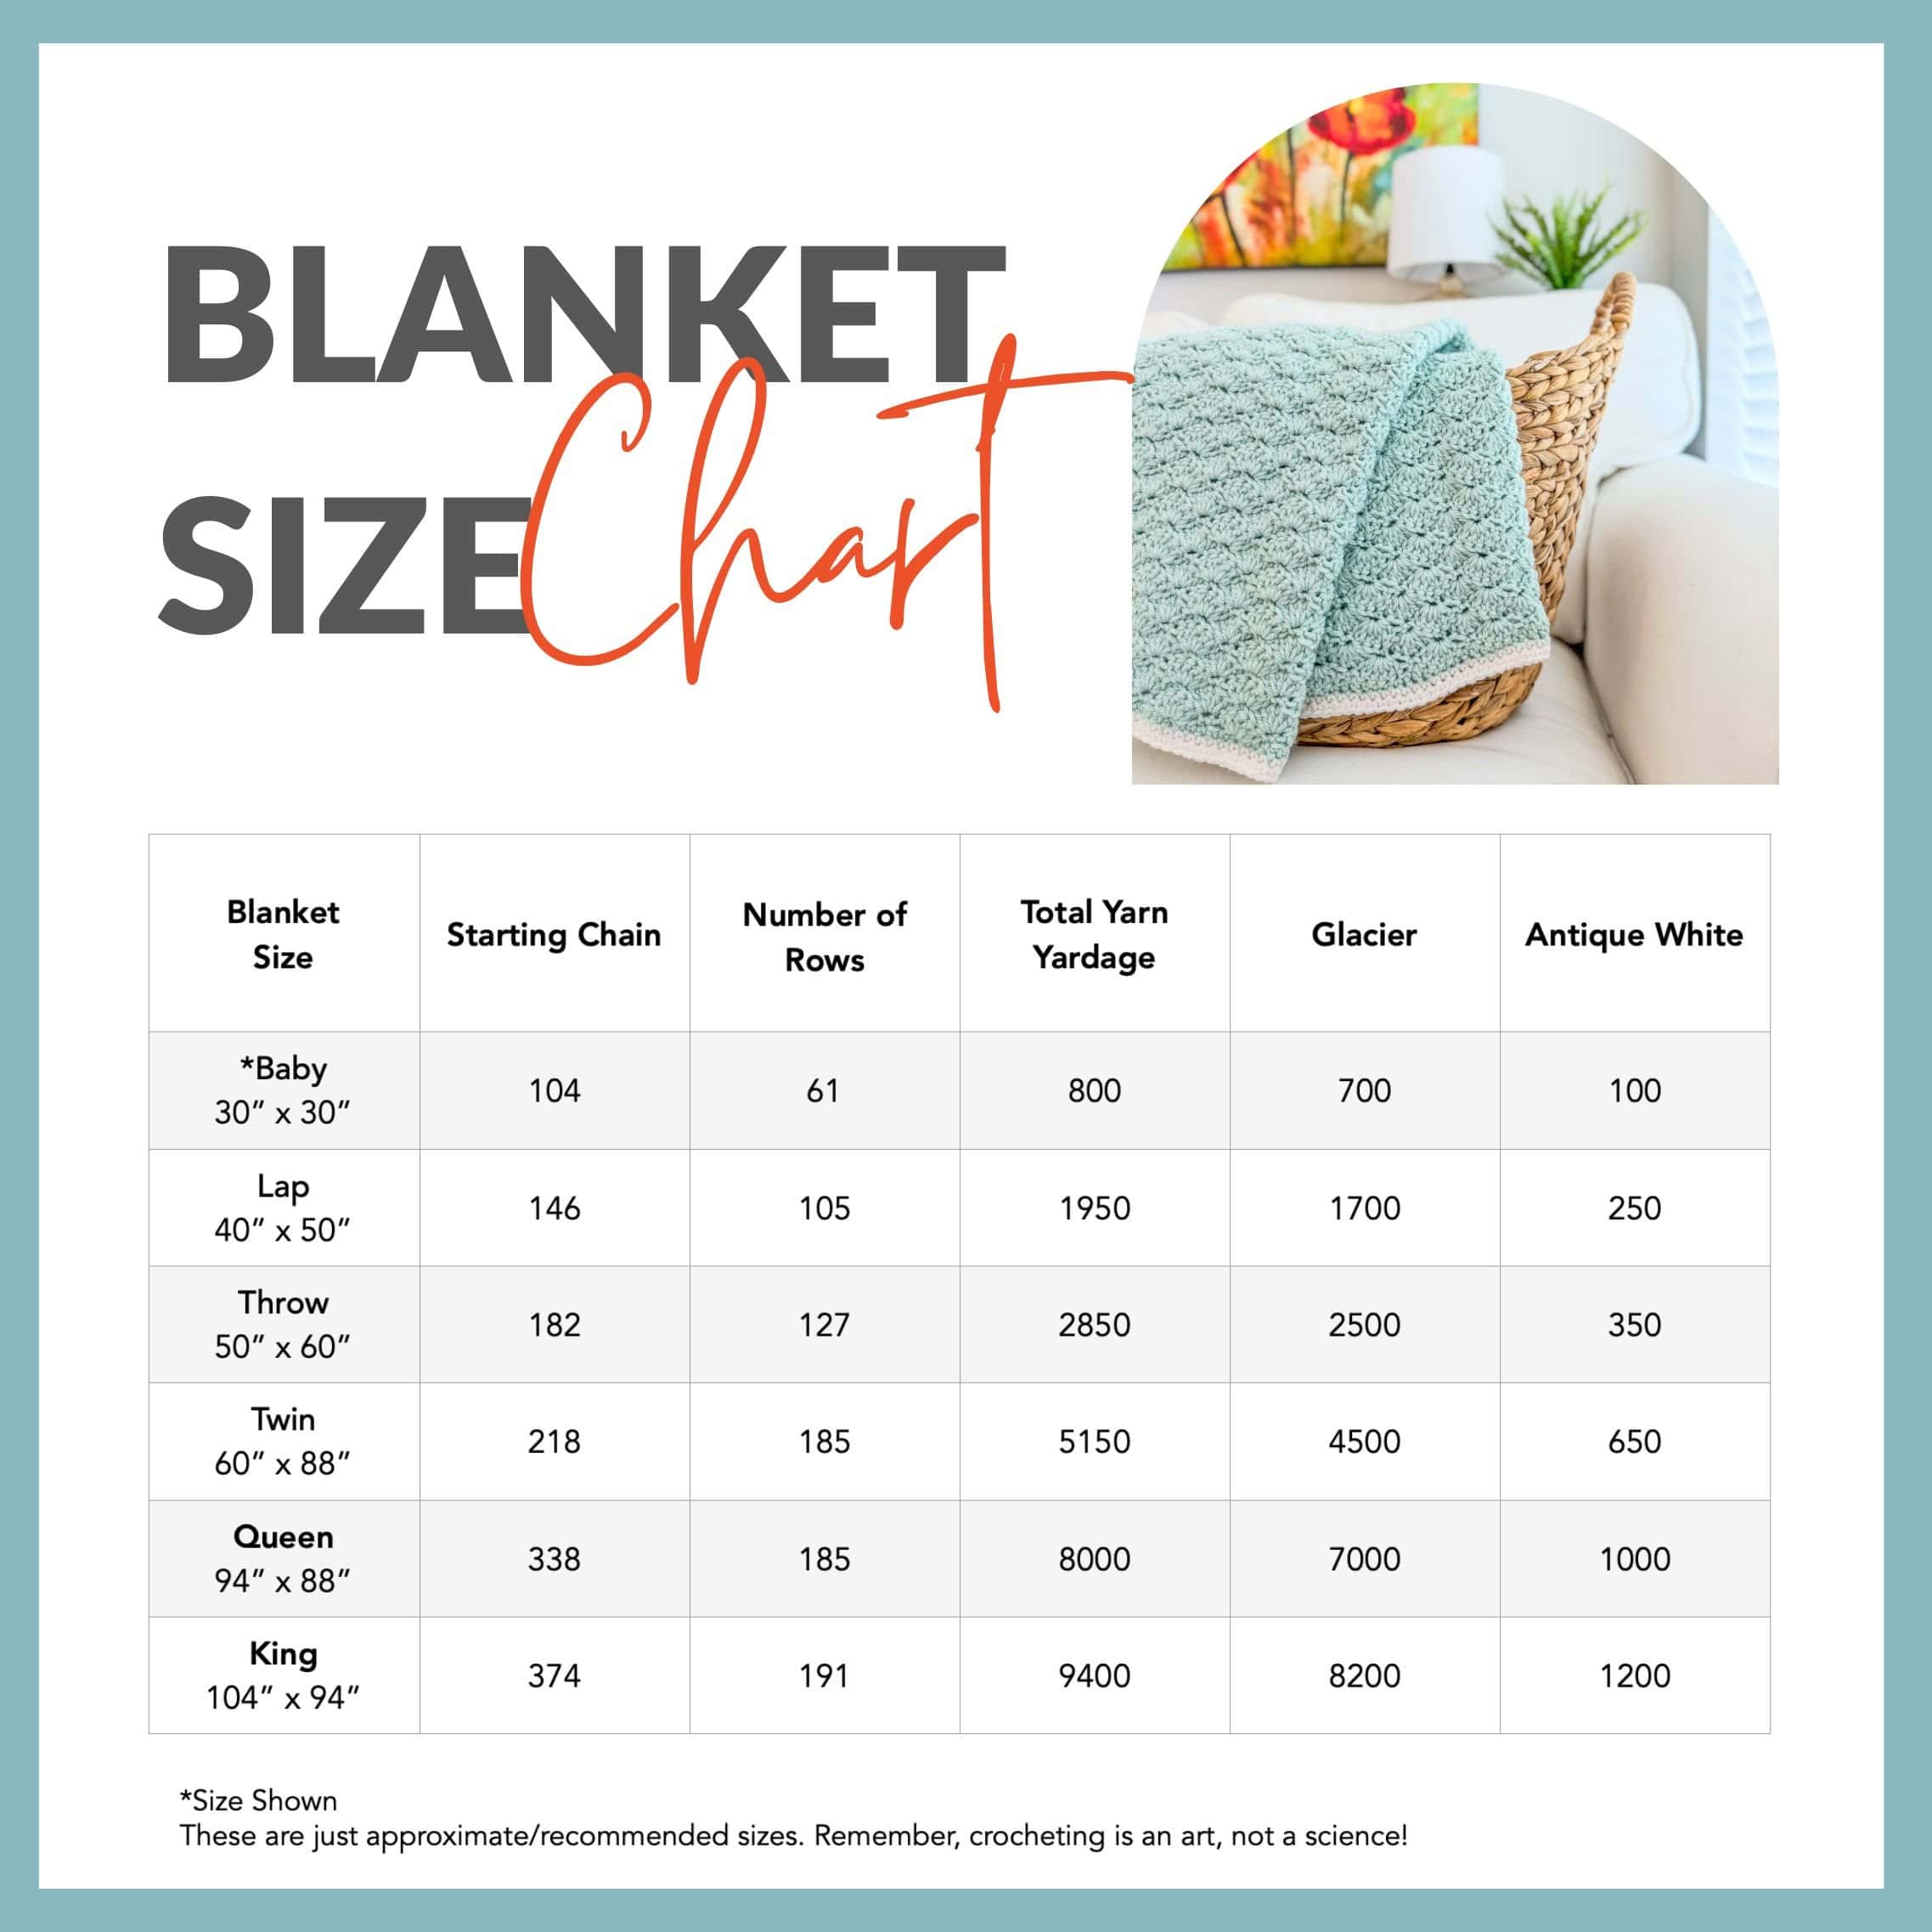
- The blanket pictured measures approximately 30 “x 30”. If you’d rather make a bigger blanket rather than a shell stitch baby blanket, several other sizes are included on the size chart.
- The multiple for this pattern is multiples of 6 + 2
- The steps between * … * are to be repeated until the end of a row unless otherwise noted.
- Gauge is not important for this project.
- You are welcome to sell items you make using this pattern. I simply ask that you take your own photos.
- A video tutorial is available here.
- The ad-free PDF is available here.
Abbreviations:
- sl st – slip stitch
- sc – single crochet
- dc – double crochet
- ch – chain
Shell Stitch Crochet Blanket Pattern:
An Ad-Free, Print-Friendly Version of this Pattern is Available Here
(This blanket is called the Shells on the Shore Blanket in my Etsy shop.)
Using Glacier, Chain 104.
Row 1: sc in the second chain from the hook and in each stitch across. Ch 1, turn. (103 stitches)
Row 2: single crochet in the first stitch (you will not work into the turning chain). *Skip 2 stitches, 5 dc in the next stitch. Skip 2 stitches, sc in the next stitch* across to the end of the row. Ch 1, turn.
Row 3: Work 3 dc in the first stitch. Skip two stitches, sc in the next stitch. *skip two stiches, 5 dc in the next stitch. Skip 2 stitches, sc in the next stitch* across until 3 stitches remain. When 3 stitches remain, skip two stitches, and end with 3 dc in the final stitch. Ch 1, turn.
Repeat rows 2 and 3 for a total of 60 rows INCLUDING the single crochet row.
Note: for other sizes, you will still repeat rows 2 and 3 until you reach the number of rows shown on the chart below.
Final Row: *dc in the first stitch, hdc in the next 2 stitches, sc in the next stitch, hdc in the next two stitches* across to the last stitch. Dc in the last stitch of the row.
Note: The final row will create a straight edge to your blanket. It fills in the dips so that your blanket has a neat edge before adding the border.
Cut yarn and weave ends.
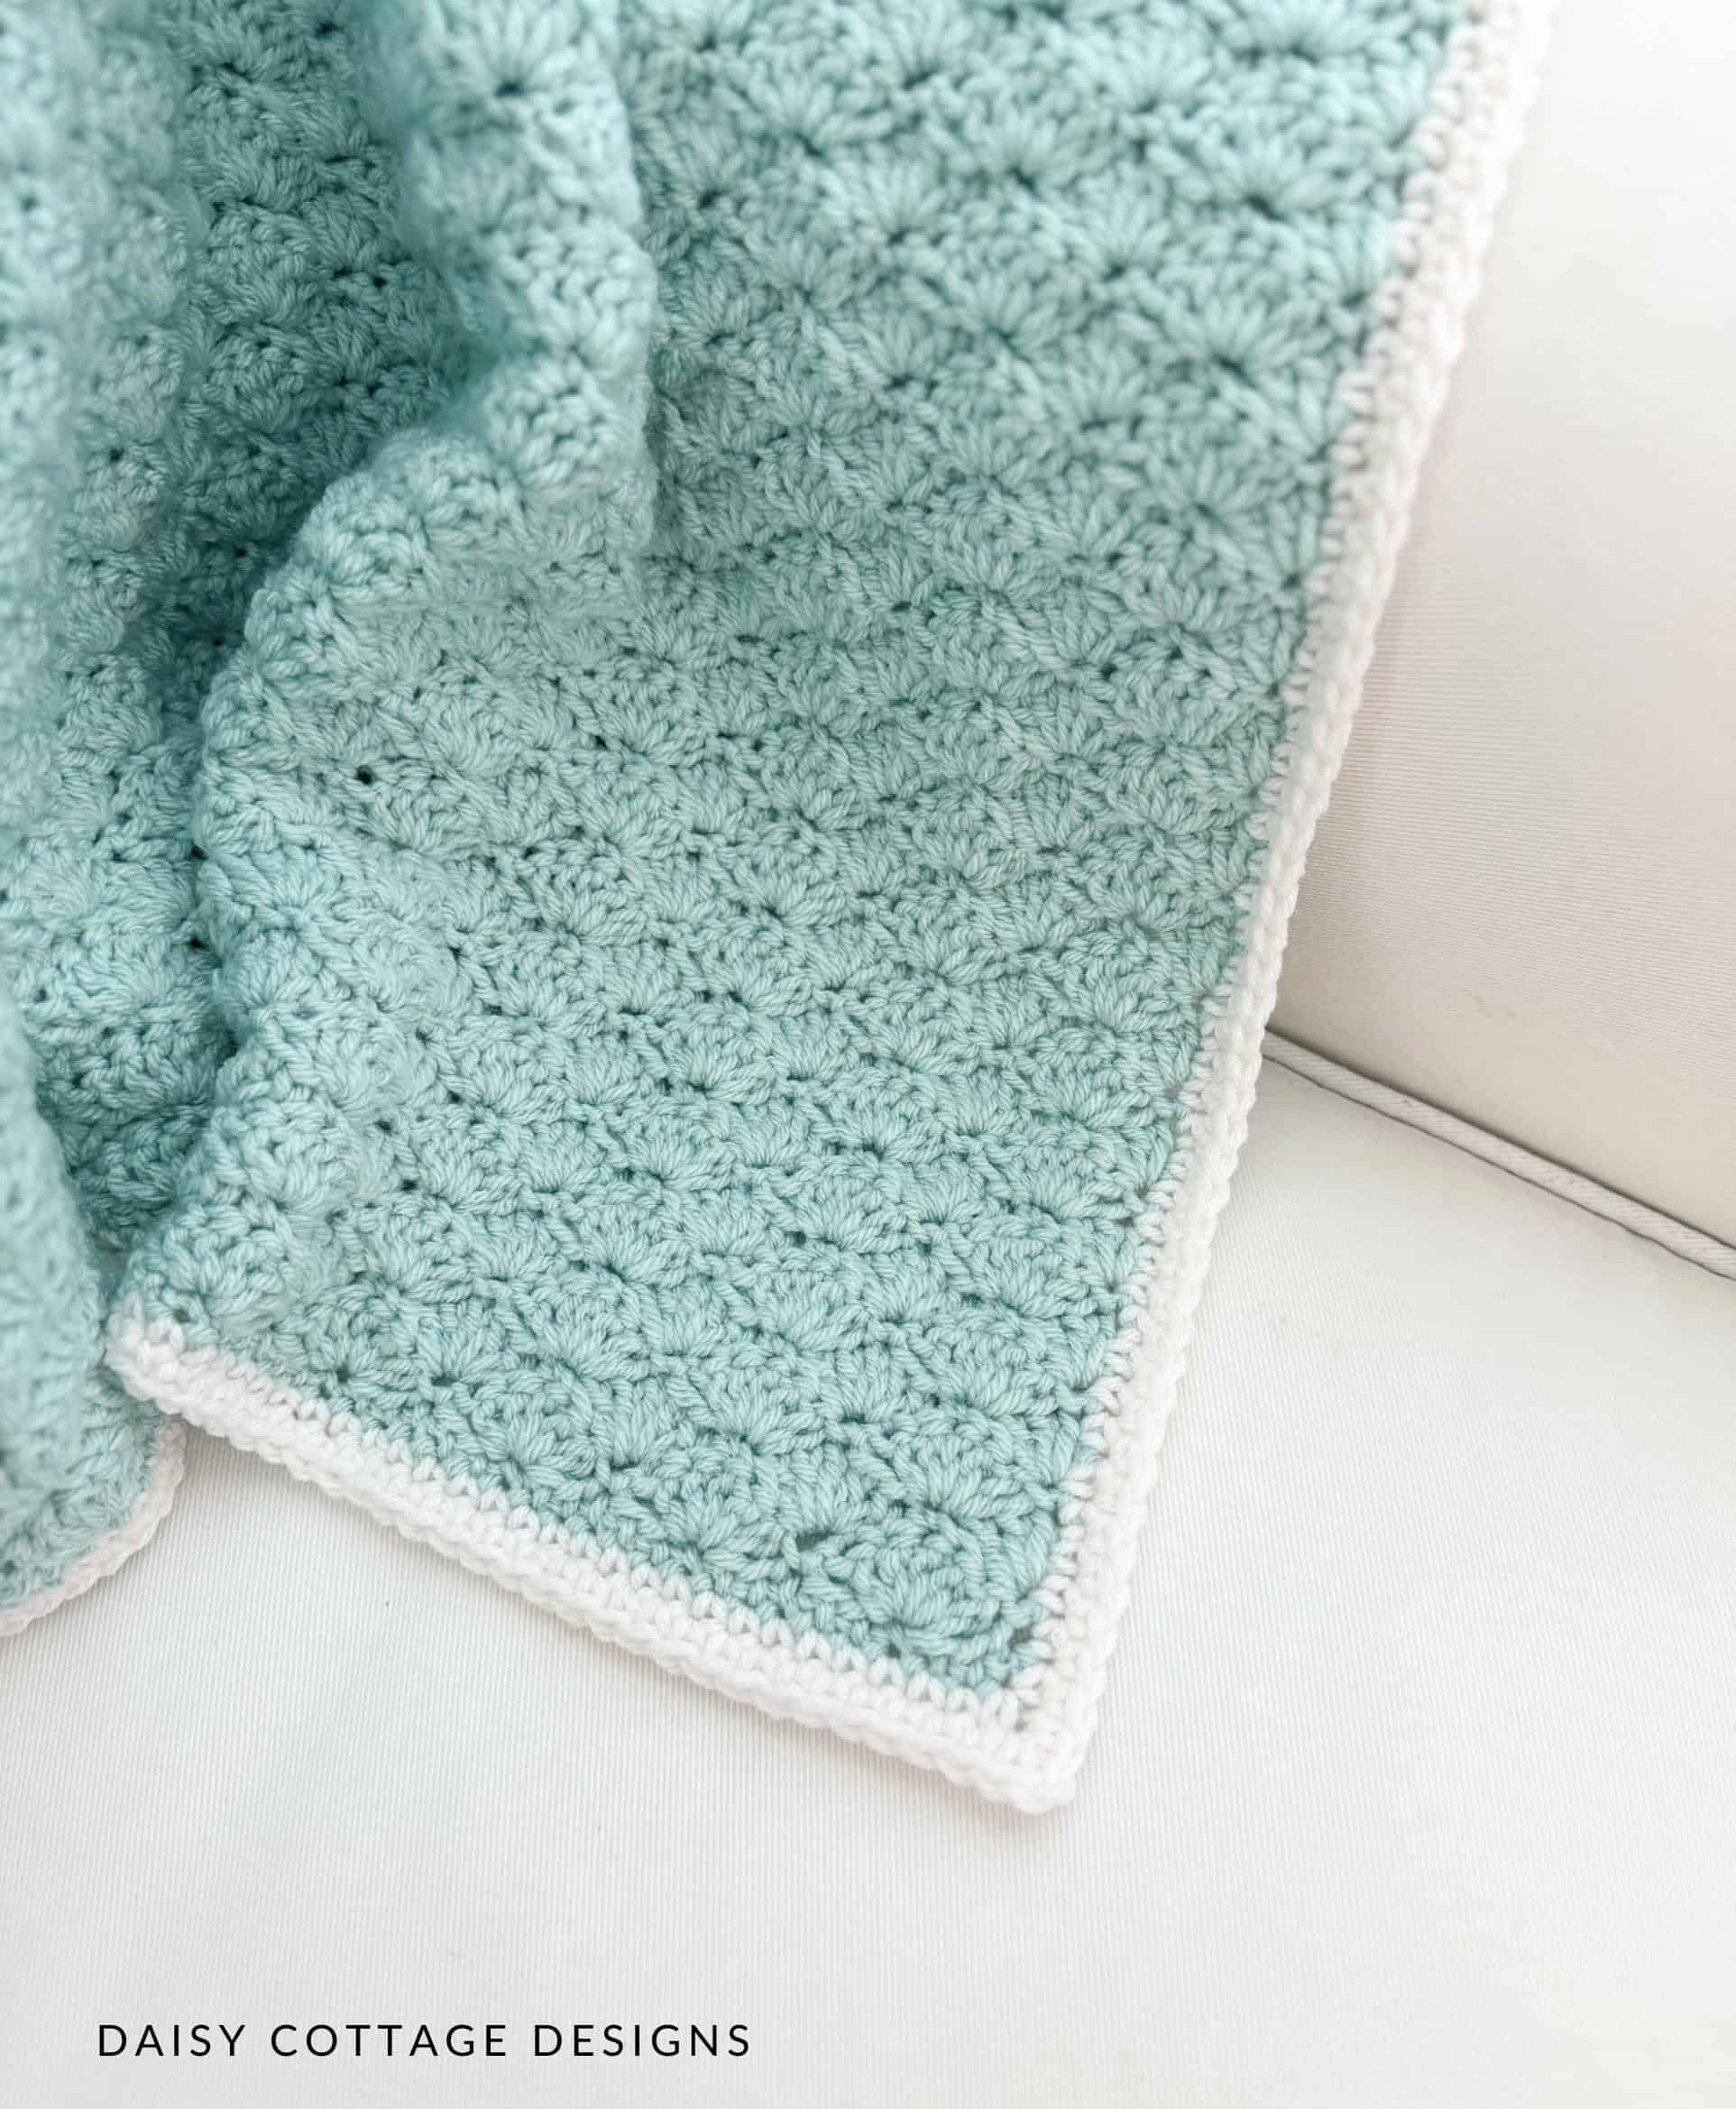
Border Instructions:
Join Antique White yarn anywhere on the edge of your blanket, NOT in a corner.
Round 1: single crochet evenly around the entire blanket, working (sc, ch 2, sc) in each corner. Sl st to the first stitch to join. Ch 1. Don’t turn.
Round 2: sc evenly around the entire blanket, working (sc, ch 2, sc) in each ch 2 space from the previous round. Sl st to the first stitch to join.
Cut yarn and weave ends.
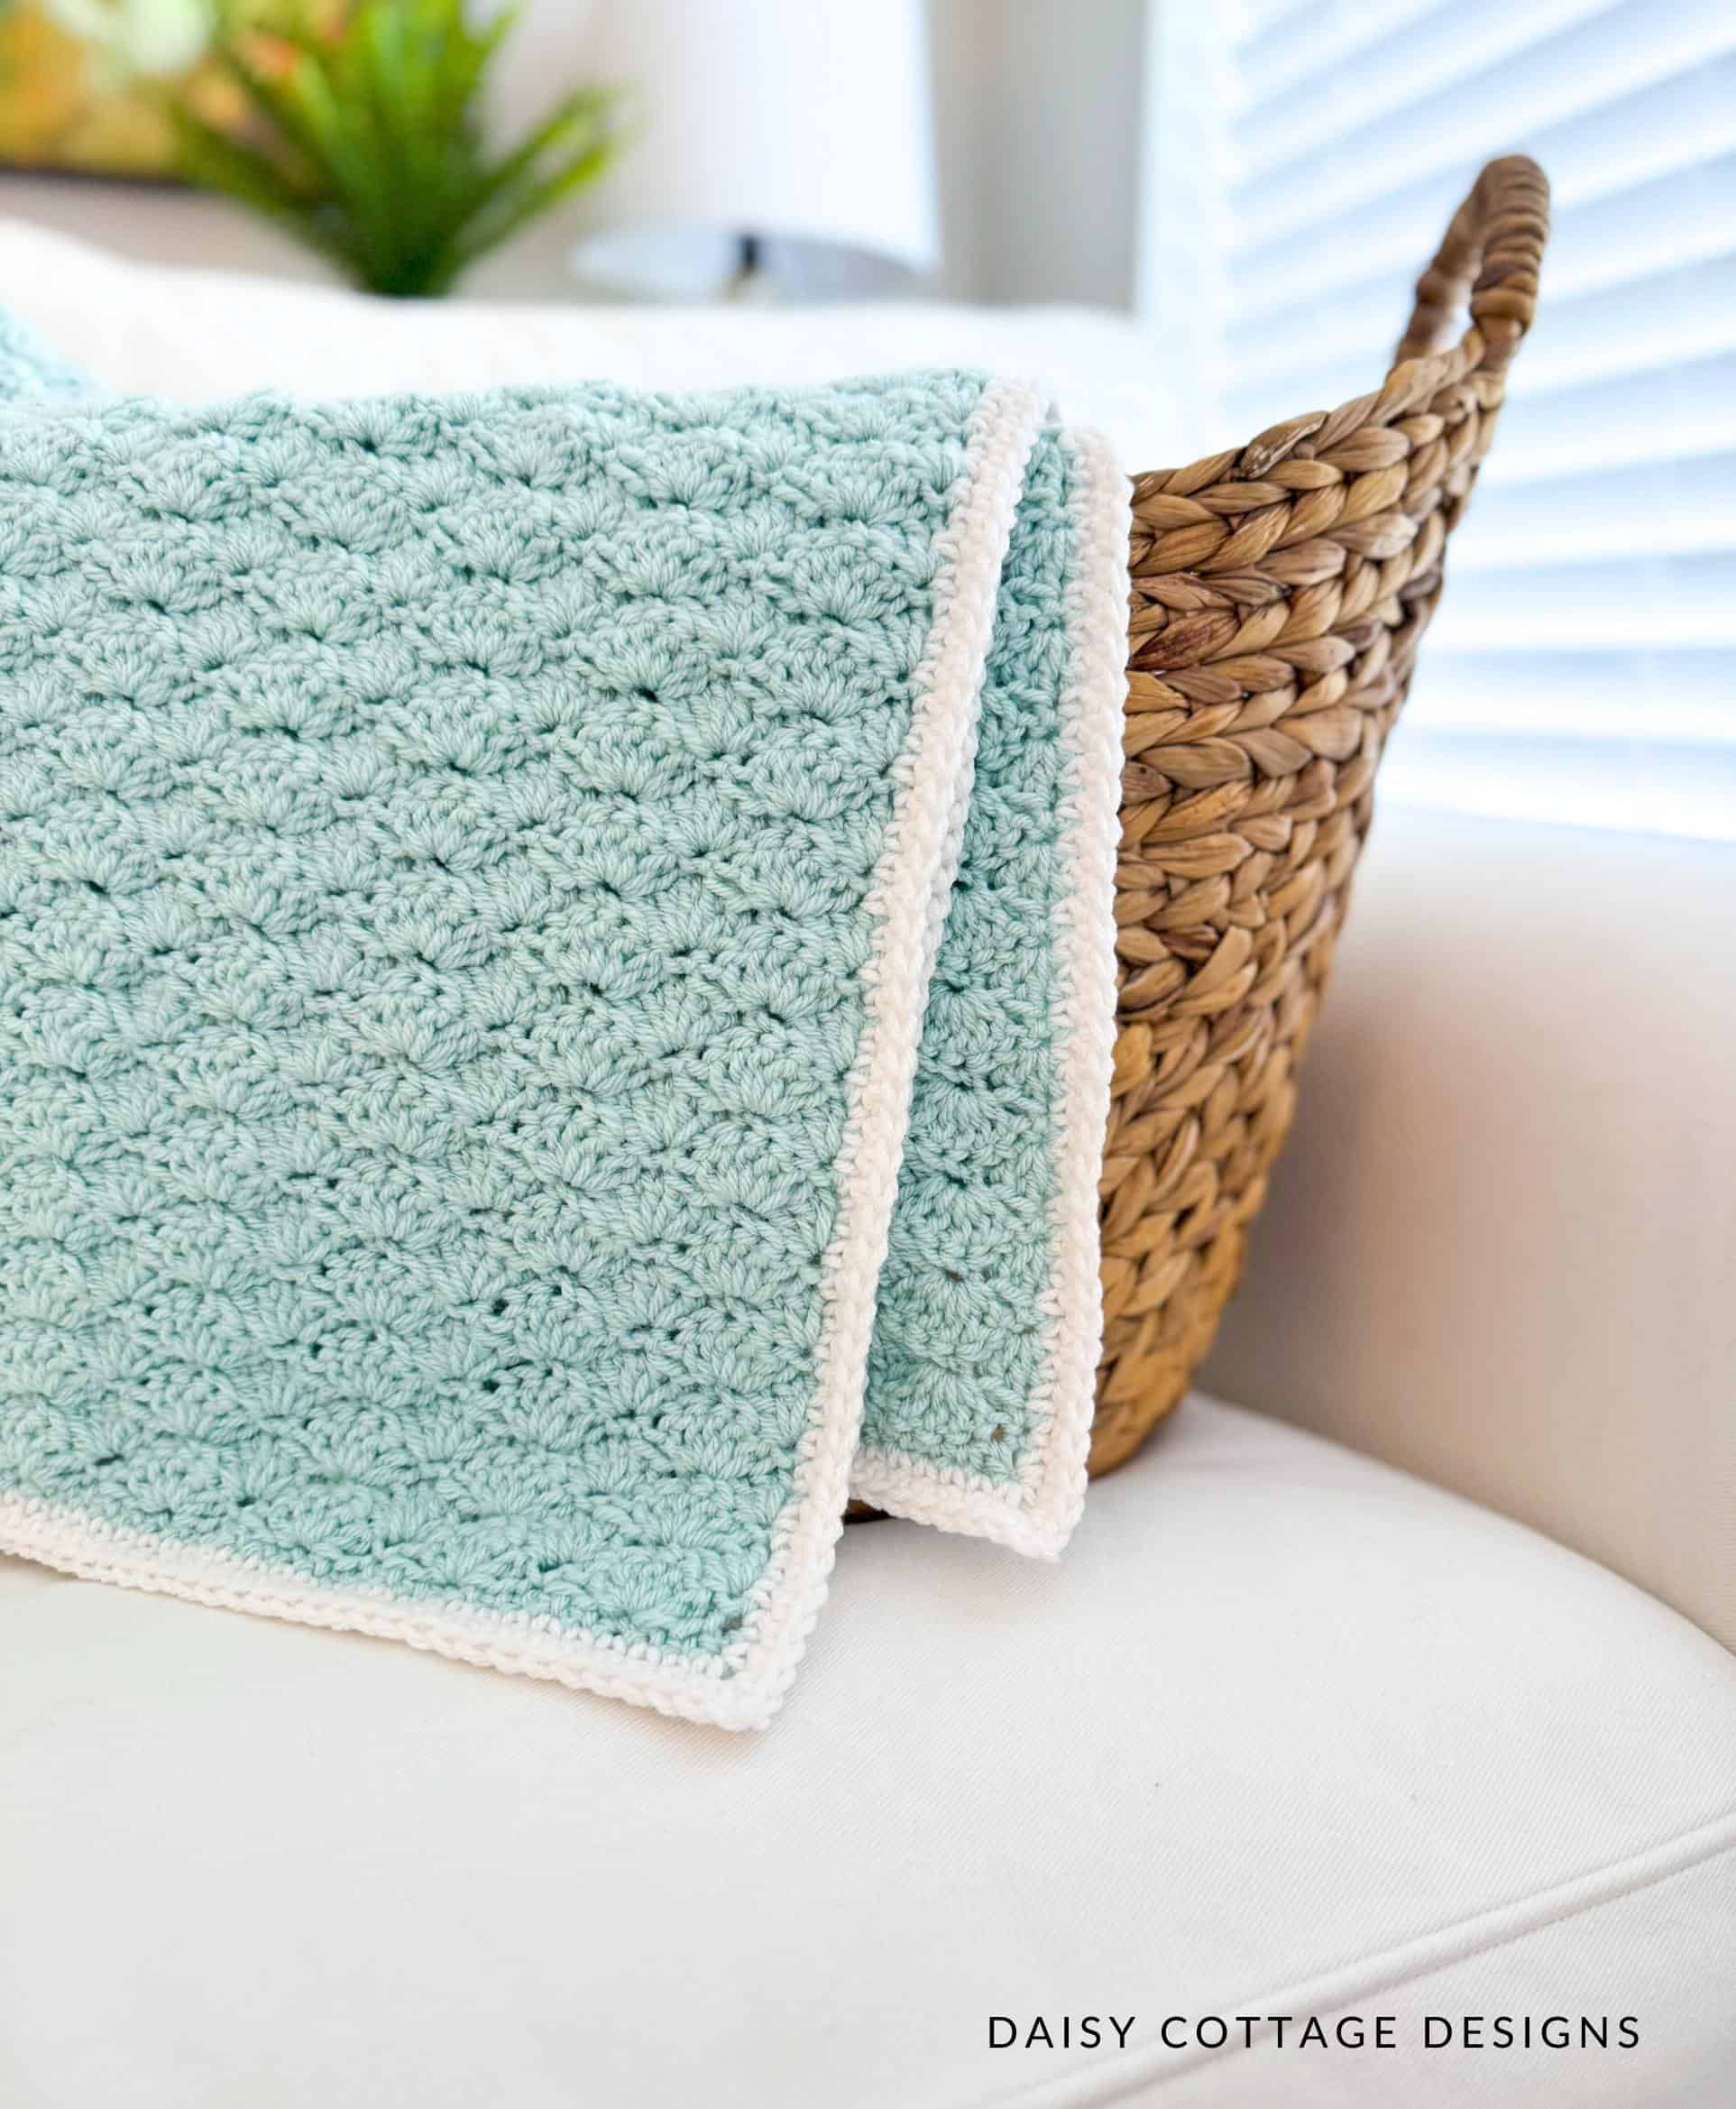
Adjusting the Size of This Blanket
The starting chain for this pattern must be in multiples of 6 + 2.
For example:
6 x 6 = 36
36 + 2 = 38
Each multiple of 6 adds approximately 1 3/4 inches to your blanket.
To adjust the length, repeat rows 2 and 3 until you reach your desired length. Be sure to end on Row 2 before you work the final row.
Here are some common blanket sizes to get you started:
If you enjoyed learning the crochet shell stitch, I know you’ll enjoy my other free crochet patterns.
I’d love for you to share your work with me! Share a picture on Facebook or Instagram and tag me!

Love your blankets!!! You have great taste!
I might have missed it, but what type of yarn are you using for this blanket?
Hobby Lobby I Love This Yarn, but any worsted weight acrylic yarn will do.
I’m sorry but I don’t see the type of yarn you use mentioned. Is Glacier the colour?
Yes! I somehow forgot to include my materials when I first published the pattern. That’s been updated now!
This pattern has been my go-to for baby blankets for years. I don’t even have to look at the pattern anymore!
What weight and type of yarn did you use for this. I could not find mention of yarn.
I used a worsted weight acrylic yarn. I’ve updated the pattern with all the yarn info now 🙂
Do you have a recommendation for hook size?
I used a J/10 hook. Somehow I forgot that when I first published the pattern, but I’ve updated it now!
Lovely pattern and easy too! Thanks for posting this. Is it on Ravelry?
I haven’t added this one to Ravelry yet. Thanks for the reminder.
Hi Lauren. This pattern and the colors are lovely. What brand of yarn did you use?
I used Hobby Lobby I Love This Yarn.
This is such a beautiful stitch for a baby blanket. I’m going to reverse the colors and make two as heirloom blankets for my granddaughters. I always enjoy your patterns.
I will keep you and your mom in my prayers.
What yarn & weight did you use?
I used Hobby Lobby I Love This Yarn. It’s a worsted weight yarn.