Crochet Pumpkin Pattern (Easy to Make!)
This free crochet pumpkin pattern is easy to follow, includes a video tutorial, and is absolutely adorable! This crochet pattern can be used for your family’s fall decor. It’s also a great item to sell at craft fairs and markets this fall!
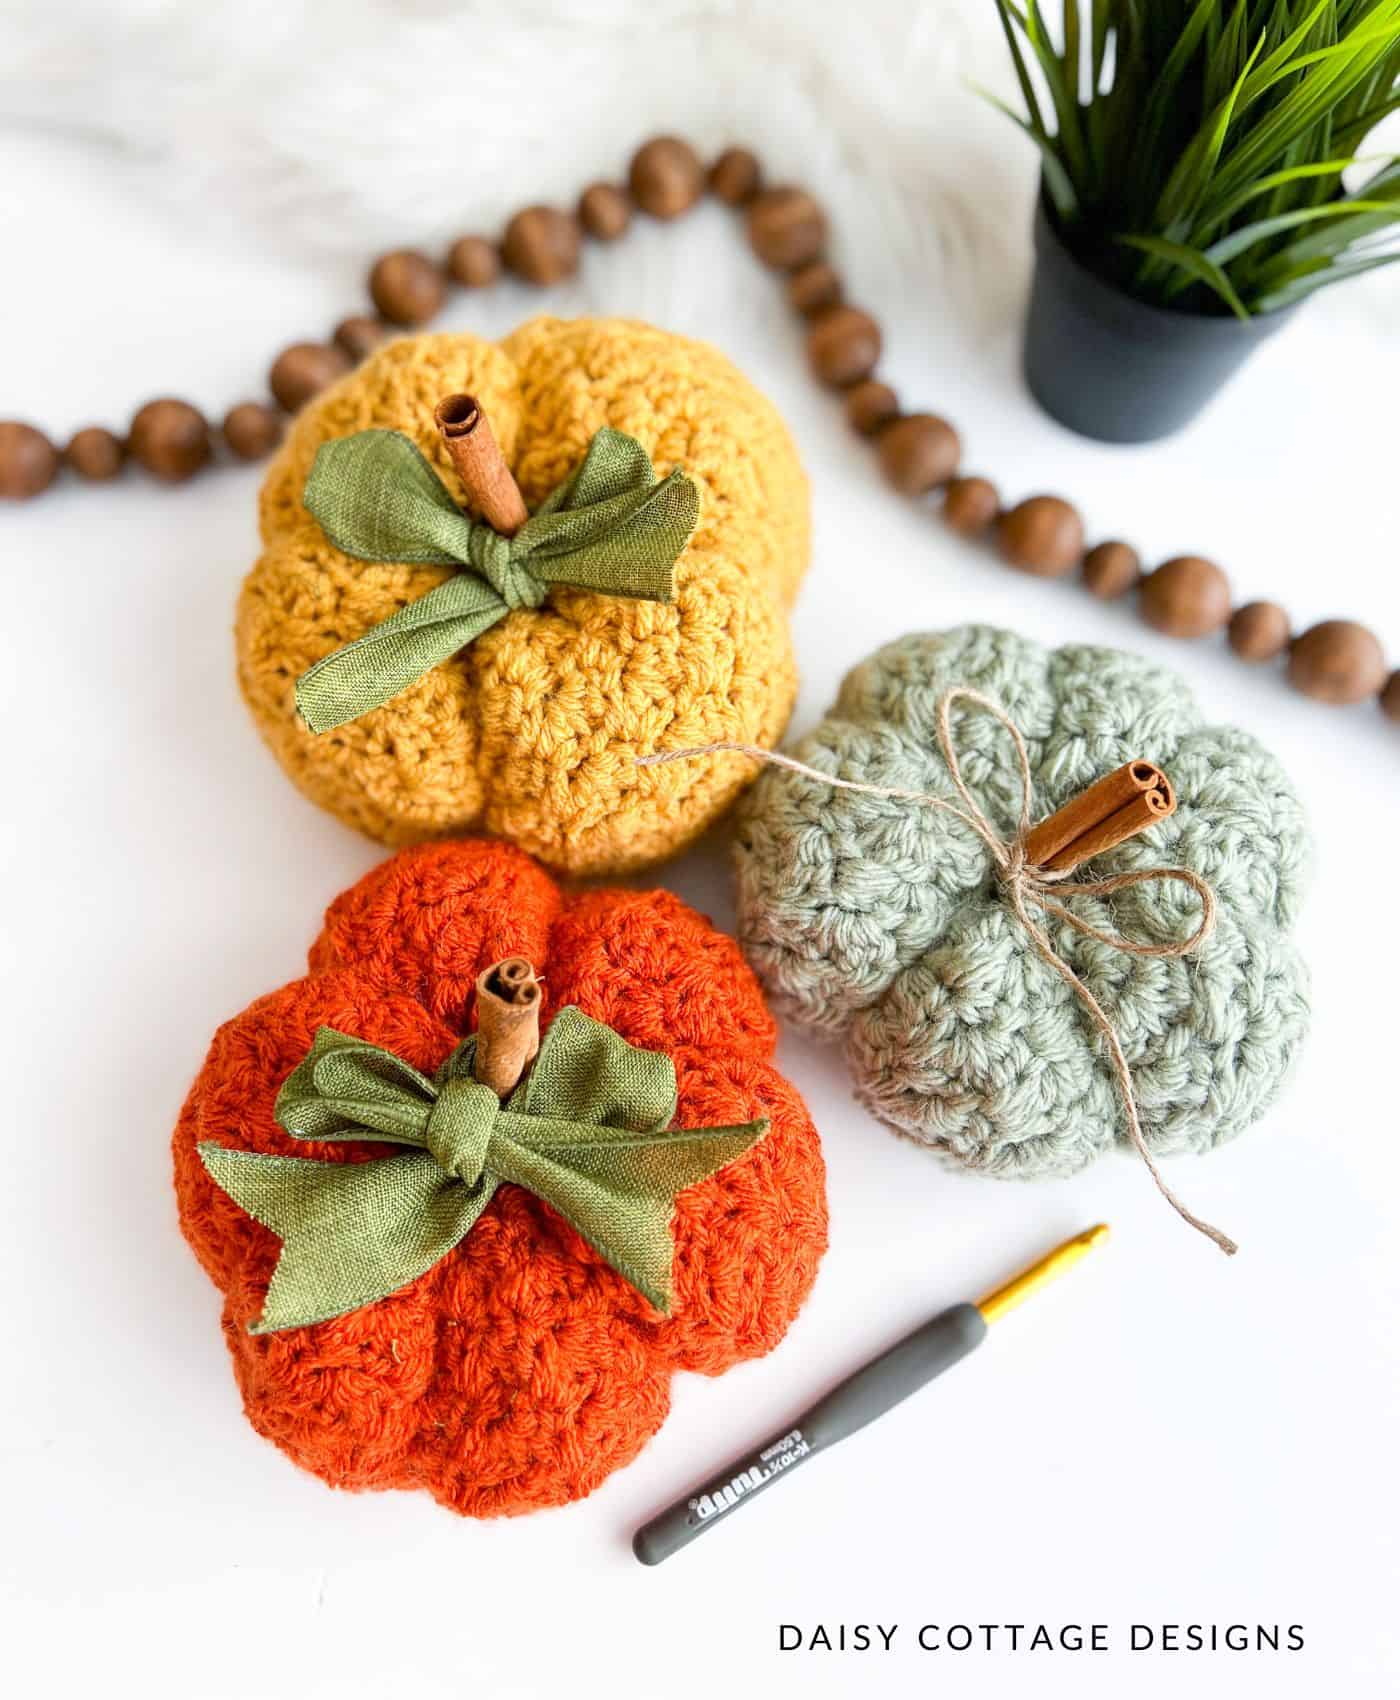
Fall has arrived! Even though it won’t get cold in Florida for quite some time, it doesn’t mean that we’re not ready to decorate for the season. Autumn is my favorite time of year, and I’ve always had pumpkins scattered throughout the house from September through at least Thanksgiving.
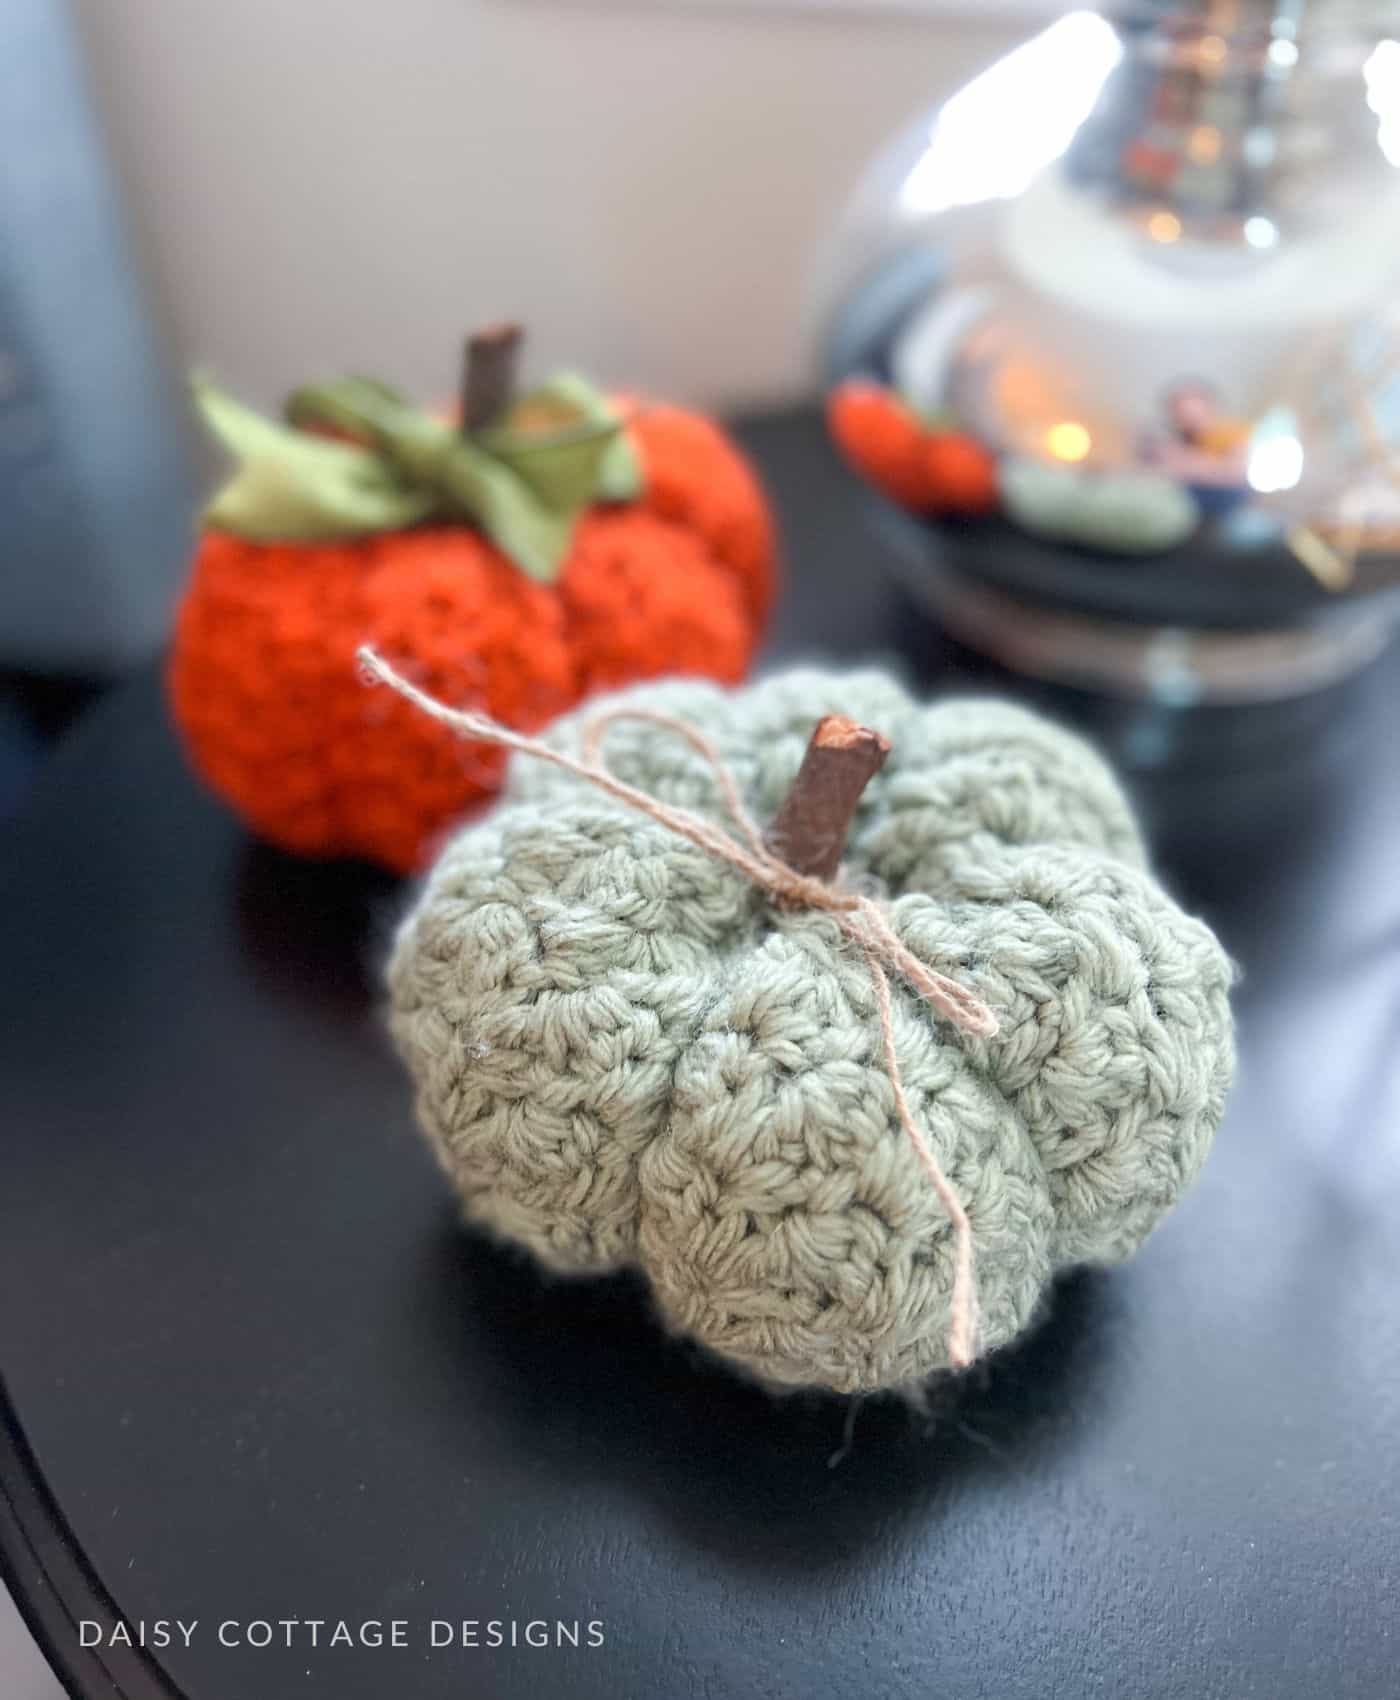
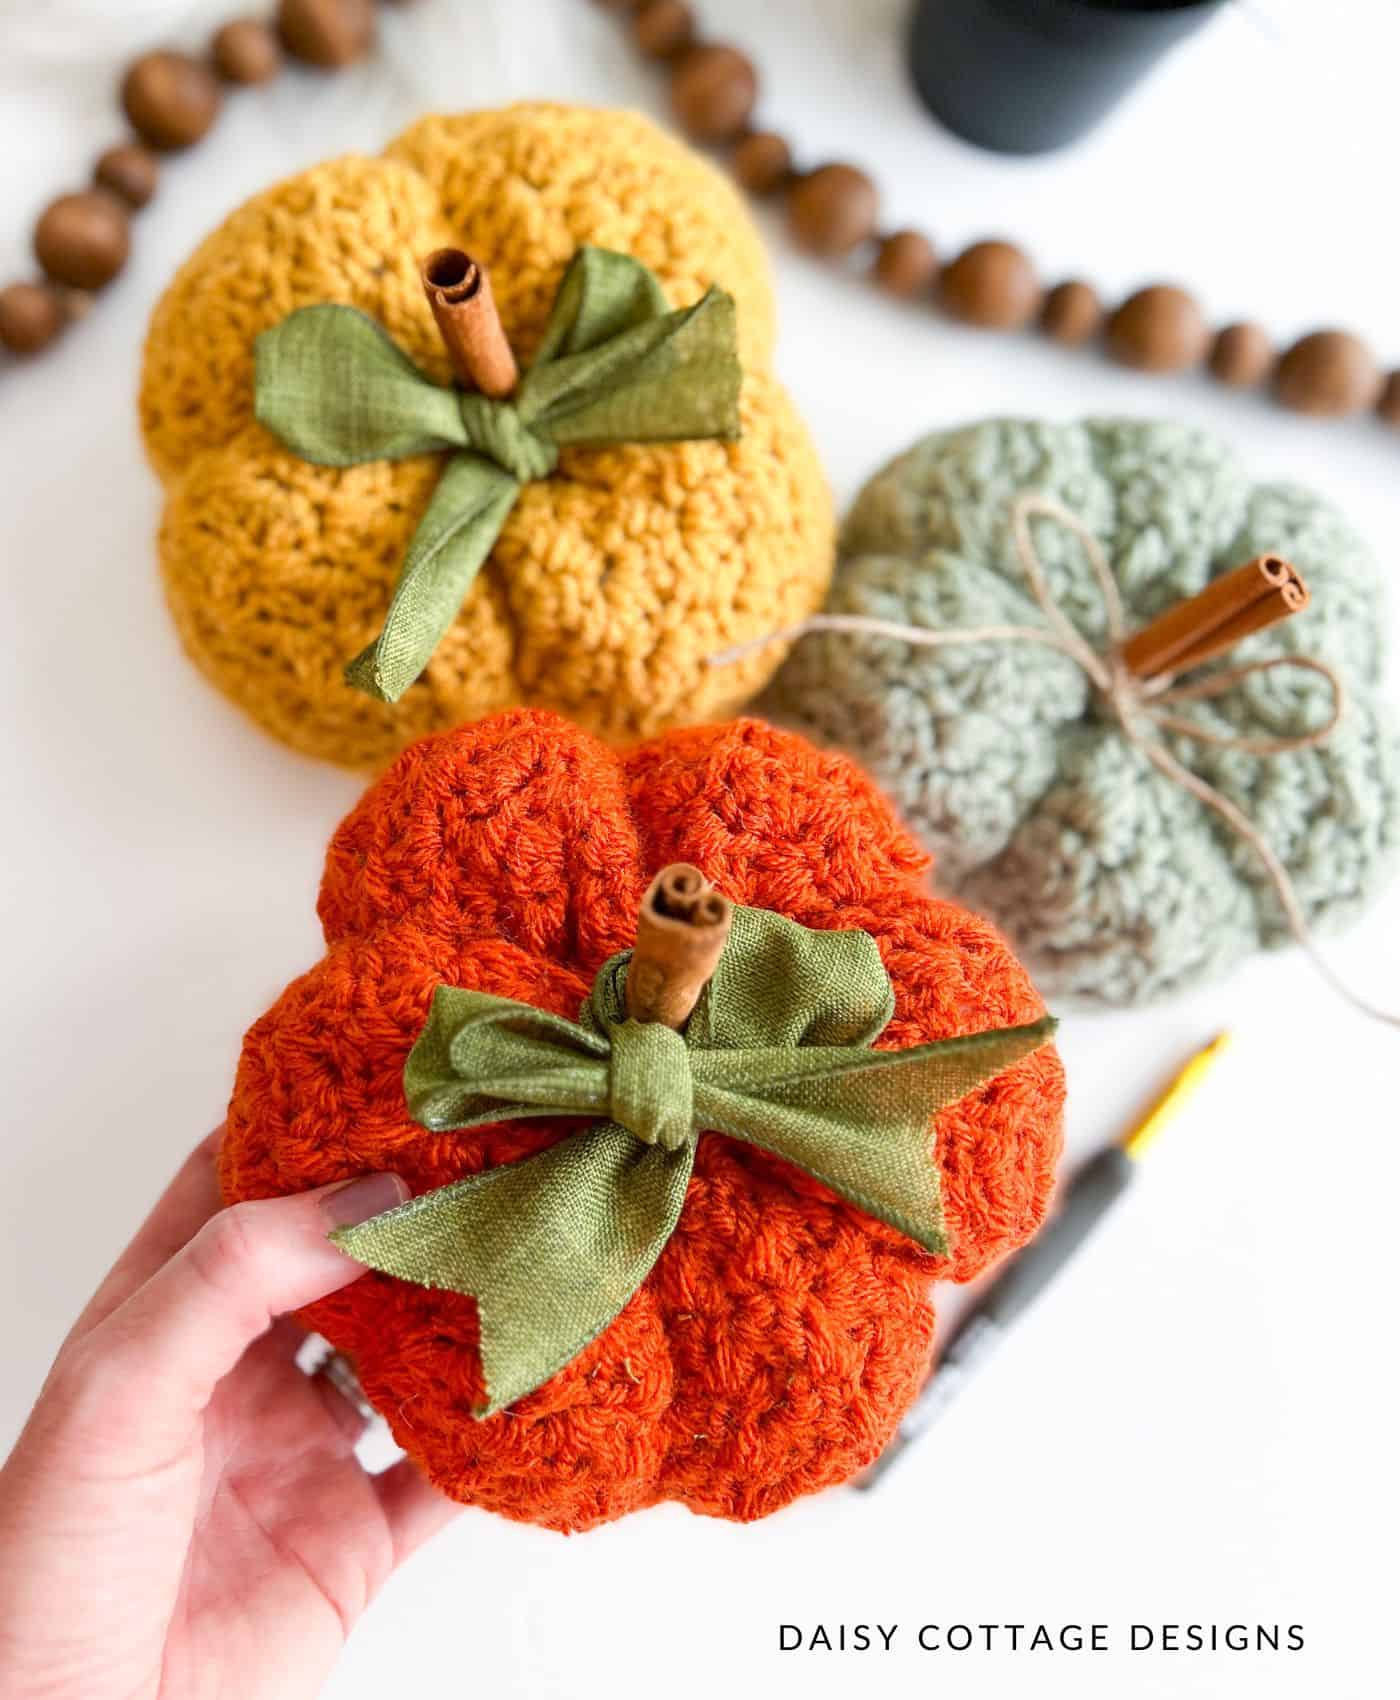
This year, my fall decor includes 5 crocheted pumpkins – all made from this pattern. They look great in every room of the house – from bedrooms to the living room.
While you might think you need to know how to make a magic ring or work in the round to make these cute pumpkins, all you need to know is how to crochet in back and forth rows.
This free crochet pattern uses the Suzette Stitch. It’s a beginner-friendly stitch made with basic single and double crochets. Even if you’re a new crocheter, you’ll be able to make these in no time!
Ready to make a set? Grab your hooks and let’s get started!
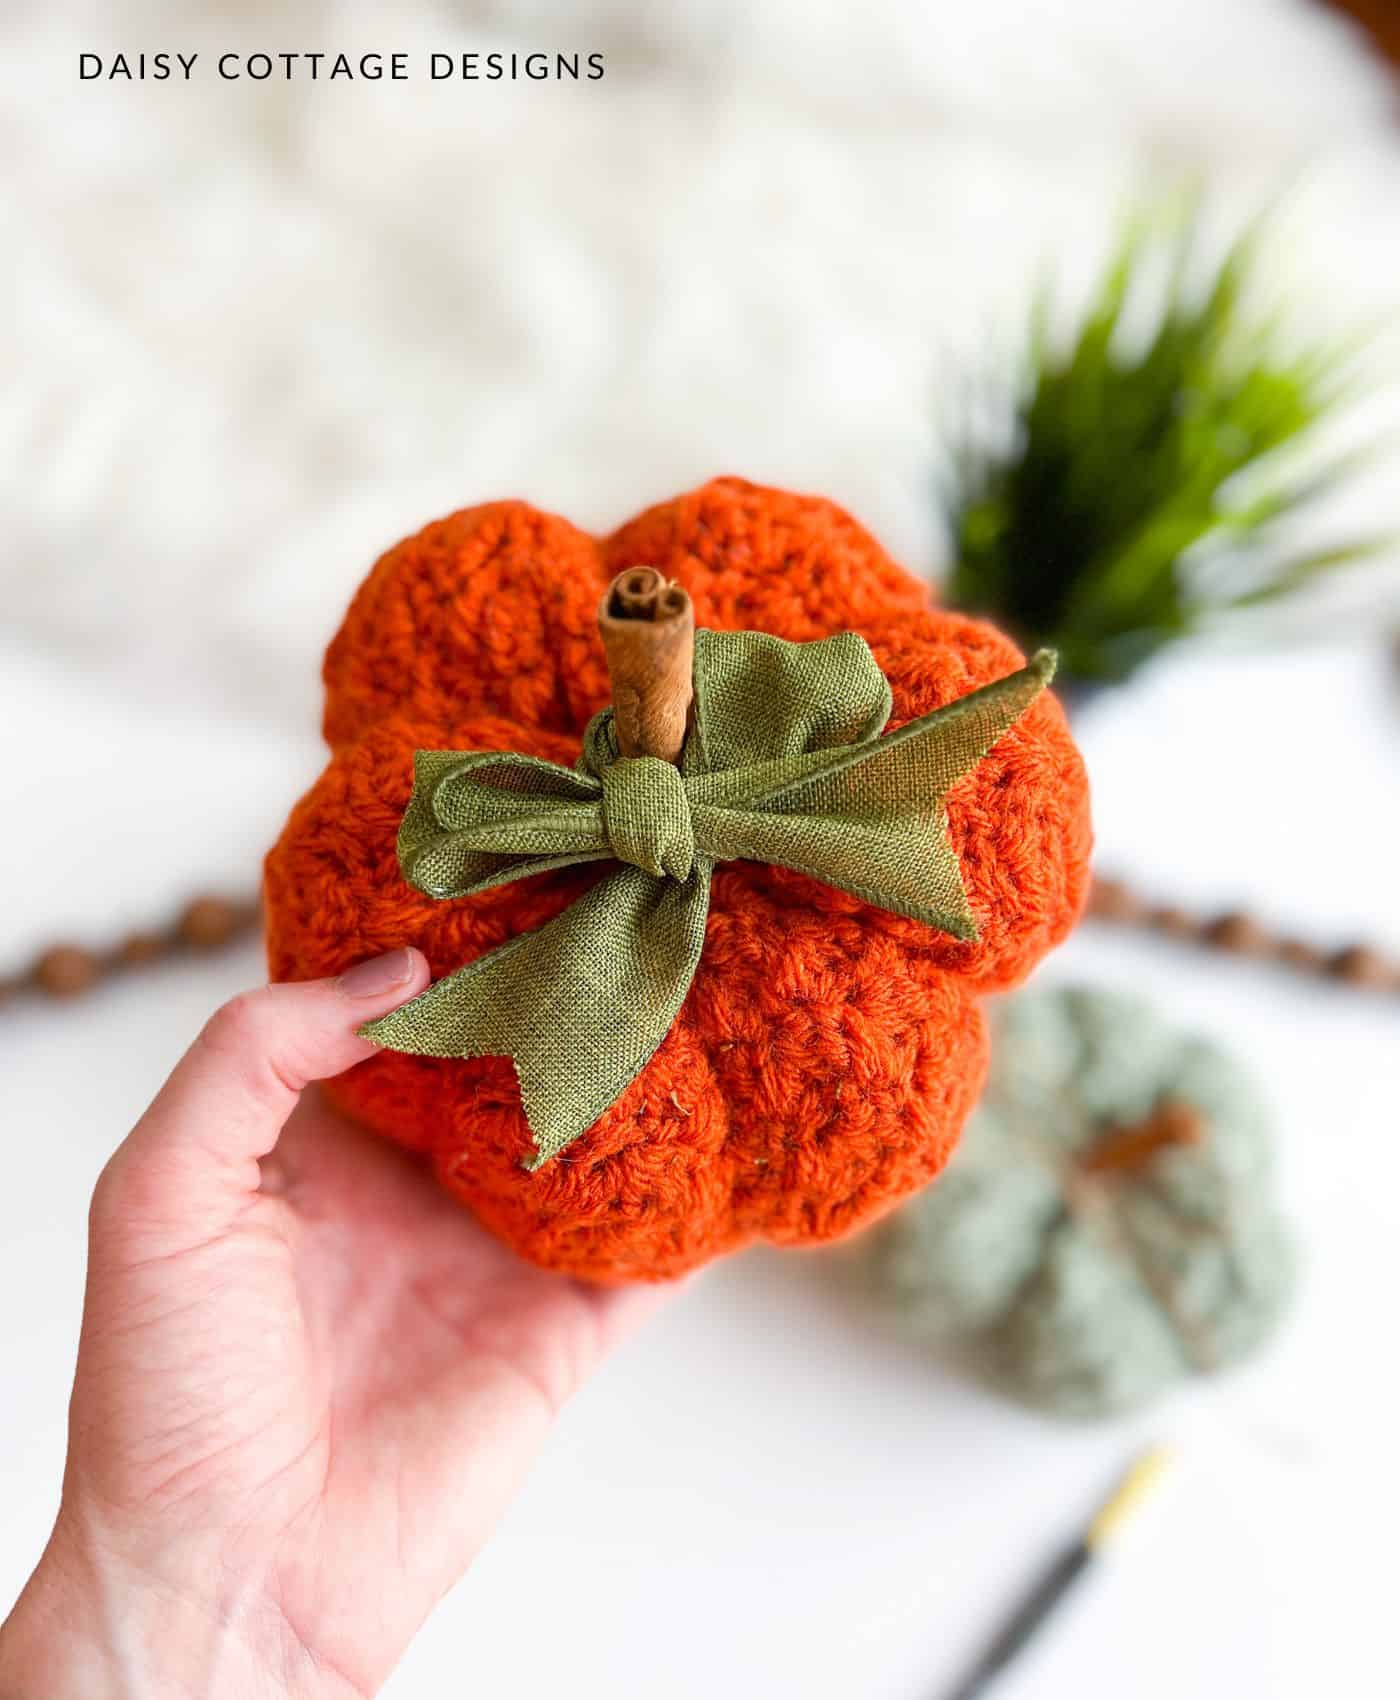
Skill Level:
Beginner/Easy
Materials for Crocheted Pumpkins:
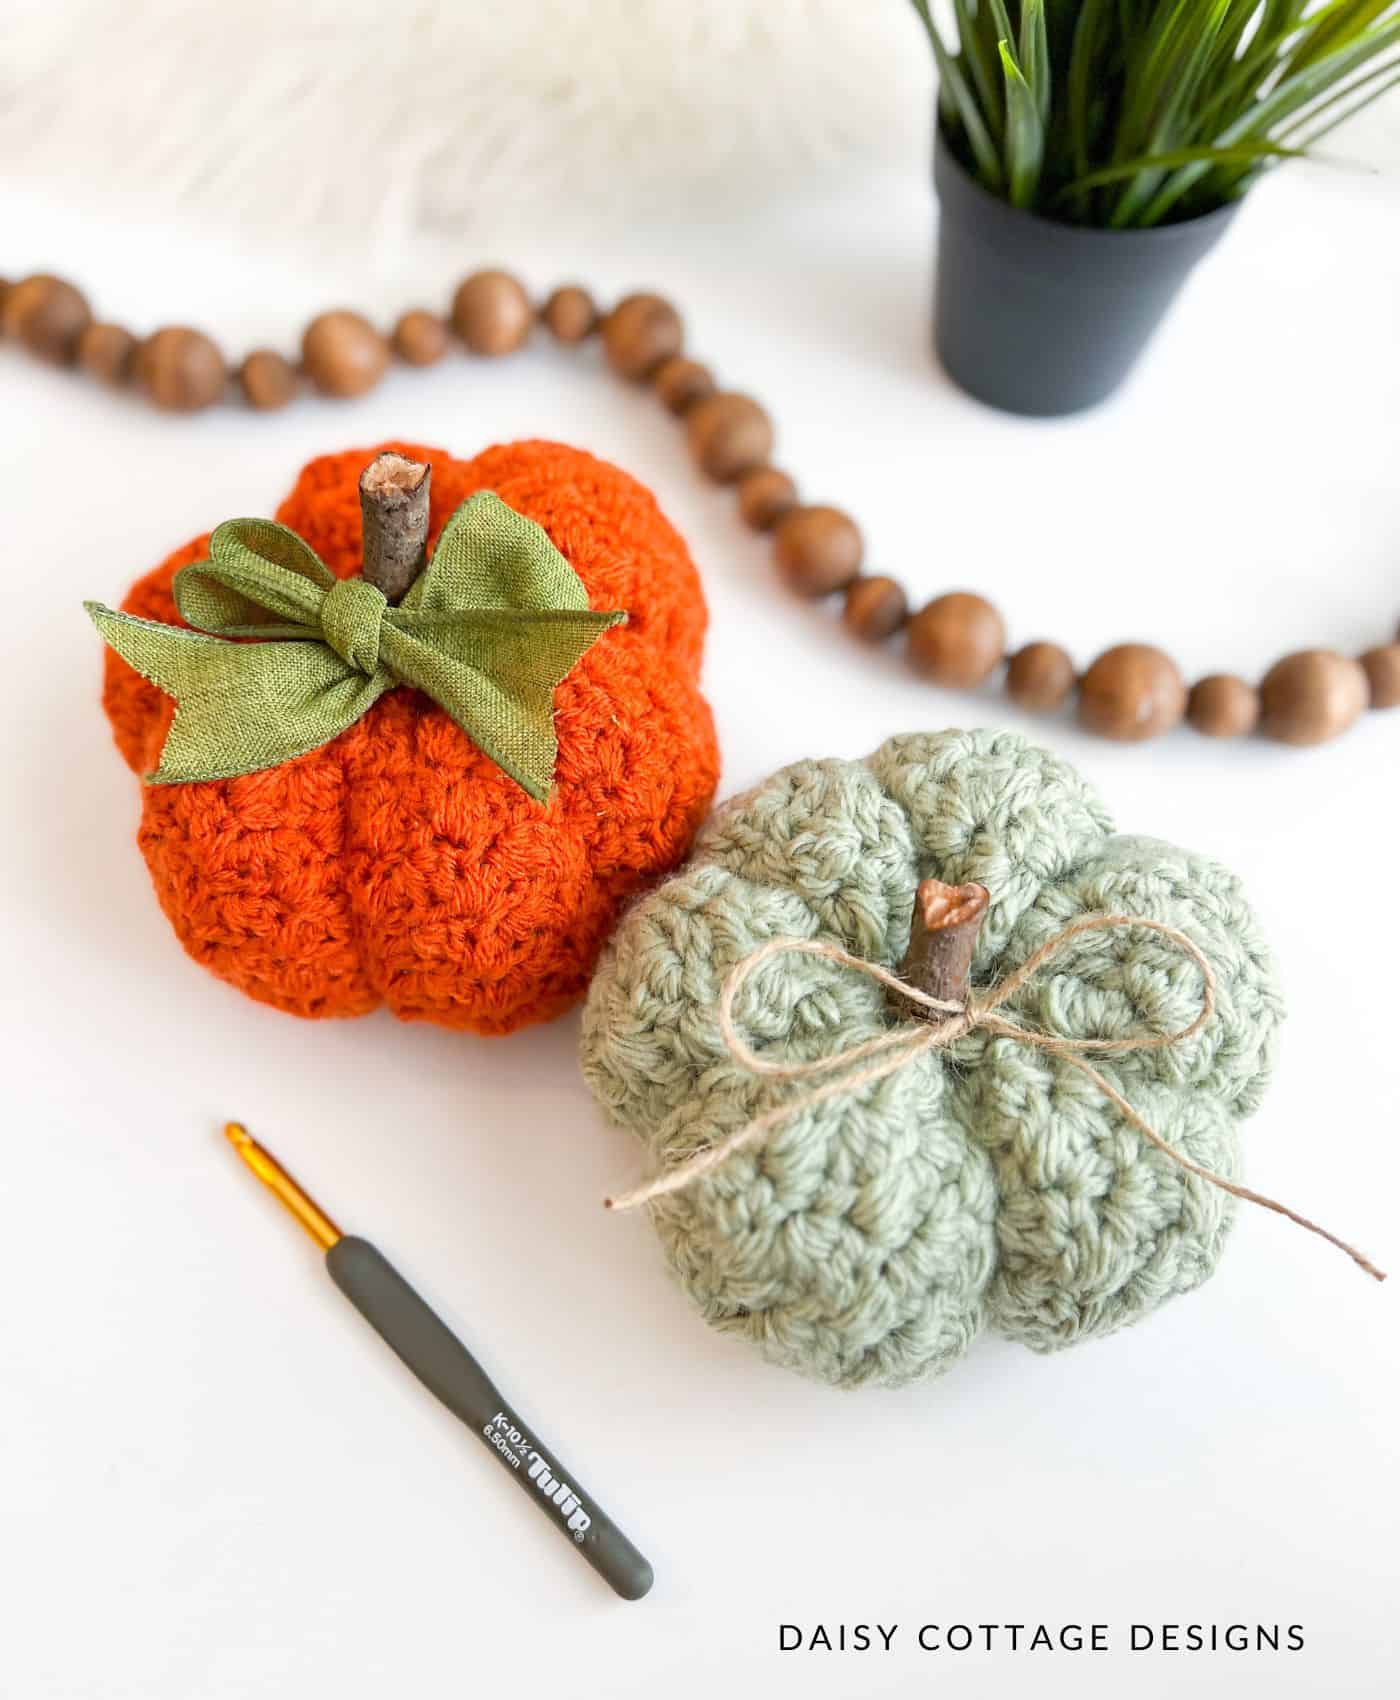
- I/9 (5.50 mm) Crochet Hook (worsted weight) or K/10.5 (6.50 mm) Crochet Hook (bulky weight)
- Approximately 90 yards of worsted weight yarn or 70 yards of bulky yarn
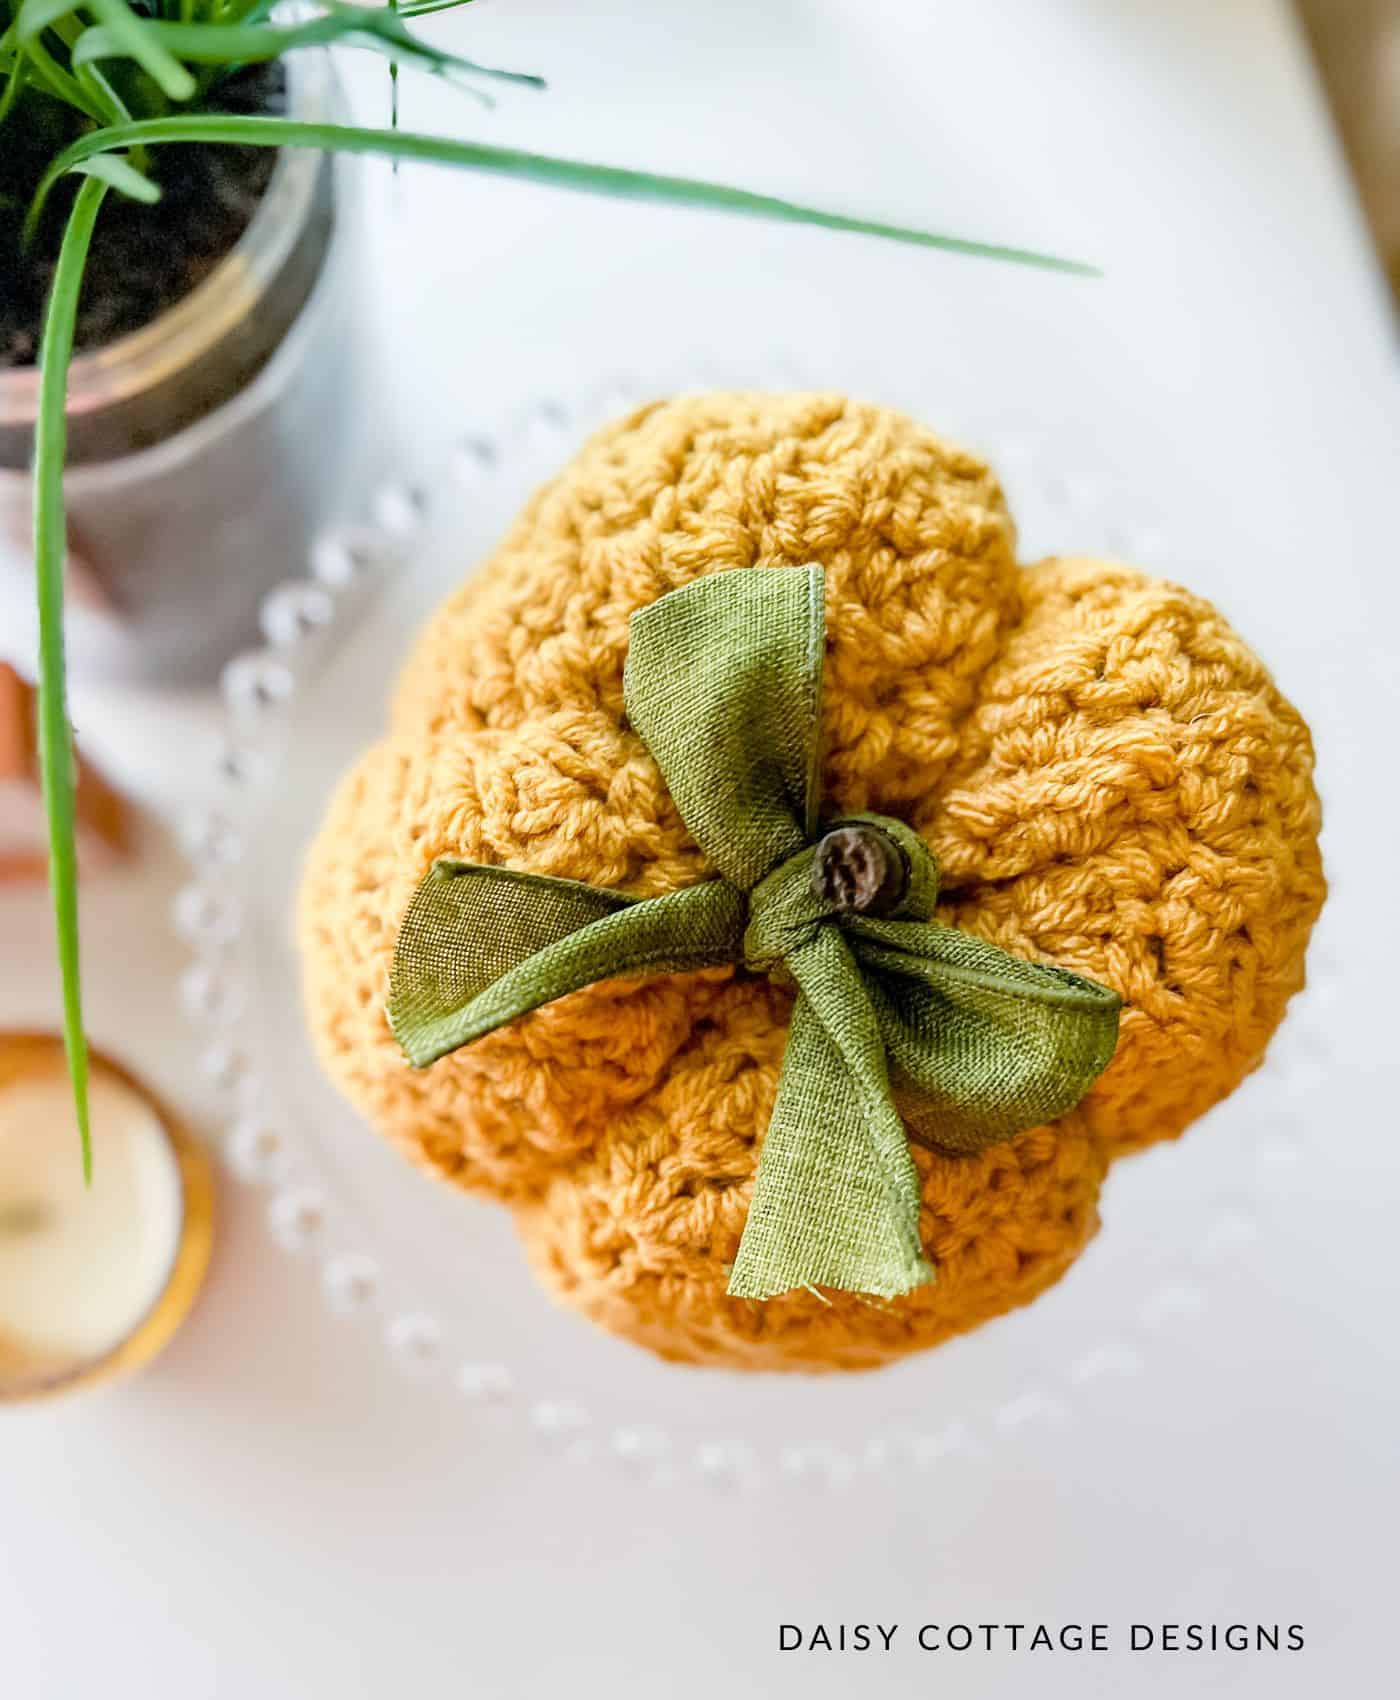
- Hobby Lobby I Love This Yarn in the shade Sungold (mustard pumpkin)
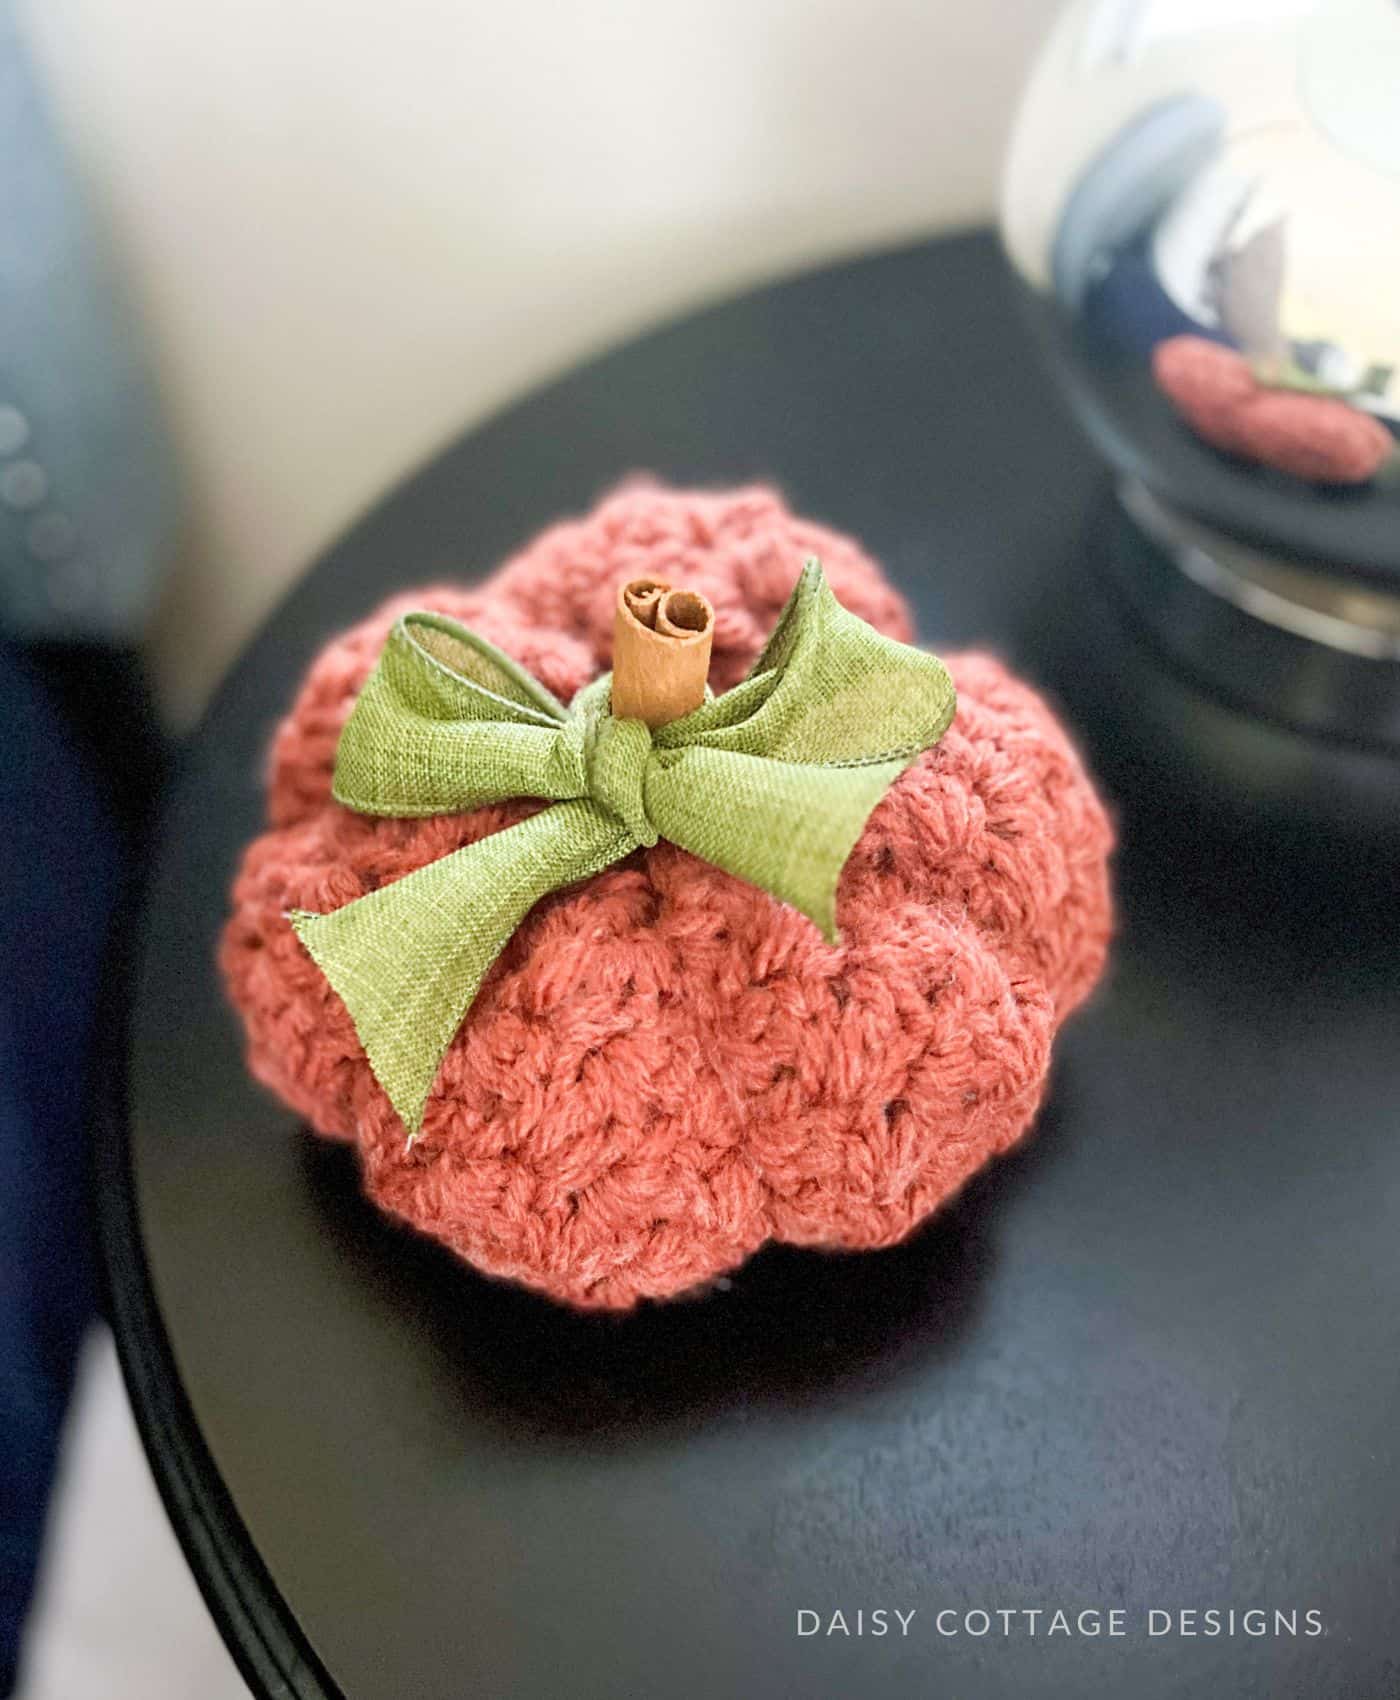
- Vanna’s Choice in the shade Terracotta (orange pumpkin)
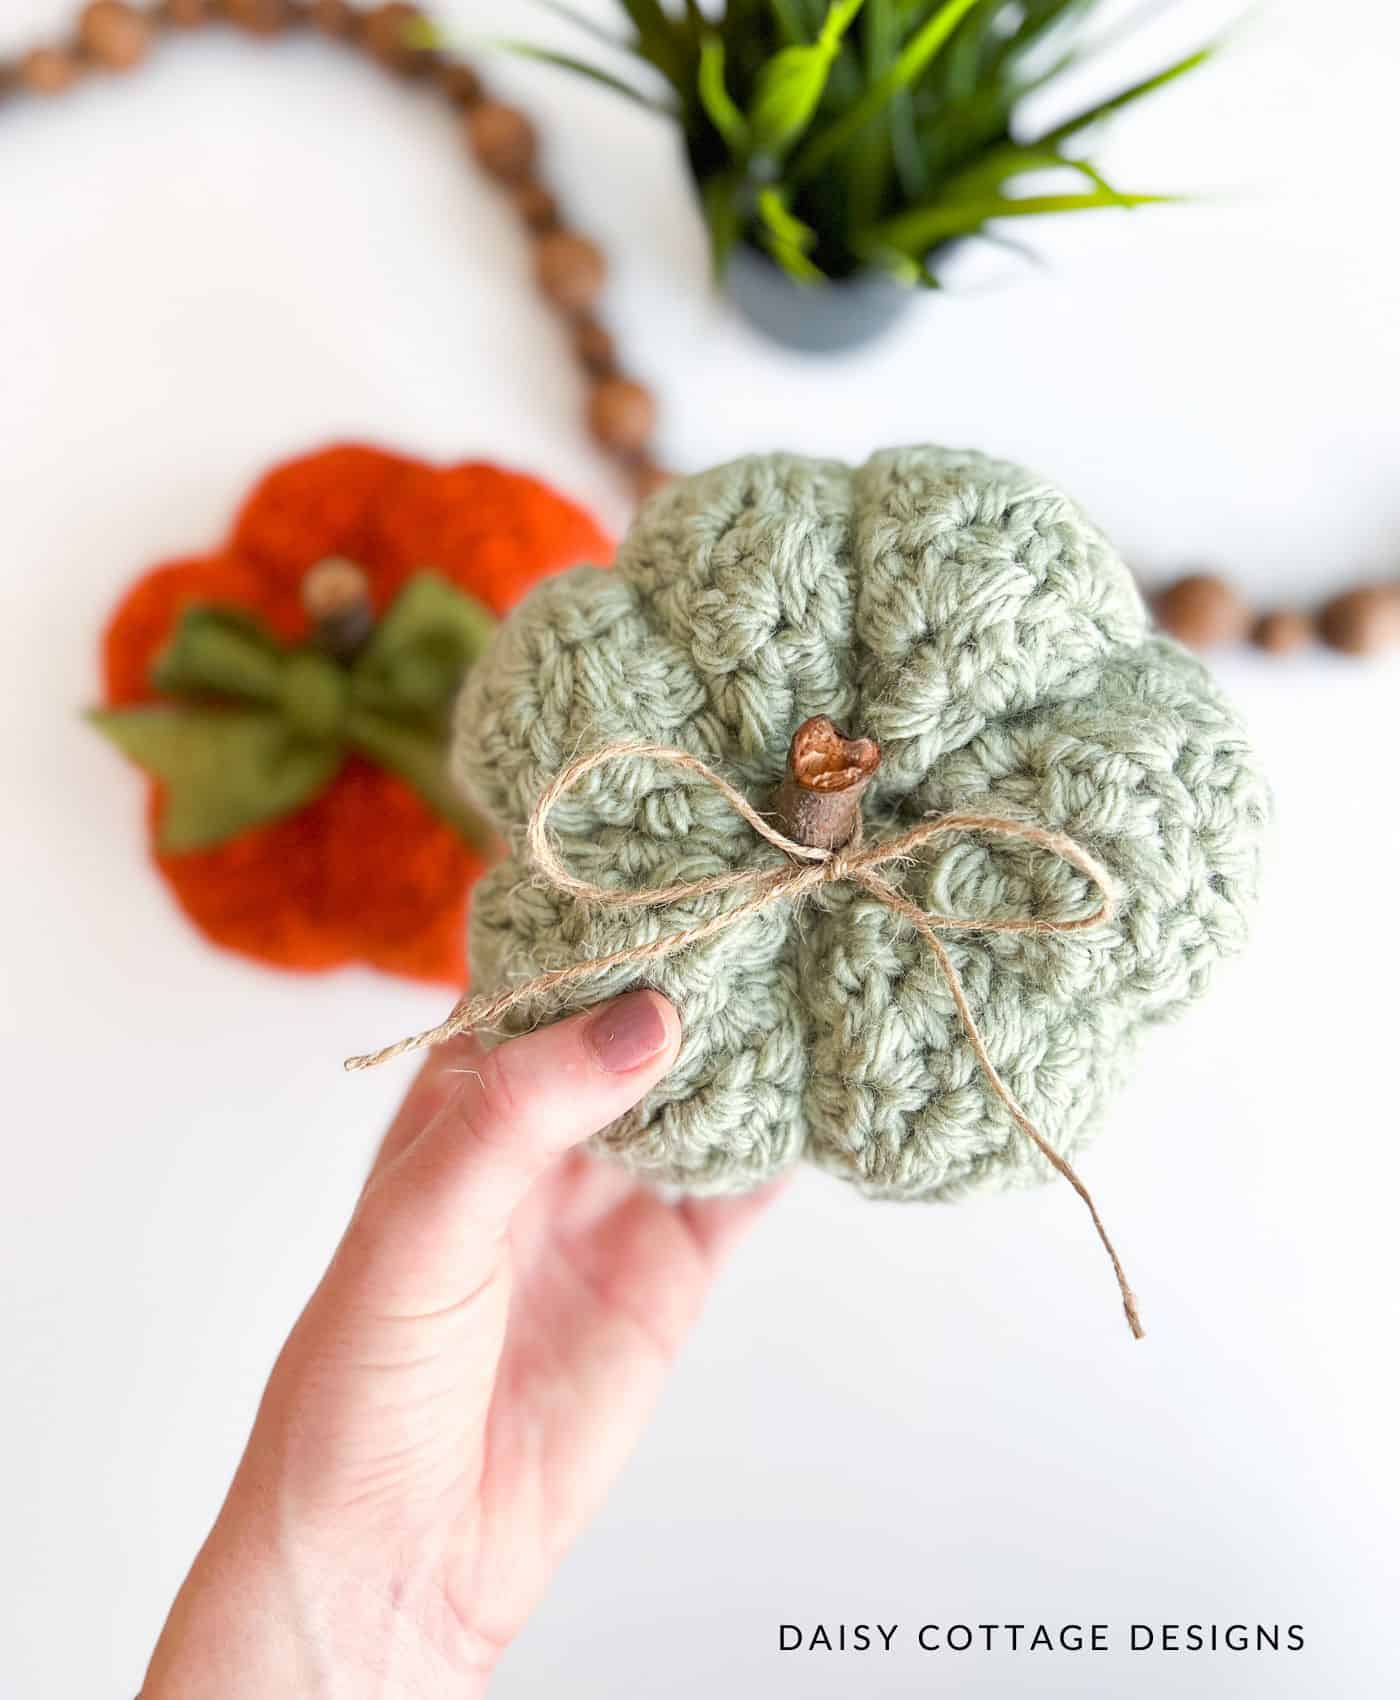
- Hue & Me Chunky Wool Blend in the shade Artichoke (greenish pumpkin)
- Yarn Needle & Scissors – an extra long tapestry needle is helpful but not necessary
- Fiberfill for stuffing
- Cinnamon Sticks or Sticks for pumpkin stems
- Ribbon or twine for embellishing
Prefer ad-free PDF versions of your crochet patterns? This one is available in my Etsy shop.
Pattern Notes:
- Finished pumpkins measure about 6 inches across and 3 inches tall (not including the stem). The worsted pumpkin is slightly larger.
- Ch 1 does not count as a stitch.
- Size of the pumpkin can be adjusted. Just make sure your starting chain is an odd number.
- Please use #daisycottagedesigns to share your work with me on Instagram! I’d love to see it.
- This pattern uses US terms.
- Gauge is not important for this project.
- The video tutorial to go along with this pattern is available here.
Special Stitch:
- Though you won’t notice any “special stitches” used in this pattern, the combination of stitches is referred to as the Suzette Stitch. Less often you’ll hear it referred to as the Thicket Stitch.
Crochet Pumpkin Video Tutorial
Are you a visual learner? This video tutorial will walk you through the steps to create these cute little pumpkins.
Abbreviations:
- ch – chain
- sc – single crochet
- hdc – half double crochet
- dc – double crochet
- sl st – slip stitch
Easy Pumpkin Crochet Pattern:
Chain 17 with bulky yarn or 25 with worsted weight yarn.
Row 1: hdc in the second chain from the hook. *skip a ch, work a sc and dc in the next chain* across to the last stitch. End with a hdc in the final stitch. Ch 1, turn.
- Bulky weight: You should have a total of 16 stitches. 7 single crochet, 7 double crochet, and a half double crochet on each end).
- Worsted weight: you should have a total of 24 stitches. 11 single crochet, 11 double crochet, and a half double crochet on each end.
Row 2: hdc in the first stitch (don’t skip the first stitch). *skip a stitch, work a sc and dc in the next stitch* across. End with a hdc in the final stitch. Ch 1, turn.
Repeat row 2 for a total of 33 rows with bulky yarn or 40 rows with worsted weight yarn.
Finishing Instructions (All steps shown in video):
- Ch 1 and slip stitch the short sides of your pumpkin together. Cut yarn and leave a long yarn tail for seaming (longer than you think).
- Use the long tail and a tapestry needle to stitch the bottom of your pumpkin closed using a running stitch. Work your needle under every 3-4 stitches. Once you’ve worked your way around the entire opening, cinch it closed. Do not cut your end.
- Make sure your pumpkin is right-side out and stuff it with poly fill. Run the needle through the inside of the pumpkin (out the top) and use the same tail to cinch the top of your pumpkin closed.
- To help your project take on the cute pumpkin shape, you’ll need to add sections. Take your needle and pull the yarn down the middle of the pumpkin and out the bottom.
- Pull the yarn all the way through and wrap it around the outside of the pumpkin and run it back down through the middle again. Pull it tight to create your first segment. Repeat until you have the desired number of segments. I think 6 looks the best.
Note: Sungold pumpkin is only divided into 4 segments. - Add your cinnamon stick or other stick to the middle as a stem and tie on an embellishing ribbon. If you’d like to make sure it’s secure, consider using a hot glue gun.
Note about Pumpkin Sizes:
In general, I’d describe this pumpkin as a small to medium pumpkin.
If you use worsted weight yarn to make the bulky size (start with a chain of 17 and work just 33 rows), you’ll end up with a pumpkin that measures approximately 4 inches wide and 2 inches tall.
While I haven’t made it, I *think* using bulky weight yarn to make the worsted weight size (start with a chain of 35 and work 40 rows) will create a pumpkin that measures approximately 7.5 inches wide and 4.5 inches tall.
If you’d like to make these pumpkins smaller or larger, feel free to experiment with yarn weight, hook size, and the length and width. You could even hold two strands of yarn together to make a thicker yarn.
Other Free Crochet Patterns
If you enjoyed this crochet pumpkin pattern, check out these other patterns that are perfect for fall!
- Cobblestone Pathways Blanket – stay cozy and warm as the weather turns cool.
- Cozy Pom Pom Beanie – adorable and fun to make, this pattern uses some of the same techniques as this pattern.
- Dipstick Dishcloth – love the stitch used in this pattern? Try this dishcloth that uses the same stitch.
Share Your Work
I’d love to see the adorable pumpkins you make using this pattern. Be sure to snap a picture and share it with me on Facebook or Instagram. I love seeing the beautiful projects you make from these patterns – your yarn choices, color selections, etc. always inspire me!
You’re more than welcome to sell pumpkins that you make using this pattern. Please be sure to use your own photos in your online listings, etc.
