Quick and Easy Crochet Pattern – Easy Crochet Blanket with Texture
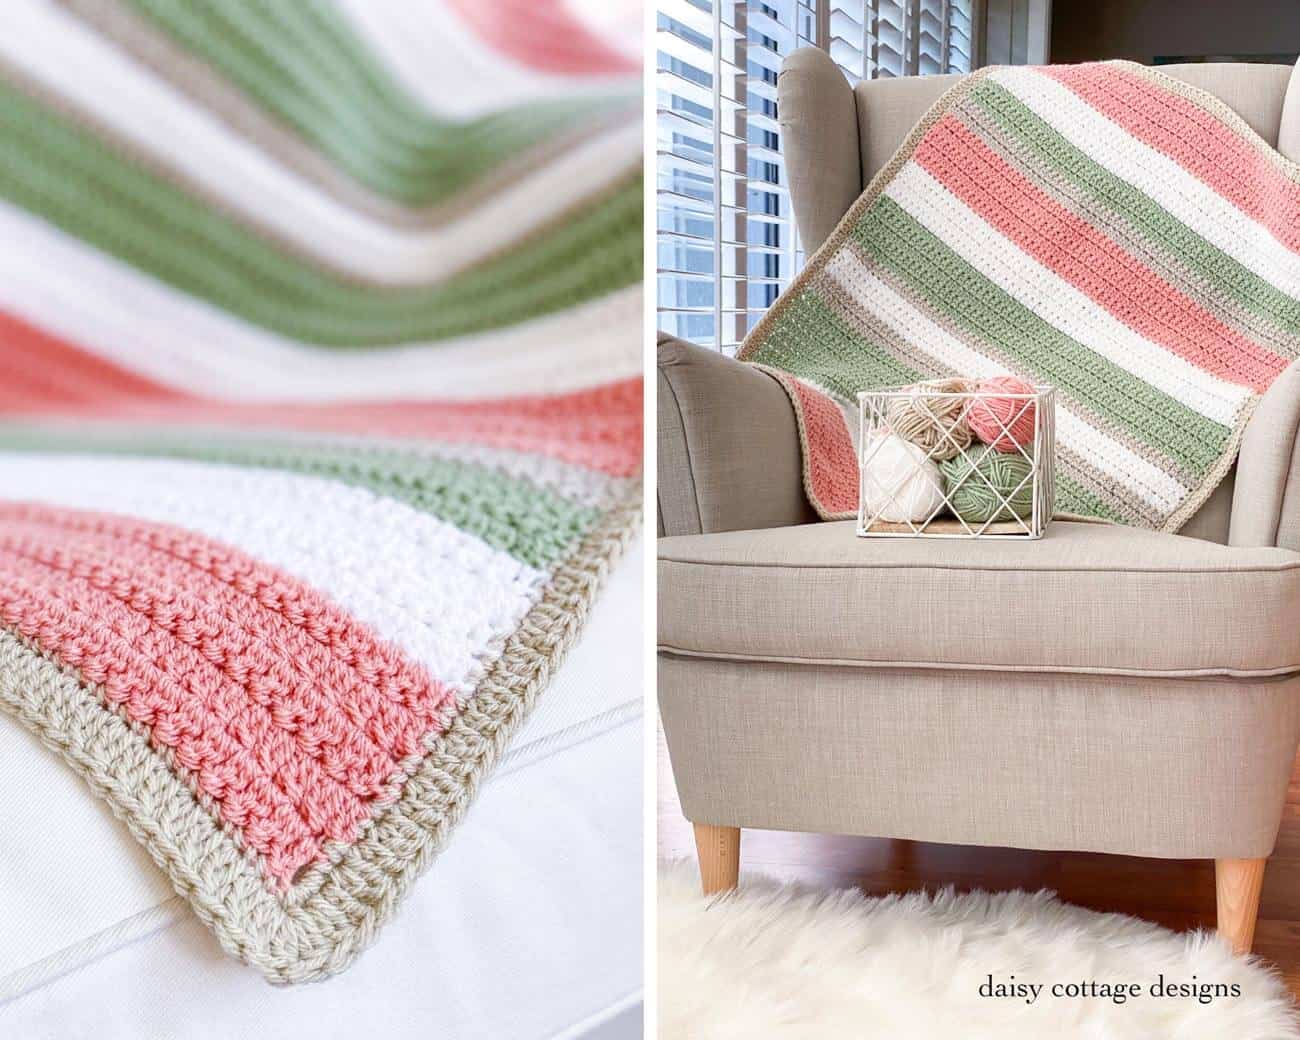
A boatload of my friends are pregnant or have brand new babies. My goal is to give at least one crocheted item to each friend – even though I’m not always done when the baby comes. You know what this means, right? I’m in need of a new quick and easy crochet pattern on a regular basis! Each time I need to come up with a blanket, I try to think of an easy crochet blanket that will have a beautiful look. And then you know what I do? I make a crochet blanket tutorial for you!
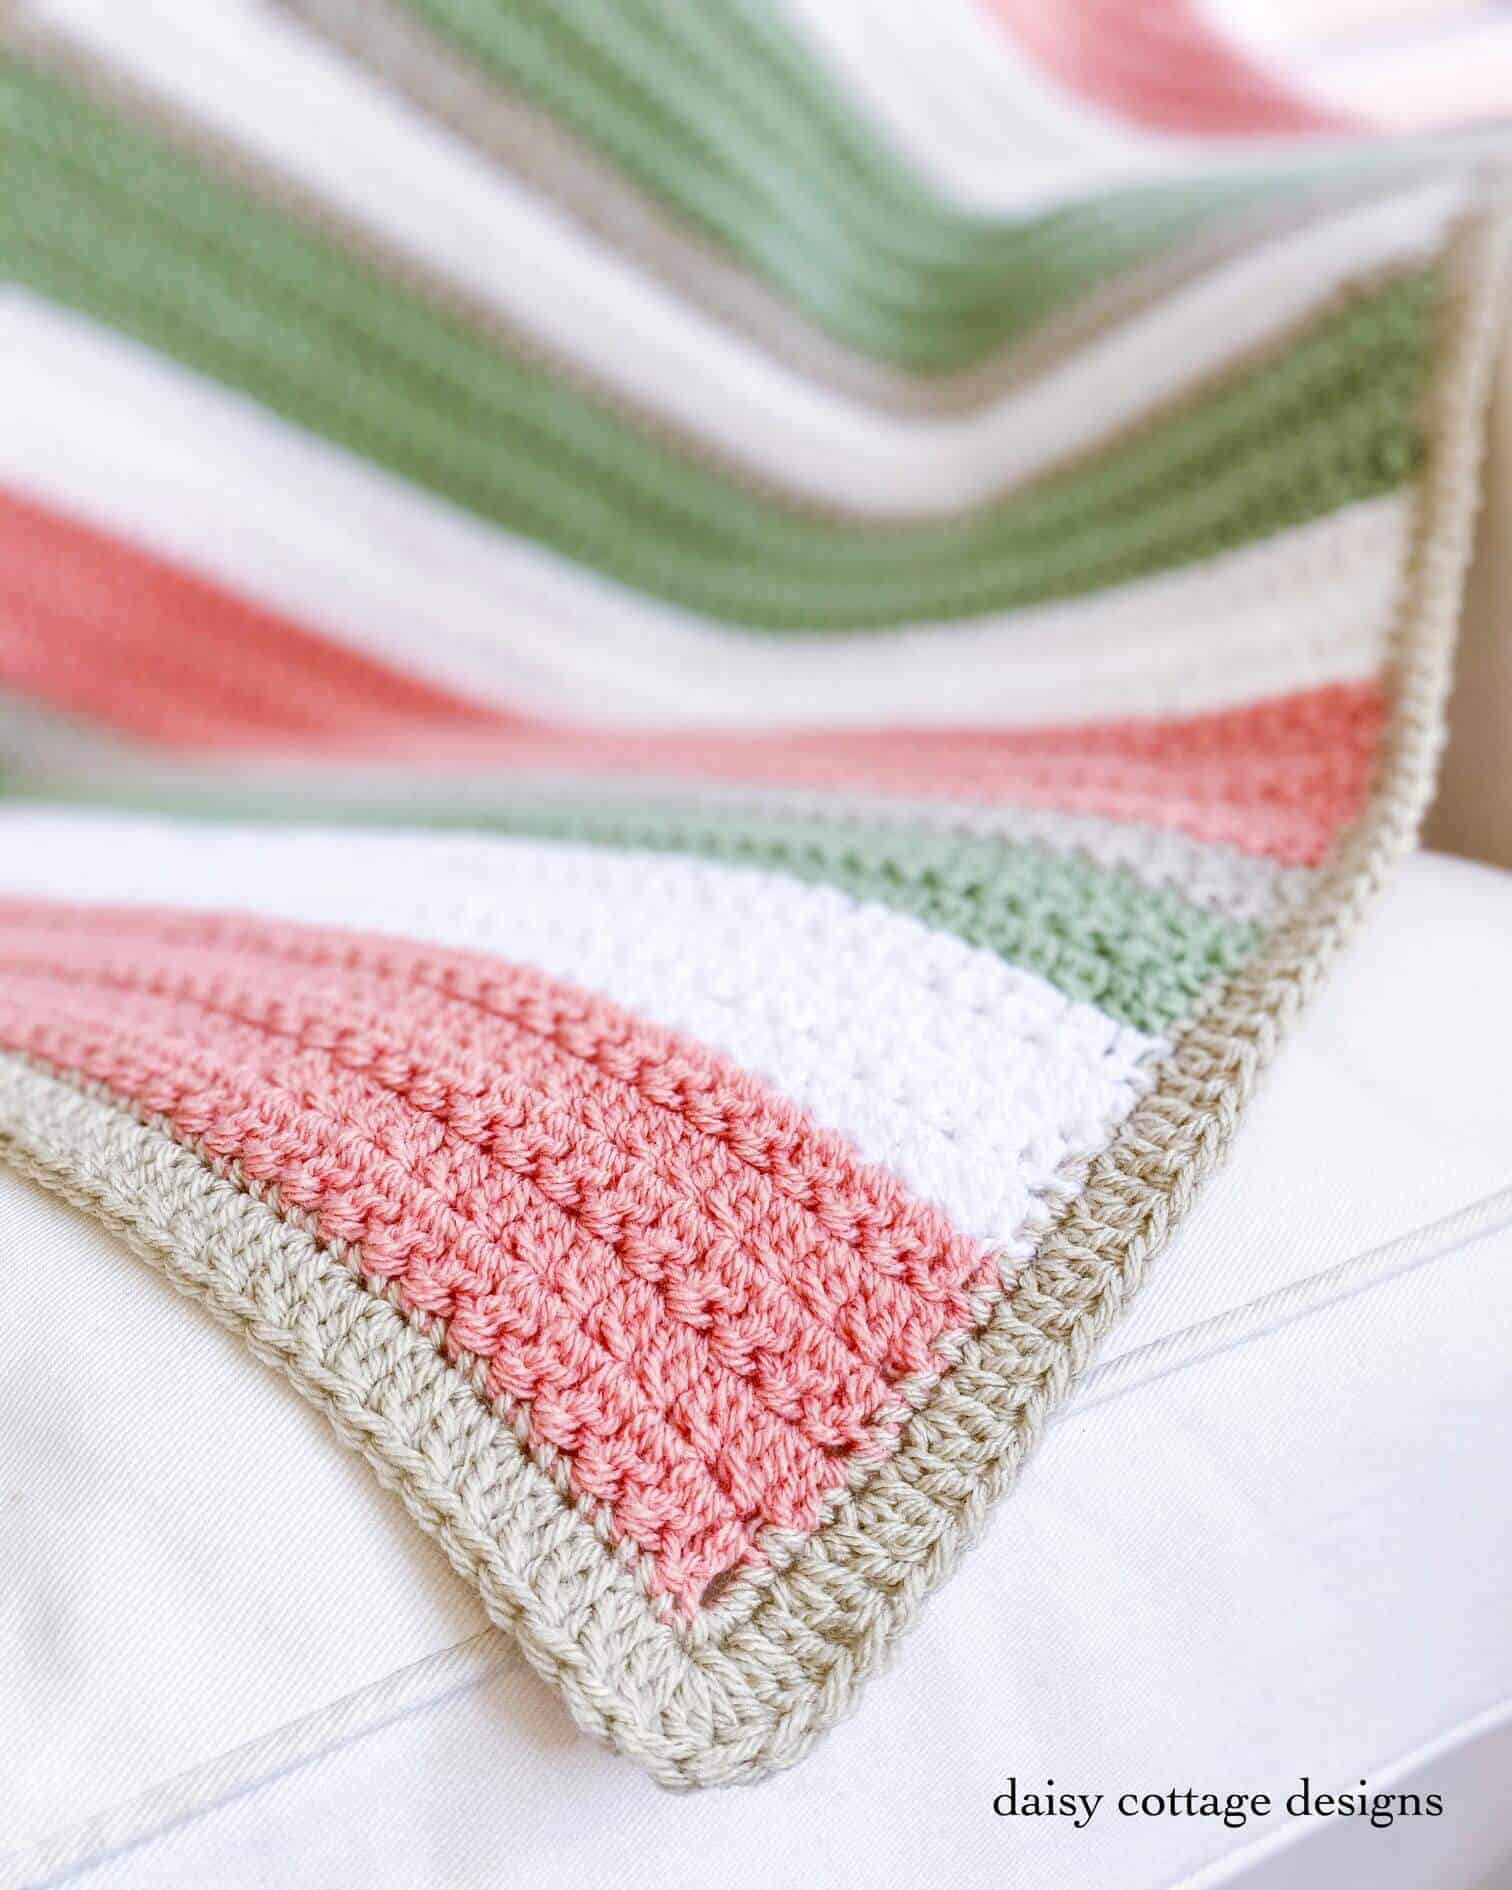
This blanket is for a brand new baby girl. The soft colors aren’t traditional baby blanket colors, but that makes this blanket all the more appealing to me. Sometimes I get a little tired of the traditional pastels. The shades in this blanket remind me of a watermelon. Anyone else?
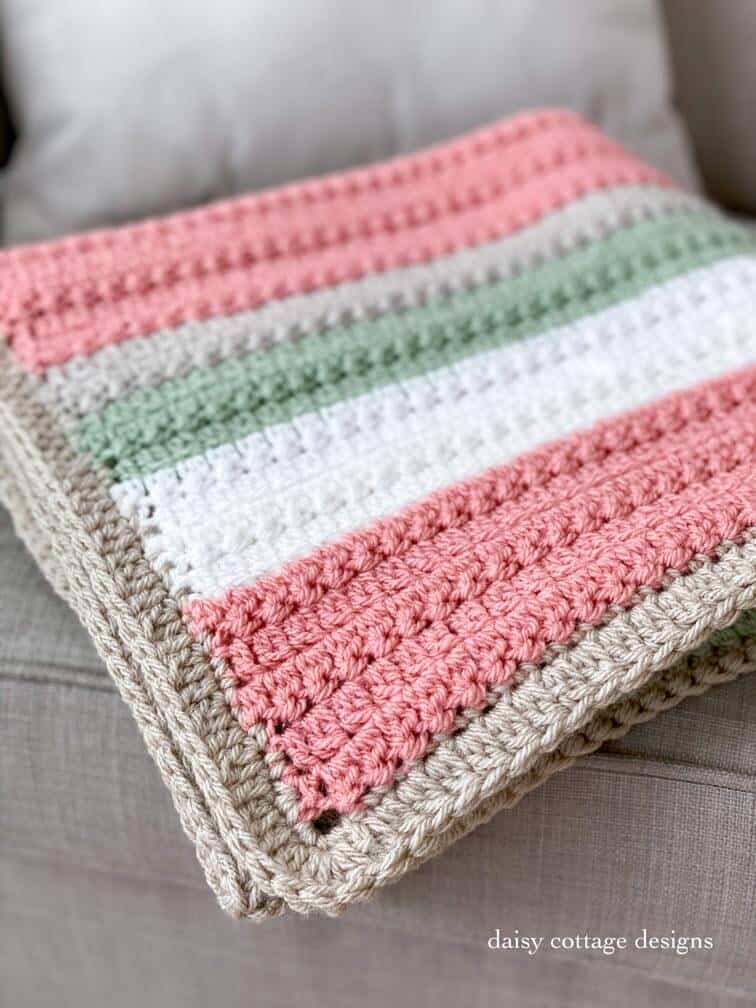
When I’m making a simple striped blanket, I like to make sure it has a good texture to keep things interesting. This stitch is a very simple stitch, but it has great texture.
For this blanket, I used a soft acrylic, worsted weight yarn with an I hook (some people have been confused by this lately and I finally figured it out. They think I’m saying they need one crochet hook… that’s actually the letter i). The texture of this blanket is absolutely perfect. The stitch is easy and flies off the hook. You’ll have a finished blanket in your lap in just a few nights if you set your mind to it.
Like striped blankets? Check out this quick and easy crochet pattern with beautiful stripes.
Let’s get into the crochet blanket tutorial for this quick and easy crochet pattern.
Don’t have time to make this now?
Materials:
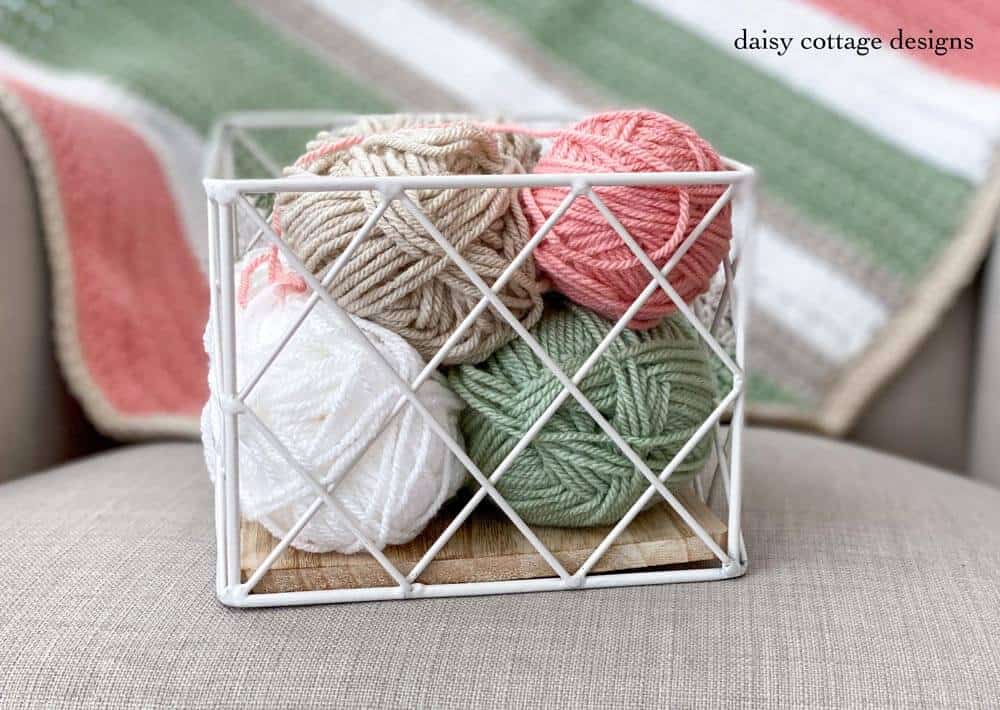
- I-9 (5.50 mm) Crochet Hook – this is my absolute favorite brand!
- 2 Skeins Paintbox Yarn Simply Aran in Blush Pink
- 2 Skeins Paintbox Yarn in Pistachio Green
- 2 Skeins Paintbox Yarn in Paper White
- 1 Skein of Stylecraft Special Aran in Parchment
- If you’re using a different yarn, you need approximately 800 yards of worsted weight yarn.
I did do some yarn mixing in this blanket… sometimes you have to to get just the shade you’re searching for.
Special Stitch:
- DC2Tog: yarn over, insert yarn into stitch, pull up a loop. Pull through two loops. Yarn over, insert hook into same stitch, pull up a loop. Pull through two loops. Pull through 3 loops.
Pattern Notes:
- Finished blanket measures approximately 26 x 35 in.
- You do NOT work into the turning chain at the end of each row
- To make this blanket larger, simply increase your starting chain. This stitch works with any chain length.
- Please tag me with #daisycottagedesigns on Instagram if you create something from this pattern (or any of mine). I’d LOVE to see it!
Crochet Blanket Tutorial:
Want the ad free, print-friendly version? It’s inexpensive in my Etsy shop.
Loosely Ch 62 with blush pink.
Note: If you crochet or chain tightly, size up here to a J crochet hook. This will prevent any ruffling/waving.
Row 1: dc in the third chain from hook. dc2tog in each stitch across. Ch 2, turn. (You should have 1 dc and 59 dc2tog). NOTE: you might notice that your first row is curling some. This will even out after the next couple rows!
Rows 2-9: dc in the first stitch, dc2tog in each stitch across. Do NOT work into the turning chain in this row or any other. Ch 2, turn.
Row 10: dc in the first stitch, dc2tog in each stitch across. Cut yarn, and weave ends.
Row 11: Join Paper White yarn using your preferred method. Ch 2. dc in the first stitch, dc2tog in each stitch across. Ch 2, turn.
Rows 12-14: dc in the first stitch, dc2tog in each stitch across. Ch 2, turn.
Row 15: dc in the first stitch, dc2tog in each stitch across. Cut yarn and weave ends.
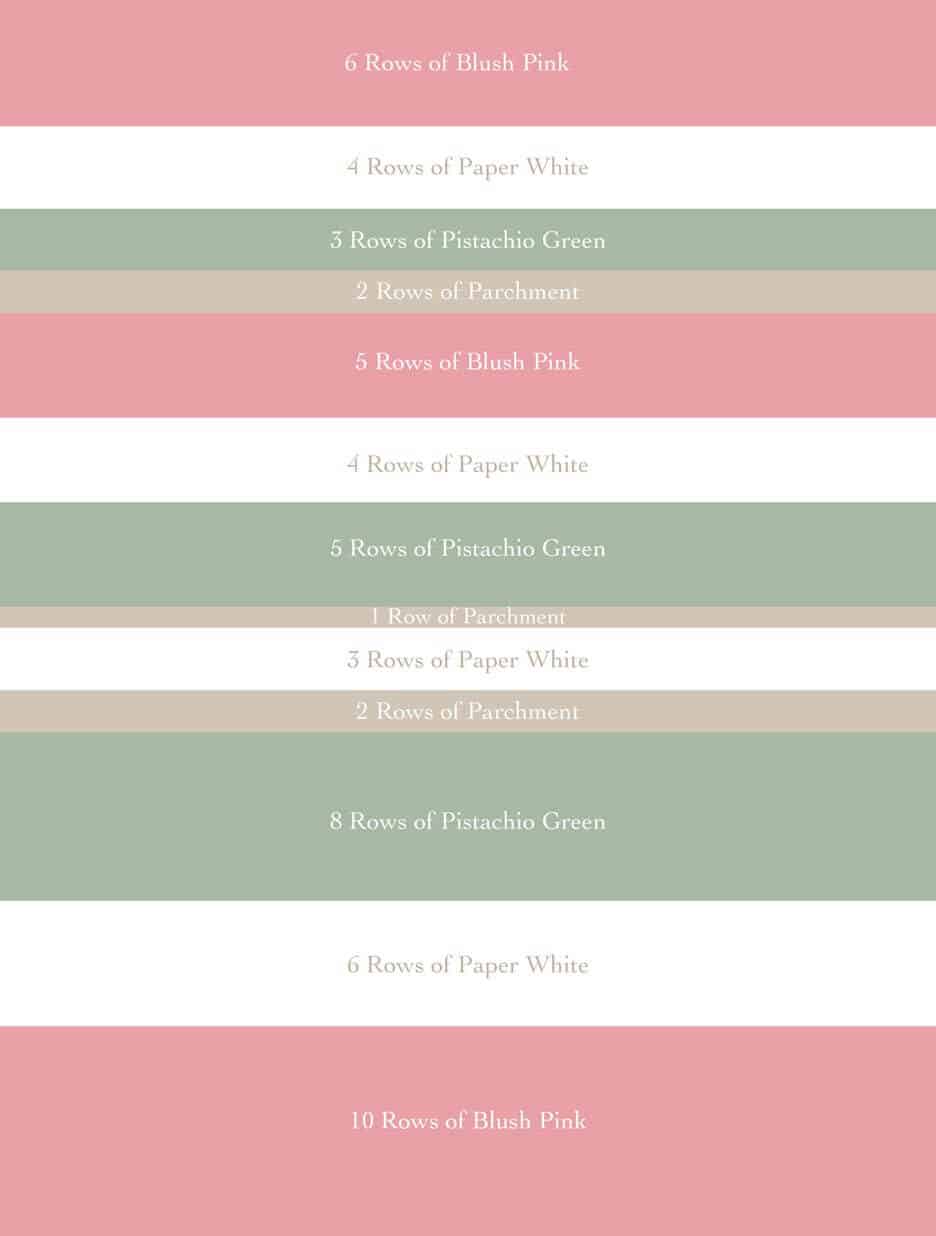
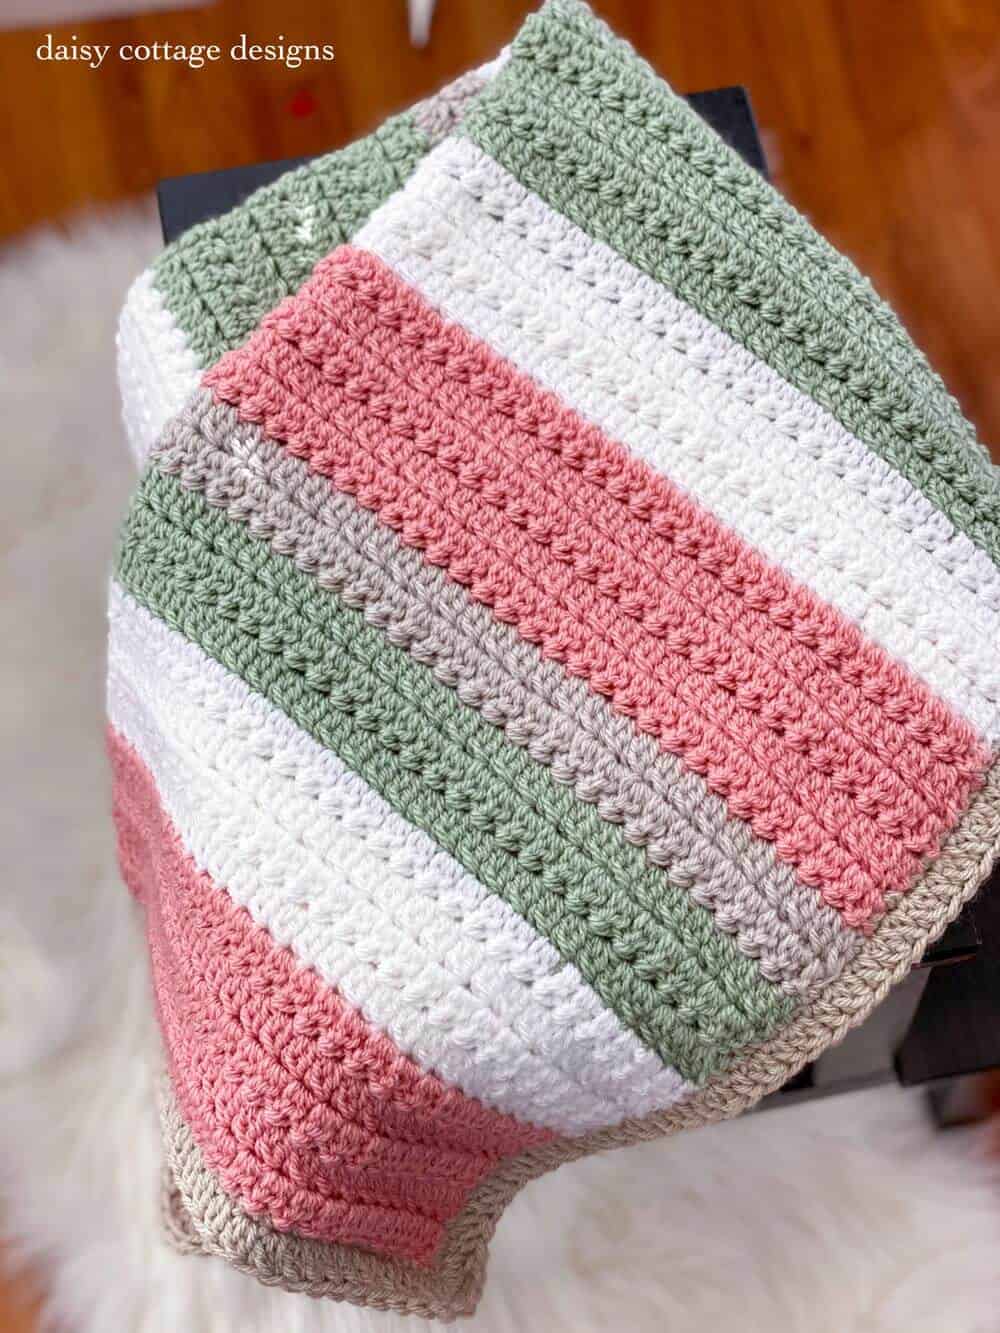
The pattern is as follows:
- * You have already completed* 10 rows of blush pink
- *You have already completed * 6 rows of paper white
- 8 rows of pistachio green
- 2 rows of parchment
- 3 rows of paper white
- 1 row of parchment
- 5 rows of pistachio green
- 4 rows of paper white
- 5 rows of blush pink
- 2 rows of parchment
- 3 rows of pistachio green
- 4 rows of paper white
- 6 rows of blush pink
Instructions for the Border
Once you’ve woven ends, pull up a loop in the top right corner of your blanket and ch 1.
Round 1: sc around the entire blanket (I worked 100 stitches on each of my unfinished edges and one sc per stitch on each of my finished ends) working 3 sc in each corner. Sl st to the first sc to finish the round. Ch 2
Round 2:
- For the first short side, dc in the first stitch, then dc2tog in each stitch across. Work dc2tog, dc, dc2tog in the first corner.
- On the first long side, *dc2tog, 1 dc* across. Work dc2tog, dc, dc2tog in the second corner.
- For the second short side, dc2tog in each stitch across. Work dc2tog, dc, dc2tog in the third corner.
- For the second long side, *dc2tog, 1dc* across. Work dc2tog, dc, dc2tog in the last corner.
- Sl st to the top of the ch 2 to finish. Cut yarn and weave ends.

This blanket is absolutely beautiful, I’m not a great crochet but I really want to try and make this,
I’m sure you can do it, Linda! It’s definitely beginner friendly. Drop me an email if you have any questions.
Where can I buy paintbox yarn in a store? I know I have seen it but can’t remember. I know I thought it was lovely colors and not real pricey. As for Stylecraft, I have never heard of it. I am in Wisconsin. Not criticizing your lovely pattern because I love all your patterns. But wouldn’t it be less confusing to say DC2 tog OVER ONE STITCH. DC2 tog implies making 2 stitches into one therefore getting smaller. I love your color picks.
Hi, Brenda. I actually have never seen it in stores 🙁 Thanks for the tip on the wording! 🙂
so pretty
Lauren, your crochet is always beautiful. I’m coming back to crocheting after many years and brushing up on my stitches. I’ve learned dc2tog over 2 stitches. You refer in this pattern to dc2tog in one single stitch. I guess I’m confused. Thank you! Sue.
Often, a dc2tog is in one stitch. But, you can also work this stitch in ONE stitch. Instead of inserting your hook into the second stitch when you usually would, you’ll just insert your hook into the SAME stitch. 🙂 I filmed a tutorial today. Hopefully it’ll be live tomorrow!
Hello Lauren, beautiful blanket ? I really love the pattern and colors you choose. Any likelihood you’ll be doing a video tutorial on this pattern?
Very likely! I filmed the tutorial today and hope to get it edited and uploaded ASAP!
Hi I have a question! Do you have a simple crochet pattern to make burping cloths?
I don’t. Try a Pinterest search! 🙂
What is the multiplier for this blanket? I would love to make it bigger
Any number of stitches works for this pattern!
Your tutorial was great on the “dc2tog”. It couldn’t have been easier. I do love the colours for the blanket. I will try this pattern soon, Since I live in Canada, I will have to use the acrylic or worsted weight yarn for the blanket. Can you tell me the number on the Paintbox Simply Aran wool. Is it a 3 or a 4?
thanks Sue White , Windsor, Ontario
I am also in Canada (MB) and I would LOVE to get my hands on Paintbox yarn – all those fabulous colours! I am going to go out on a limb here, since I noticed there were no replies, and assume that the yarn is a 4. I have just started a blanket using baby yarn, which is a 3, and quiet light. Hope this helps. ?
Paintbox has several weights! This blanket uses Aran ☺️
Hooray – no impossible “downloads”. For some reason I can never get them to work. I love the pictures, the colors, and the written instructions. Love these colors and the pattern. Can’t wait to try this blanket.
I’m glad you like it, Dot. Enjoy!
What color would you use instead of the pink to make it gender neutral?
I would consider dolphin blue if you want to go a little darker or Seafoam Blue if you want to keep it lighter. They’re both paintbox shades.