The Rosewood Ripple Blanket Crochet Pattern
The ripple stitch is one of my favorite crochet techniques. I’ve made dozens of blankets using this crochet stitch, and I’m confident you’ll love it, too! This fun crochet pattern is a spinoff the original Daisy Cottage Designs ripple pattern. The pattern is available in full at the bottom of this post.
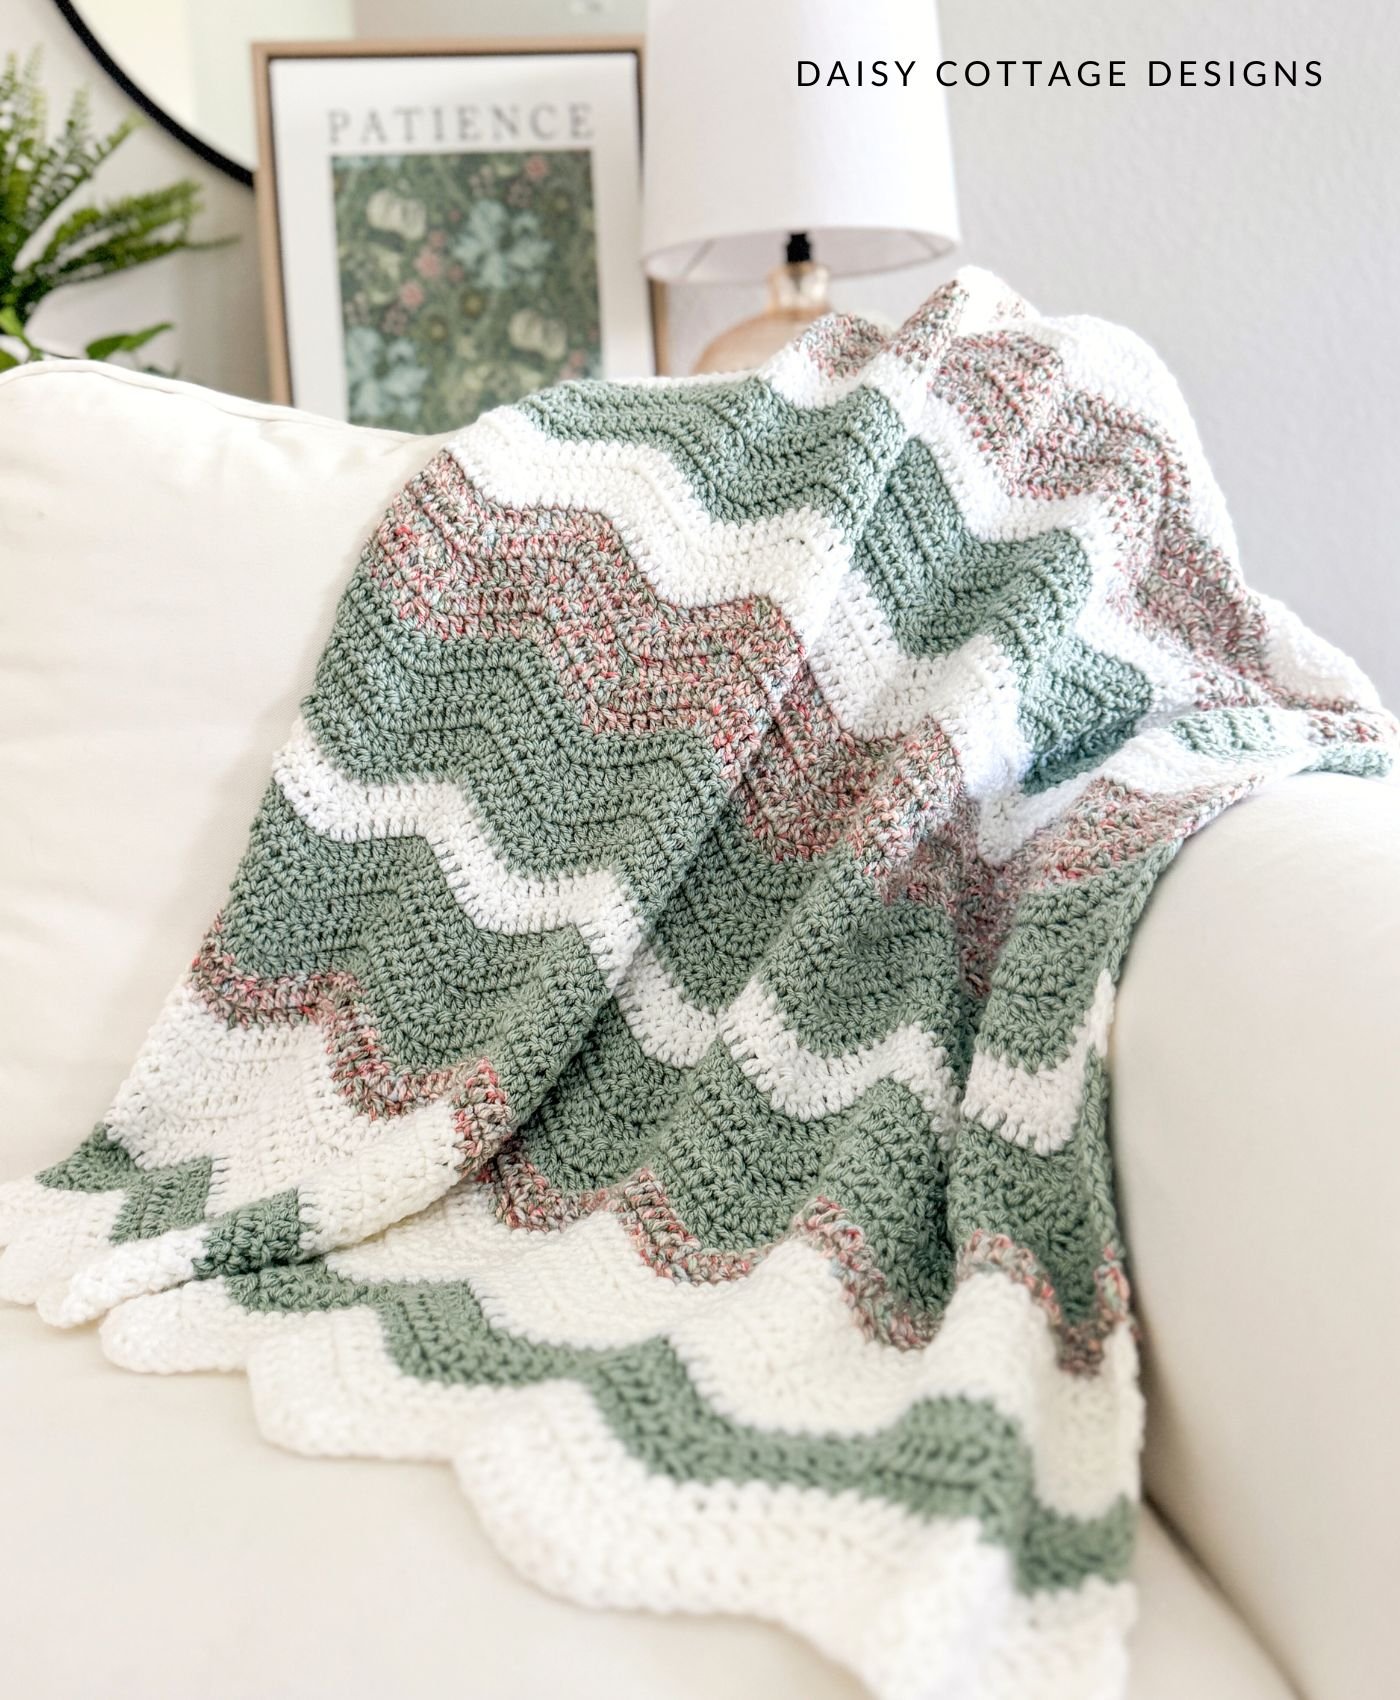
About 10 years ago, I made my very first ripple blanket. I was hooked from the beginning (pun intended).
I’ve made dozens of ripple blankets since then, and I’ve loved every one of them.
You can see a few variations I’ve made through the years by clicking the links below (full patterns available for each of them):
- The Wavy Blanket Pattern
- The Gentle Ripple Blanket Pattern
- Beginner’s Baby Blanket Crochet Pattern
- Zig-Zag Crochet Blanket Pattern
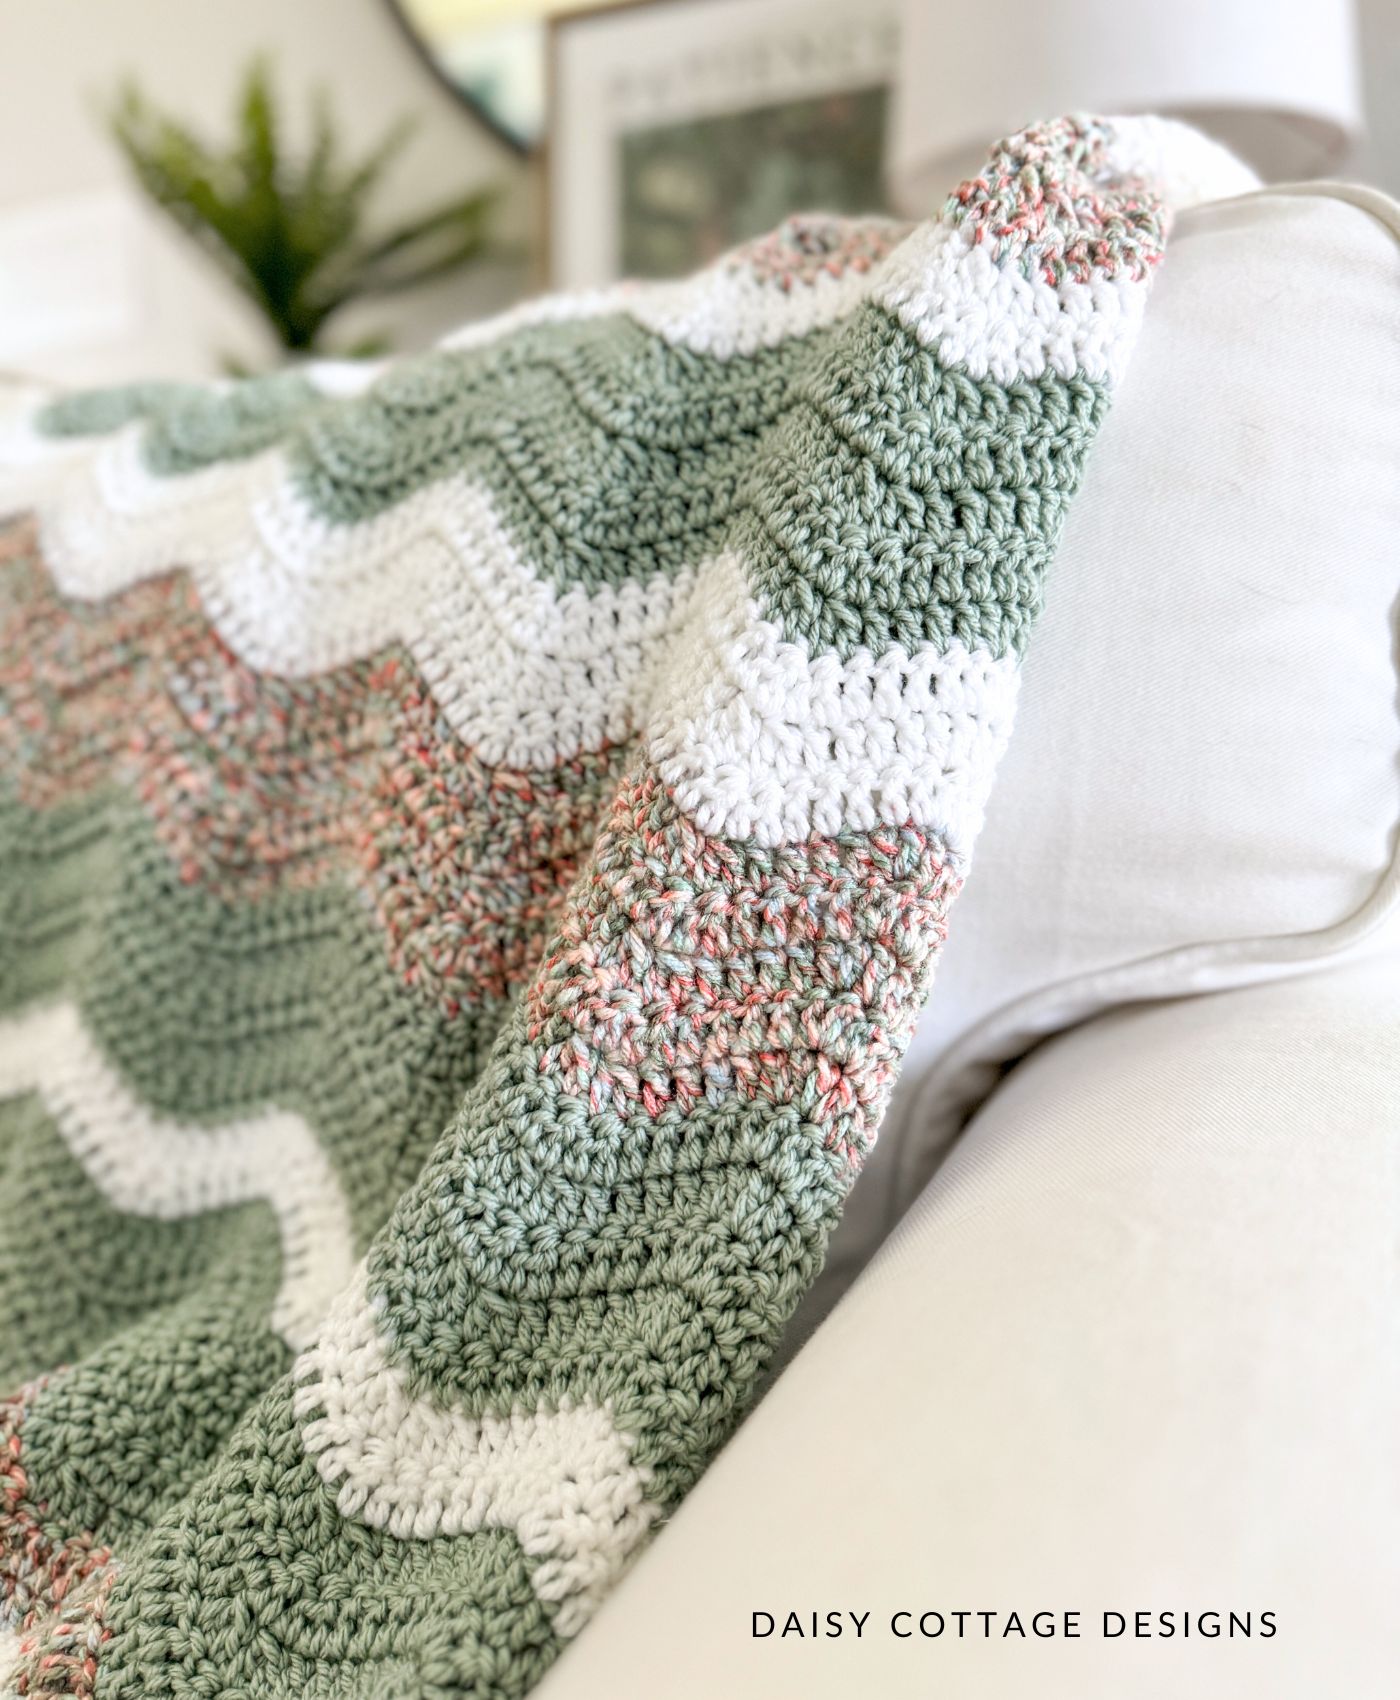
Even though I crochet for a living, sometimes I lose my motivation. If I’m ever in a crochet slump, a ripple is exactly what I need to get my crojo back.
Tuesday of this week, I decided that it had been too long since I had a ripple blanket on my hook. Despite having several other projects in the works, I picked some yarn from my stash and got right to work.
By lunchtime, I challenged myself to finish the blanket in a day. Despite having an out-of-town friend stop by unexpectedly, I was still able to finish this blanket before going to bed.
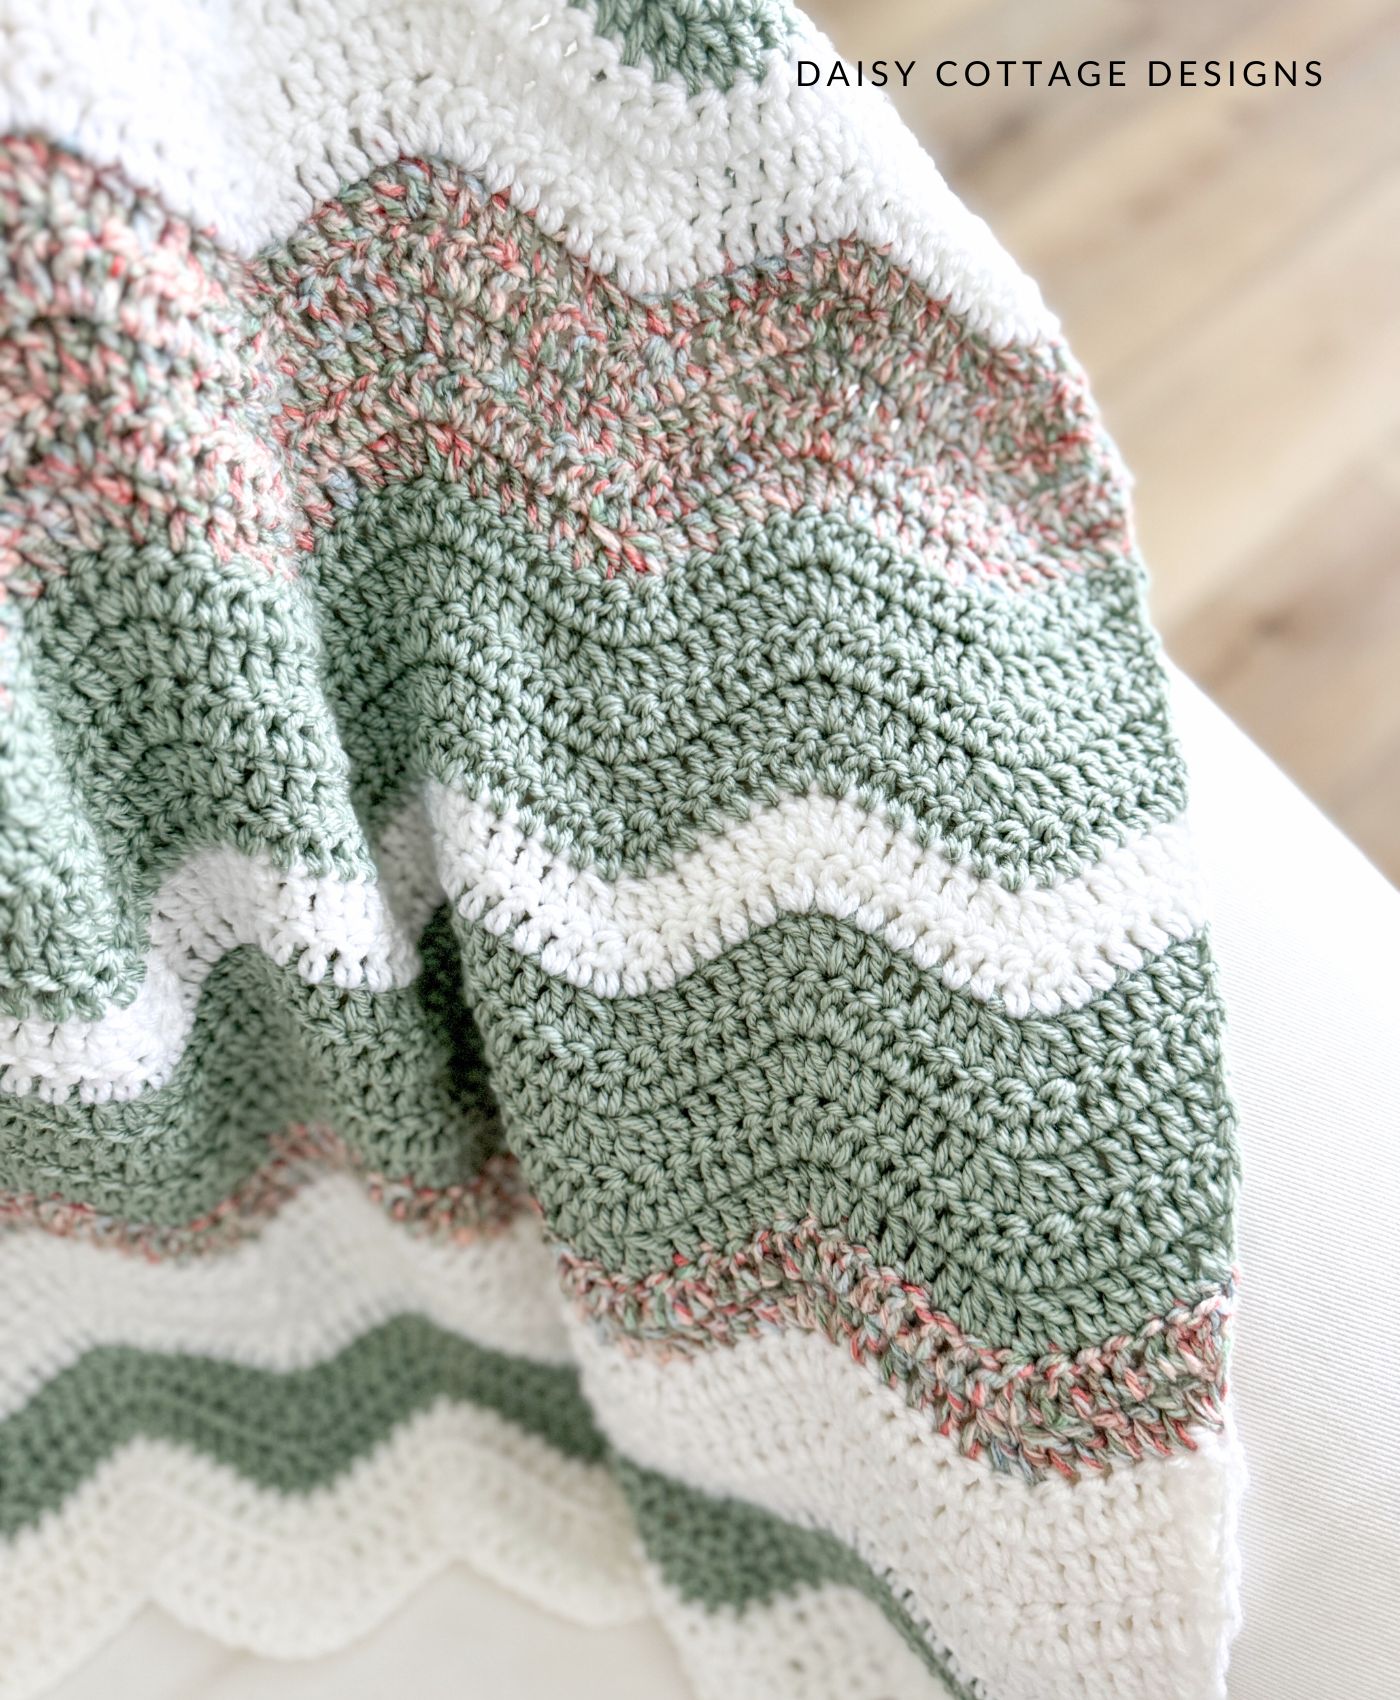
Believe it or not, a ripple blanket is not a difficult crochet project. Made mostly of double crochets, even a beginner can accomplish this classic stitch.
If you’re not confident reading a pattern, I have good news for you! I just made a new video showing exactly how to make the ripple.
One of my followers said this about the video tutorial: I always stay away from this stitch but you explain it so well I’m actually going to make a blanket with it now. Thank you
Materials
- A print-friendly PDF is available here if you prefer easy-to-print patterns.
- J/10 (6.50 mm) Crochet Hook worsted-weight
- Approximately 800 yards of worsted weight yarn
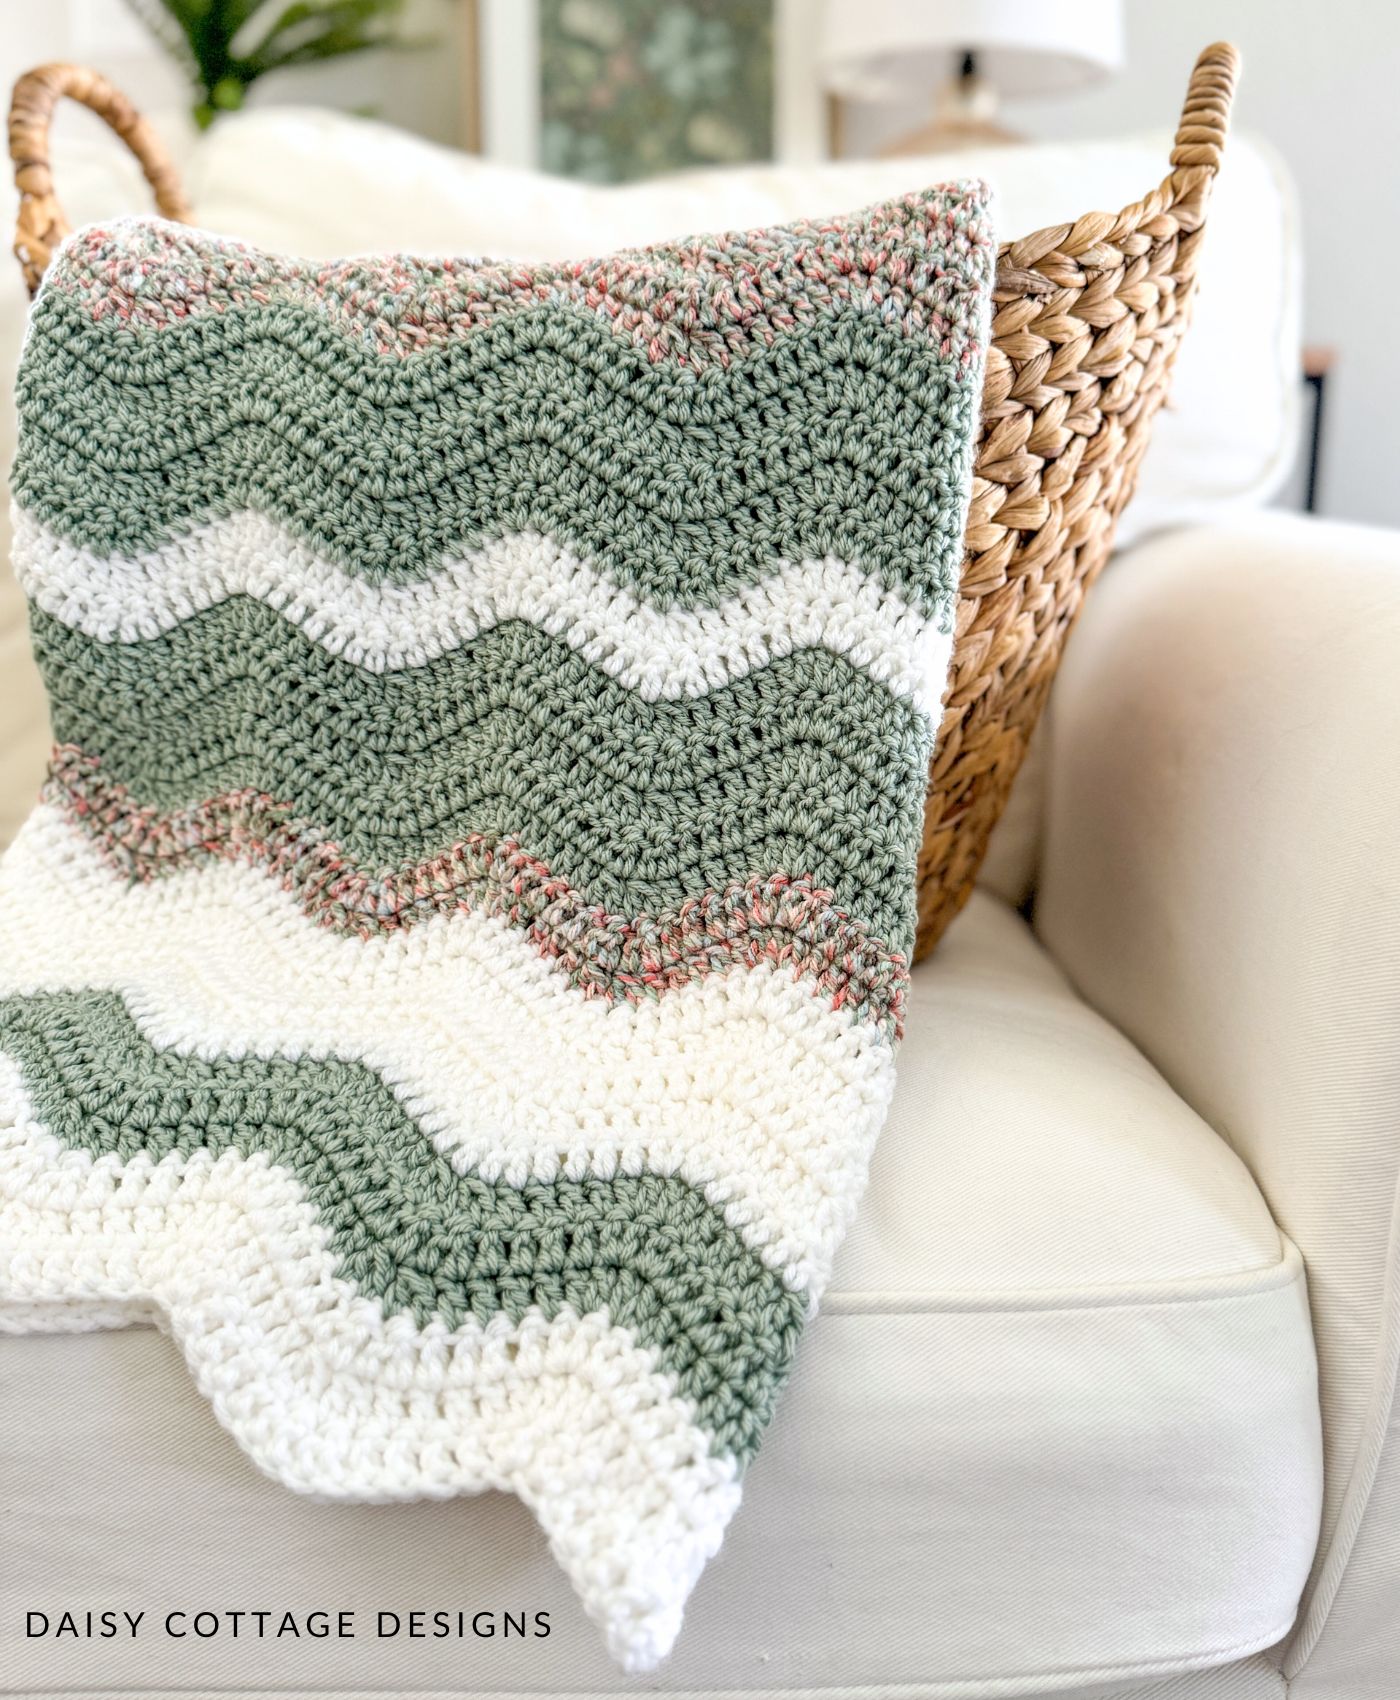
- I used Hobby Lobby I Love This Yarn! in the following shades:
- White (1 Skein)
- Bloomtique (1 Skein)
- Spa (1 Skeins)
- Tapestry needle and scissors for weaving ends.
Pattern Notes:
- The finished size of this blanket is approximately 30″ x 34″.
- The multiple for this pattern is 14+2.
- Crochet hook sizes are not something that is set in stone. If you crochet tightly, go up a hook. If your tension is loose, go down a hook. Crocheting is an art!
- You’ll work into the turning chain at the end of each row.
- Gauge is not important for this project.
- A dc2tog is the same thing as a double crochet decrease.
- There is a video tutorial for this pattern. You can find it here.
Special Stitch:
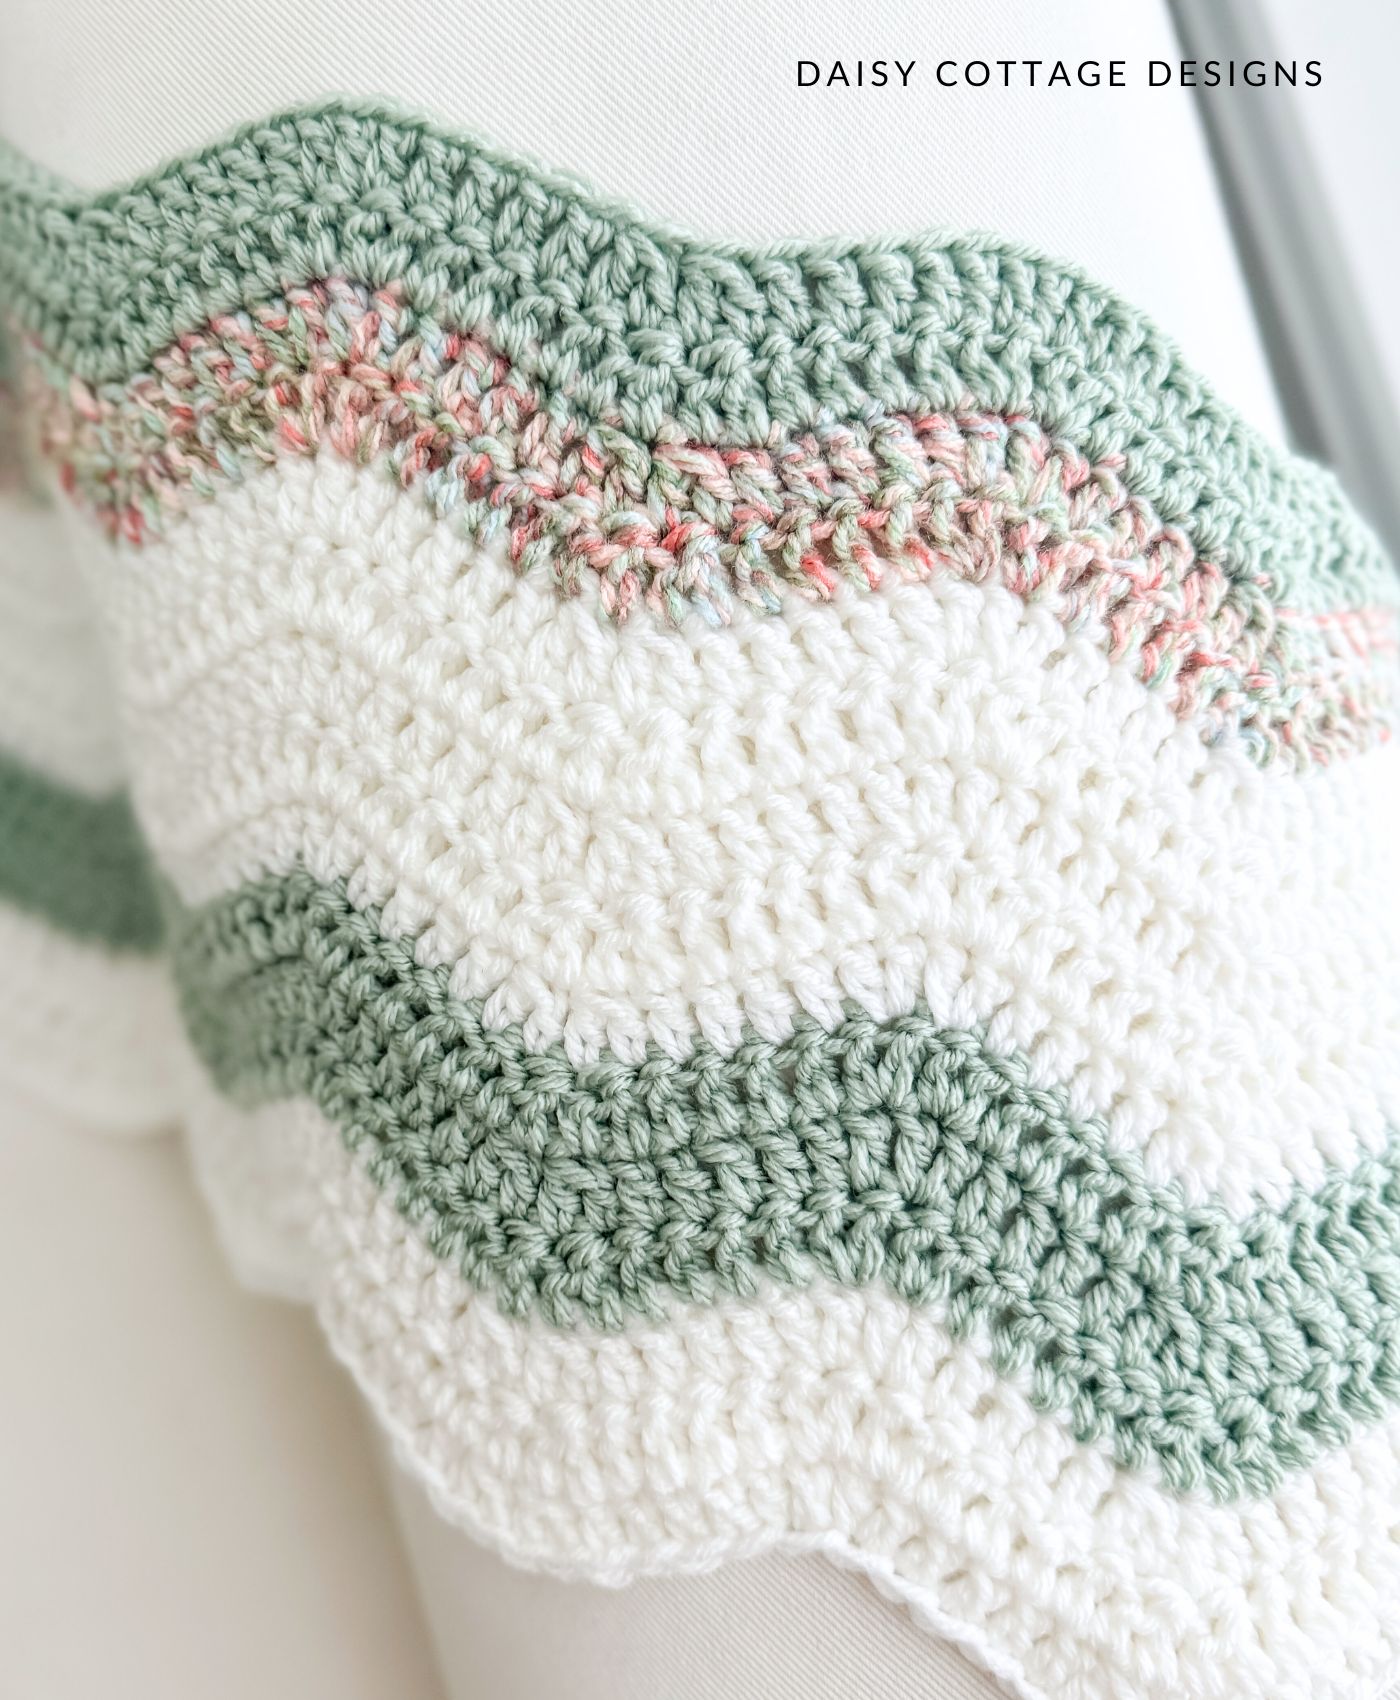
- dc2tog (double crochet two together): Yarn over, insert hook into the next stitch and pull up a loop. Yarn over, pull through the first two loops on your hook. Yarn over, insert hook into the next stitch and pull up a loop. Yarn over, pull through the first two loops on your hok. Yarn over, pull through the remaining three loops on your hook.
- The video tutorial walks through this special stitch in detail.
Pattern:
Using White, chain 100.
Row 1: dc in the third chain from the hook. dc in the next 4 stitches. dc2tog, dc2tog. dc in the next 4 stitches. *Work 2 dc into the next two stitches. dc in the next 4 stitches. dc2tog, dc2tog. dc in the next 4 stitches* across. End with 2 dc in the last chain. Ch 2, turn.
Row 2: dc in the first stitch and in the next 4 stitches. dc2tog, dc2tog. dc in the next 4 stitches. *Work 2 dc into the next 2 stitches. Dc in the next 4 stitches. dc2tog, dc2tog. dc in the next 4 stitches.* End with 2 dc in the last stitch (this will be the top of your ch 2 from the previous round). Ch 2, turn.
Note: You will have 2 dc in the first and last stitch of each row (ch 2 counts as a dc).
Continue repeating row 2 until you have 56 rows.
The Stripe Pattern is as follows:
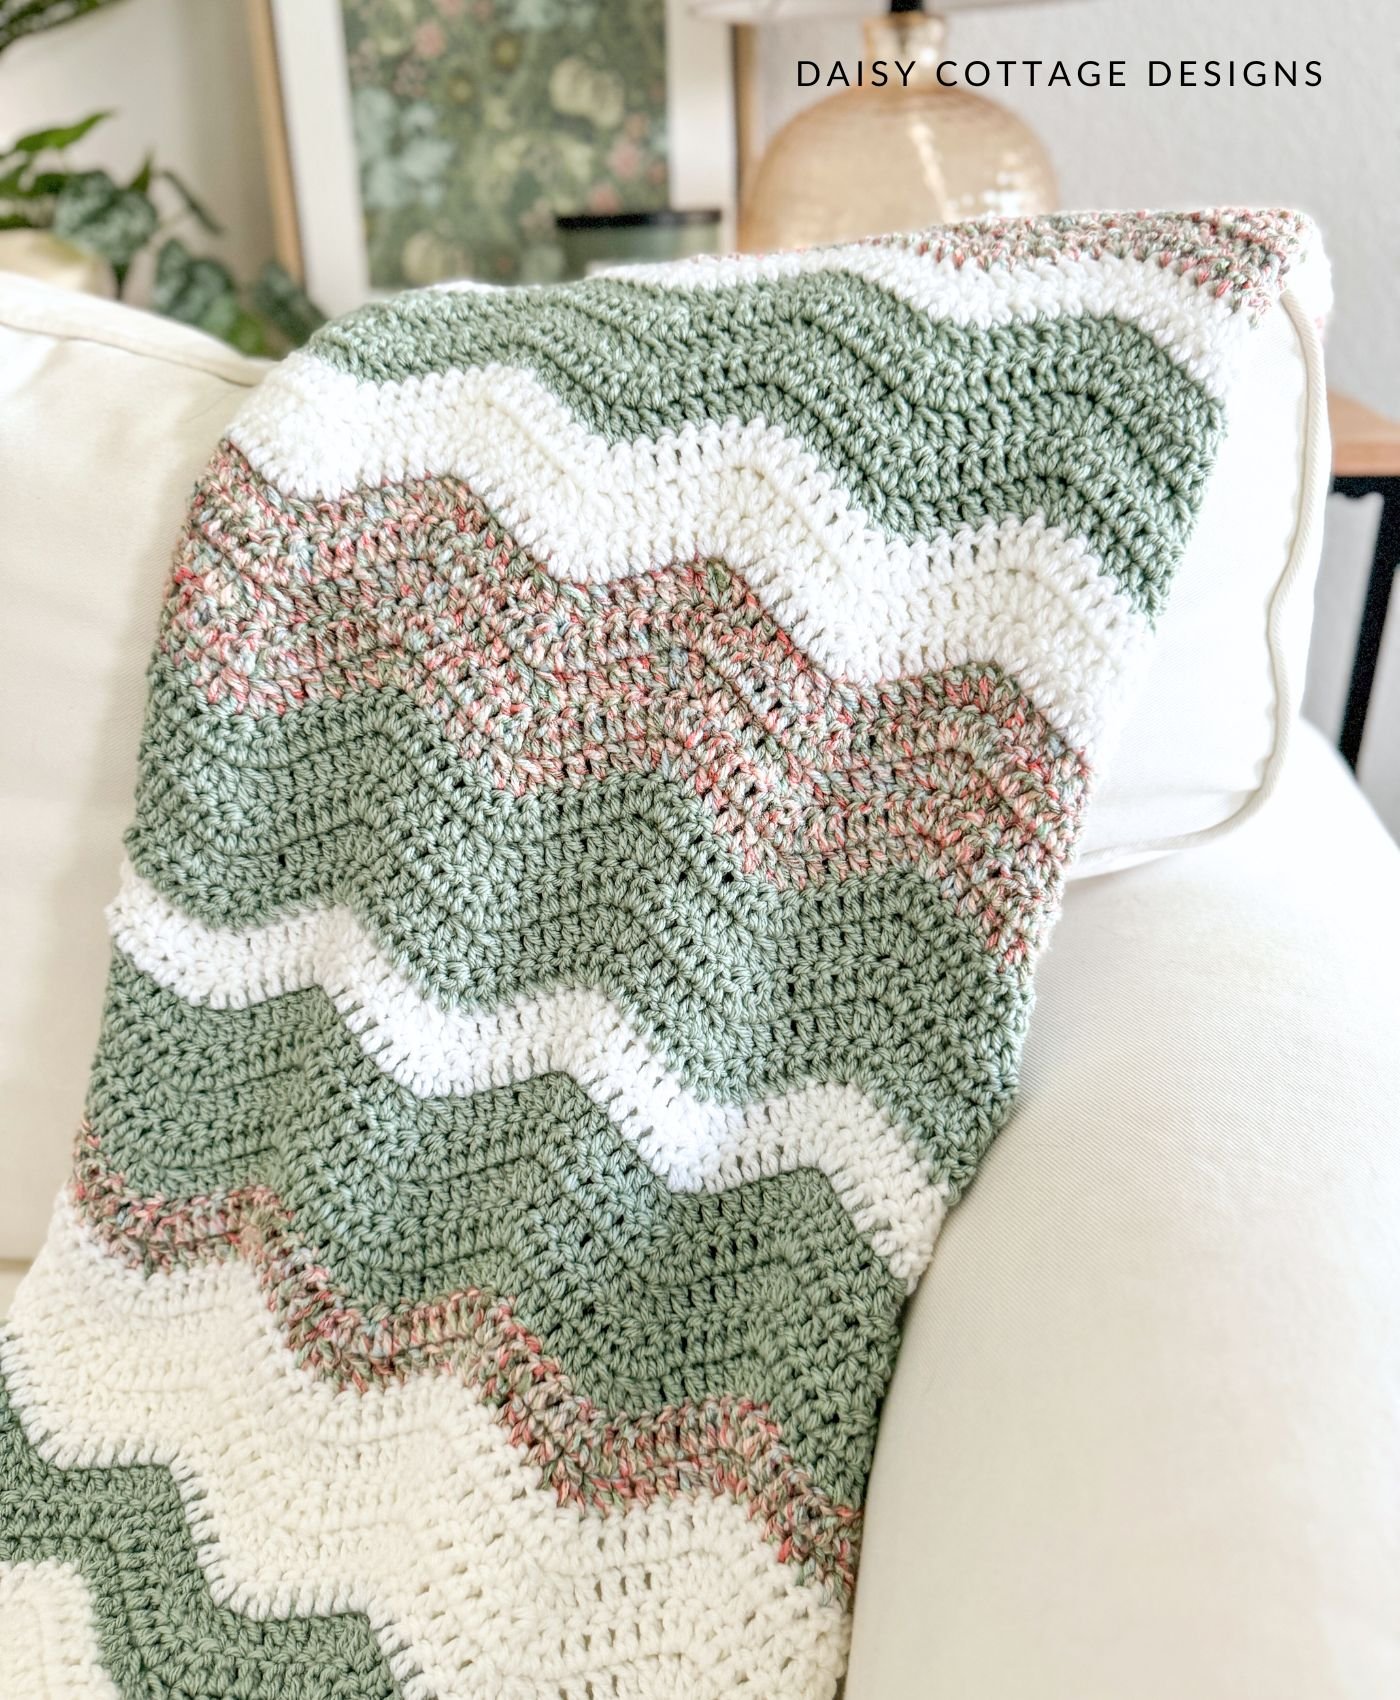
- 3 rows White
- 3 rows Spa
- 5 rows White
- 2 rows Bloomtique
- 5 rows Spa
- 2 rows white
- 5 rows Spa
- 5 rows Bloomtique
- 3 rows White
- 5 rows Spa
- 2 rows White
- 5 rows Bloomtique
- 5 rows White
- 3 rows Bloomtique
- 3 rows White
To change colors:
On the last stitch of the row, do not pull your working yarn through the final two loops to complete the last dc. Instead of pulling the yarn you’ve been working with through those final two loops, place the new yarn on your hook and pull it through the last two loops. Be sure to leave a long tail on both colors so you can weave your ends later.
If you prefer video instructions, click here for a video tutorial on changing colors.
Adjusting the Size of this Blanket
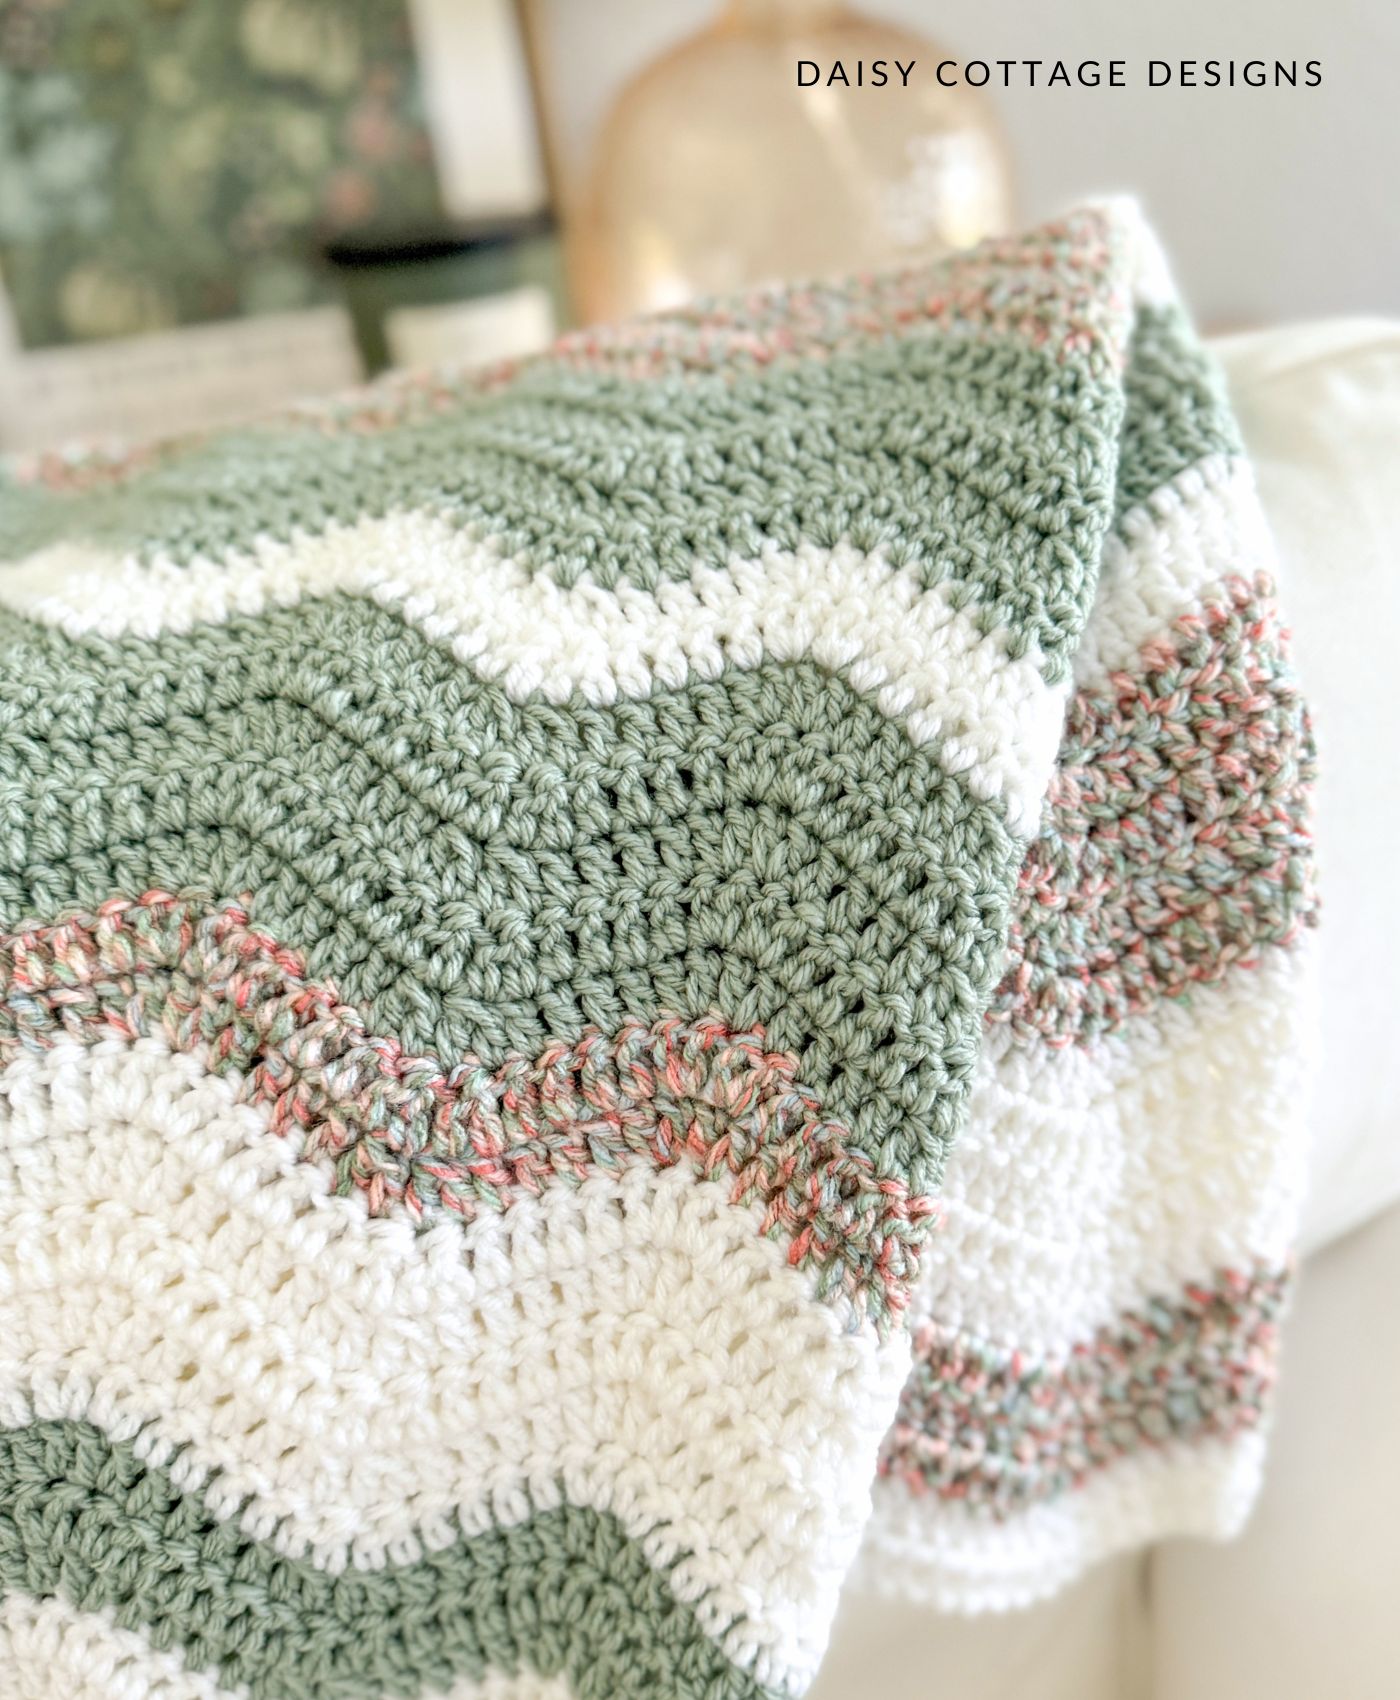
If you’d like to adjust the size of this blanket, please see the original free ripple blanket crochet pattern. It includes 6 different sizes, plus instructions for you to make a custom size.

Hi, i’ve purchased your pattern from Etsy. I love your pattern, and you make it easier with video. However, the pattern and in the video (for example the ripple blanket), it’s only for 30 chain, but in the pattern there’s 128 chain. So how do I continue the row until 128 chain is completed? Hope you understand my question. Thanks in advance!
Lovely pattern, indeed. I knitted one too last year. I hope to CROCHET your pattern. Thank you for sharing.
I hope to work more with your designs.
Good day.
You can do it! <3
I would like to make this a toddle size. What would be the stripe pattern for the additional rows?? Love your afghans! (FYI I have made many for gifts!)
Hi, Jean. I don’t have a stripe pattern for this blanket in other sizes. Honestly, I’d probably just start the stripes over and work until I was satisfied with the length!