C2C Moss Stitch Crochet Blanket (With Video)
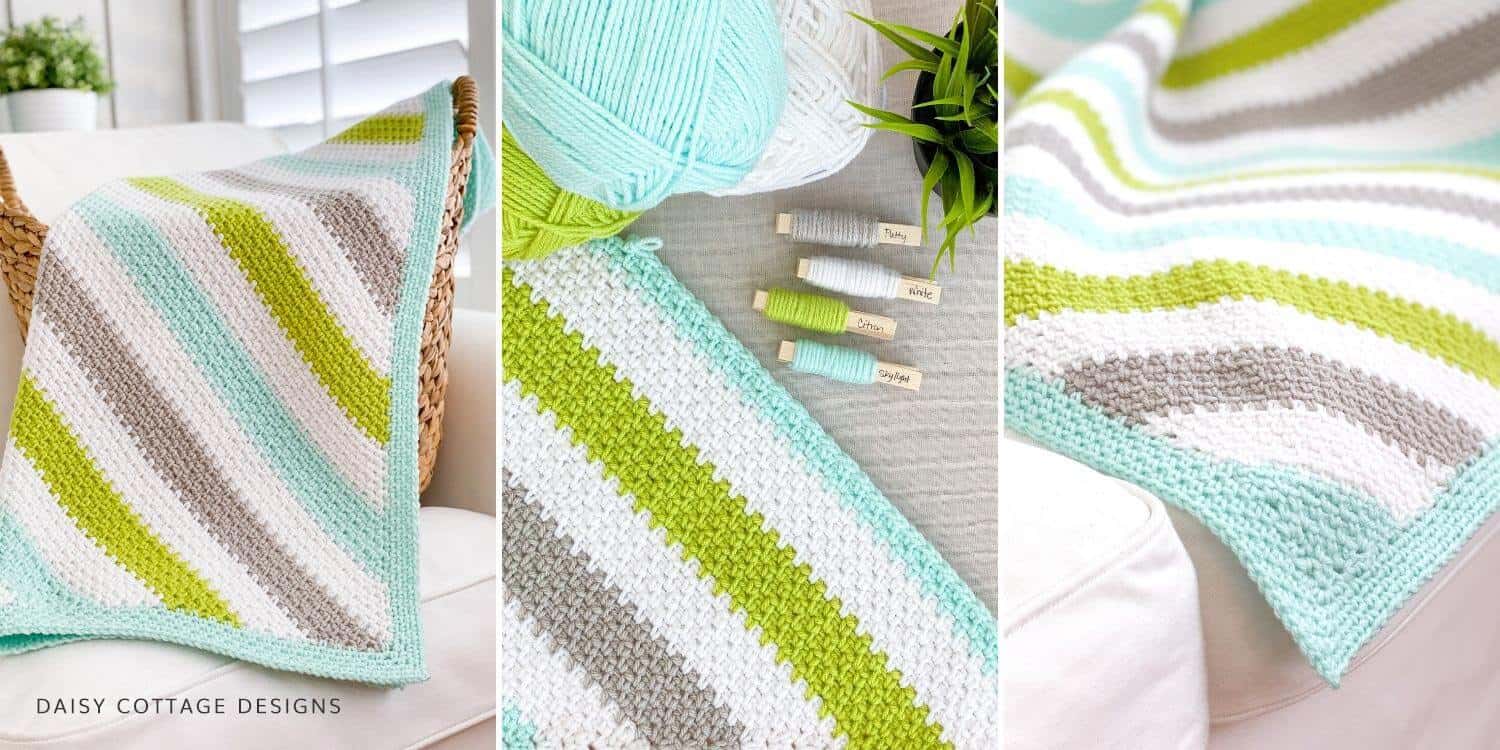
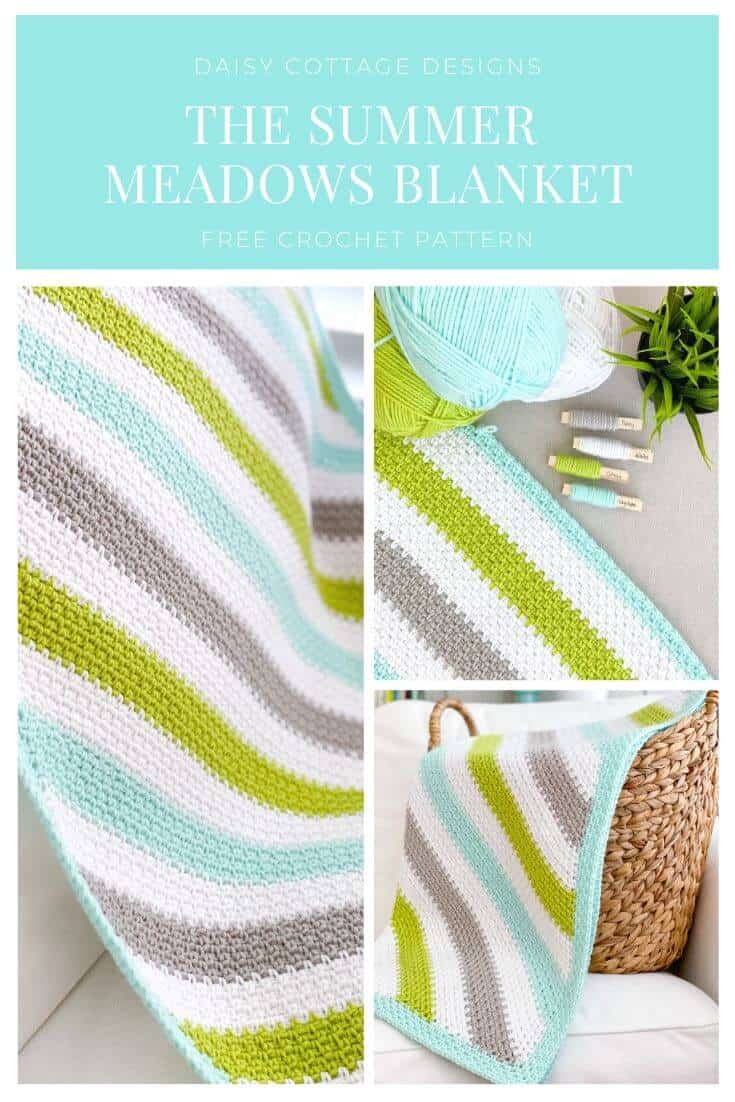
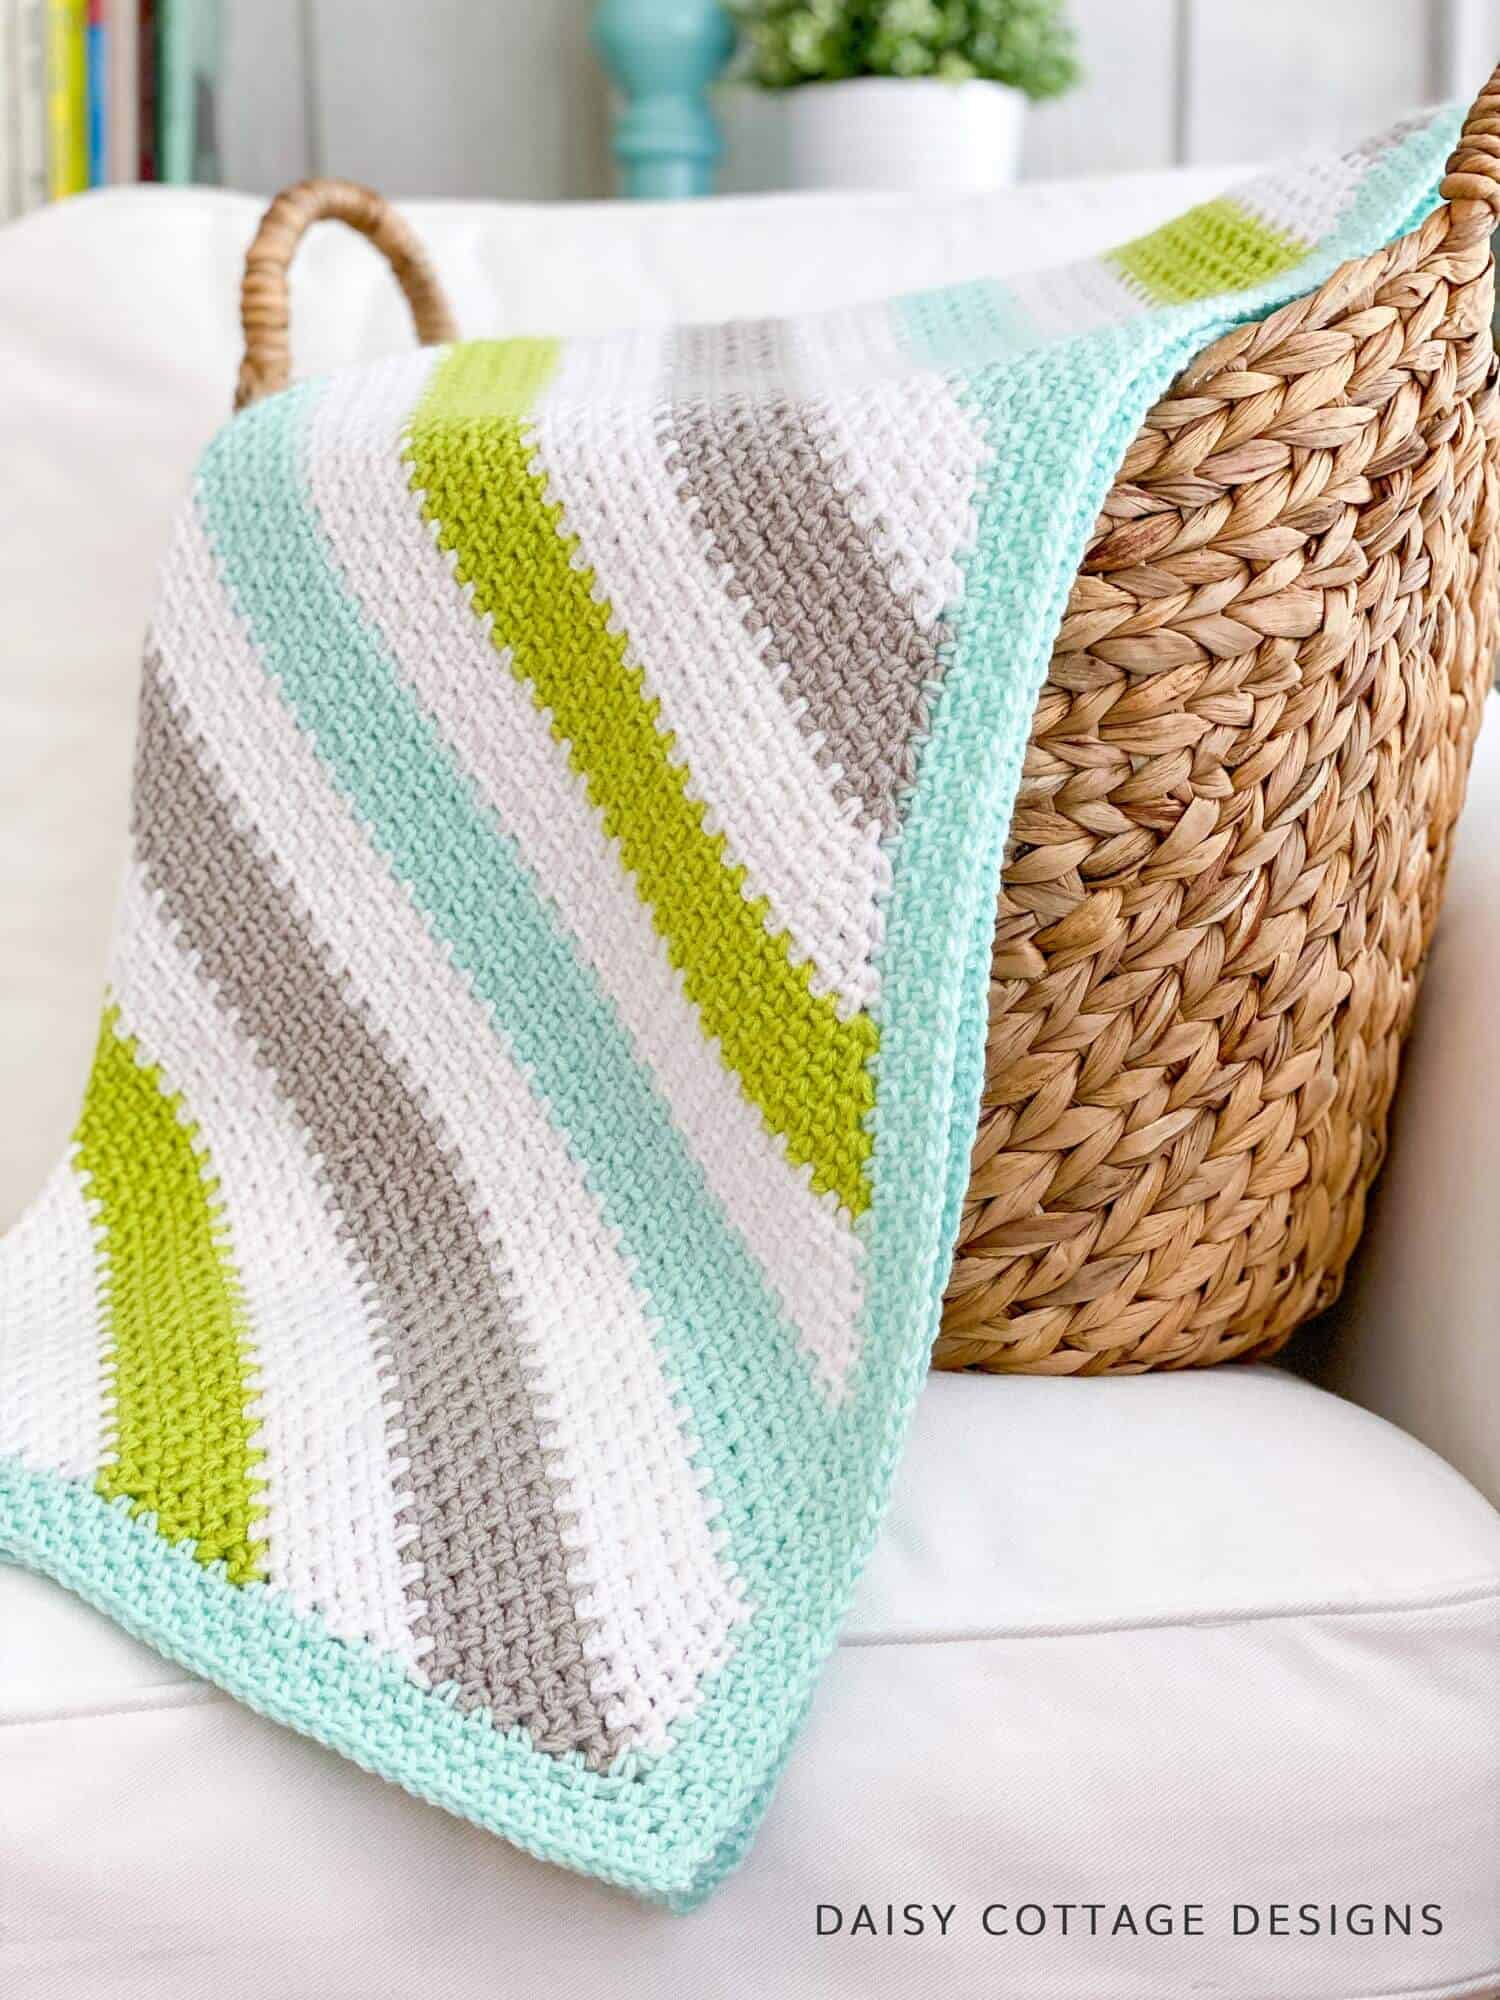
This beautiful moss stitch crochet blanket is hot off the hook. I’m calling it the Summer Meadows Baby Blanket because it sports such bright, fresh colors. it’s more muted than the Oceanside Throw but just as beautiful.
Read the details or scroll on by my chatter to get to the free crochet pattern. If you prefer an ad-free, print-friendly PDF, that’s available for purchase HERE.
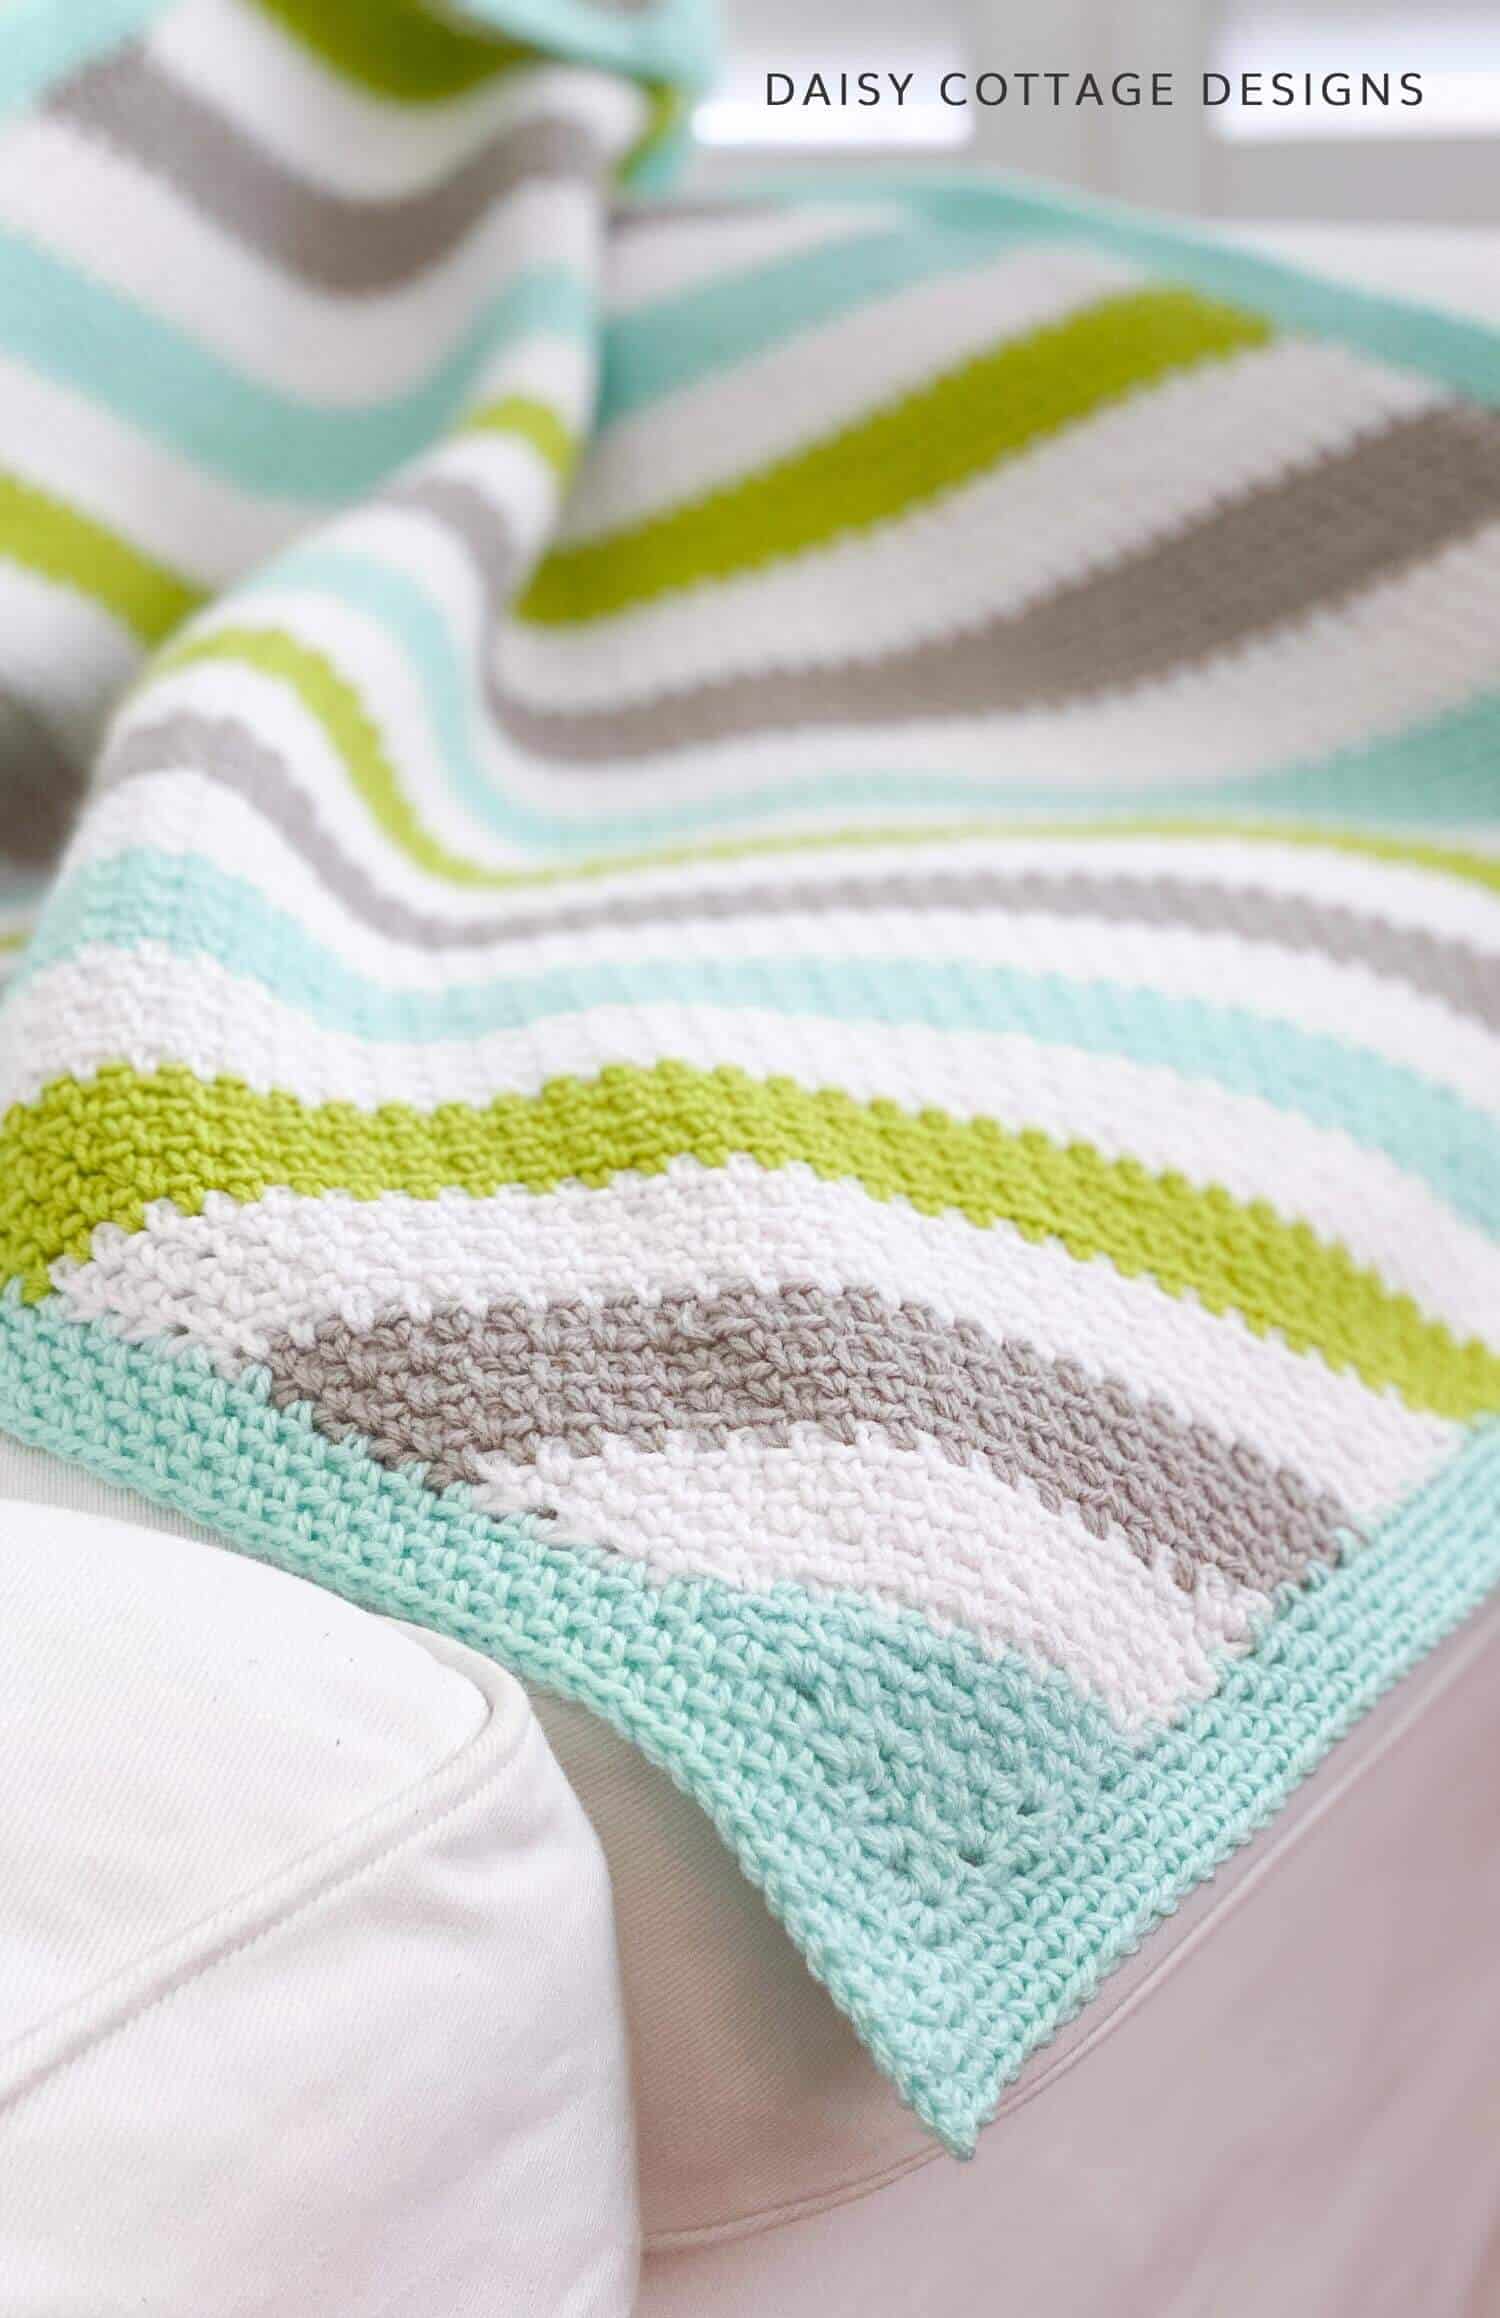
Moss stitch crochet patterns – this stitch is aka the granite stitch and the linen stitch – are some that I’ve skipped for years because I thought they’d take forever and a day since it’s a single crochet stitch. I was wrong. I flew through this blanket.
Also, have you ever noticed that single crochet stitches can feel a little dense? The moss stitch is worked with chains between single crochet stitches which helps to avoid that density and create an absolutely gorgeous drape.
The Yarn
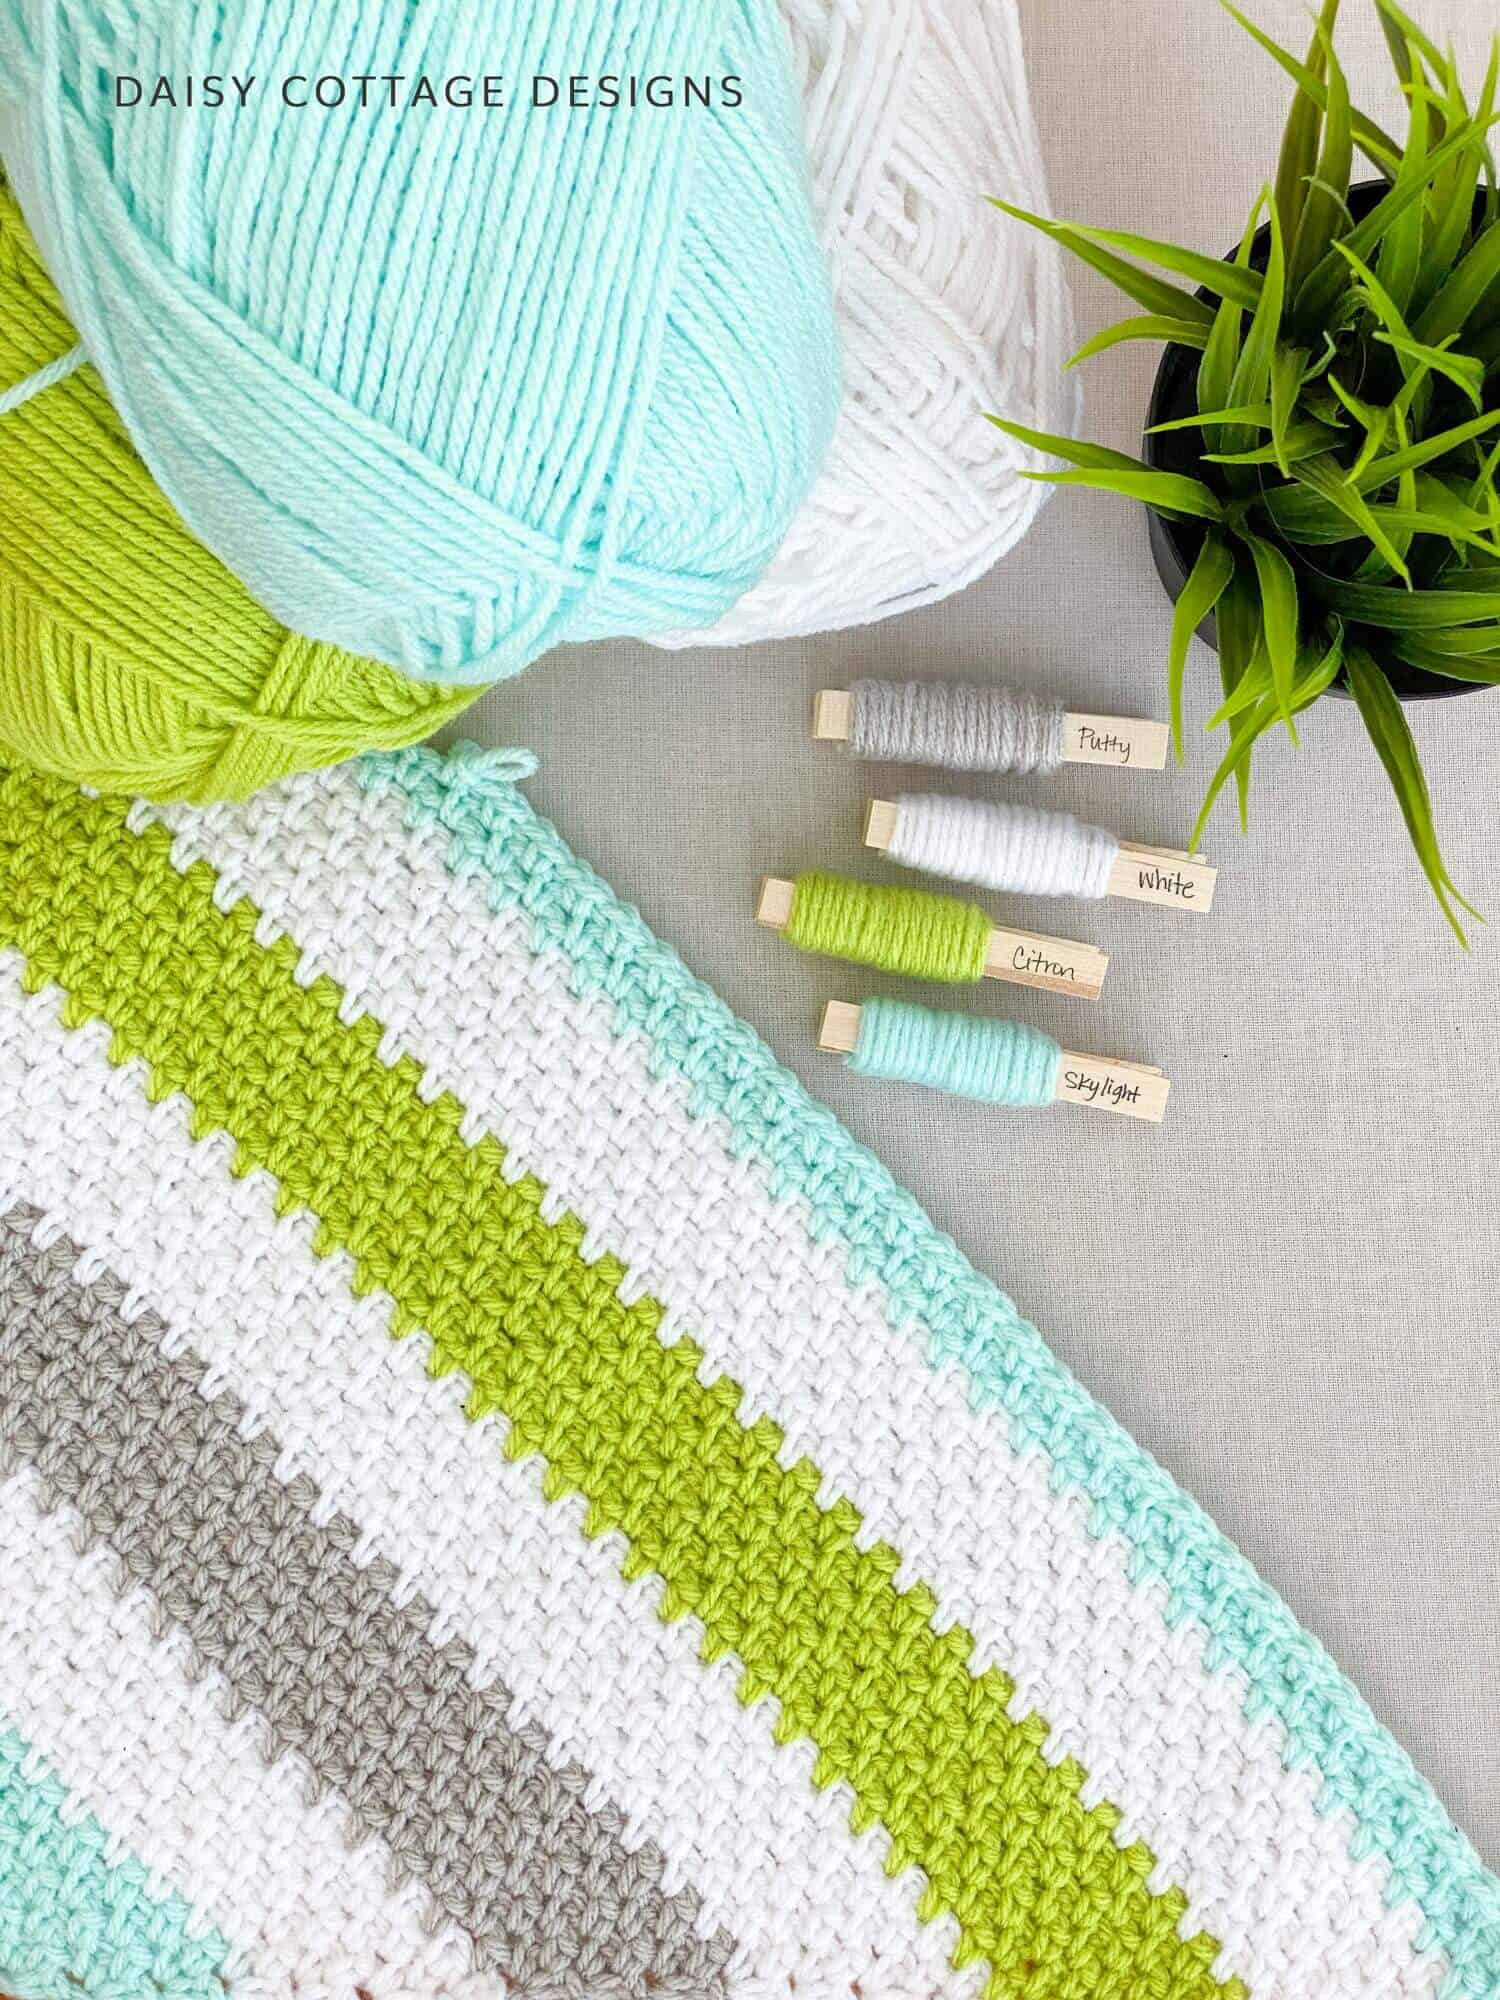
For this blanket, I used Loops & Threads Impeccable solids. This isn’t the softest yarn I’ve ever used, but I love the color selection. I found that steam blocking this blanket (which I did by holding my iron about an inch away from the blanket with the steam turned on) softened it very nicely. I also know that washing it will make it even softer.
For more color combinations and yarn options, check out the Daisy Cottage Designs color palette series.
What Skill Level is Required?
This crochet pattern isn’t what I’d call very easy, but I really believe that even beginners can make this pattern if they take their time and follow the video tutorial. Plus, if you have any questions, I’d be happy to answer them. The best way to get a quick response is to shoot me a message on Instagram.
Corner to Corner Moss Stitch Crochet Blanket Pattern
Materials:
- I-9 (5.50 mm) Crochet Hook – these are my favorite hooks
- 2 Skeins Impeccable Loops & Threads in White (approx 550 yds)
- 1 Skein Impeccable Loops & Threads in Skylight (approx 260 yds)
- 1 Skein Impeccable Loops & Threads in Citron (approx 200 yds)
- 1 Skein Impeccable Loops & Threads in Putty (approx 220 yds)
- Approximately 1230-1400 yds total. Yardage provided above for substitutions.
- Stitch marker or small piece of yarn
Pattern Notes:
- The video above will help the written pattern make more sense. I suggest watching it first.
- This blanket measures 27×34 inches as written. Instructions to change the size are included below.
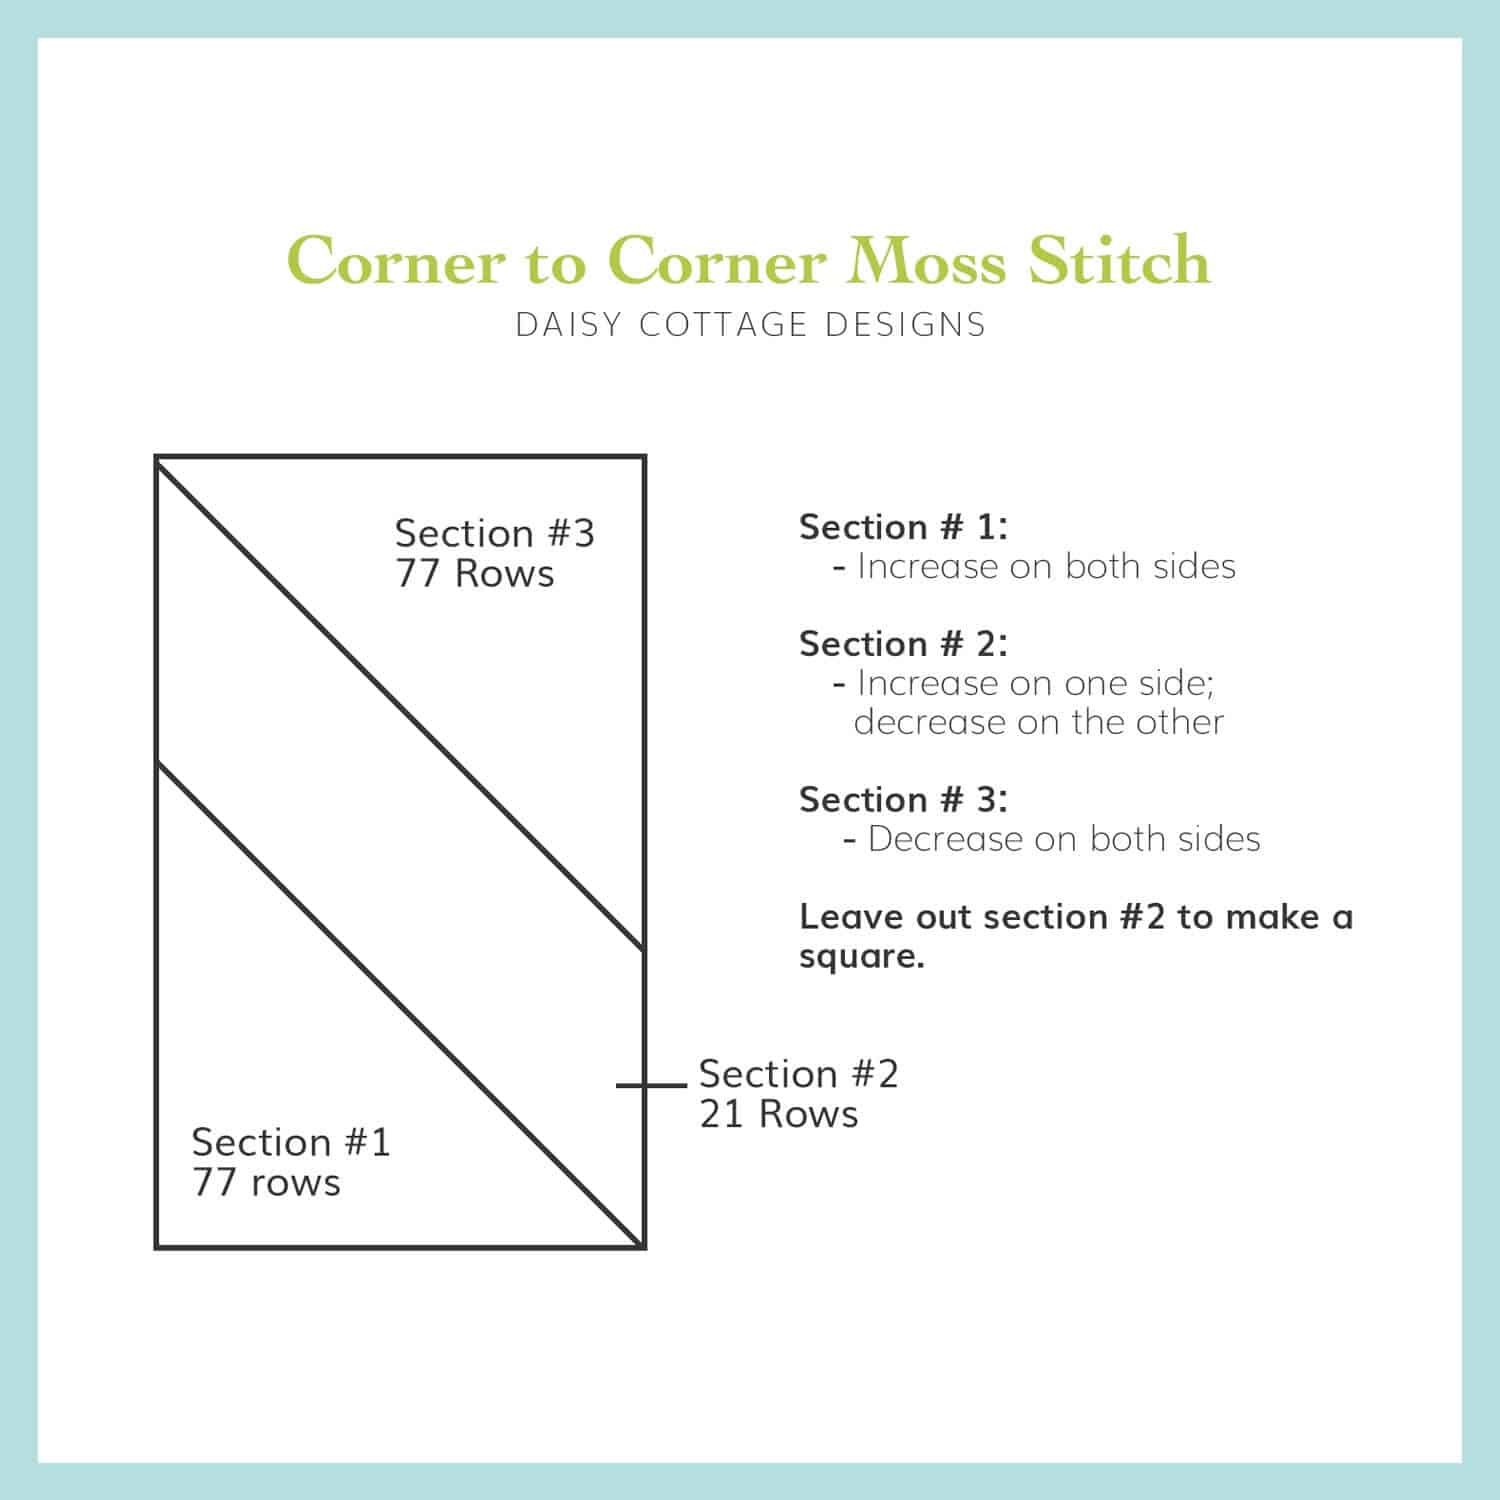
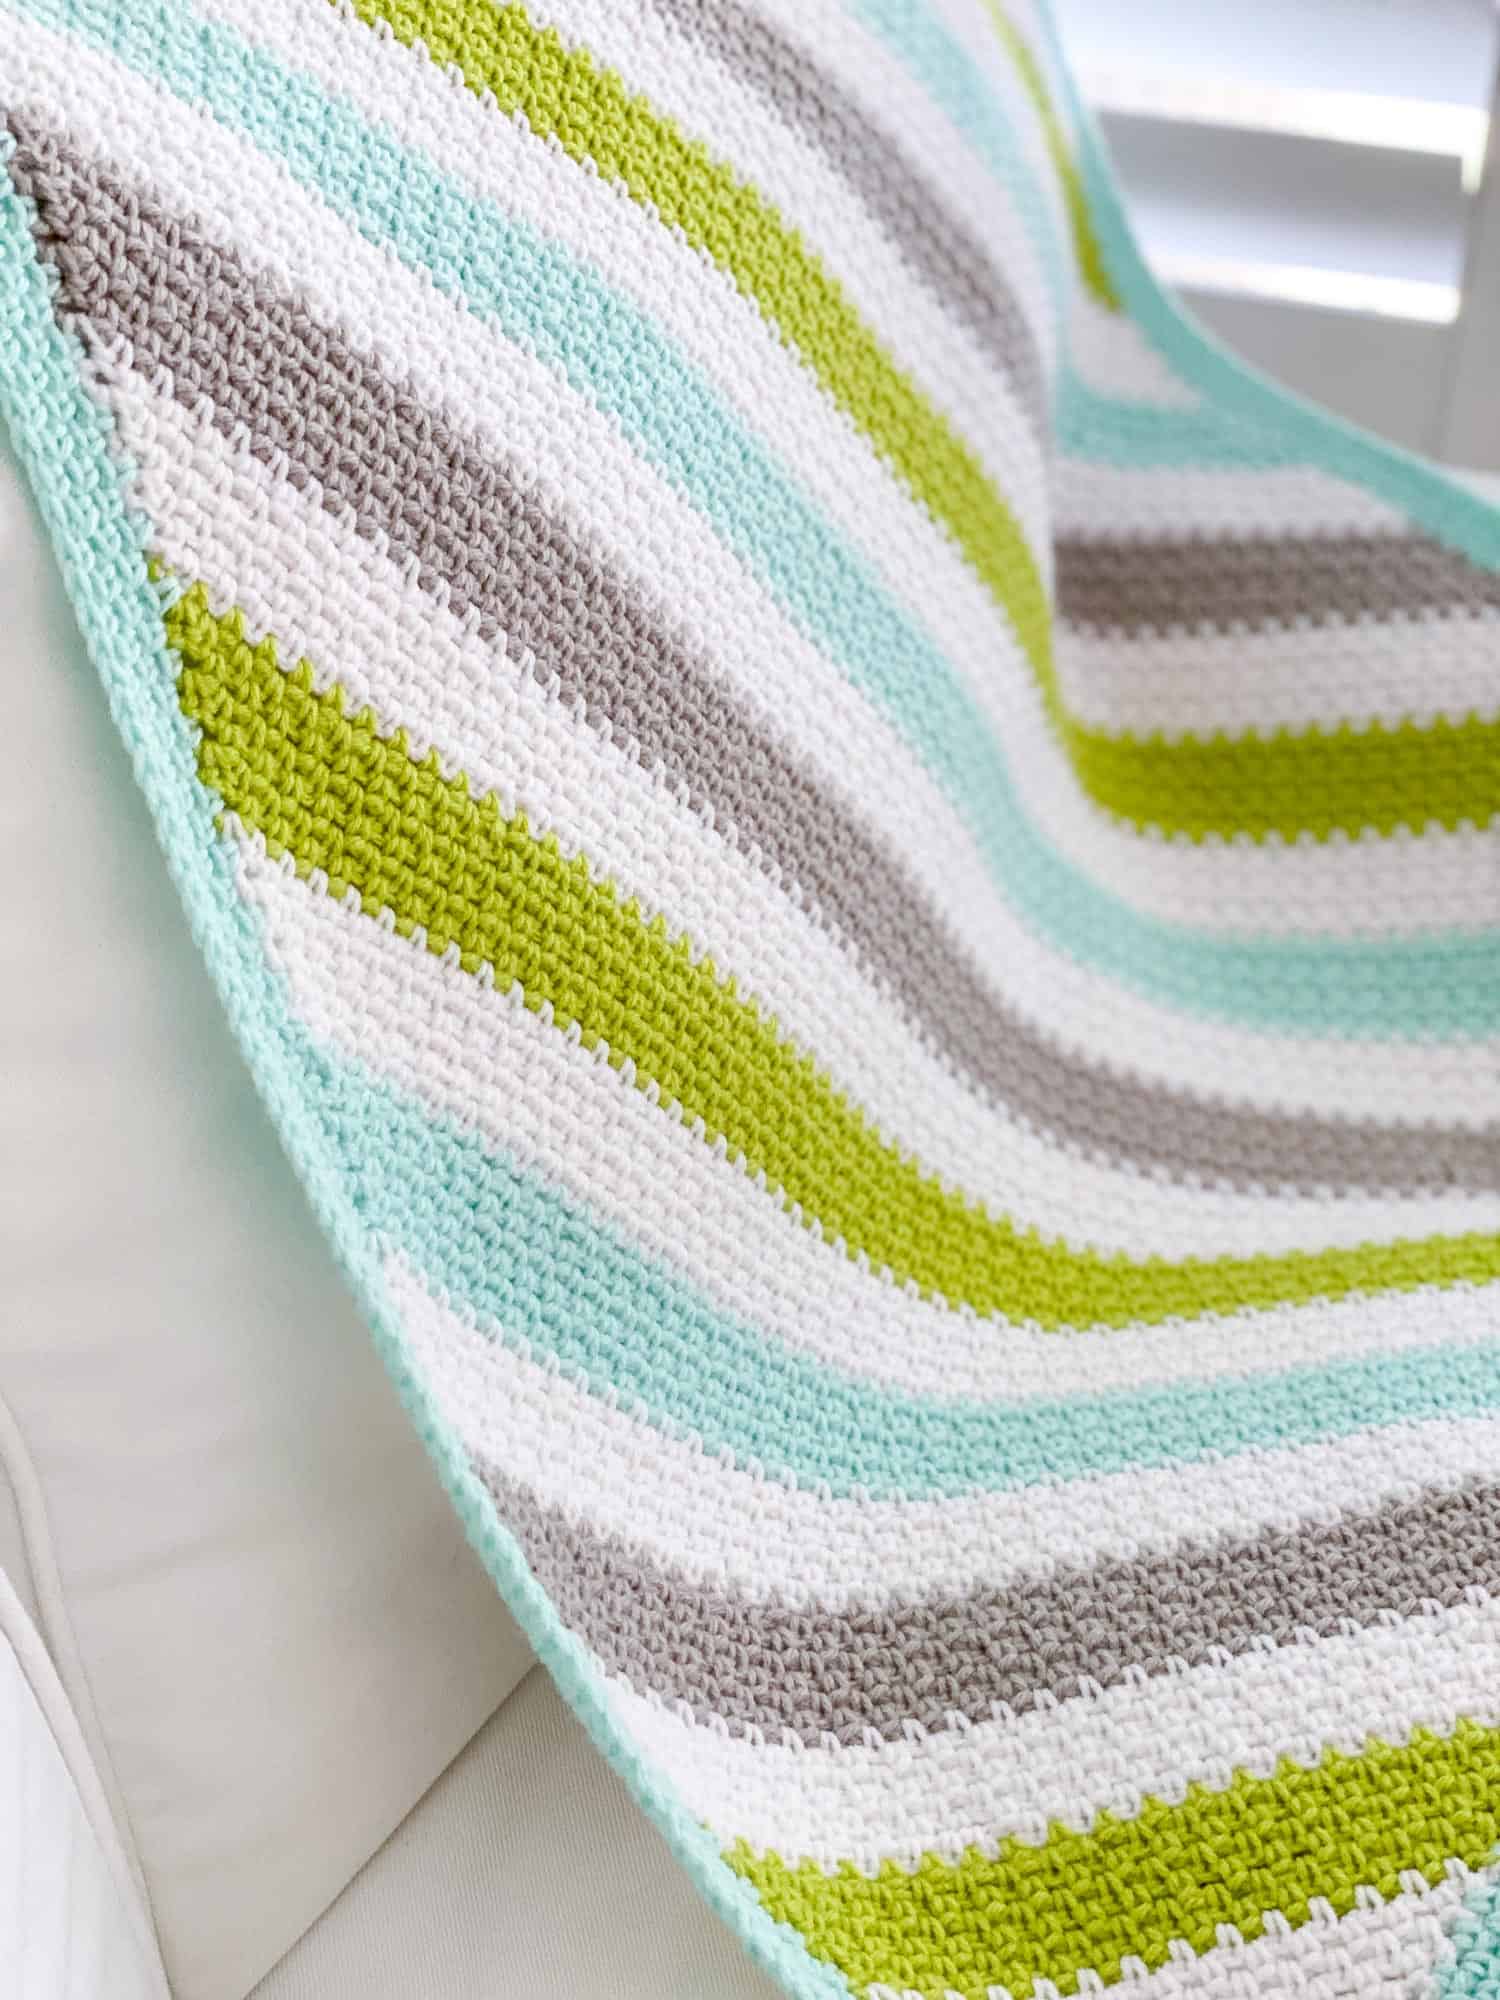
- This diagonally striped blanket is worked from corner to corner in three sections.
- In section 1, you’ll be increasing on both sides. This is where your blanket will grow in width and in length.
- In section 2, you’ll increase on one side of the blanket and decrease on the other. In these rows your blanket will grow only in length. This section may be omitted if you would like a square project instead of a rectangle.
- In section 3, you’ll decrease on both sides. In this section you’ll finish off the rectangle.
- See the diagram below for a visual.
Section 1:
To begin, ch 3.
Row 1: sc into the third chain from the hook. ch 2, turn.
Row 2: *sc, ch 1, sc* into the ch 2 space. Ch 2, turn.
Helpful Hint: Place a stitch marker into the first ch 1 space for the next few rows so you can easily see where to make your first stitch on each row.
Row 3: *sc, ch 1* in the ch 1 space. *sc, ch 1, sc* in the ch 2 space. Ch 2, turn.
Rows 4-7: *sc, ch 1* in the first ch 1 space and in each ch 1 space across.*sc, ch 1, sc* in the ch 2 space at the end of the row.
At the end of row 7, cut yarn and weave ends.
Join white yarn using your preferred method, ch 2.
Row 8-77: *sc, ch 1* in the first ch 1 space and in each ch 1 space across. *sc, ch 1, sc* in the ch 2 space at the end of the row. Ch 2, turn.
Change colors after every 7 rows throughout the blanket. The color order is as follows: skylight, white, putty, white, citron, white, skylight.
Note: After row 77, you’re going to switch to the second section of the blanket.
Section 2:
(If you want a square blanket, work 91 rows rather than 77 in Section 1 and skip to Section 3)
Row 78: *sc, ch 1* in the first ch 1 space and in each ch 1 space across to the last ch 1 space. In the last ch 1 space of the row, sc (don’t ch 1) and then work just 1 sc into the ch 2 space. ch 2, turn.
Place a stitch marker into the edge of the last sc. This will help you remember which side is your decrease side during the remainder of section 2.
Row 79: Skip the first two sc. *sc, ch 1* into the first ch 1 space and in each ch 1 space across. At the end of the row, *sc, ch 1, sc* into the ch 2 space. Ch 2, turn.
Rows 80-98: Repeat rows 78 & 79.
Remember, you’re still changing colors after every 7 rows throughout the entire blanket.
After row 98, you’re going to switch to the third section of the blanket.
Proceed to the following page for Section 3.
Section 3:
Rows 99-173: Skip the first two stitches, *sc, ch 1* in the first ch 1 space and in each ch 1 space across to the last ch 1 space.. In the last ch 1 space of the row, sc (don’t ch 1) and then work just 1 sc into the ch 2 space. ch 2, turn.
Row 174: sc in the first ch 1 space (do not ch 1 between), sc in the ch 2 space. Ch 1, turn.
Row 175: sc in the ch 2 space.
Cut yarn and weave ends.
The Stripe Pattern
If you find it helpful, check off each stripe as you complete it.
- 7 rows of Skylight
- 7 rows of White
- 7 rows Putty
- 7 rows of White
- 7 rows of Citron
- 7 rows of White
- 7 rows of Skylight
- 7 rows of White
- 7 rows Putty
- 7 rows of White
- 7 rows of Citron
- 7 rows of White (switch to section 2)
- 7 rows of Skylight
- 7 rows of White
- 7 rows Putty (switch to section 3)
- 7 rows of White
- 7 rows of Citron
- 7 rows of White
- 7 rows of Skylight
- 7 rows of White
- 7 rows Putty
- 7 rows of White
- 7 rows of Citron
- 7 rows of White
- 7 rows of Skylight
Moss Stitch Border Instructions
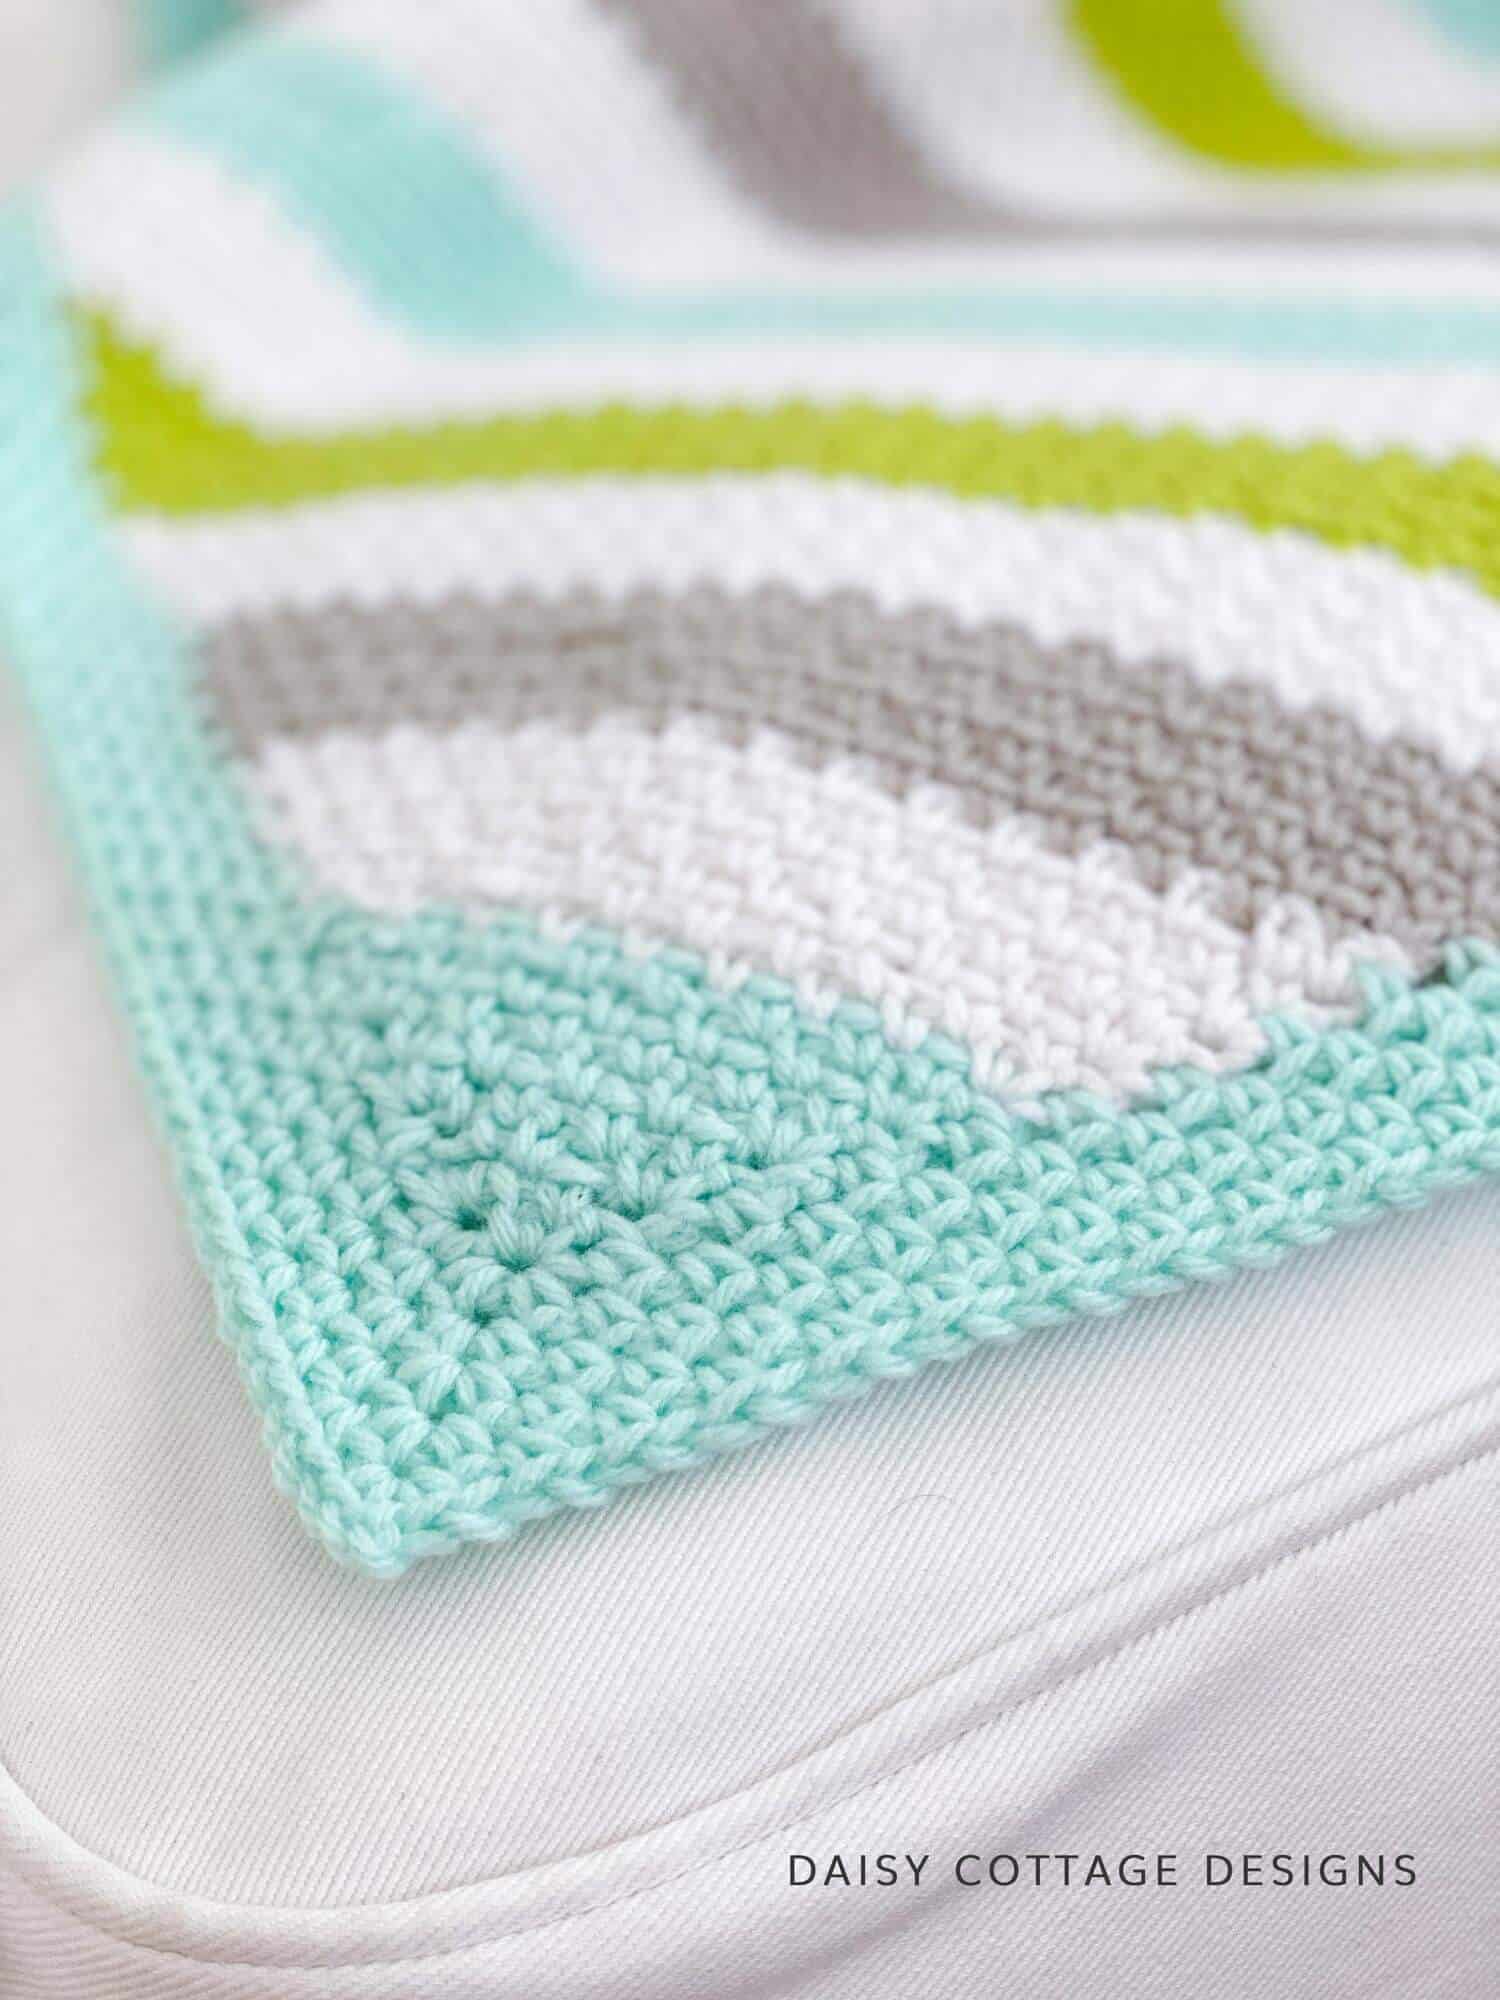
Using Skylight, pull up a loop in the middle of any row.
Round 1: Ch 1, sc in the same spot. *ch 1, sc* around the entire blanket working *sc, ch 2, sc* into each corner. At the end of the first round, sl st to the top of the first sc (not the ch 1) to join.
Note: The sc should be separated a little bit. You don’t want them worked immediately next to each other. You’ll want to have approximately 65sc and ch 1 spaces on the long sides and 50sc and ch 1 spaces on the shorter sides.
Rounds 2-5: sl st into the next ch 1 space. Ch 1. *sc, ch 1* in the same ch 1 space and in each ch 1 space around the entire blanket. Work *sc, ch 2, sc* into each corner. At the end of the round, sl st to the to of the first sc (not the ch 1) to join.
At the end of round 5, cut yarn and weave ends.
If you’d prefer a video tutorial for a moss stitch border, check out this video: https://youtu.be/pR6-RyYshQQ
Adjusting the Size of a Moss Stitch Crochet Blanket
To make this blanket larger or smaller, you simply need to adjust the number of rows in each section.
For instance, if you want your blanket to be about 35 inches wide, you’ll need to stay in section one until your blanket is the width you want it.
If you know you want your blanket to be about 40 inches long, stay in section two until you’ve reached that length.
Section three will have the same number of rows as section 1 to finish off that fourth corner.
