Flower Crochet Pattern | Large Crochet Flower Pattern
As of the January 2025 update, this large crochet flower pattern is about 10 years old now! People from all over the world have crocheted this pattern, and I’m glad you’re able to enjoy it, too.
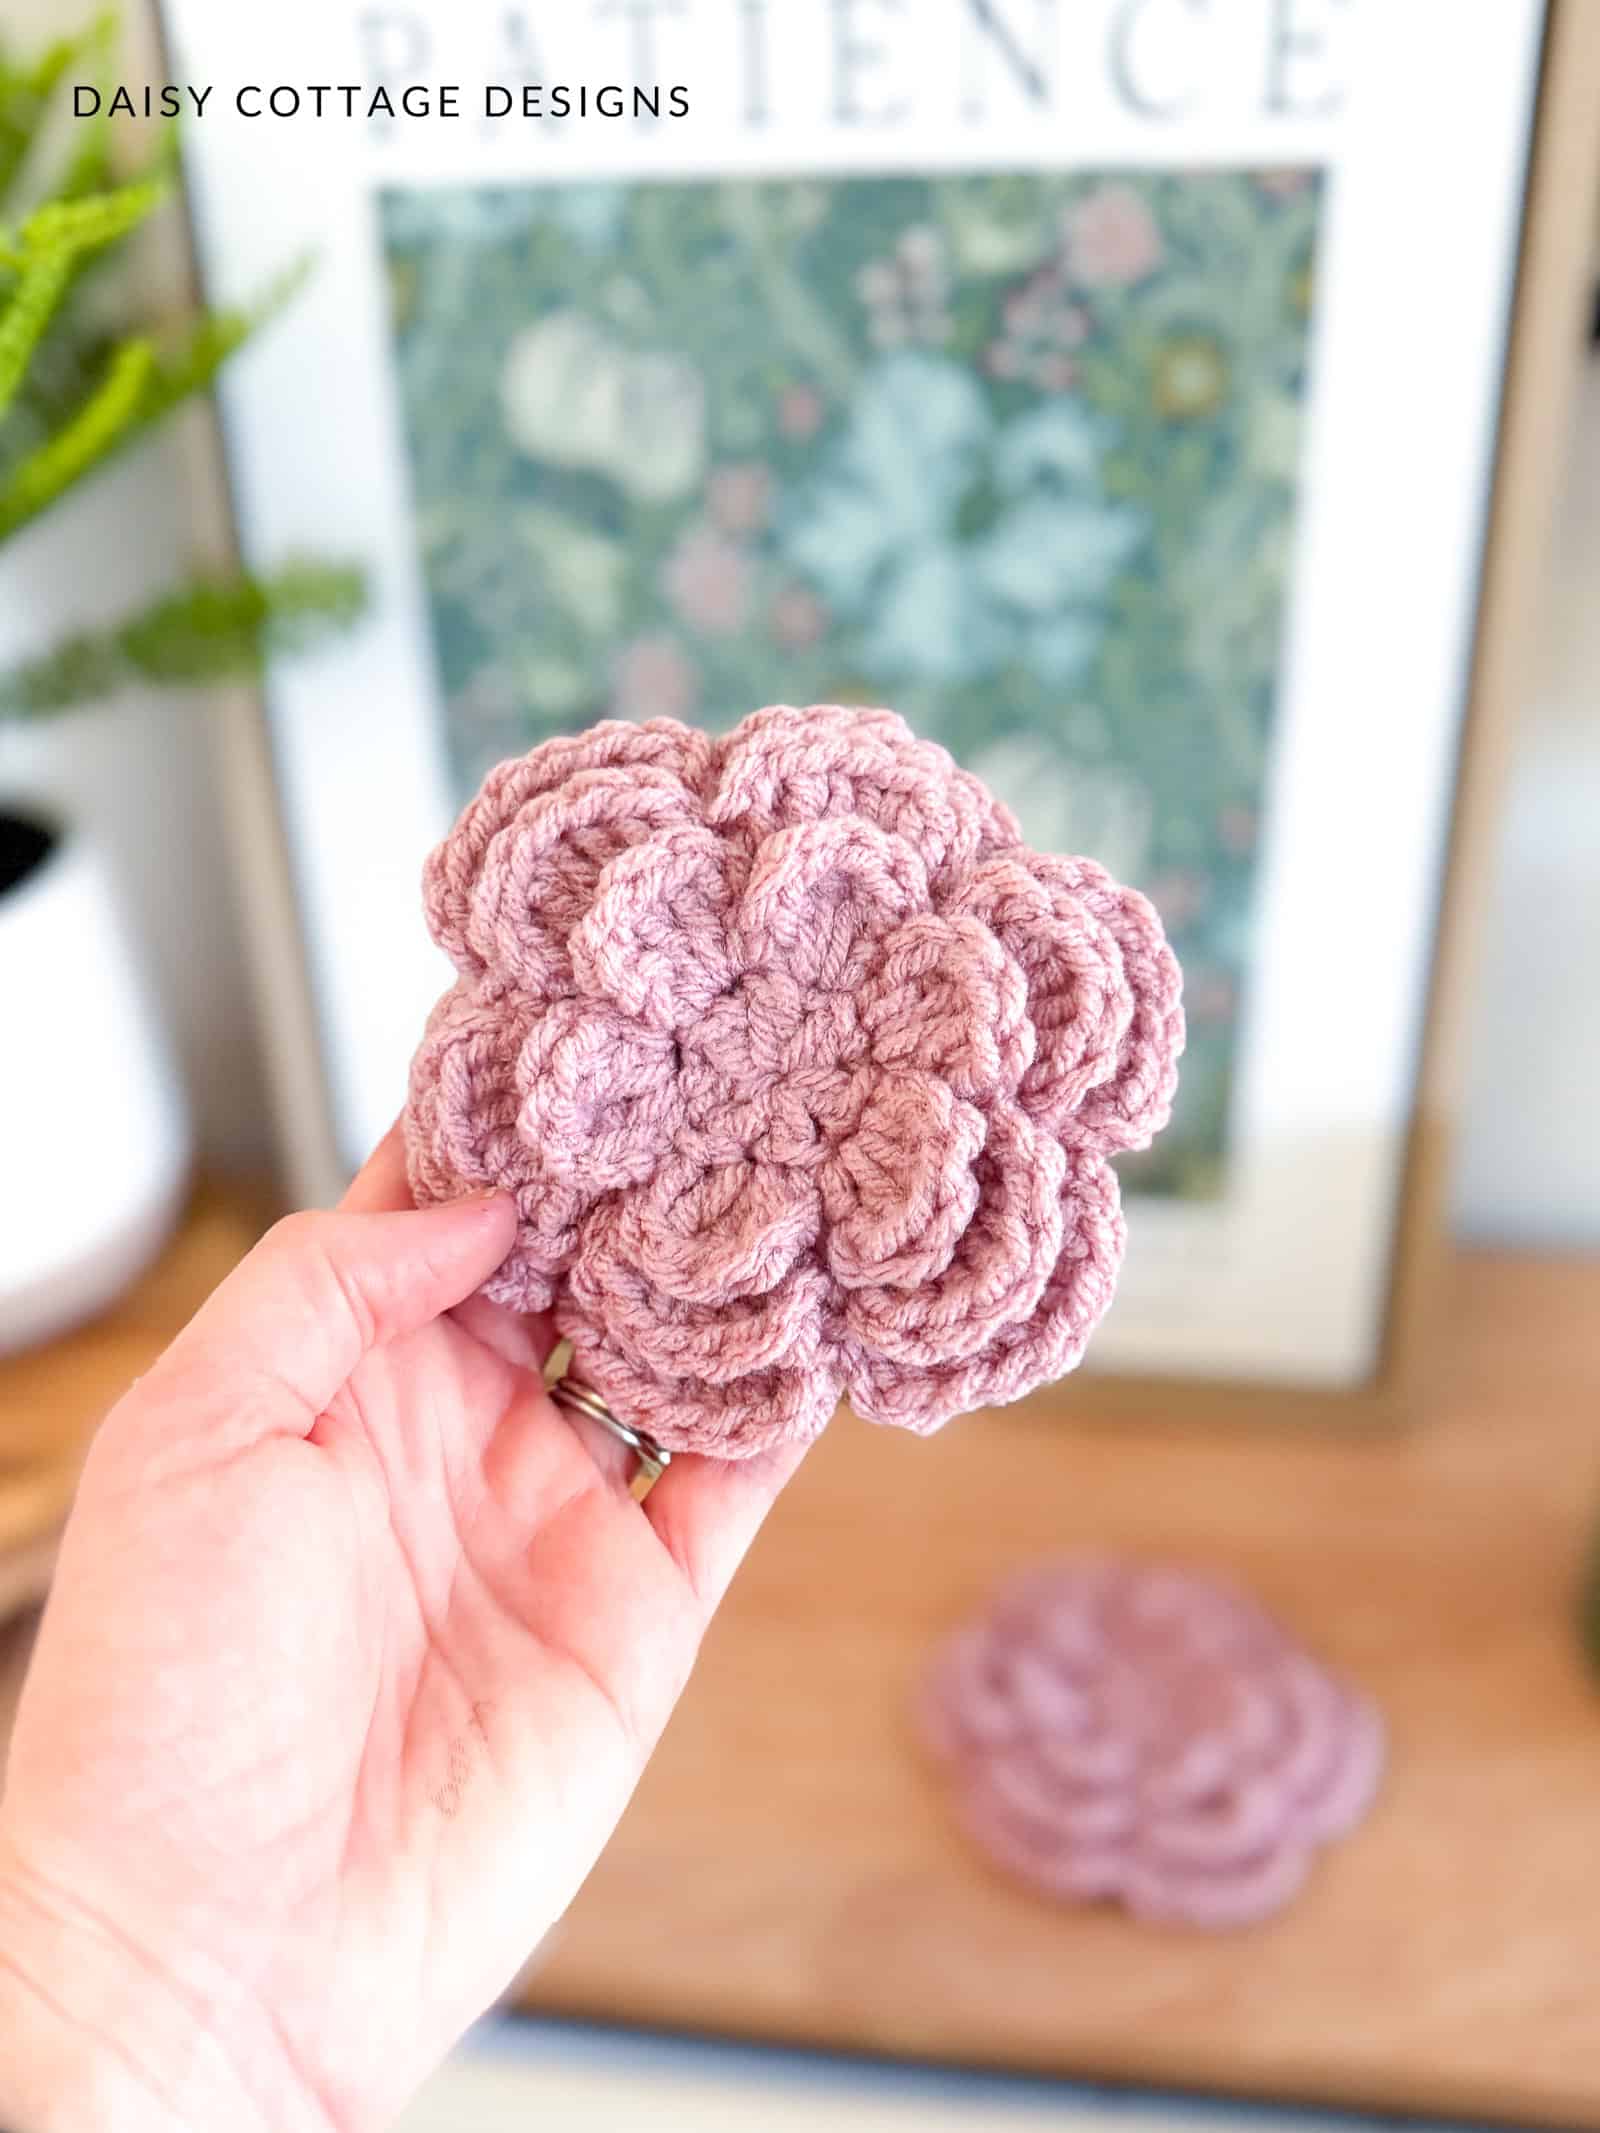
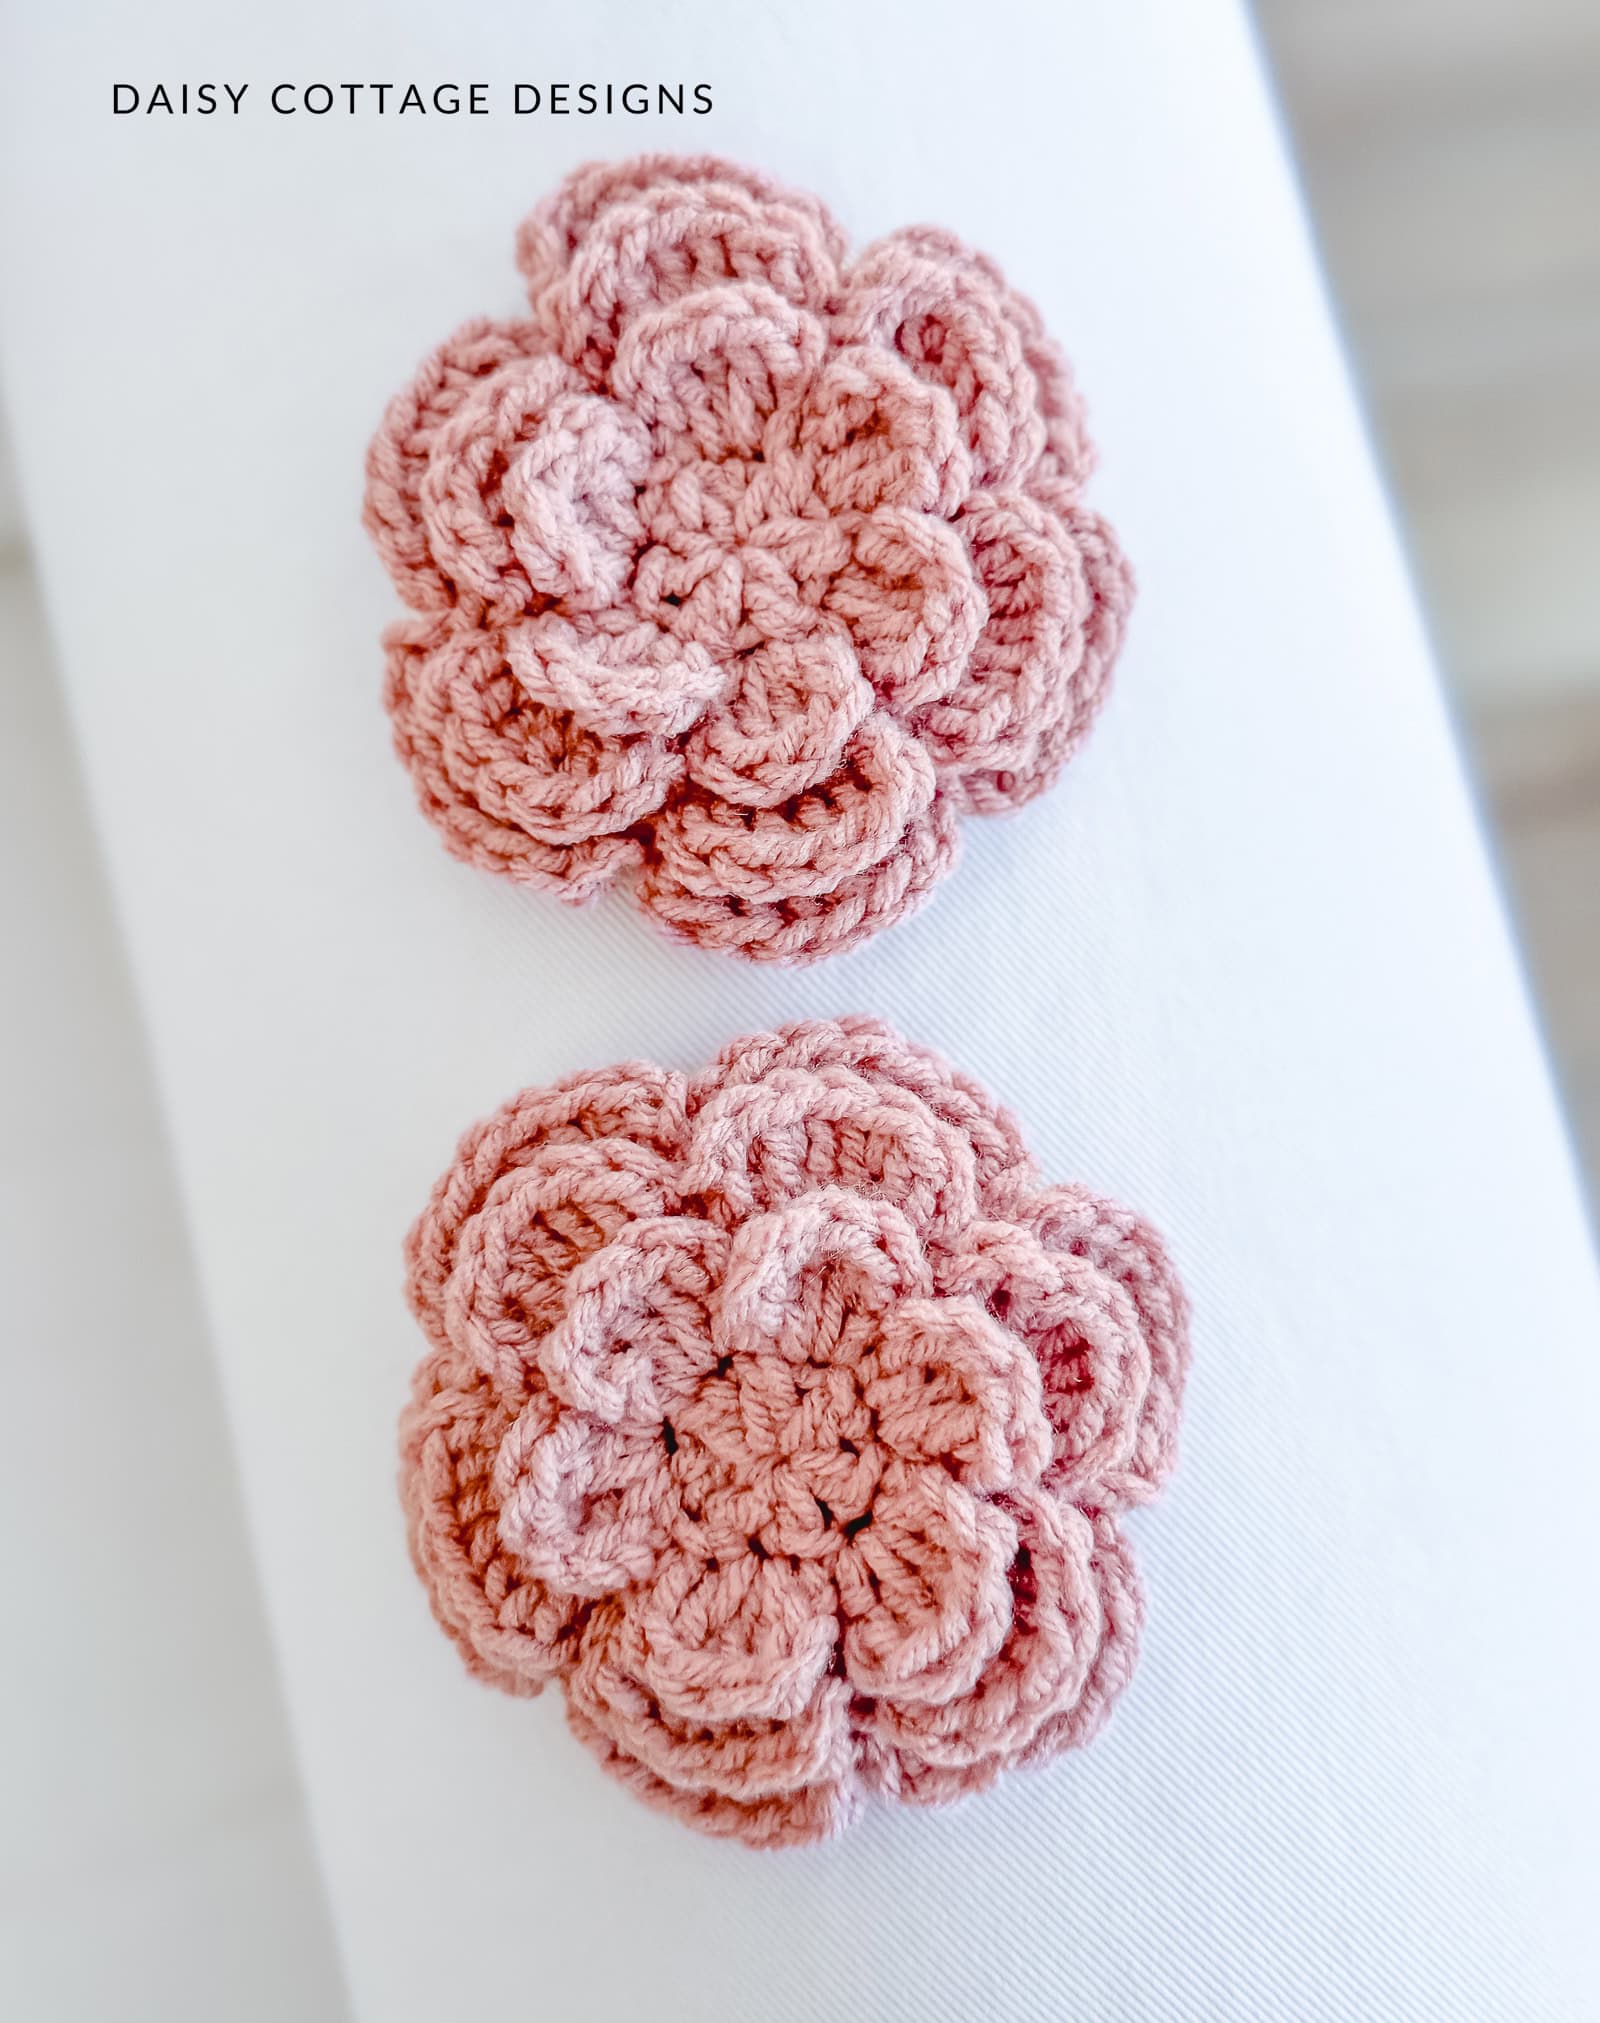
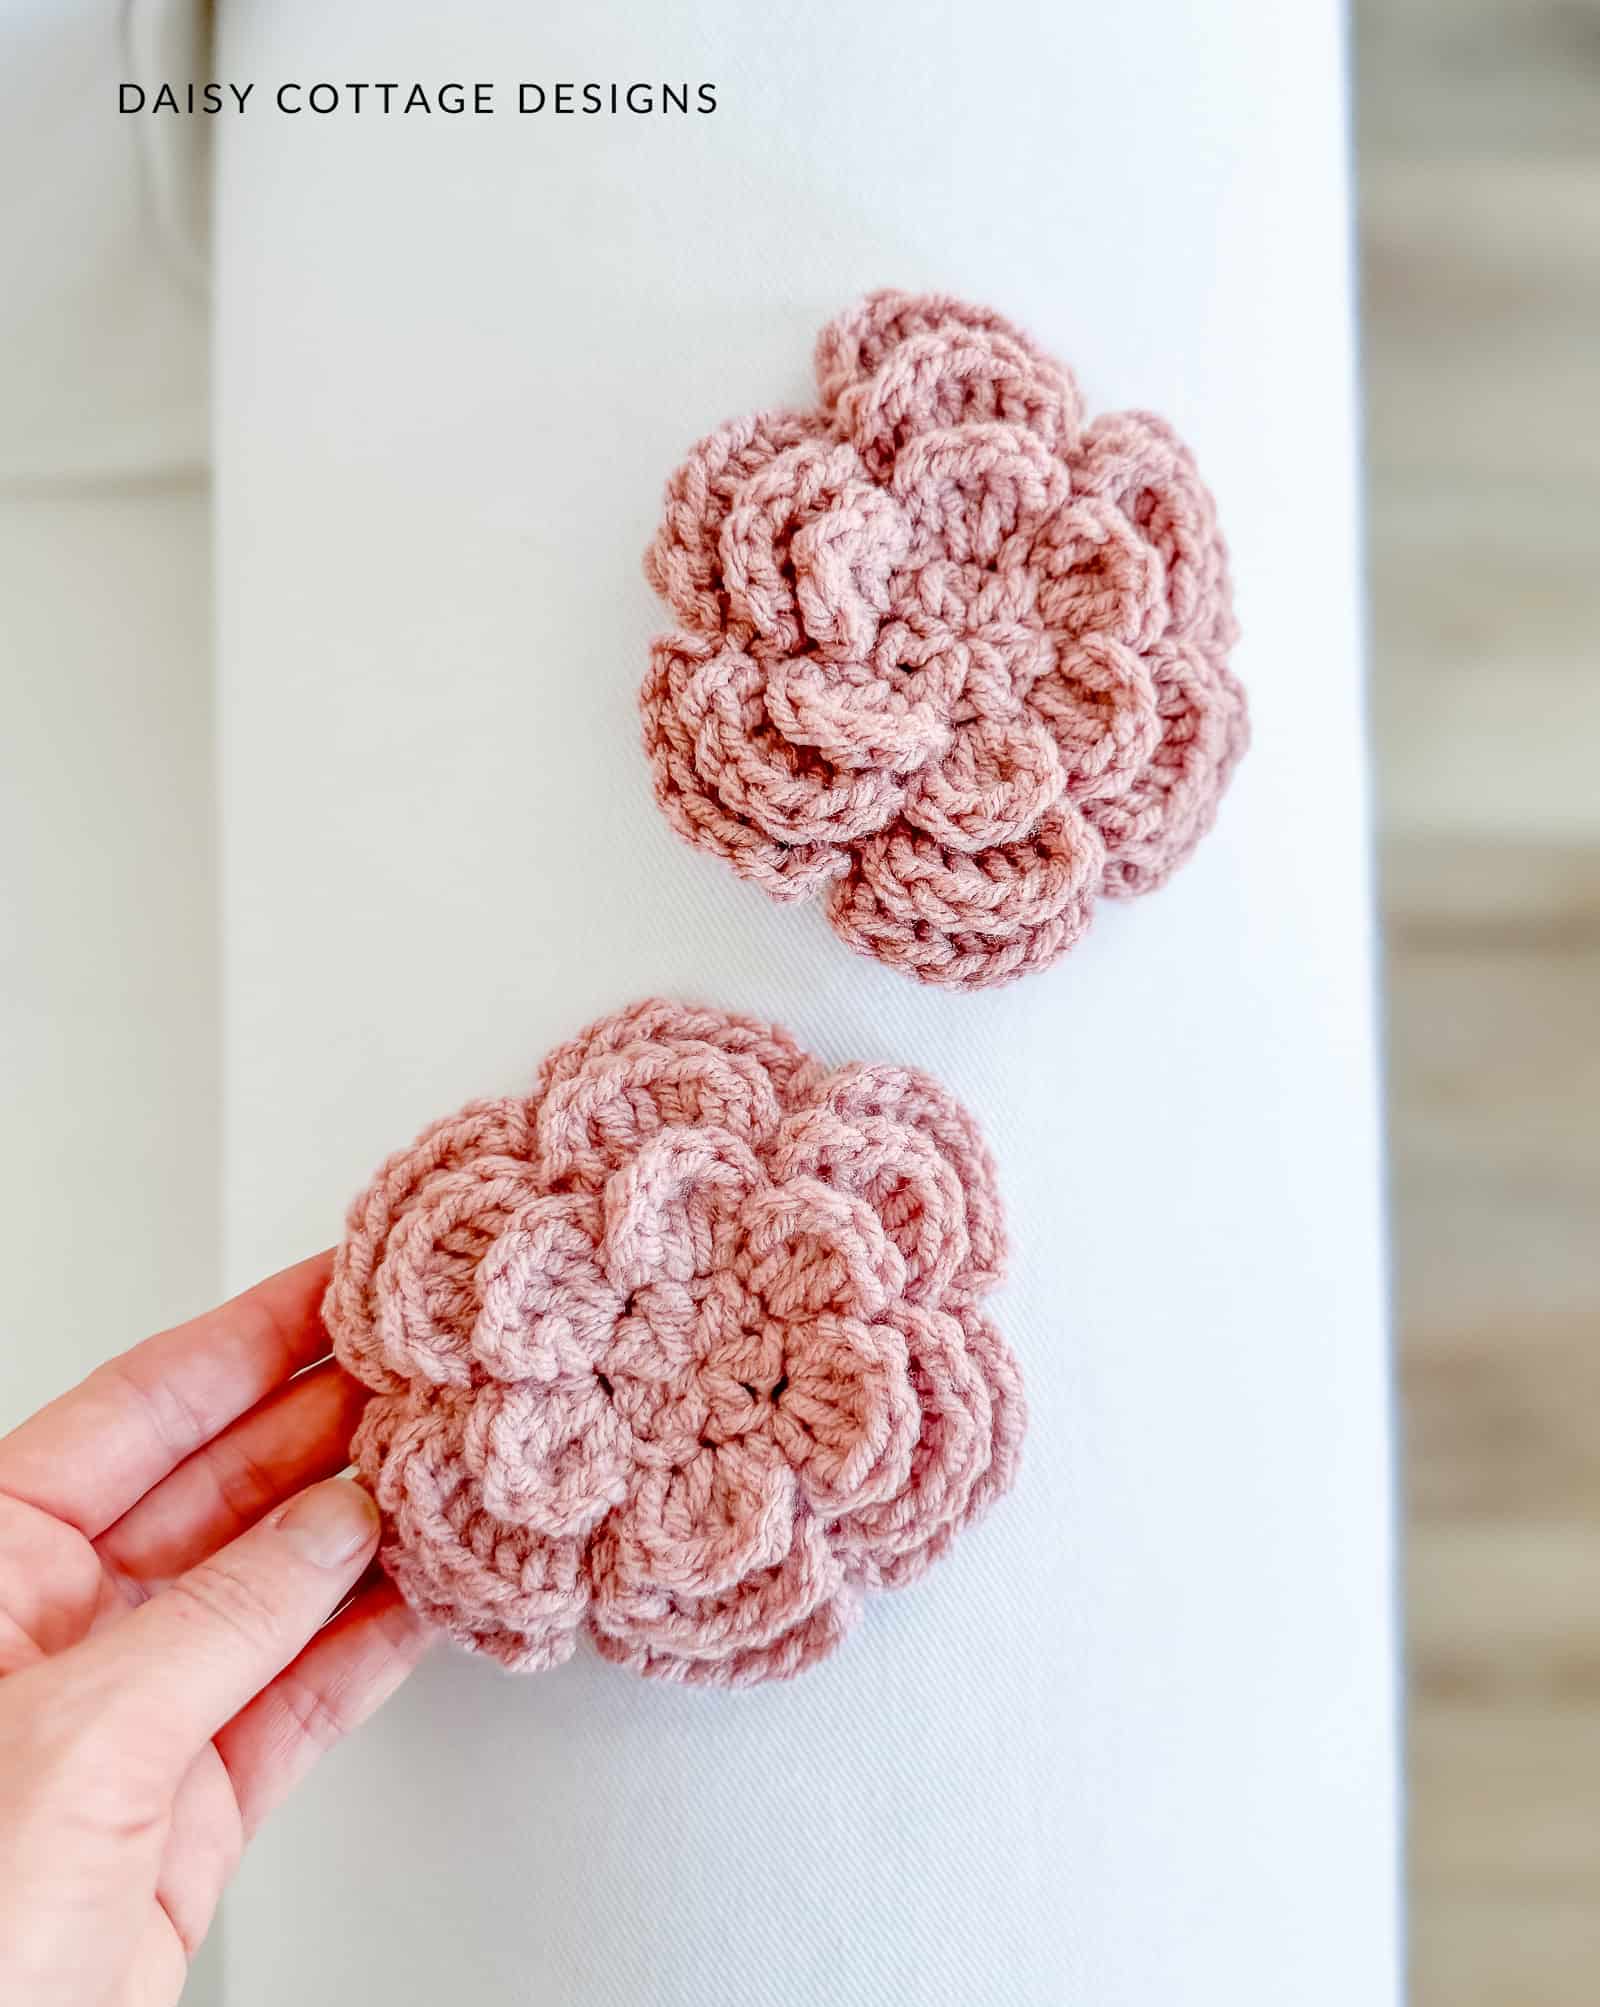
This large crochet flower has 3 layers and is approximately 4.5 inches in diameter. As of February 2025, there is now a full video tutorial. You can find that here.
This flower is the perfect embellishment for hats, crochet tote bags, and so much more. Whipped up in half an hour or less, it’s a great last-minute gift or accessory for that new outfit.
Materials
- J/10 Crochet Hook (The Tulip hooks are my favorite)
- Worsted weight yarn (I used Hobby Lobby “I Love This Yarn!”)
- Tapestry needle for weaving ends
Pattern Notes
- This large flower crochet pattern is worked through both loops.
- My finished flower measures about 4.5” in diameter (with 3 rounds).
- If you want to make a smaller flower, you can stop after two rounds or use a smaller hook.
- A video tutorial for the flower is available here.
- If you would like to learn how to sew this flower onto a project, I’ve found this video very helpful!
Flower Crochet Pattern
Ch 3. (alternatively, you could start with a magic ring and ch 2).
Round 1: work 6 dc into the third chain from the hook. Sl st to the top of the first dc to join.
You should have 6 dc stitches at the end of this round.
Round 2: ch 2 and work 3 dc into the first stitch. Ch 2, sl st into the same st (first petal complete). *Ch 2, sl st into the next st. Ch 2, work 3 dc into the same st. Ch 2, sl st into the same st* in the remaining 5 stitches.
You should have 6 petals at the end of this round.
Round 3: ch 3. Bring this chain behind the first petal and sl st from front to back into the ch 2 space between the petals. Do this behind each petal. Behind the last petal, sl st into the first ch 3 space you made.
You should have a ch 3 space behind each petal for a total of 6 ch 3 spaces.
Round 4: ch 2 and work 5 dc into the first ch 3 space. Ch 2 and sl st into the same ch 3 space. *ch 2, sl st into the next ch 3 space. Ch 2 and work 5 dc into the same space. Ch 2 and sl st into the same ch 3 space* around.
You should now have a second layer of 6 petals.
Round 5: ch 4. Bring this chain behind the first petal and sl st from front to back into the ch 2 space between the petals. Do this behind each petal. Behind the last petal, sl st into the first ch 4 space you made.
You should have a ch 4 space behind each petal for a total of 6.
Round 6: ch 2 and work 7 dc into the first ch 4 space. Ch 2 and sl st into the same ch 4 space. *ch 2, sl st into the next ch 4 space. Ch 2 and work 7 dc into the same space. Ch 2 and sl st into the same ch 4 space* around.
You should now have a third layer of 6 petals.
Bobble for Center of Flower (Optional)
The bobble is shown above on the orange flower.
ch 3.
Round 1: 7 dc into the first st. Sl st to the top of the first dc. Ch 1. (7)
Round 2: sc into each st. Sl st to the top of the first sc. Fasten off and leave a long tail for sewing onto the flower. (7)
Flower Crochet Pattern Helpful Hints:
- To keep the center bobble extra “bouncy,” leave the center tail several inches long even after weaving ends. Stuff this tail inside the bobble to keep it from flattening out over time.
- Leave a long tail if you’d like to sew your flower directly onto a project. Unless I’m adding this flower to a blanket or a pillow, my preference is to cut the yarn, weave my ends, and attach the flower onto an alligator clip or pin.
Is the pattern to your Rainbow hat and the gray and white hat to be found? If so, please tell me where.
Love the flower pattern. Can’t wait to make it but would love to be able to attach it to one of your hats. Looks like it just belongs there.
Thank you kindly.
Hi, Dot. The pattern is available on the blog in one size: https://daisycottagedesigns.net/crochet-pattern/fun-easy-striped-beanie-crochet-pattern/
Love the pattern, thank you for sharing.
Glad you like it, Carolyn!
Hi Lauren would be a pleasure if you have a tutorial video to see how make this flower, thank you so much my best regards Lorena Iwase
Hmm. I might have to do that! I’ll let you know if I do. 🙂
Well do you think seriously about make a tutorial video because your pattern look very beautiful, thank you for sharing!!! ????????
Is there a pattern for the hat in the photo of the large flower crochet pattern? Thanks for your time
I have one of the sizes free on the blog! https://daisycottagedesigns.net/crochet-pattern/fun-easy-striped-beanie-crochet-pattern/
found this flower pattern on your blog as I was researching the peony blanket pattern. I intend to make the same stitch pattern and color way for my mother’s 92nd birthday, and then add this flower as an embellishment to the corner. I remember we always had a peony bush in the yard. 🩷
she will love it. thx for your fresh ideas.
Thank you so much for making a video tutorial for this flower! I was having trouble on 2nd row of petals. It helped greatly seeing a video on how to do this! I do have a question. Is it possible to stop after the 2nd row of petals? I wanted to put this flower on a hair clip and I like the size of just the 2 rows of petals for this. Thank you!
You’re welcome! Yes, you could stop after the second layer of petals!
Several years ago, I made this for my granddaughter in green (small) and lavender (large). Every year she uses the lavender one for Easter egg hunts. She is almost 9 yo and still using it. It is a tradition.
How neat! I love that she still is using it.
What a beautiful pattern. going to get started on this pattern right away. Have missed your patterns. Thanks for this one.
Thanks, Claudia. I hope you love it.