How to Crochet a Granny Square Blanket
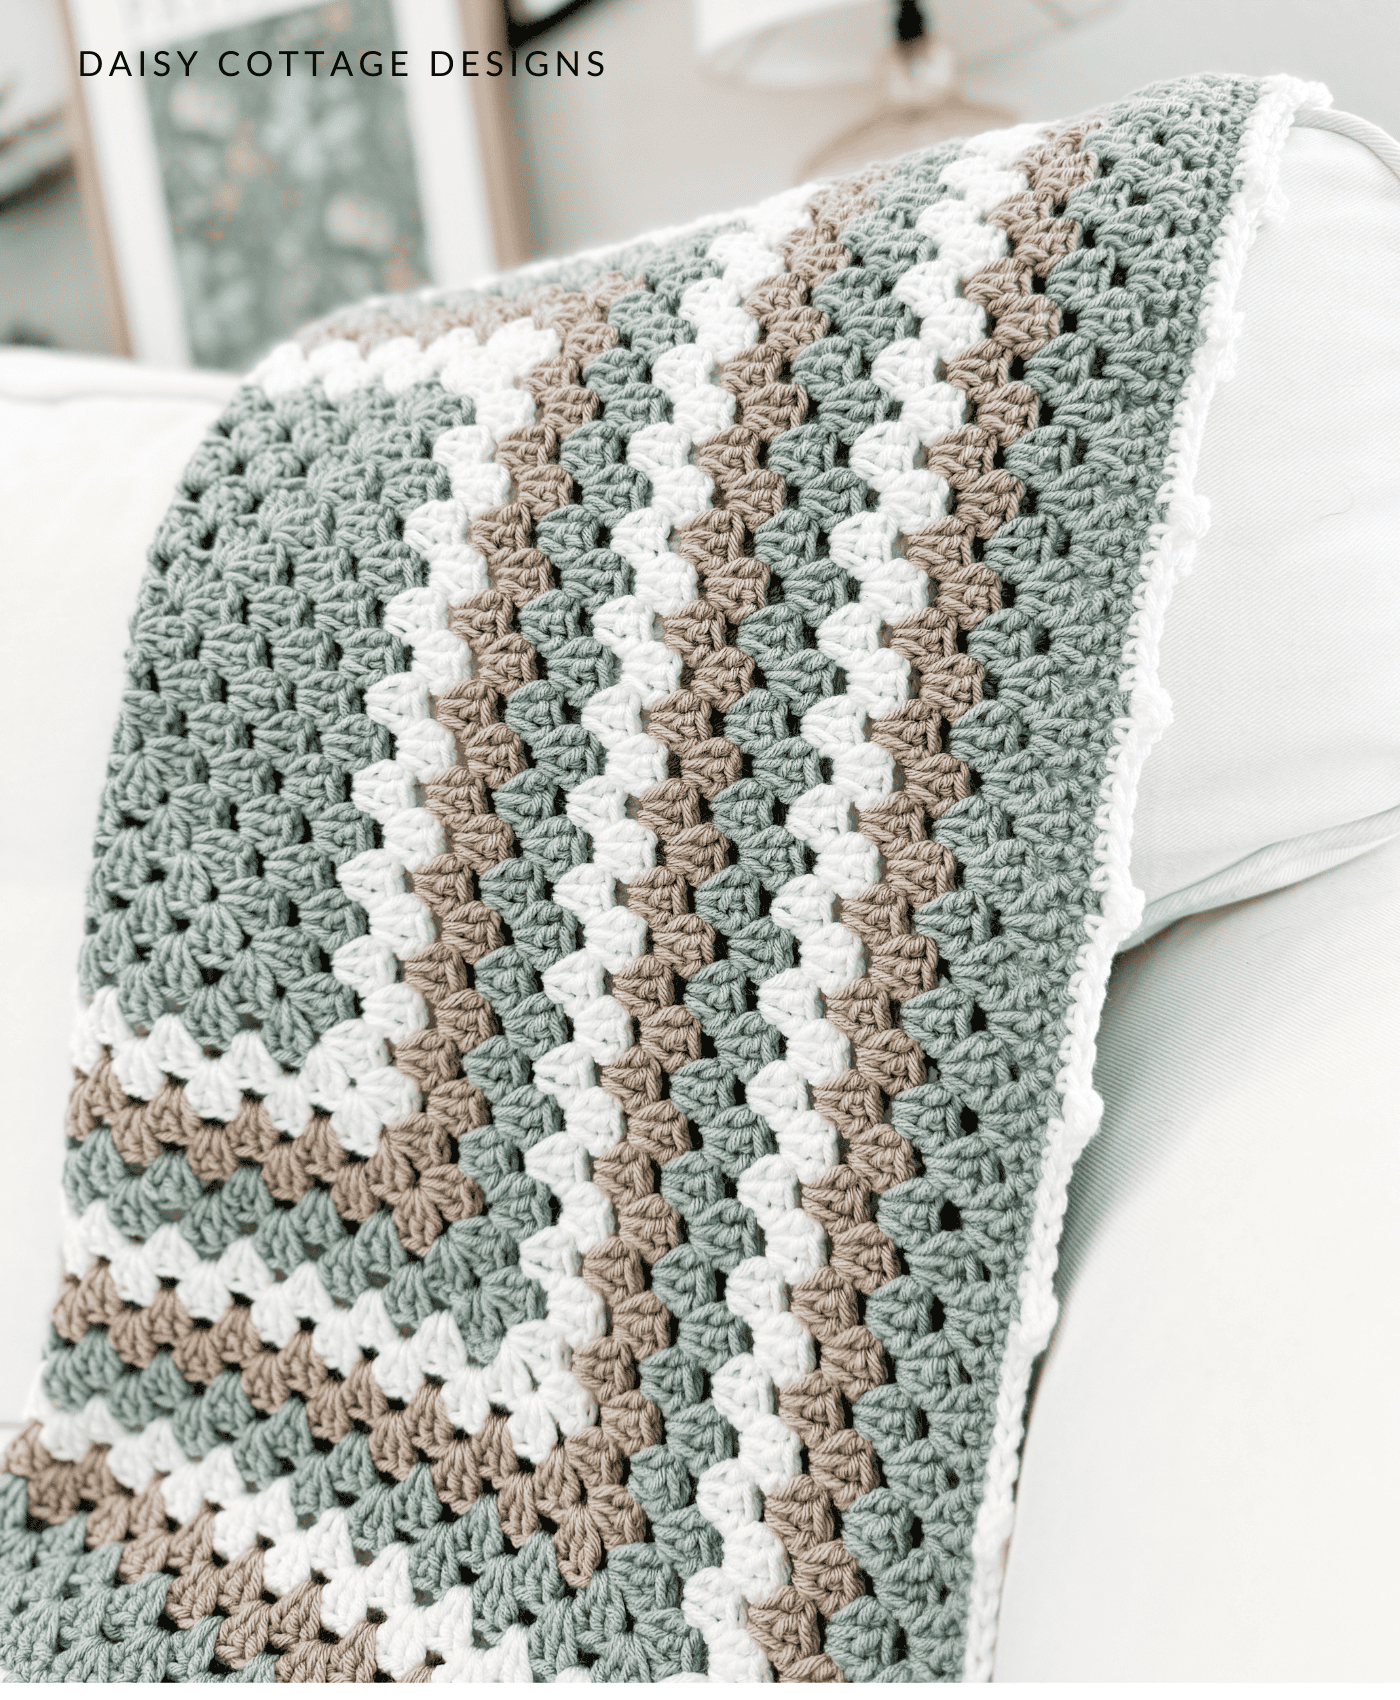
Many years ago, I sold finished items in my Etsy shop rather than crochet patterns. Back then, I received so many messages asking me what pattern I used for this granny square blanket.
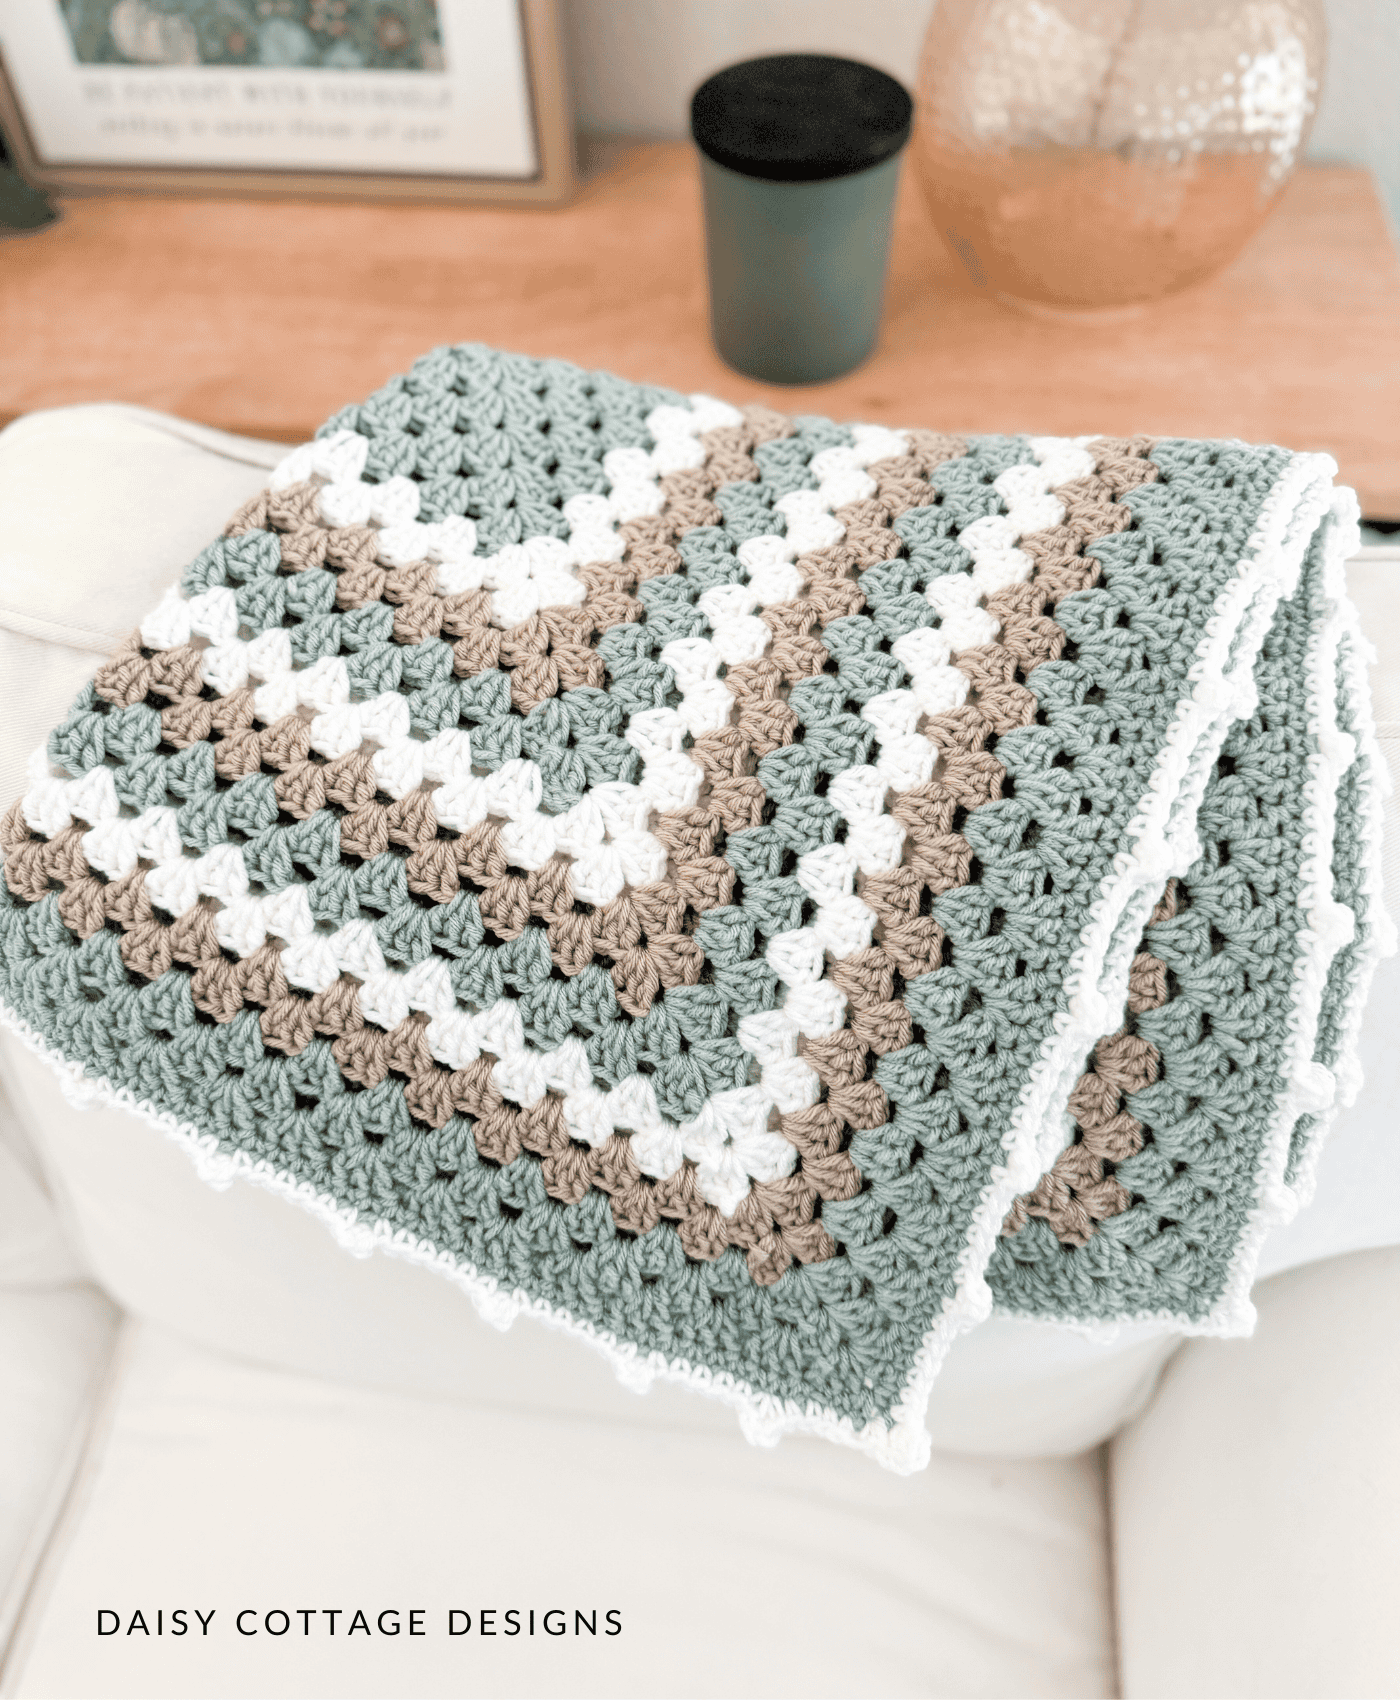
I believe what drew the attention of other crocheters was the color combination. The calming palette is still one of my favorites to this day.
There are several variations of granny square projects. Many years ago, I developed my own granny square blanket pattern to minimize the size of the “holes.”
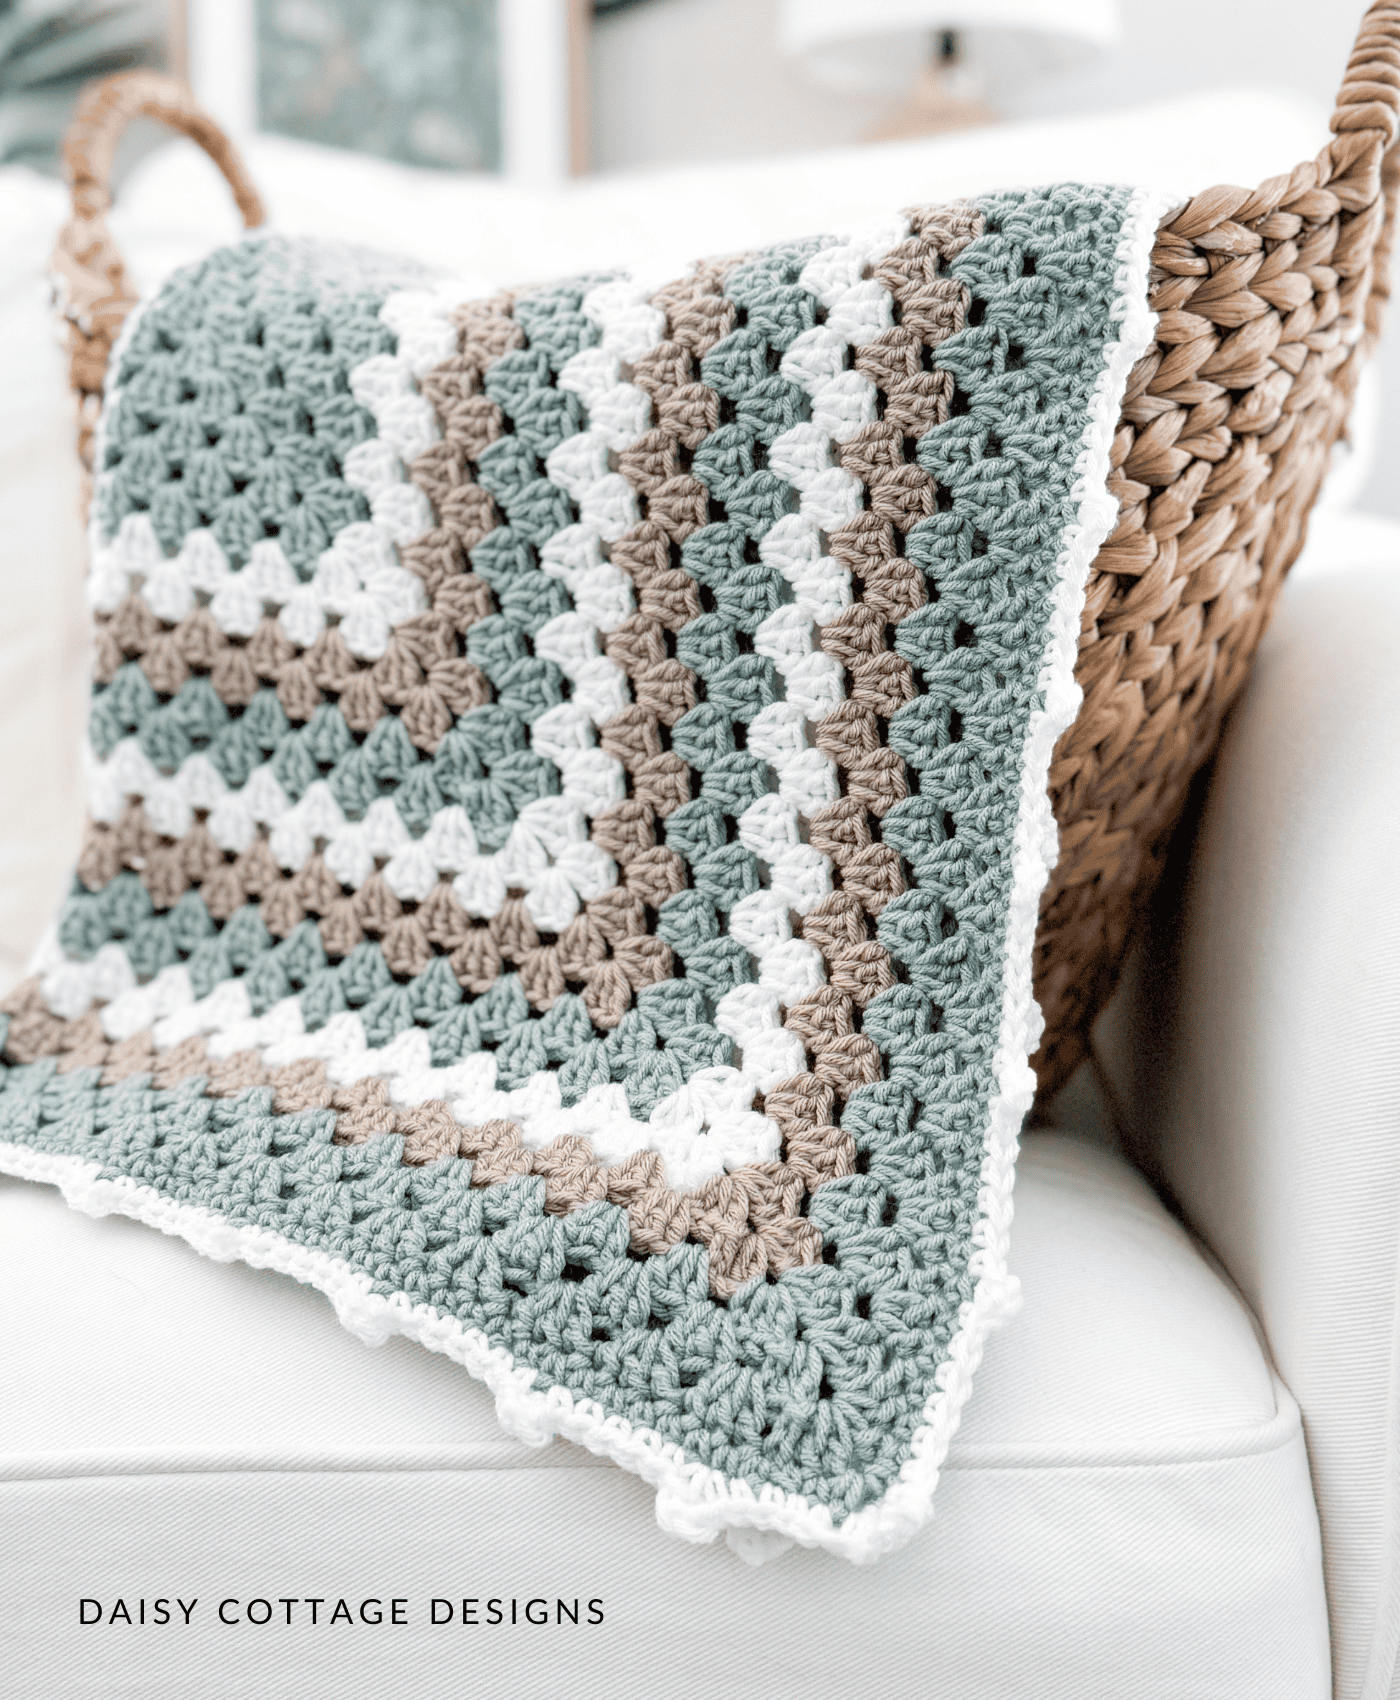
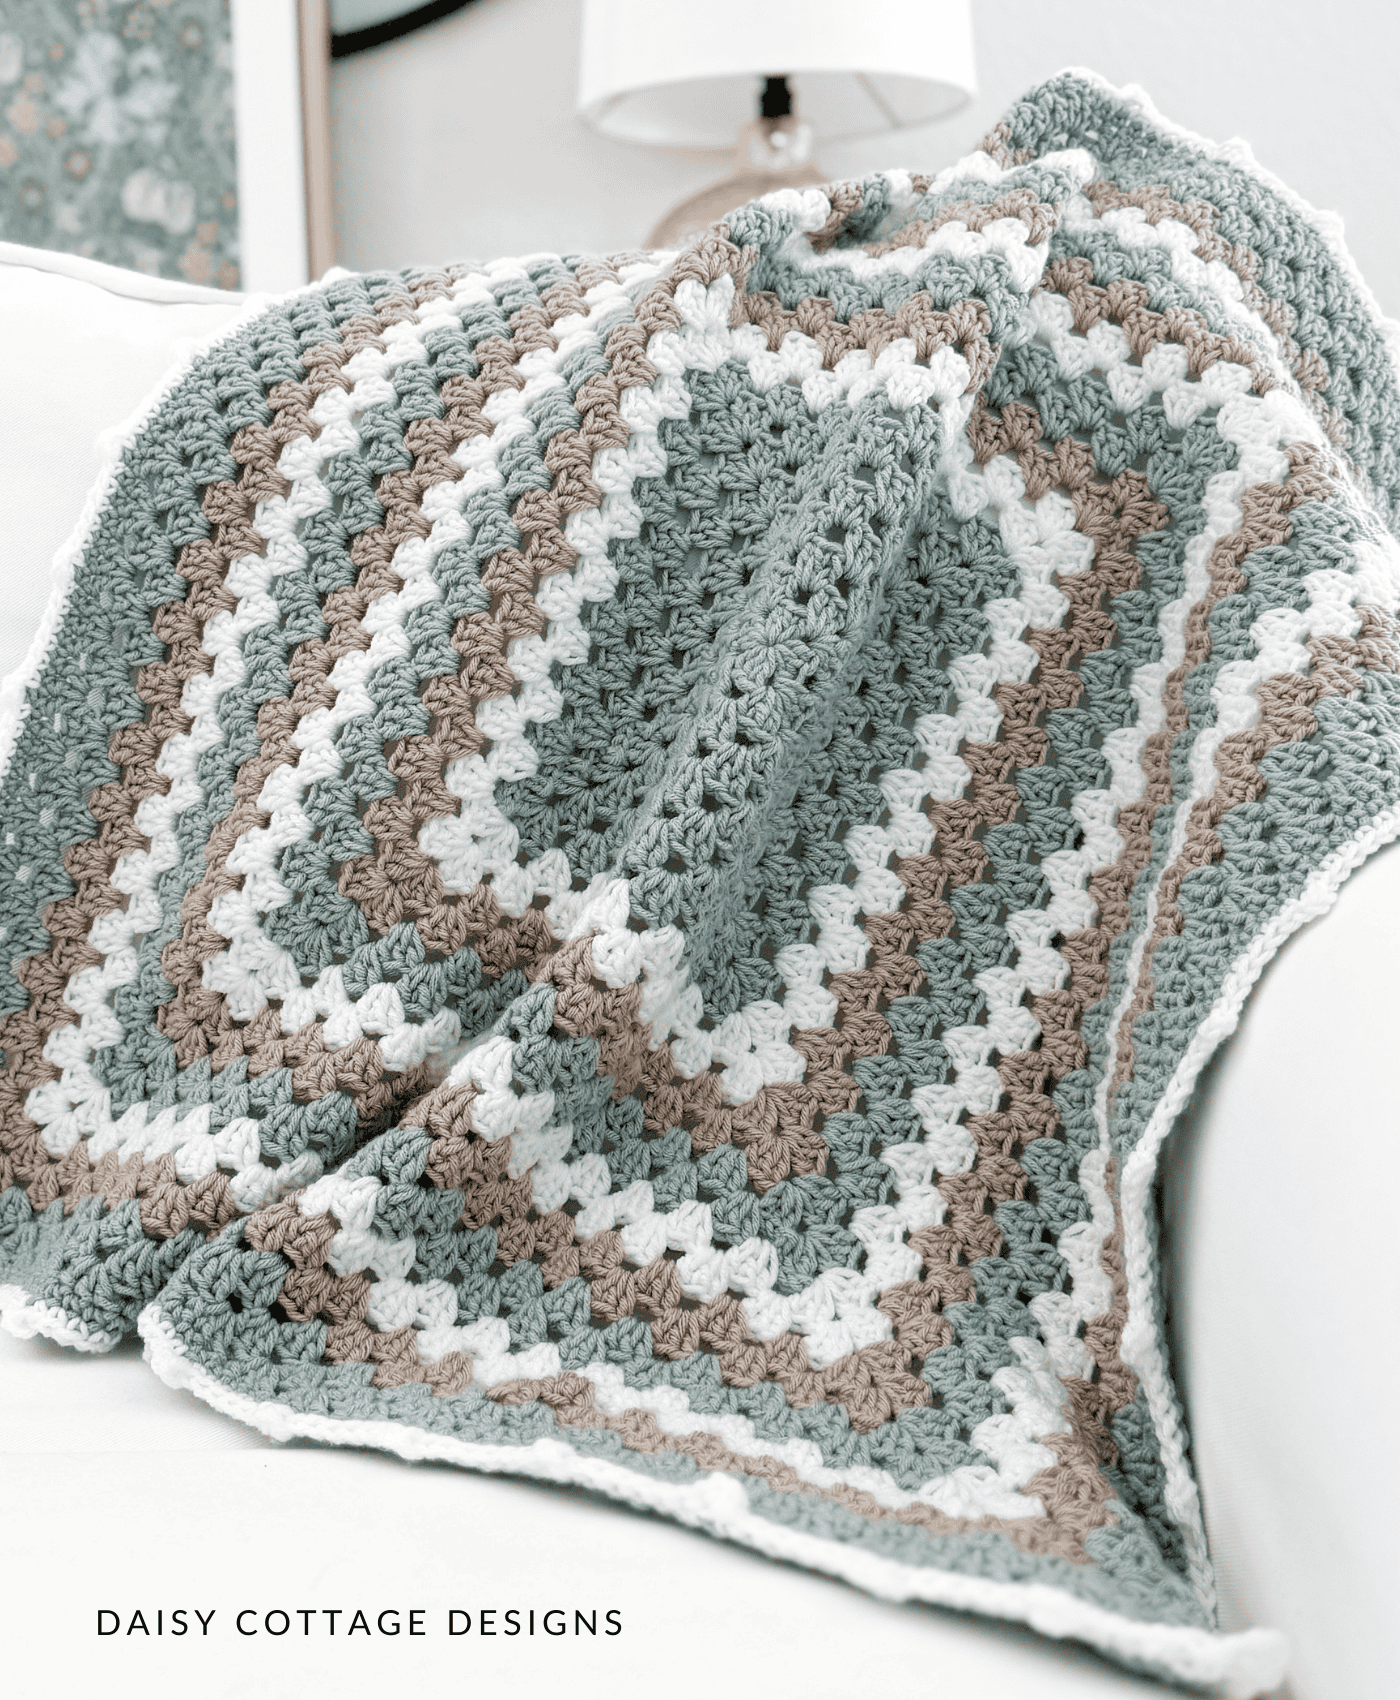
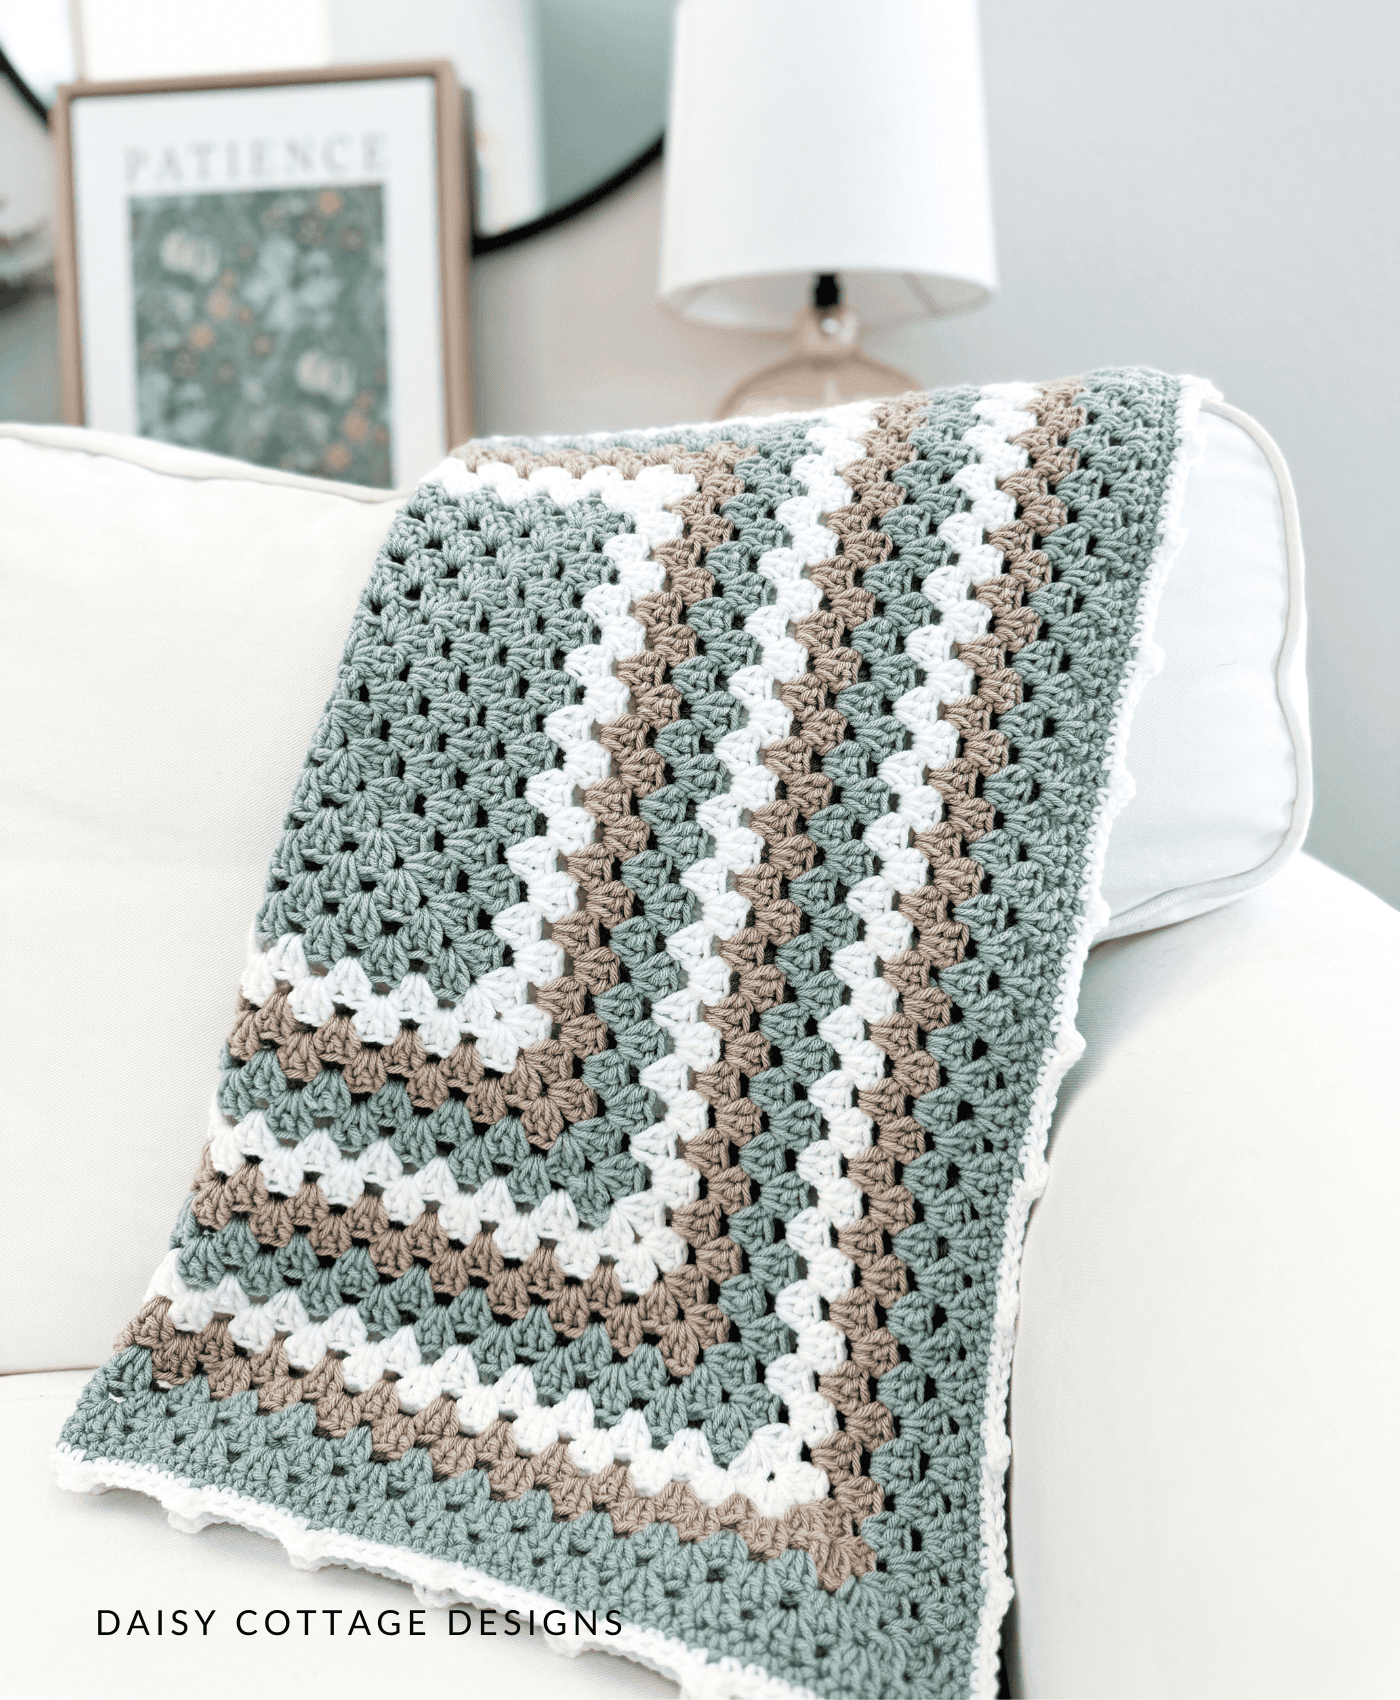
This particular blanket is about 29 inches square. It’s easy to adjust the size of granny square blankets, though. If you want to make it bigger or smaller, I explain how at the end of the pattern.
Want to make your own? The full pattern is below.
Materials
- I/9 (5.50 mm) Crochet Hook
- Approximately 685 yards of worsted weight yarn
- I used Yarn Bee Soft and Sleek in the following Shades:
- White (1 Skein)
- Linen (1 Skein)
- Viridescent (2 Skeins)
- Tapestry needle and scissors for weaving ends.
- If you prefer ad-free, print-friendly patterns, the PDF version of this pattern is available in my Etsy shop.
Pattern Notes:
- The finished size of this blanket is approximately 29″ x 29″, but there are instructions for adjusting the size of this blanket at the end of the pattern.
- Crochet hook sizes are not set in stone. If you know you crochet tightly, go up a size. If your tension is loose, go down a size.
- Gauge is not important for this project.
- At the end of each round, you should have 4 ch 1 spaces – the chain 1 spaces are your corners.
- A video tutorial is available here.
Abbreviations
- dc – double crochet
- sc – single crochet
- sl st – slip stitch
- ch – chain
- hdc – half double crochet
Special Stitch:
- dc cluster: 3 dc in the same stitch.
- Note: the starting ch 2 of each round and the first 2 dc count as the first cluster.
Granny Square Blanket Patter:
Round 1:
Using Viridescent, ch 3.
Work 2 dc into the third chain from the hook and ch 1.
*dc cluster into the same chain, ch 1* 3 times. Sl st to the top of the ch 2 to join.
At the end of this round you will have 4 double crochet clusters and 4 ch 1 spaces.
Note: The ch 1 spaces are the corners of your blanket.
Round 2:
Sl st in the next two stitches and into the ch 1 space. Ch 2.
Work 2 dc into the ch 1 space, ch 1. Dc cluster in the same ch 1 space.
*dc cluster, ch 1, dc cluster in the next ch 1 space* 3 times. Sl st to the top of the first ch 2 to join.
At the end of this round you should have 8 dc clusters and 4 ch 1 spaces.
Round 3:
Sl st in the next two stitches and into the ch 1 space. Ch 2.
Work 2 dc into the same ch 1 space. Ch 1, dc cluster into the same ch 1 space.
Dc cluster into the space between the clusters of the previous round.
*dc cluster, ch 1, dc cluster in the next ch 1 space. Dc cluster into the space between the clusters of the previous round* around. Sl st to the top of the first ch 2.
At the end of this round you should have 12 dc clusters and 4 ch 1 spaces.
Rounds 4-27:
For the remaining rounds of this blanket, you will continue as follows.
Sl st in the next two stitches and into the ch 1 space. Ch 2.
Work 2 dc into the same ch 1 space, ch 1. Dc cluster into the same ch 1 space.
Dc cluster into the spaces between the clusters of the previous round until you reach the next corner.
*dc cluster, ch 1, dc cluster in the next ch 1 space. Dc cluster into the spaces between the clusters of the previous round until you reach the next corner* around. Sl st to the top of the first ch 2.
The stripe pattern is as follows:
- 8 rounds Viridescent
- 2 rounds White
- 2 rounds Linen
- 2 rounds Viridescent
- 2 rounds White
- 2 rounds Linen
- 2 rounds Viridescent
- 2 rounds White
- 2 rounds Linen
- 3 rounds Viridescent
Do not cut yarn after round 27.
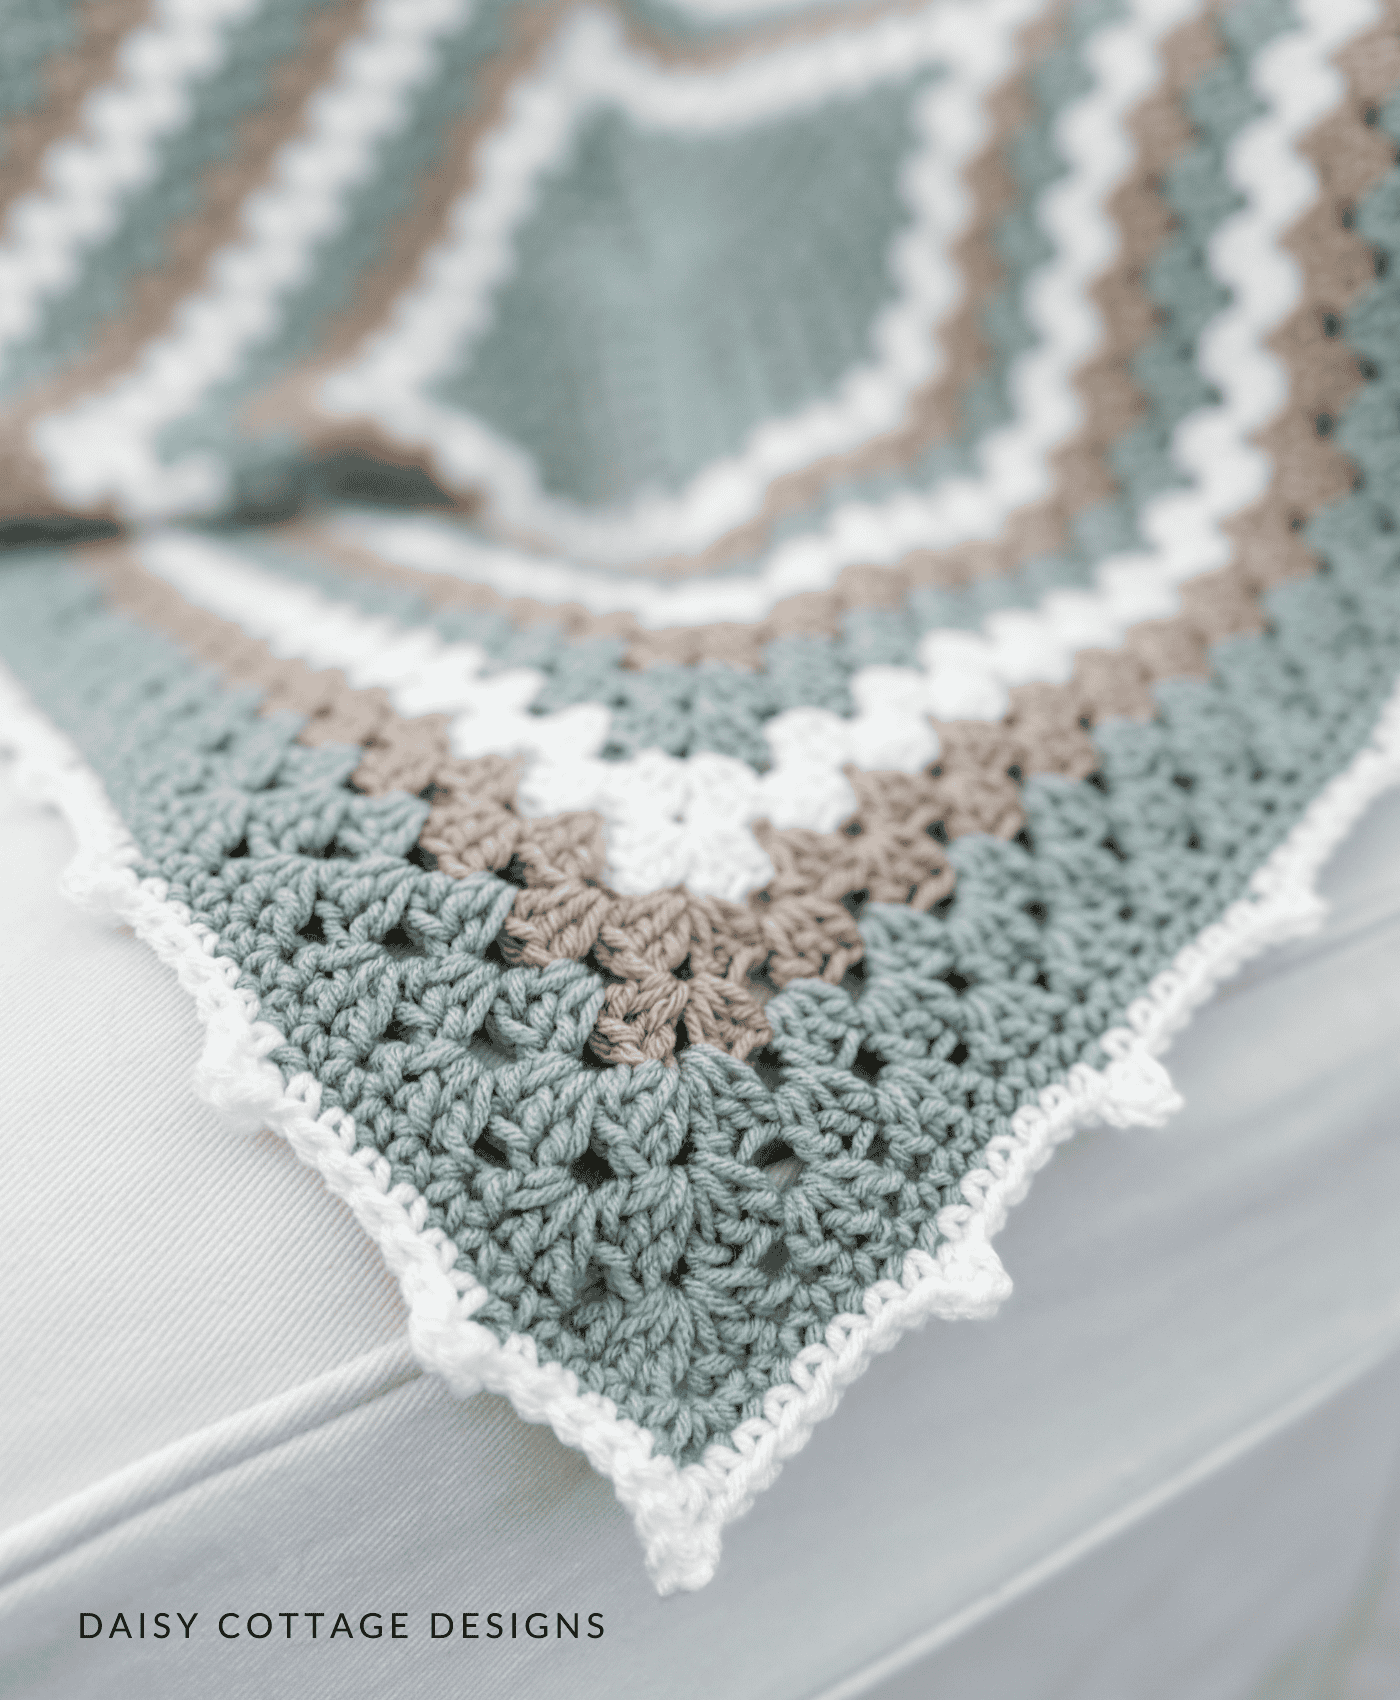
Border Instructions
Rounds 28-29 are the border.
Round 28:
Sl st into the next 2 stitches and into the ch 1 space. Ch 1.
Sc, ch 2, sc into the same ch 1 space.
Sc around the entire blanket, working a sc, ch 2, and sc into each corner. Sl st to the top of the first stitch to join.
Cut yarn and weave ends.
Round 29 (this is the picot edging):
Join white yarn using a sl stitch in any corner.
Sc in the same ch 1 space and in the next 5 stitches. Ch 2, hdc in the second chain from the hook (first picot stitch made).
*Sc in the next six stitches. Ch 2, hdc in the second chain from the hook* around the edge of the blanket.
In each corner, work a sc; ch 2, hdc in the second ch from the hook; and a sc.
End with a sc, ch 2, hdc in the second ch from the hook. Sl st to the top of the first stitch to join.
If you’ve never worked a picot border before, here is a more detailed guide.
Step 1: In any corner join the white yarn using a slip stitch
Step 2: sc in the next 6 stitches.
Step 3: chain 2.
Step 4: hdc in the second ch from the hook.
There are several ways to make picot borders. If you have mastered another method, feel free to use it! Your results will look similar.
Note: If your picots aren’t all exactly 6 stitches around, you will NOT notice once your blanket is finished.
Adjusting the Size of this Granny Square Blanket:
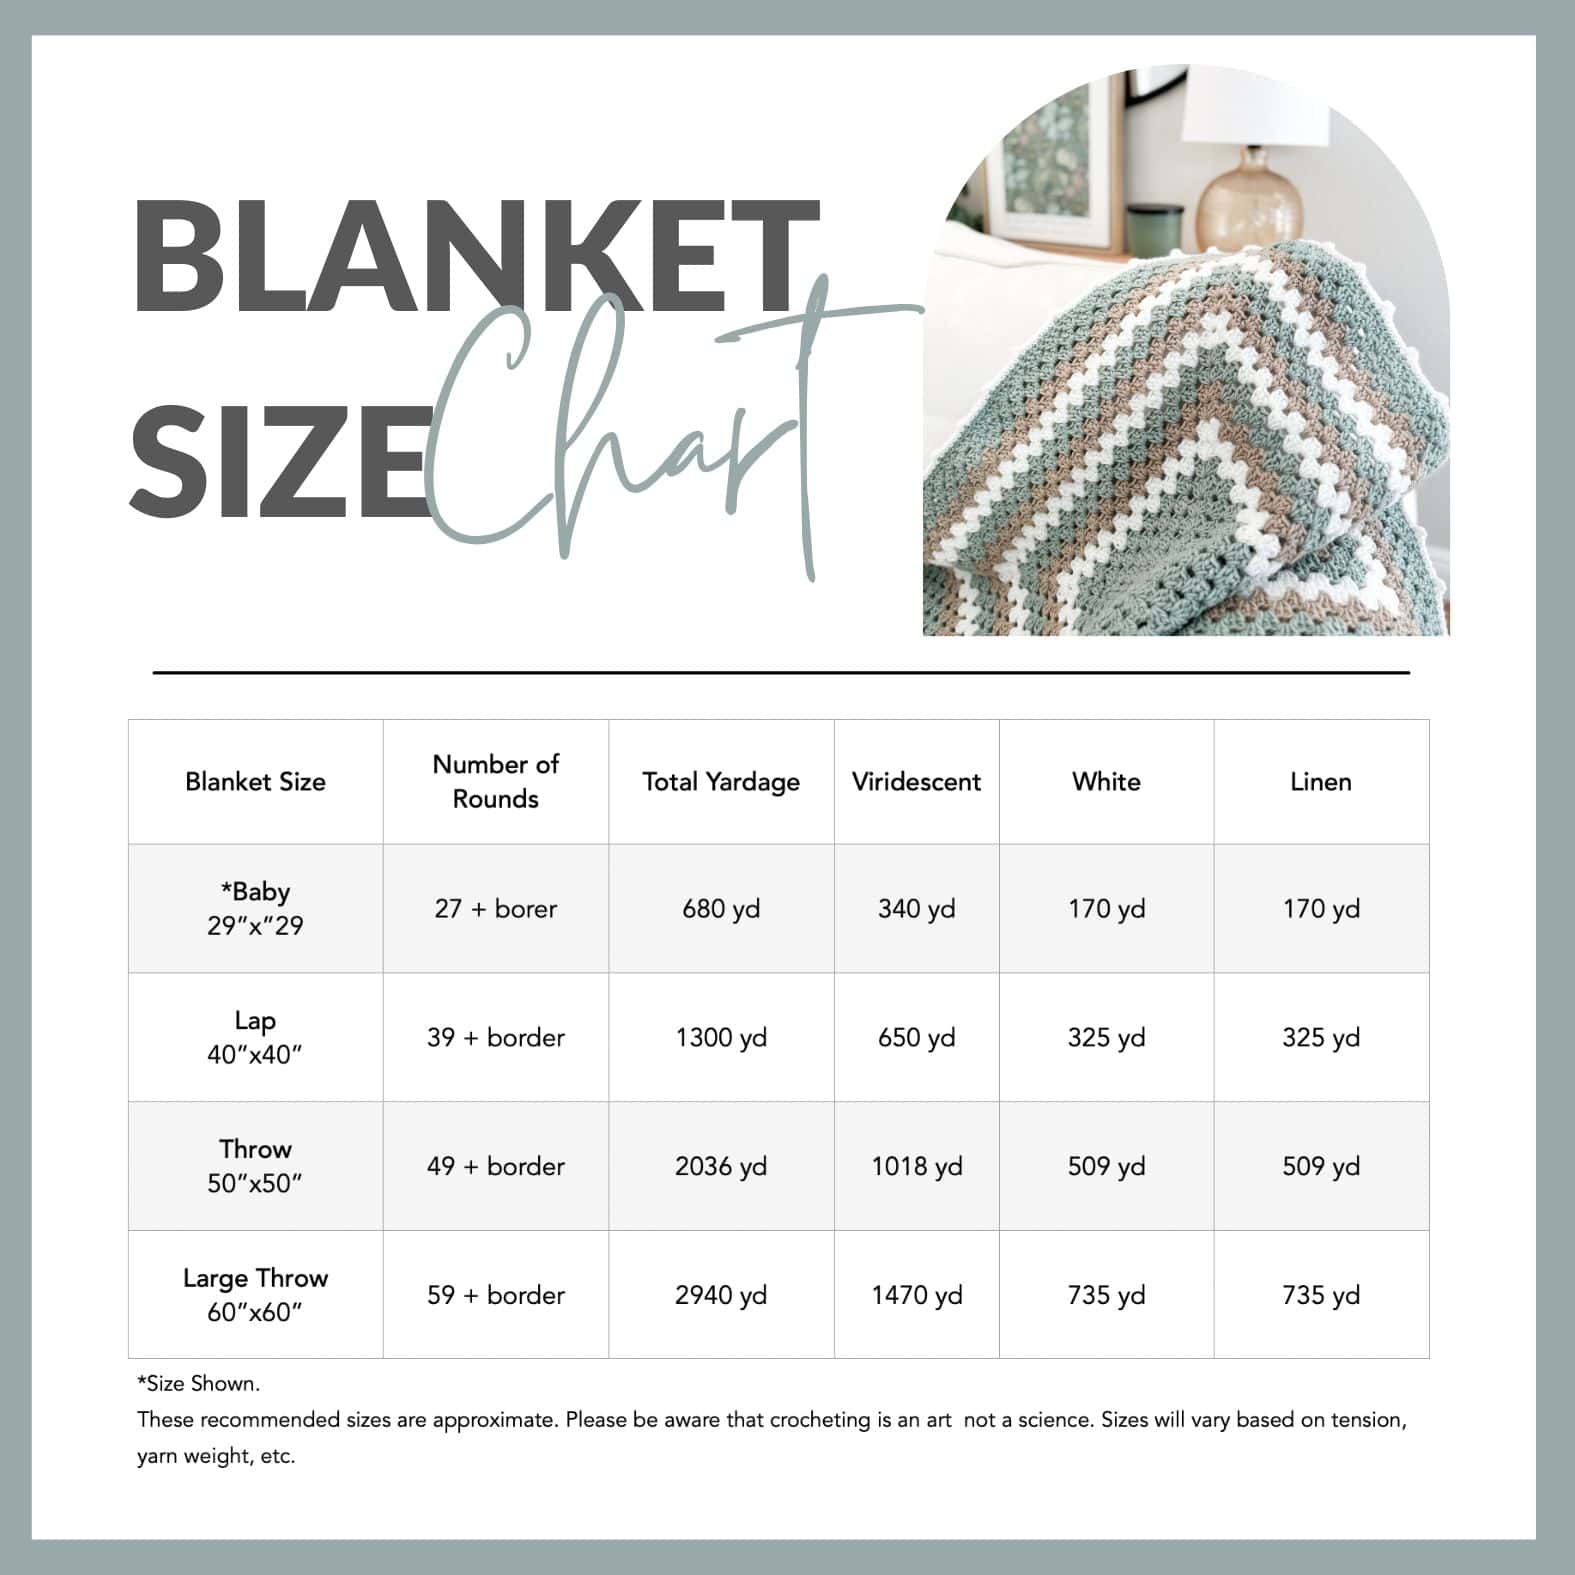
To make this blanket smaller, work fewer rounds. To make it bigger add more rounds. To keep the same stripe pattern, work 2 rounds of each color until you get to the last “stripe” of Viridescent. The final stripe should have 3 rounds.
The chart below provides 4 blanket sizes, the number of rounds needed, and the yarn amounts for each size.
Granny Square Variations
There are many beautiful granny square variations. Some have a heart in the middle, while others sport flowers. Here are a few of my favorite variations.
What Should I Crochet Next?
If you enjoyed making this blanket, here are a few other patterns you should try next!
- This timeless crochet throw blanket pattern is one you’re not going to want to miss. It’s easy, but has an heirloom look about it.
- After making a blanket, you might be ready for a quicker crochet project. Try one of these crocheted dishcloths.
- Want more granny? A granny stripe blanket would be a fun next project.

Thank you so much for this beautiful pattern!!! Im loving how quick and easy it works up! Perfect for a summer rainy day project!
Hi what size crochet hook should I use
I love the pattern can’t wait to get started
I usually use H or I… but you can experiment with which you like the best!
Can you do a tutorial of this please … I’m trying to follow but am a bit confused would like to see how this is made ,so I can make it for my new grand baby please!!! Thank You
Do you turn after each round?
Thank you so very much for these patterns and color combinations. I’ve lost count of how many girls and boys granny square baby blankets I’ve made. They’ve all been well received!
Have made the teal,white and gray numerous time and you are right, it is the colours .
Love your designs, stick to easy stitches, although simple sometimes so more effective, love your colour choices, have both of your books, if you publish any more any chance you could somehow put english stitches against the other stitches please, brackets maybe ? I’m from Essex, England.
Love your channel.
I love the way you explain things which makes it so easy for me to follow as I am only learning and enjoying crochet. Thank you
I have made this several times, it is so easy to crochet. And it works up so pretty.
I like colors of the rainbow but have made all kindsl over the years/
MY HUBBY (deceased now) gave me a very that I used to store all my finiished projects in after I pred than and stored in a plasket bag nad I always had a nice gift If I needed one for a gift – Birthday, ,wedding, graduation, going off to college for the dorm roon bed, etc.. I keep all m patterns in a 5 drawer file cabinet in two + drawers. used mosrly red heart yarns
Hi, do you have a pattern for a rectangular granny afghan. One of the charities I crochet for is requesting rectangular lapghans for their nursing home residents.
Hi Any chance you have a pattern like this but in a rectangular Shape?
I don’t currently have a rectangular granny blanket 🙂
Hi from MS,
We are just getting the cooling days. When I look at the colors in your blanket, I feel the gentle changing of the winds bringing the cooling winds that allow easer breathing after the awful heat of the South. I can’t explain it, but there is what the colors do for me. I think it’s calling me to gather the colors and start to make my own late Fall blanket to snuggle under when the first chill comes South.
I’m in Florida so I know all about wanting those cool breezes! We have some cooler weather coming in next week. Can’t wait.
This will be my first attempt at a baby blanket. Absolutely love the colors and thank you for allowing us to have this free pattern.
You’re welcome! You’ll do great. Let me know if you have any questions.
Hi there, just love your patterns and colours and your tutorials 😍
One quick question when changing colours,when finishing one colour do you end it with slip stitch into 2nd stitch or continue on with the next 3 slip-stitches ending in middle of corner ?
Thanks so much 😘
Great question. I do slip stitch into the next two stitches, but it’s a personal preference. Either way will work just fine!
Is there a video tutorial of this blanket. I’m more of a visual person. Thanks
There is. You can find it here: https://youtu.be/2R6NSSxe-Dk
I have tried so many patterns for the granny square blanket but this one is perfect. It makes a perfect square, it’s so simple and is the best one I have found. Thank you for the pattern
You’re so welcome!
Absolutely love this pattern! How did you go about changing colors? Yours looks so flawless but I feel like every time I change colors something looks off. Any advice would be appreciated 😊
Hi, Courtney. For my granny squares, I just join yarn with a slipstitch in any corner. 🙂 I’ll have to do a video soon. You’re not the only one who’s asked!
I just purchased the granny square pattern but still have not received an email or the pdf? What do I do next?
Hi, Janice. Message me on Etsy or shoot me an email and I’ll be happy to help!