V-Stitch Blanket Crochet Pattern
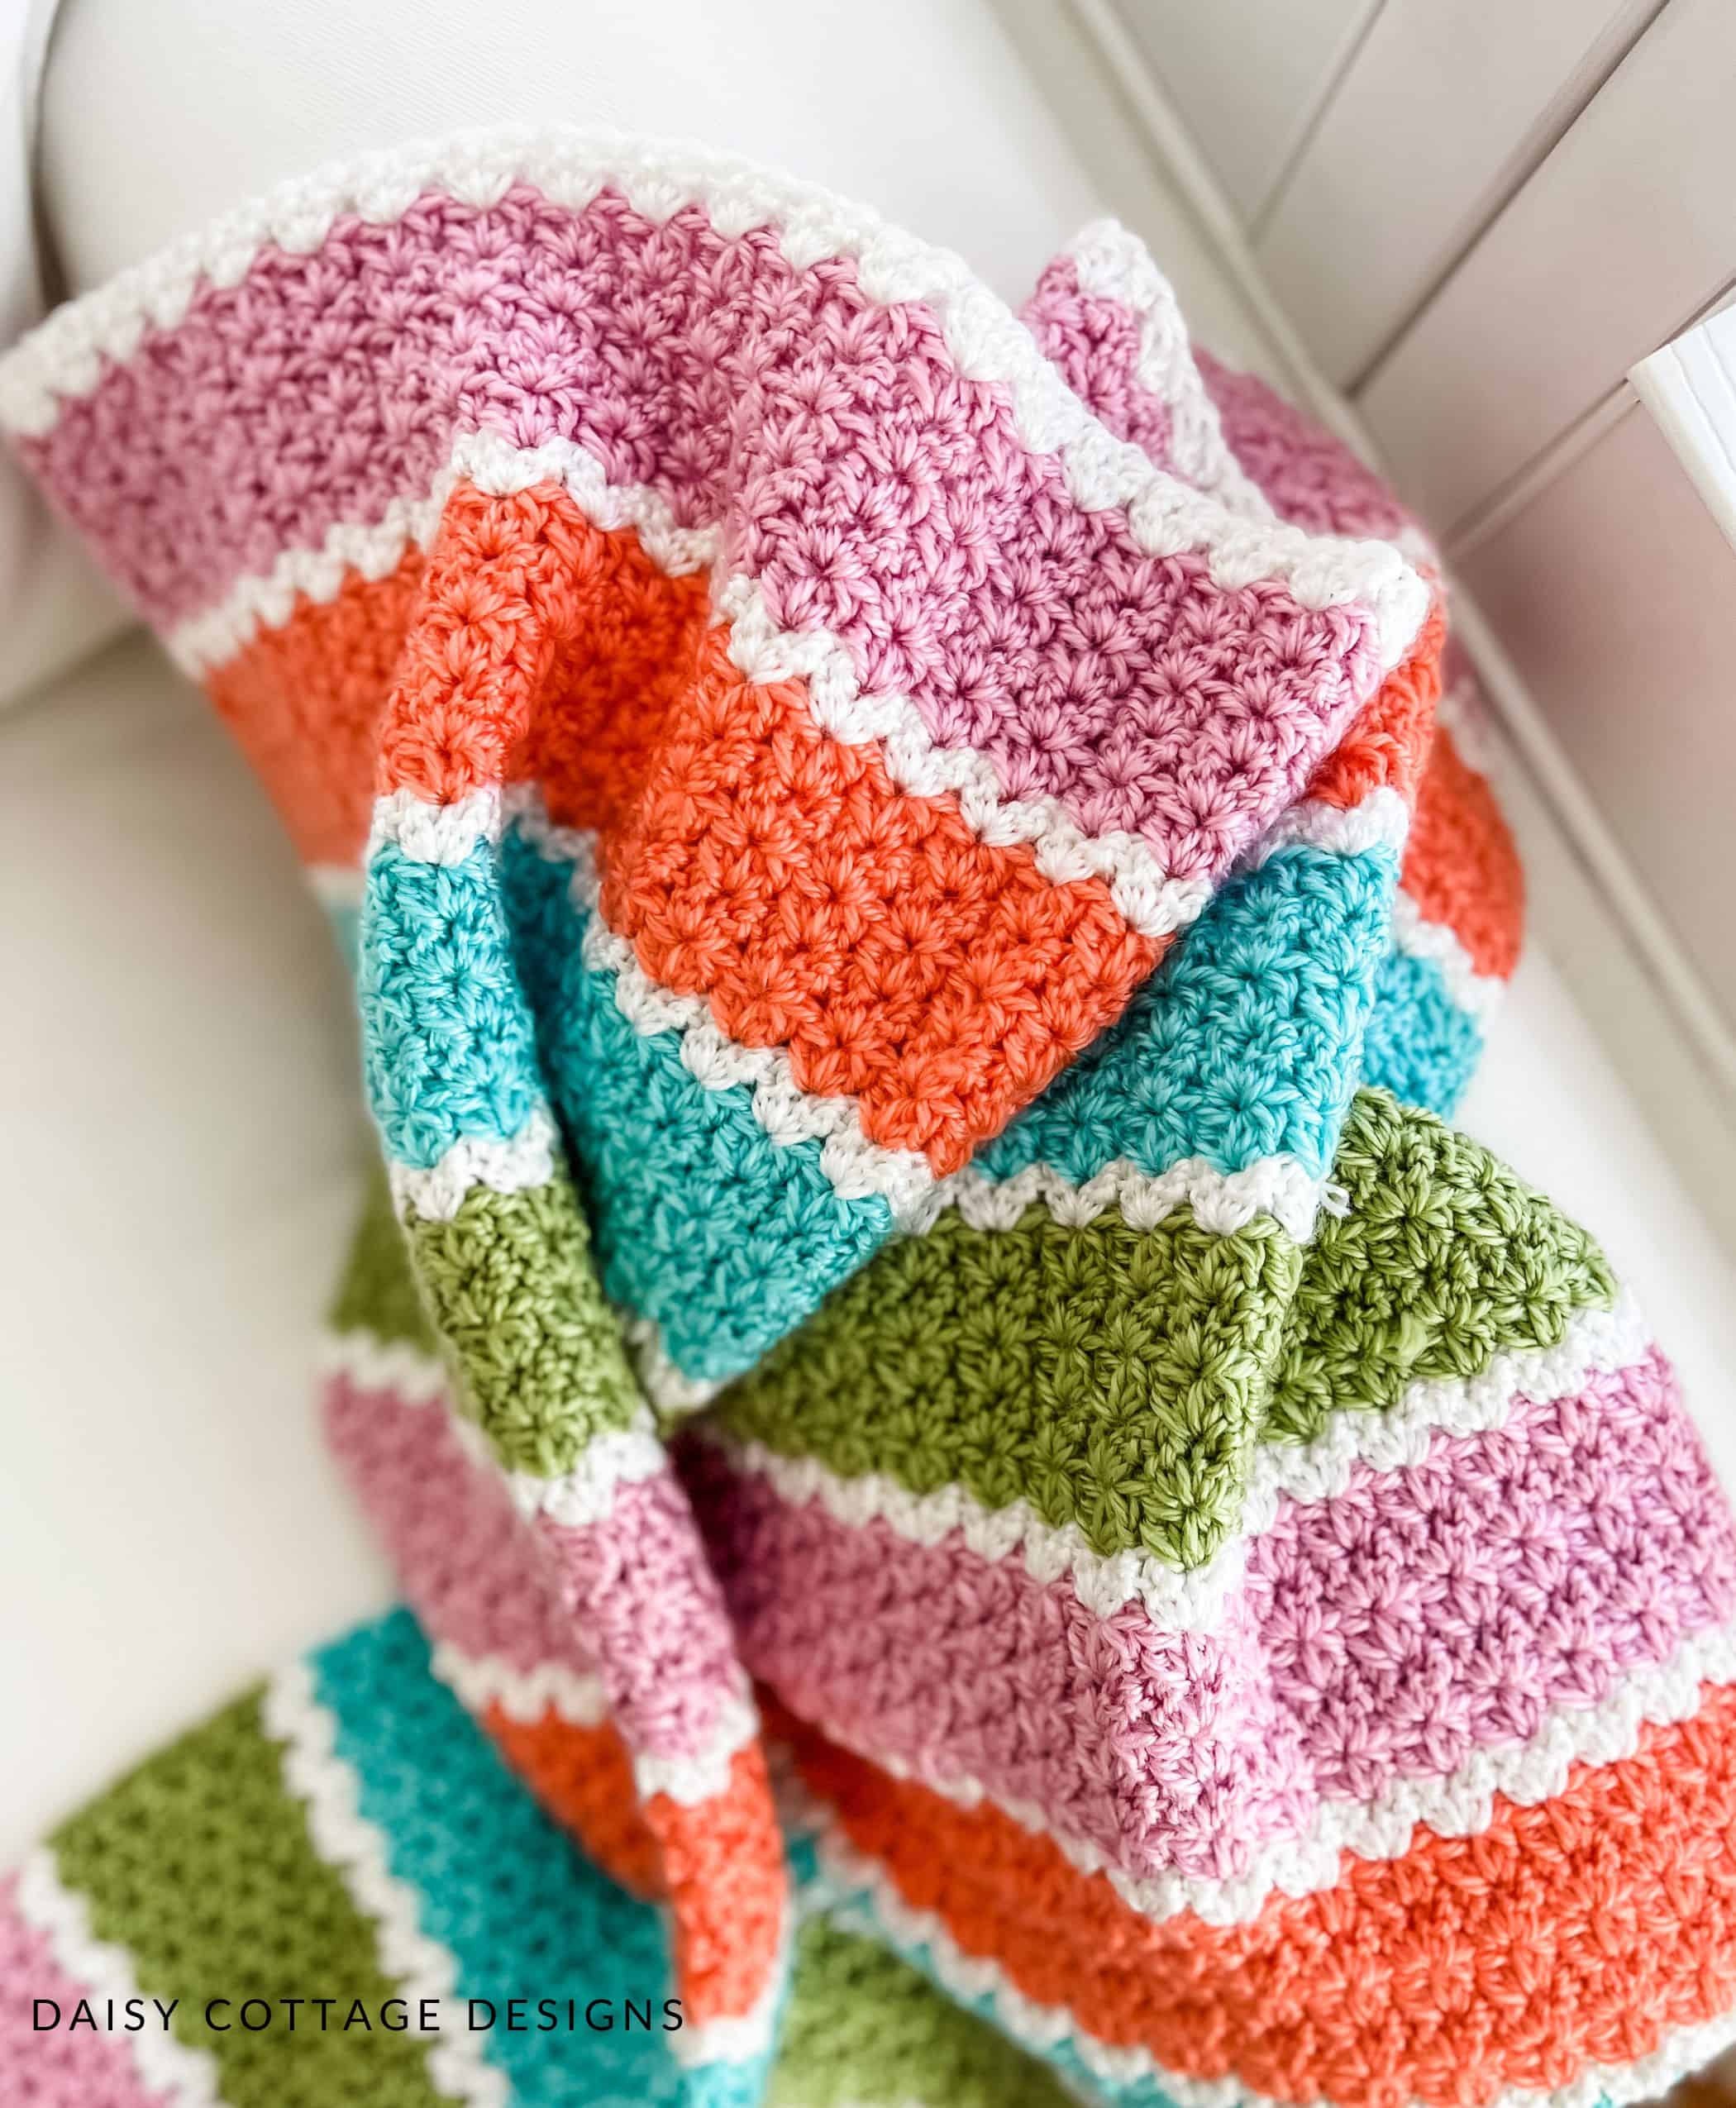
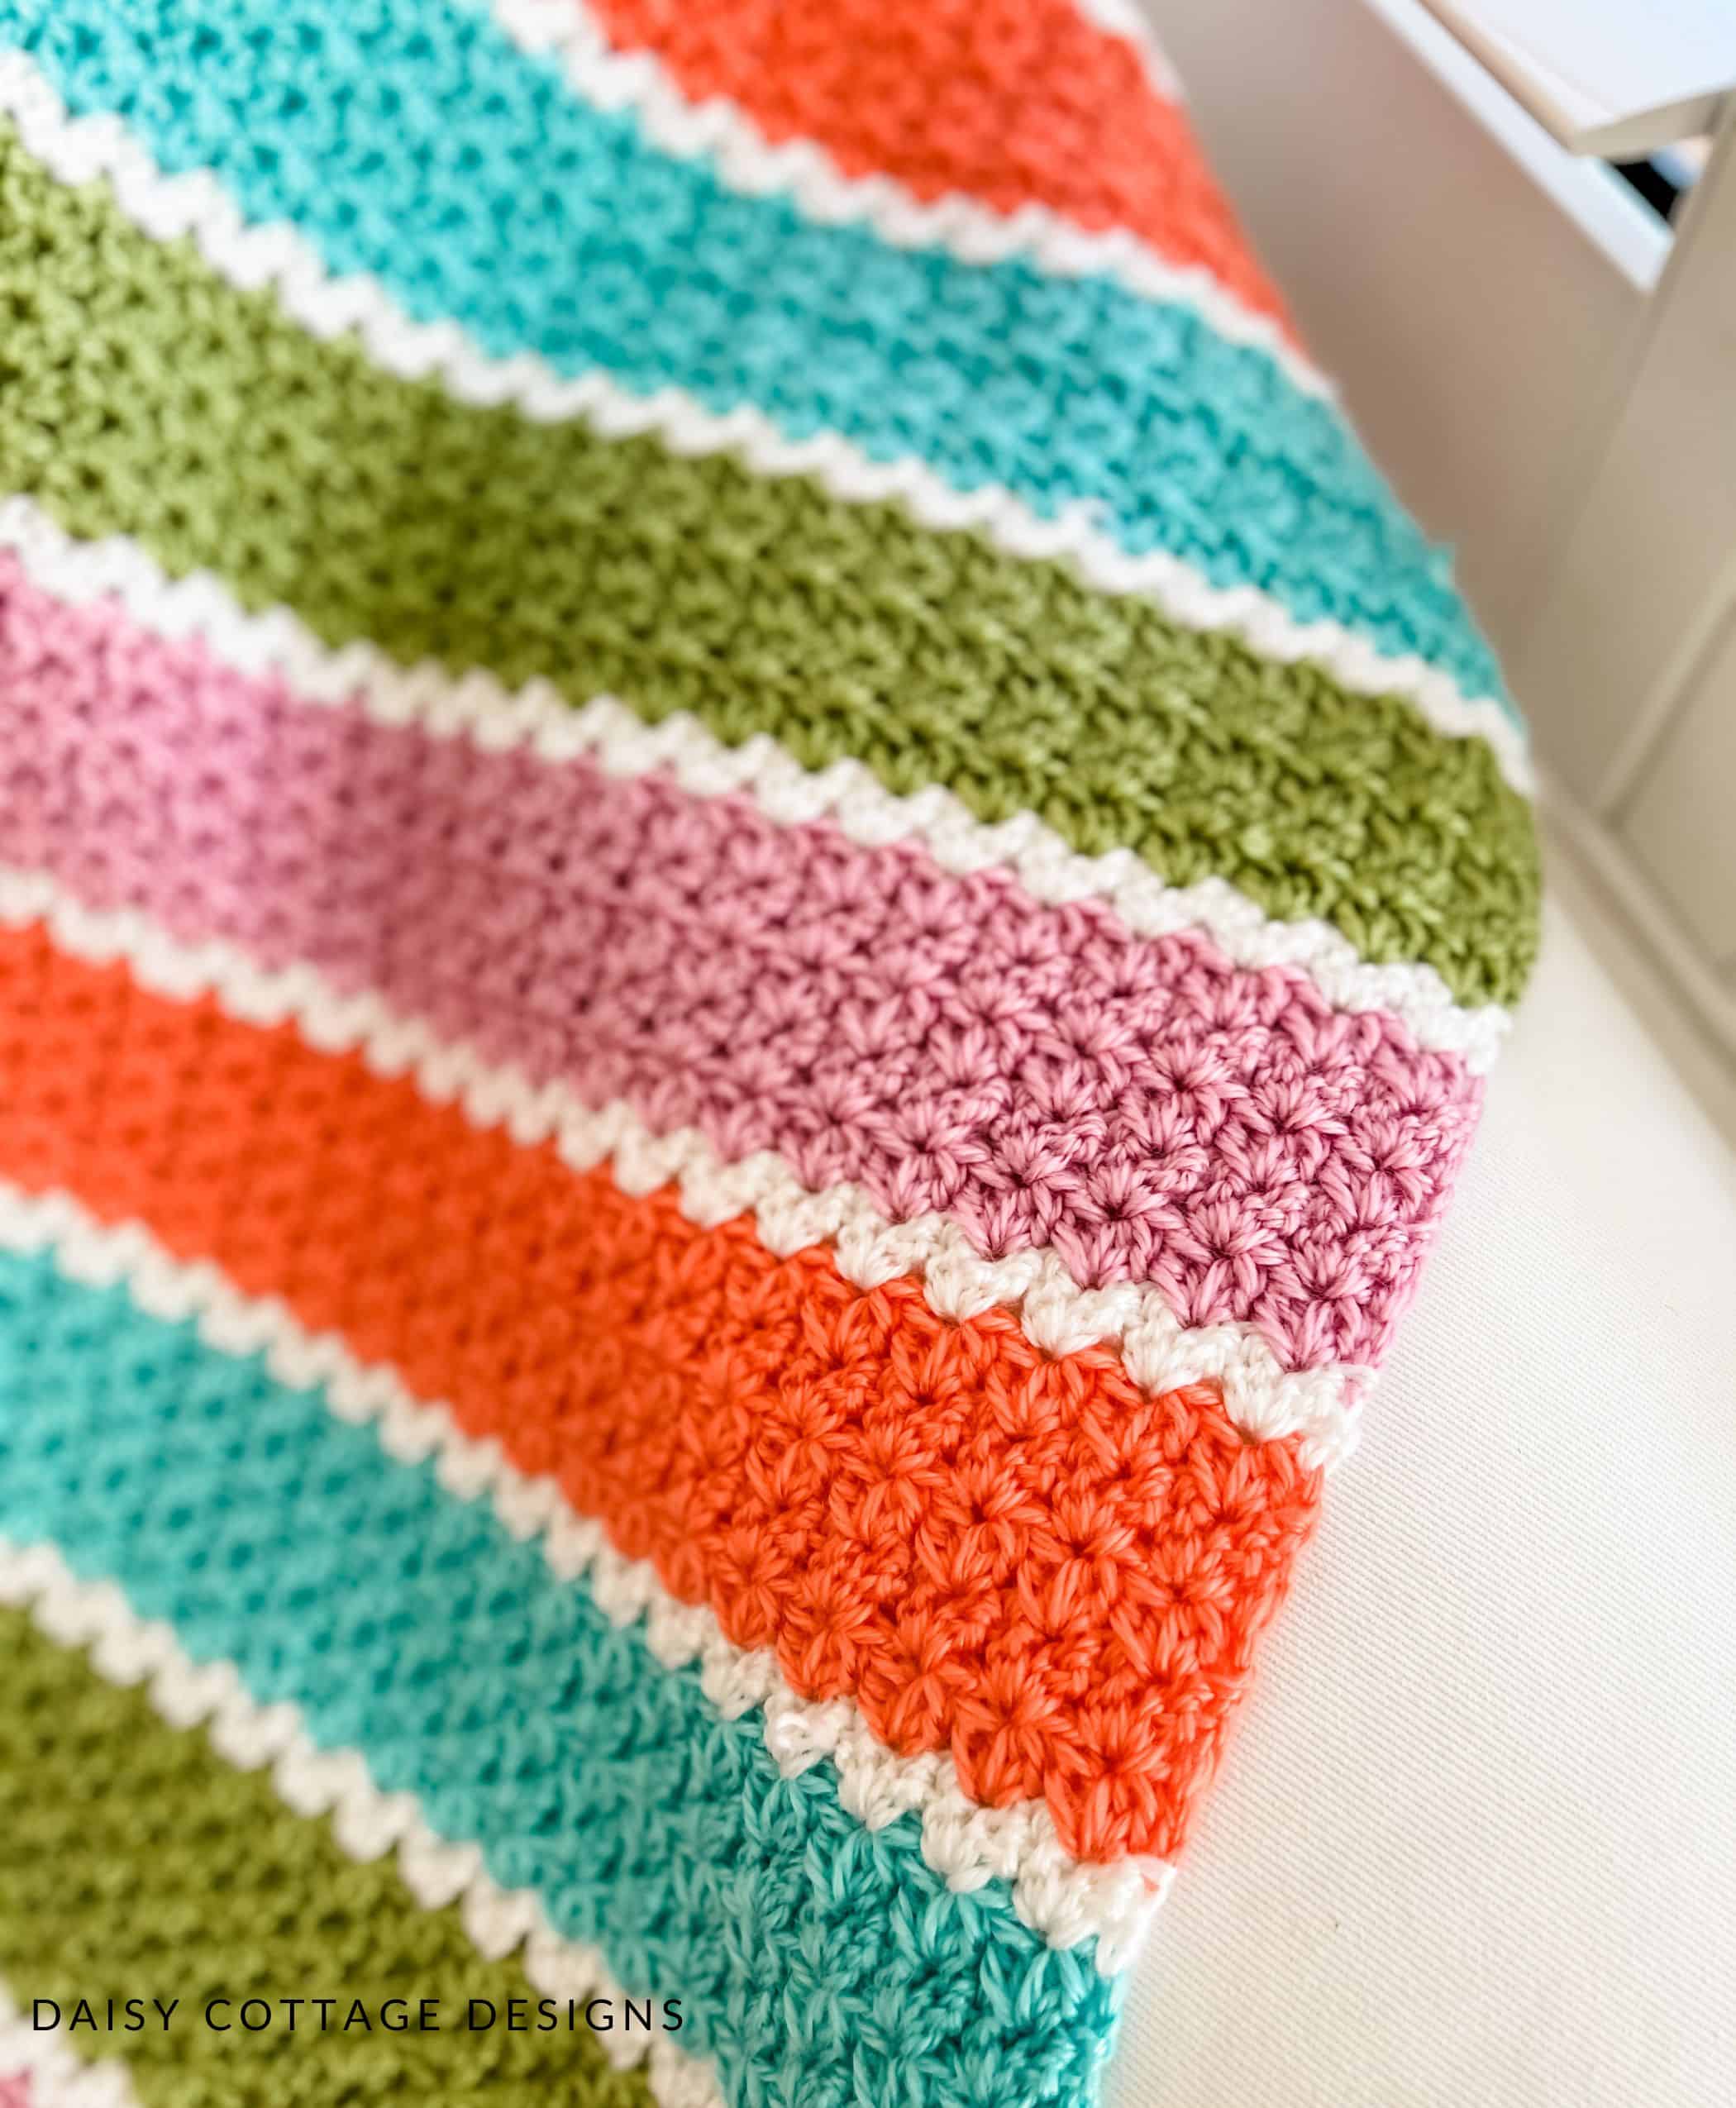
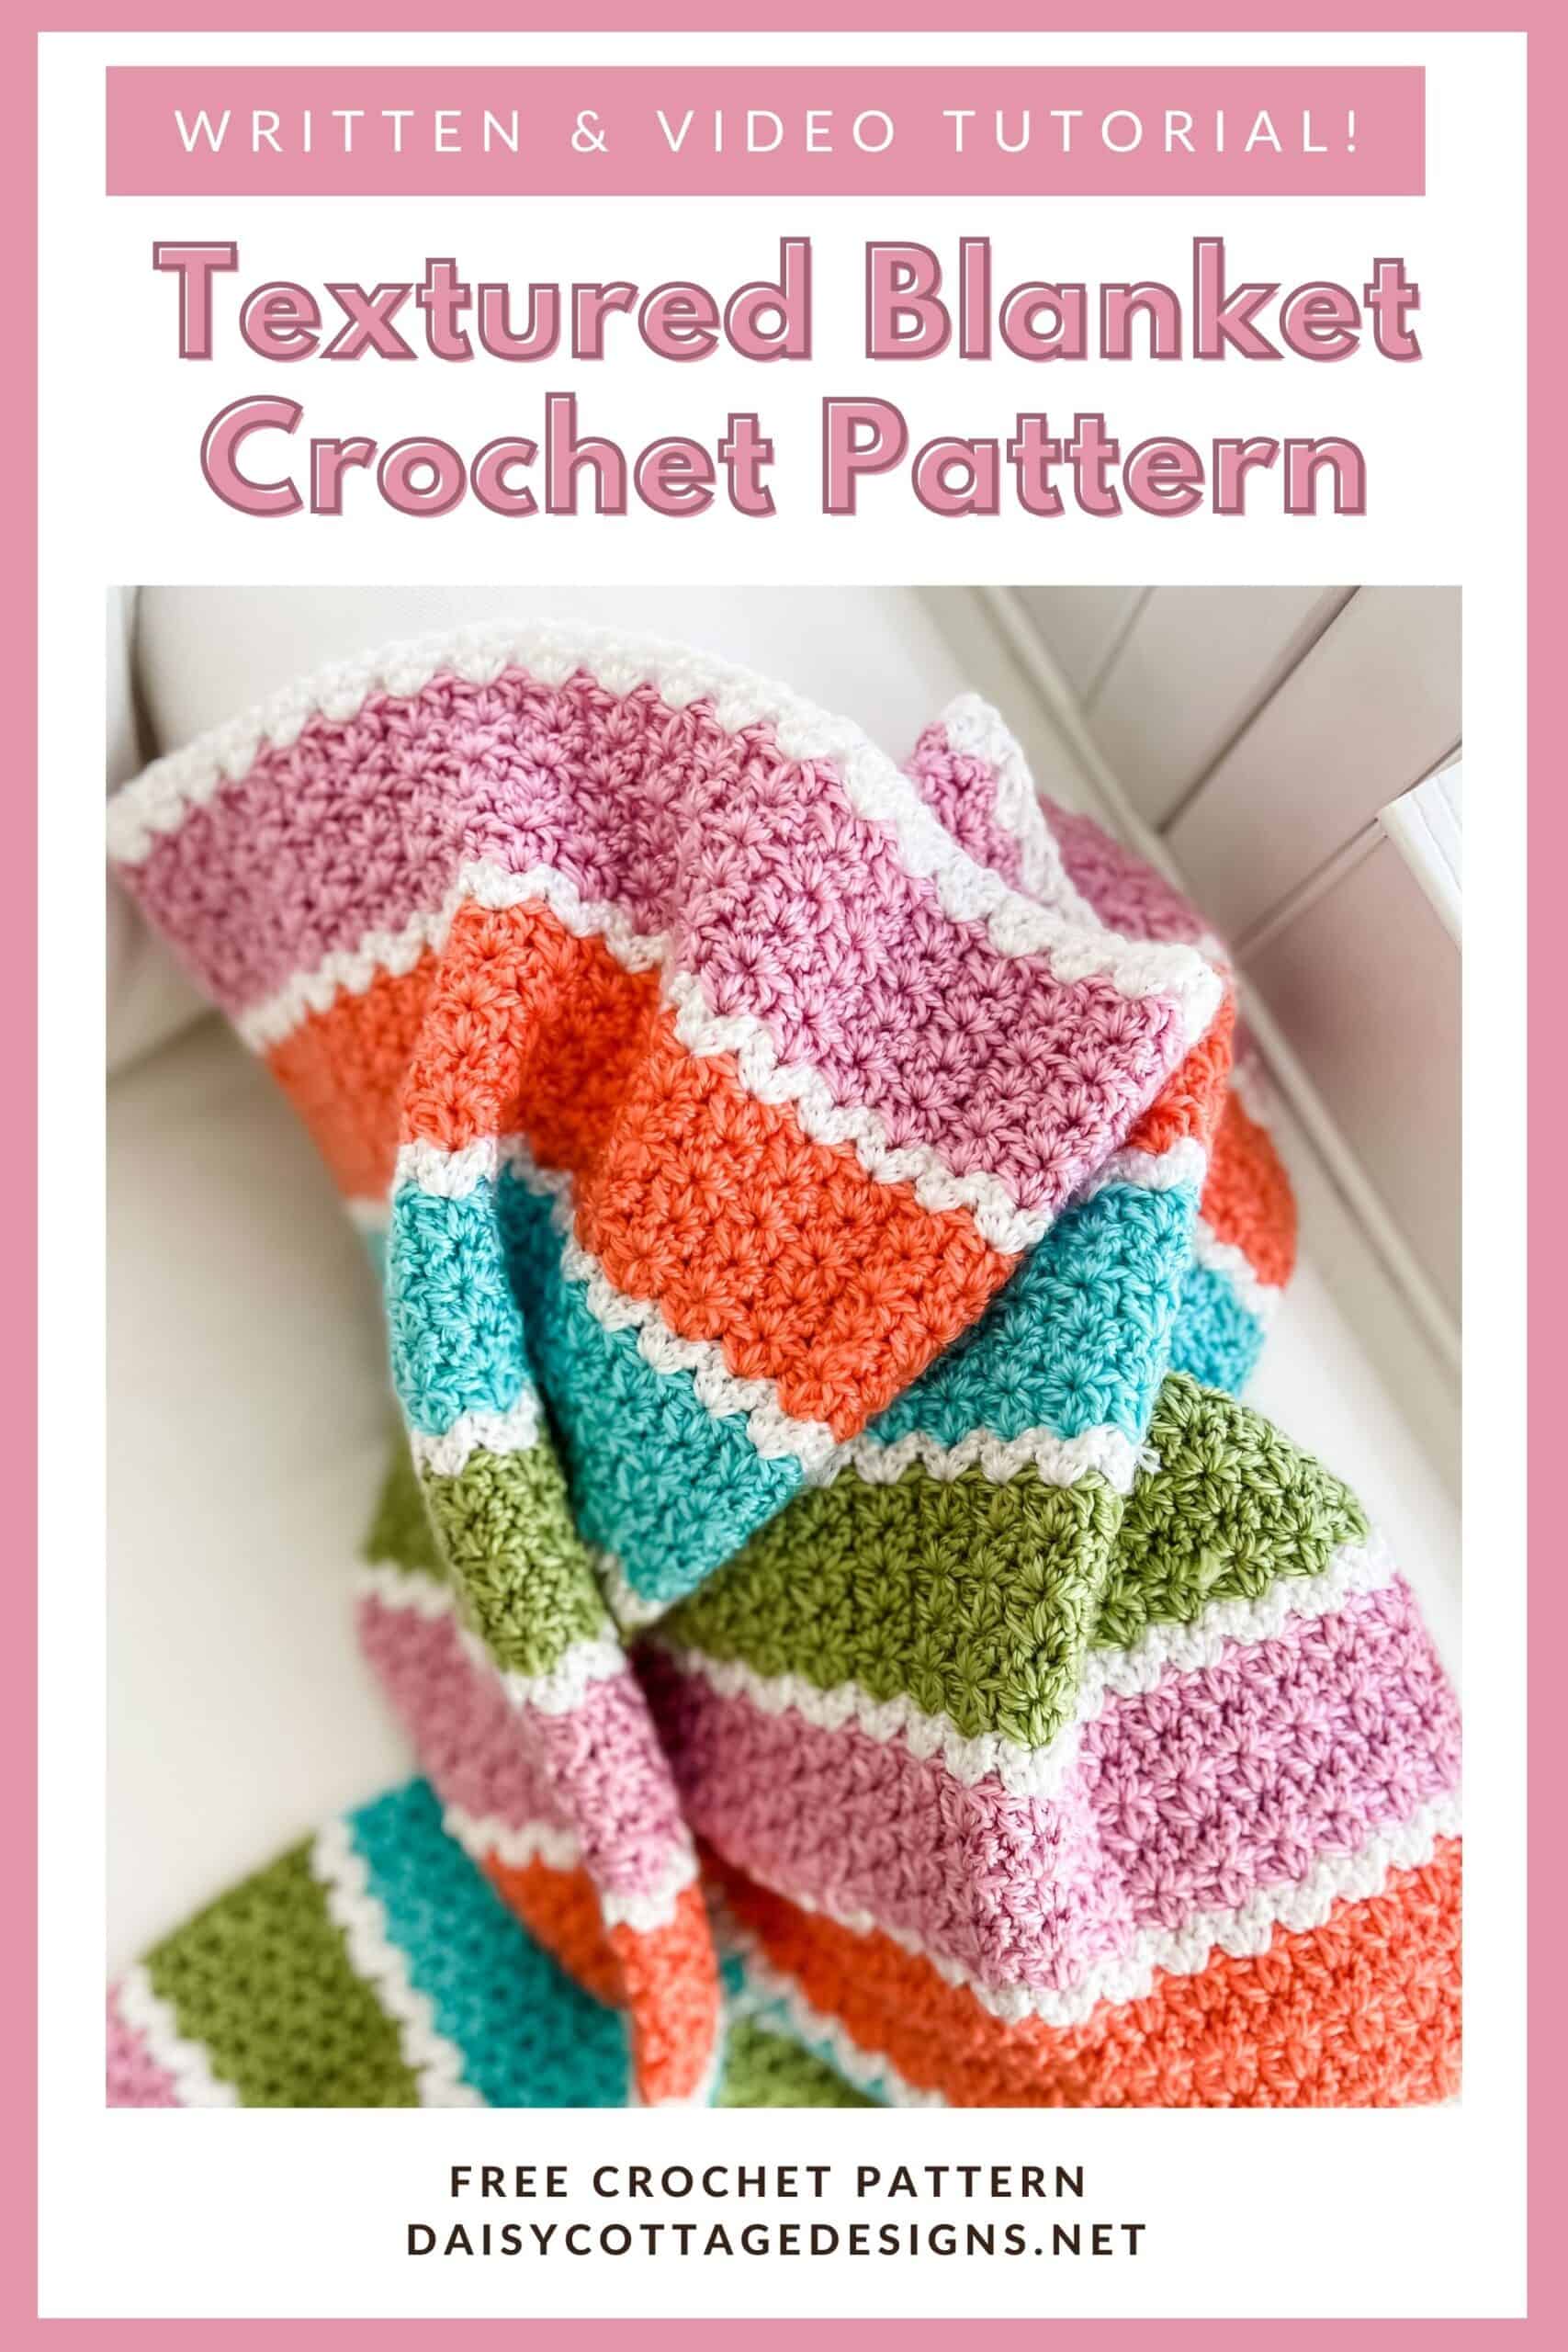
Of all the free blanket crochet patterns on the Daisy Cottage Designs website, this one might be my favorite. From the bright and cheery colors, to the beautiful cluster v-stitch, to the simple border – everything about this blanket puts a smile on my face.
This bold blanket is fun to make because the repetitive pattern works up quickly. With the instructions given below, you can make this blanket any size you’d like. This crochet blanket would look beautiful in so many color palettes. If you’d like some colors inspiration, check out my Color Combinations Pinterest Board!
If you’d prefer the ad-free, print-friendly PDF, that’s available for purchase by clicking here.
Materials:
- Worsted Weight Yarn. I used 1 skein each of Yarn Bee Soft Secret in the following colors.
- mango
- aqua
- pink
- avocado green
- white
- Size I crochet hook
- Tapestry Needle & Scissors
Abbreviations:
- dc – double crochet
- sc – single crochet
- ch – chain
- sl st – slip stitch
Pattern Notes:
- As shown, the approximate size of this blanket is 30”x30”
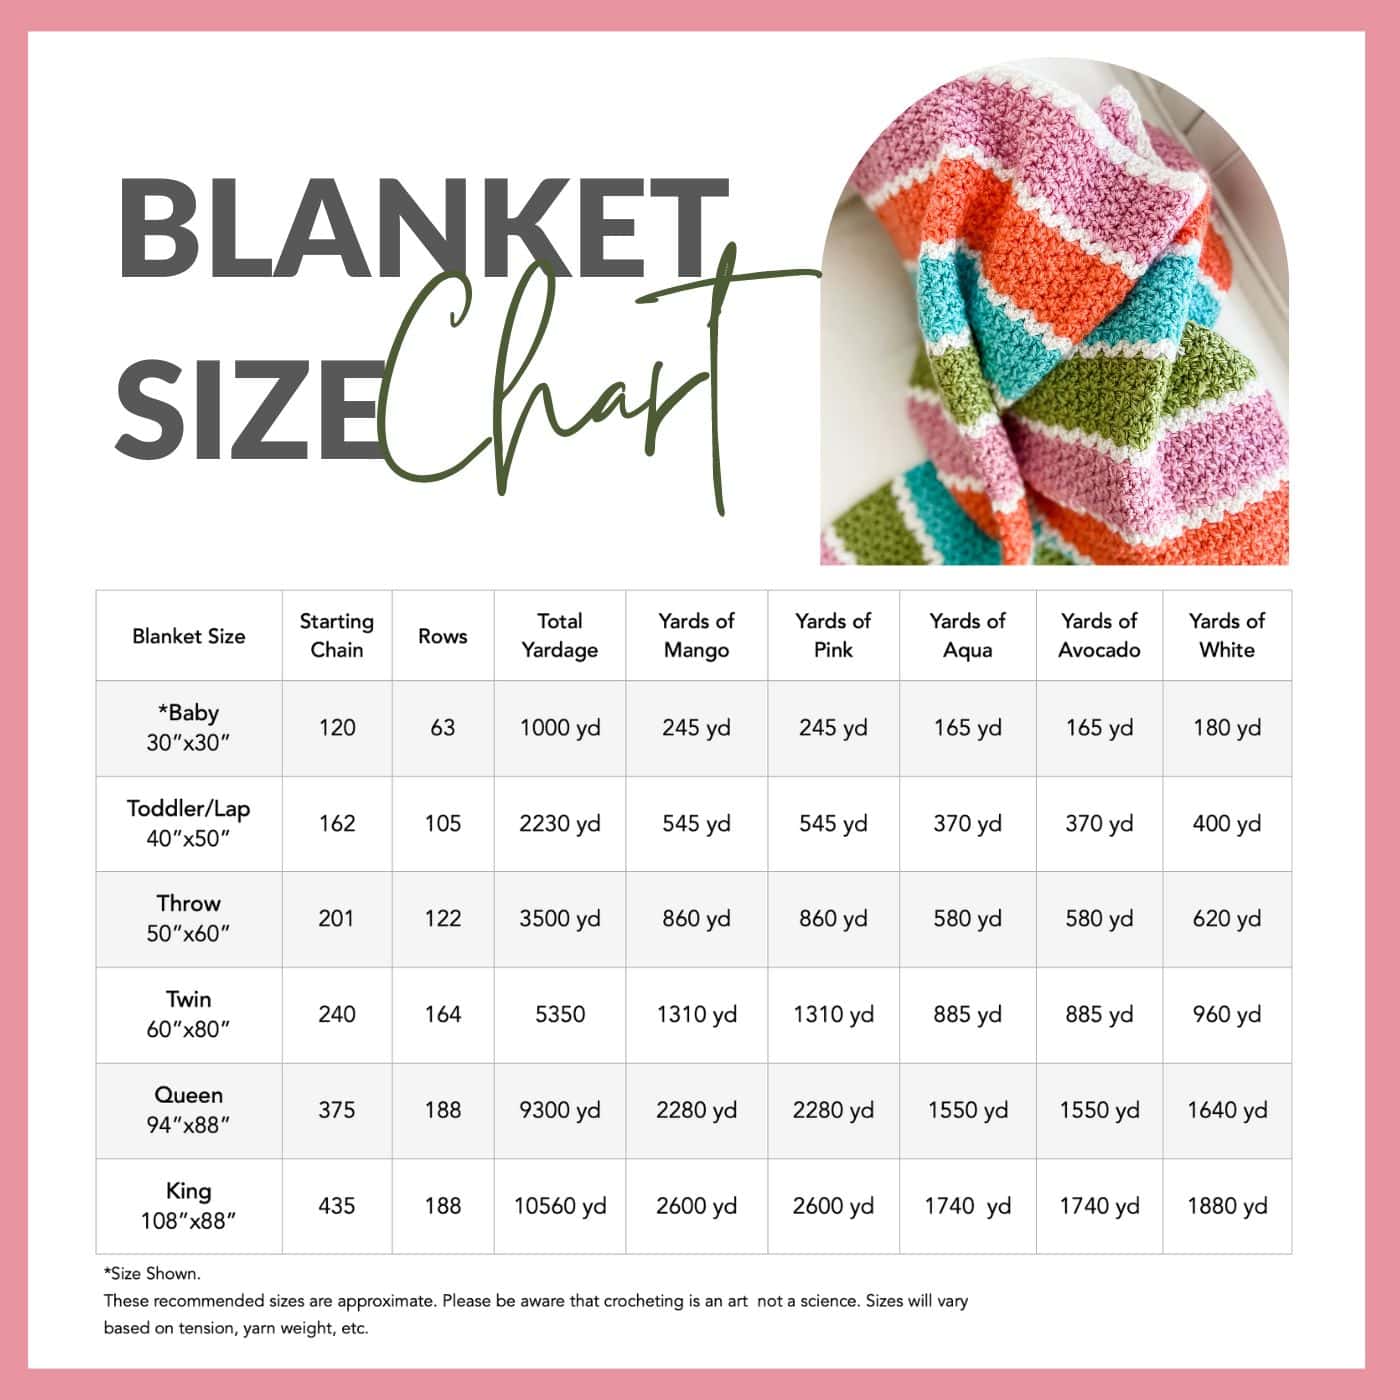
- A chart is provided that has all the information for six different sizes ranging from baby to king size.
- The turning chain does not count as a stitch.
- If you know you crochet tightly, go up one hook size.
- You are welcome to sell items you make using this pattern. I simply ask that you take your own photos.
- A video tutorial is available here.

Special Stitch
- Cluster V-Stitch: work the following in the SAME stitch: dc2tog, ch 1, dc2tog. If you’re not familiar with these terms, here are more detailed instructions.
- Yarn over and insert hook into the stitch. Yarn over, pull up a loop. Yarn over and pull through two loops on your hook – two loops should remain. Leaving two loops on your hook, yarn over and insert hook into the SAME stitch. Yarn over, pull up a loop. Yarn over, pull through two loops. You should now have three loops on your hook. Yarn over, pull through all 3 loops.
- Ch 1.
- Yarn over and insert hook into the stitch. Yarn over, pull up a loop. Yarn over and pull through two loops on your hook – two loops should remain. Leaving two loops on your hook, yarn over and insert hook into the SAME stitch. Yarn over, pull up a loop. Yarn over, pull through two loops. You should now have three loops on your hook. Yarn over, pull through all 3 loops.
- If you would like to see a video to help walk you through, check out this one. Please note that she works 2 chains between her clusters and I only work 1.
Bold V-Stitch Blanket Crochet Pattern
Using white, chain 120.
Row 1: sc in each stitch across. Ch 1, turn. (119 stitches)
Row 2: Dc in the first stitch, skip the next stitch. Cluster v-stitch in the next stitch. *skip 2 stitches, cluster v-stitch in the next stitch* until two stitches remain. Skip the next to the last stitch and dc in the last stitch. Cut yarn and weave ends.
Row 3: Join mango yarn with a sl st. ch 1, dc in the first stitch. Cluster v-stitch in each ch 1 space across (so you’re working into the middle of the cluster v-stitches you made in the previous row). Dc in the last stitch. Ch 1, turn.
Row 4: Dc in the first stitch. Cluster v-stitch in each ch 1 space across. Dc in the top of the last stitch. Ch 1, turn.
Rows 5-7: Repeat row 4. At the end of row 7, cut yarn and weave ends.
Row 8: Join white yarn with a sl st. ch 1, dc in the first stitch. Cluster v-stitch in each ch 1 space across (so you’re working into the middle of the cluster v-stitches you made in the previous row). Dc in the last stitch. Ch 1, turn.
Rows 9: Join pink yarn with a sl st. ch 1, dc in the first stitch. Cluster v-stitch in each ch 1 space across (so you’re working into the middle of the cluster v-stitches you made in the previous row). Dc in the last stitch. Ch 1, turn.
10-13: Repeat row 9. At the end of row 13, cut yarn and weave ends.
Row 14: Join white yarn with a sl st. ch 1, dc in the first stitch. Cluster v-stitch in each ch 1 space across (so you’re working into the middle of the cluster v-stitches you made in the previous row). Dc in the last stitch. Ch 1, turn.
Continue to repeat the pattern until you’ve reached a total of 62 rows.
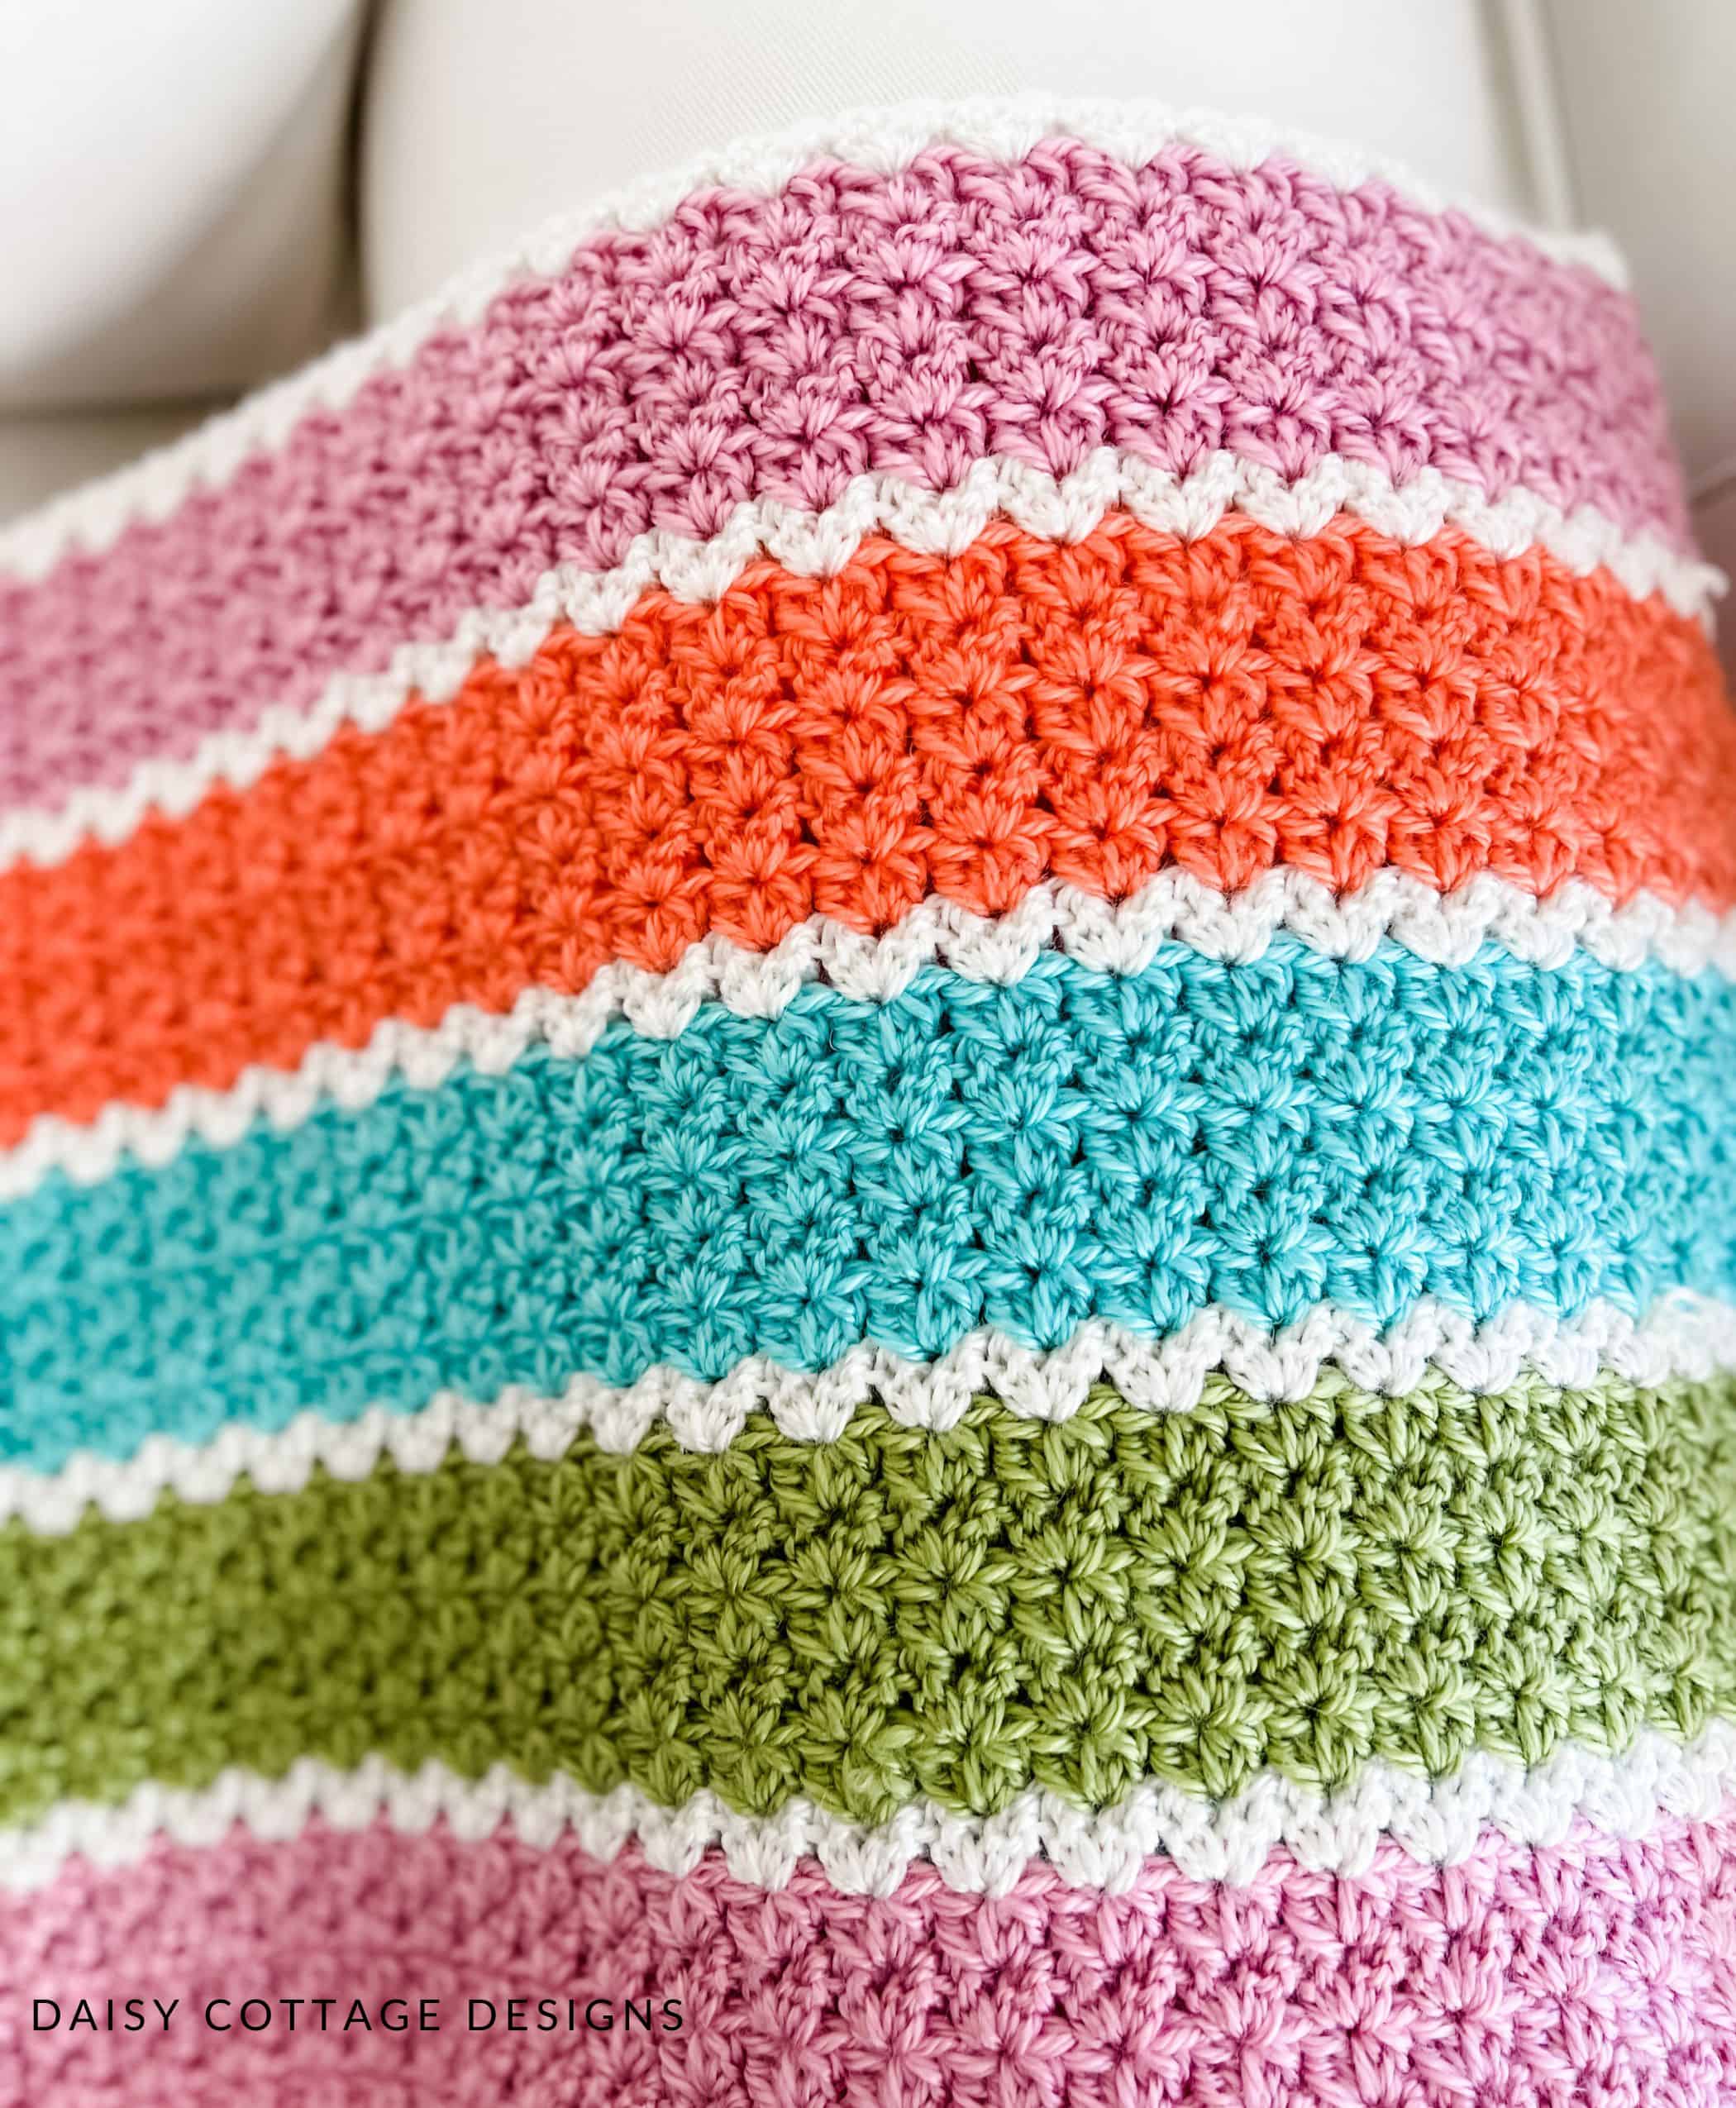
Your color pattern should be as follows:
- 2 rows white (sc + v stitch)
- 5 rows mango
- 1 row white
- 5 rows pink
- 1 row white
- 5 rows avocado green
- 1 row white
- 5 rows aqua
- 1 row white
- 5 rows mango
- 1 row white
- 5 rows pink
- 1 row white
- 5 rows avocado green
- 1 row white
- 5 rows aqua
- 1 row white
- 5 rows mango
- 1 row white
- 5 rows pink
- 1 row white
To change colors:
On the last stitch of the row, do not pull your working yarn through the final two loops to complete the last stitch. Instead of pulling the yarn you’ve been working with through those final two loops, place the new yarn on your hook and pull it through the last two loops. Be sure to leave a long tail on both colors so you can weave your ends later.
If you prefer video instructions, click here for a video tutorial on changing colors.
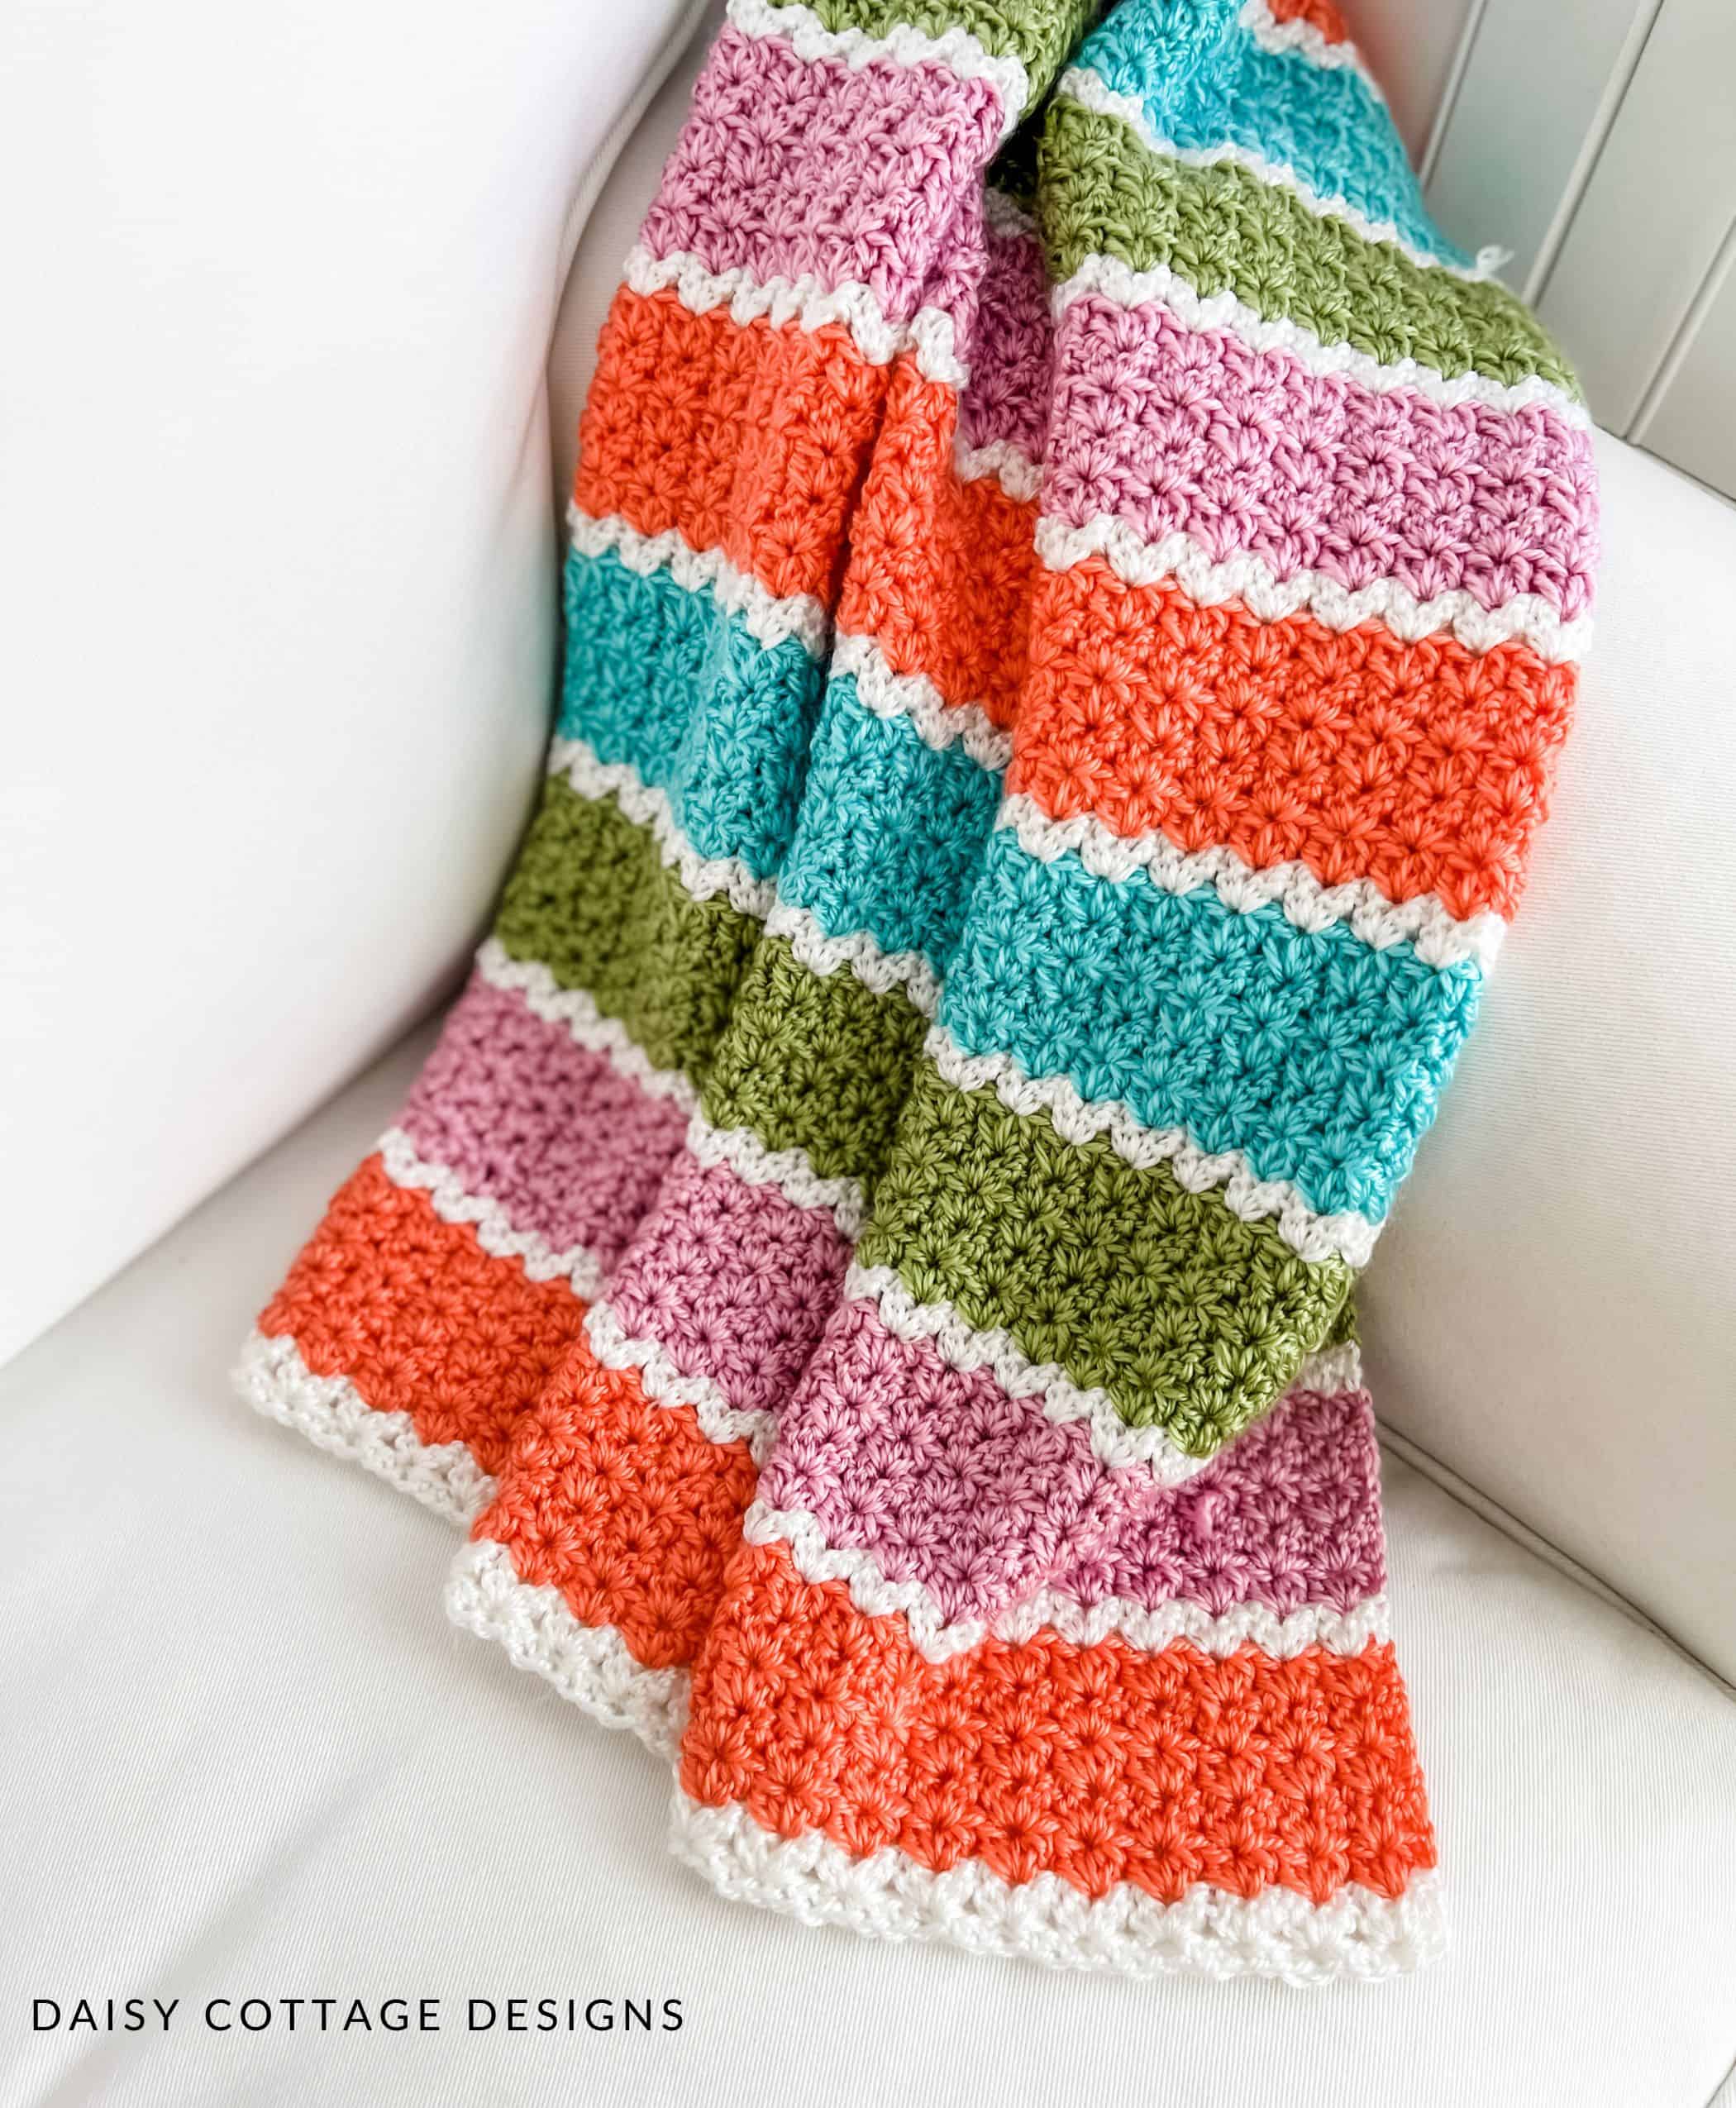
Originally, to complete this blanket, I did a camel stitch border. If you’re not familiar with the camel stitch, here’s a video explaining how to do it.
Camel Stitch Border
- Round 1: Using white yarn, sc evenly around the blanket being sure to work 3 stitches in each corner.
- Round 2: Using pink yarn, camel stitch sc in each stitch. Work 3 stitches into each corner.
- Round 3: Repeat round 2 with avocado green.
- Round 4: Repeat row 2 with aqua.
In full disclosure, the camel stitch does not work well with a yarn that doesn’t stretch much. If you’re using the same yarn as I did, you’re going to want to pass on the camel stitch border. It’s painstakingly slow unless your yarn has some give. However, if you do want to give it a try, I recommend going up a hook size and working loosely.
In the 2024 remake of this blanket, I left it borderless. However, if you choose to use a border, I reccommend this one.
Single Crochet Border:
- Round 1: Using white, sc evenly around the blanket being sure to work 3 stitches in each corner.
- Round 2: Repeat round 1 using pink.
- Round 3: Repeat round 1 using avocado green.
- Round 4: Repeat round 1 using aqua.
Adjusting the Size of the Blanket
Adusting the size of this blanket is easy. If you want to make a custom size, simply chain in multiples of 3 until you reach the width you want. Then, work until your blanket is the desired length, being sure to end on a white row.
I’ve done the math for you on 6 different sizes:

love it.