Trendy Messy Bun Hat Crochet Pattern
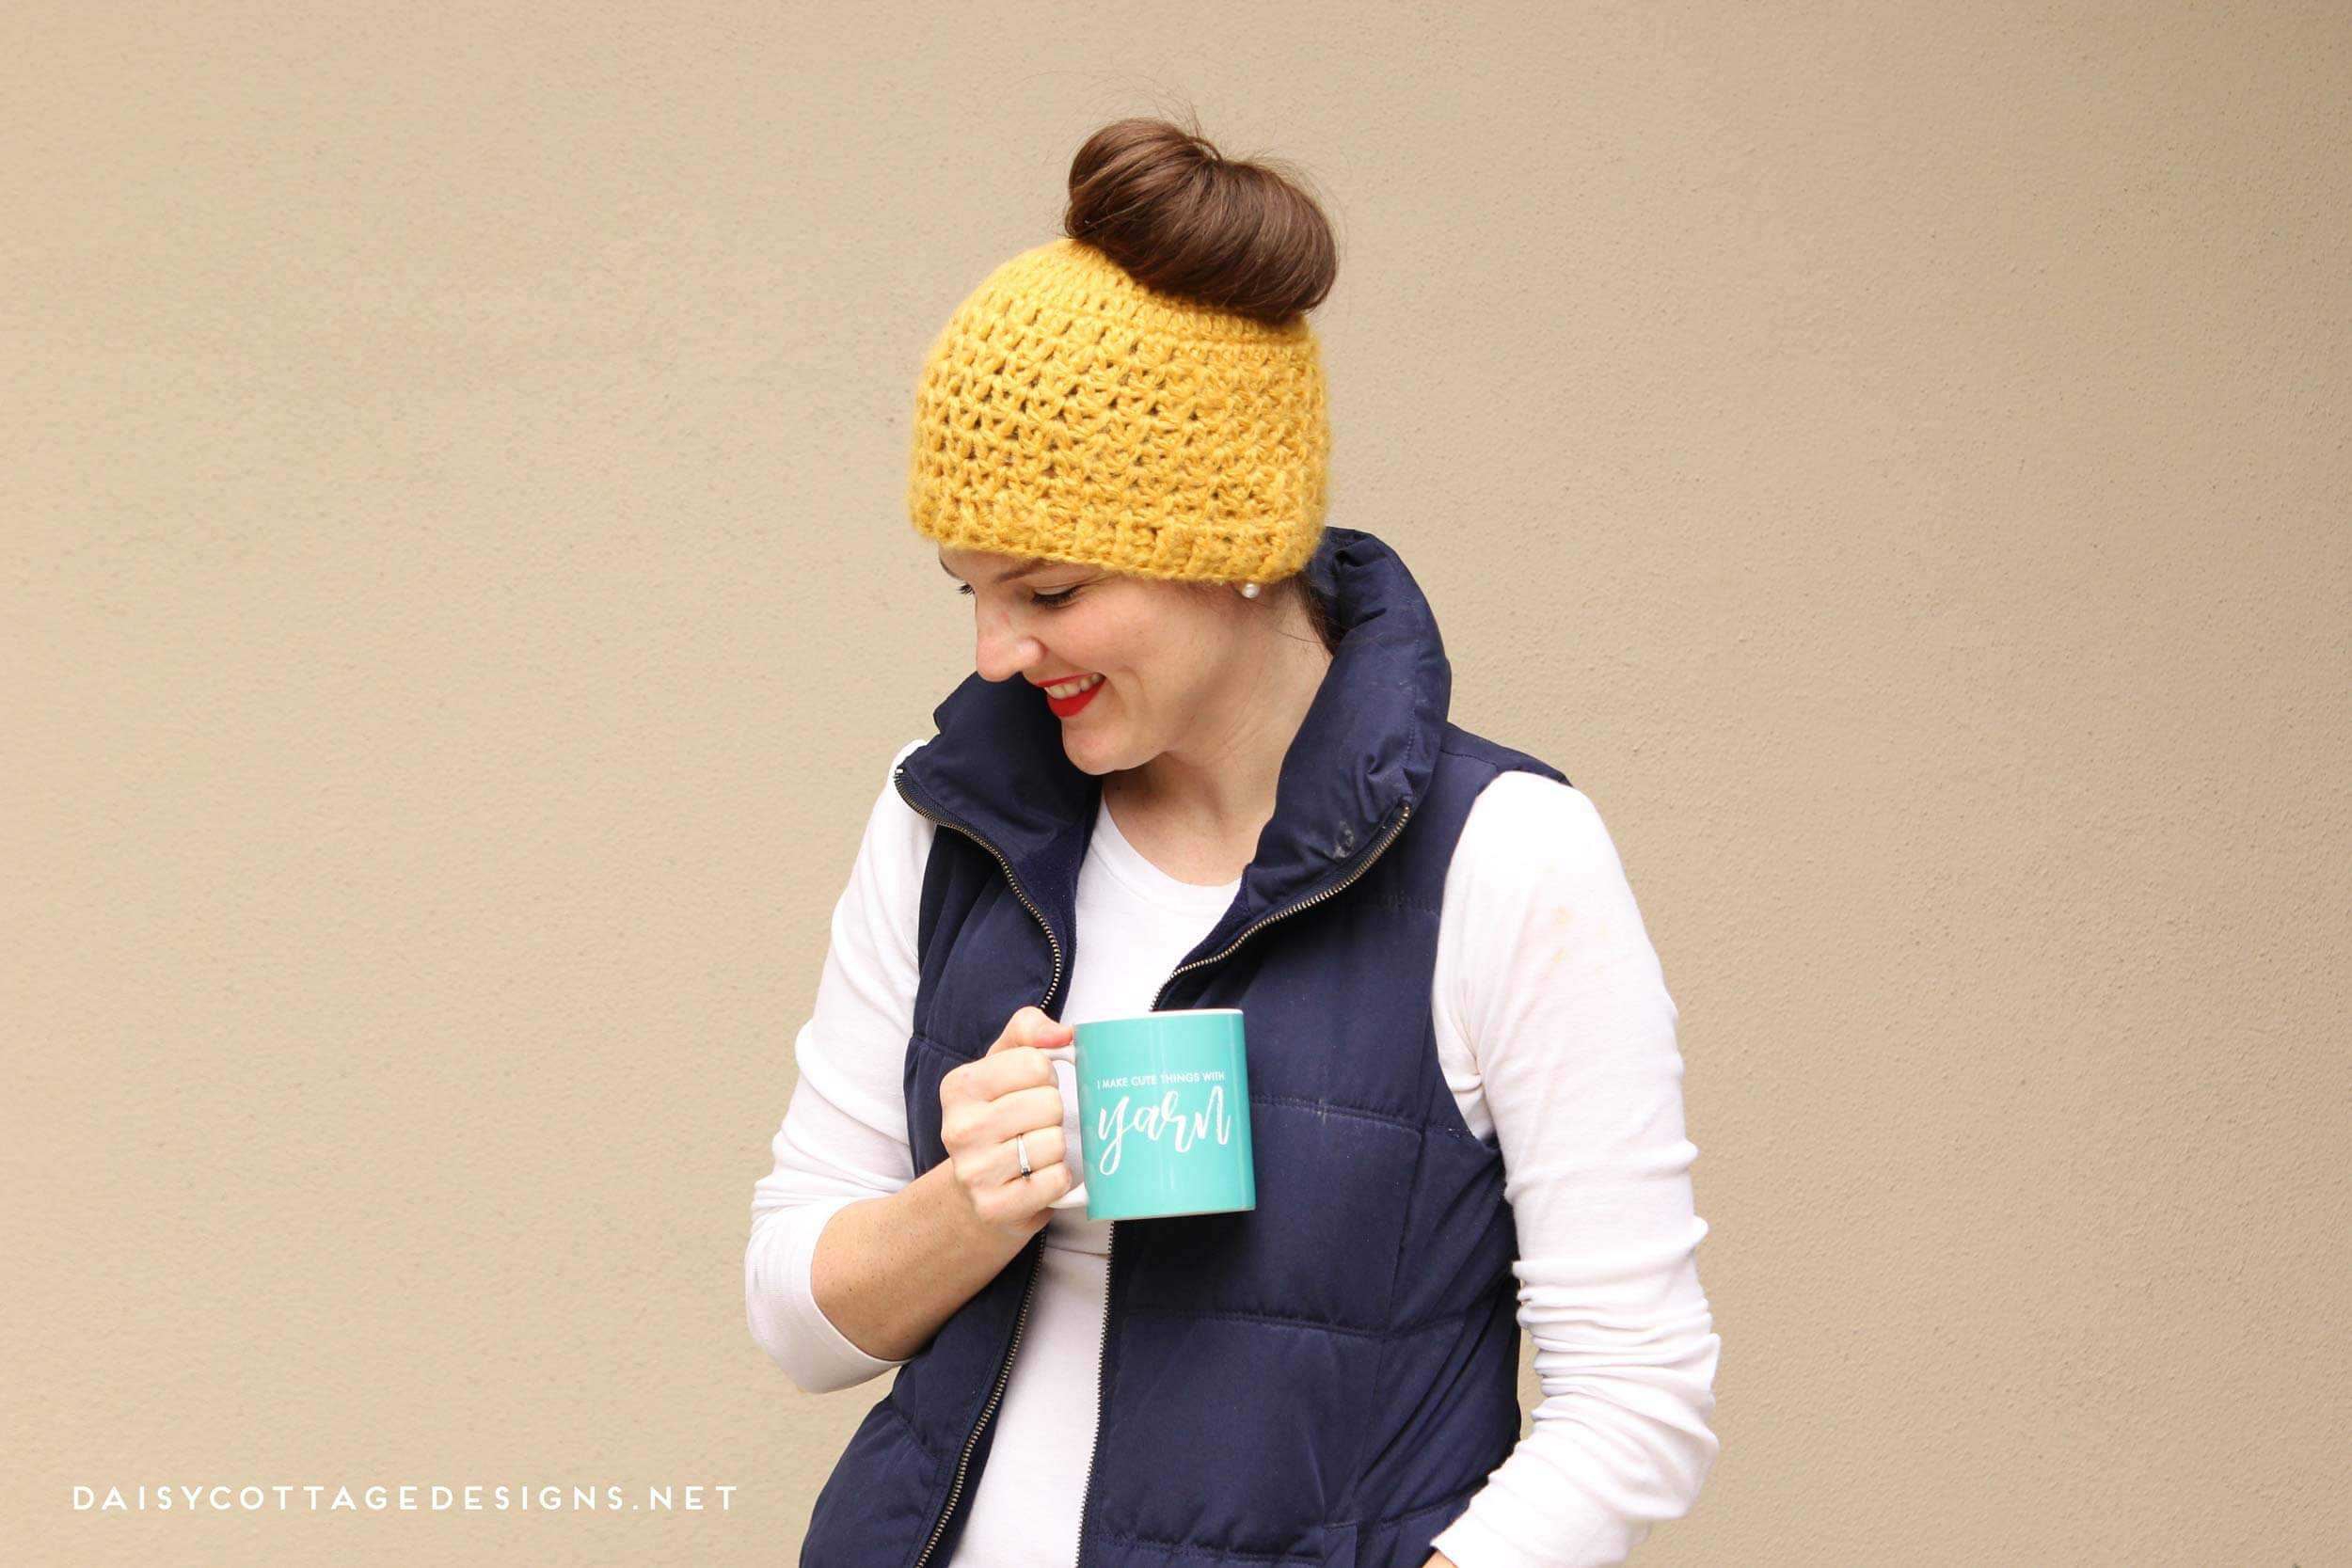
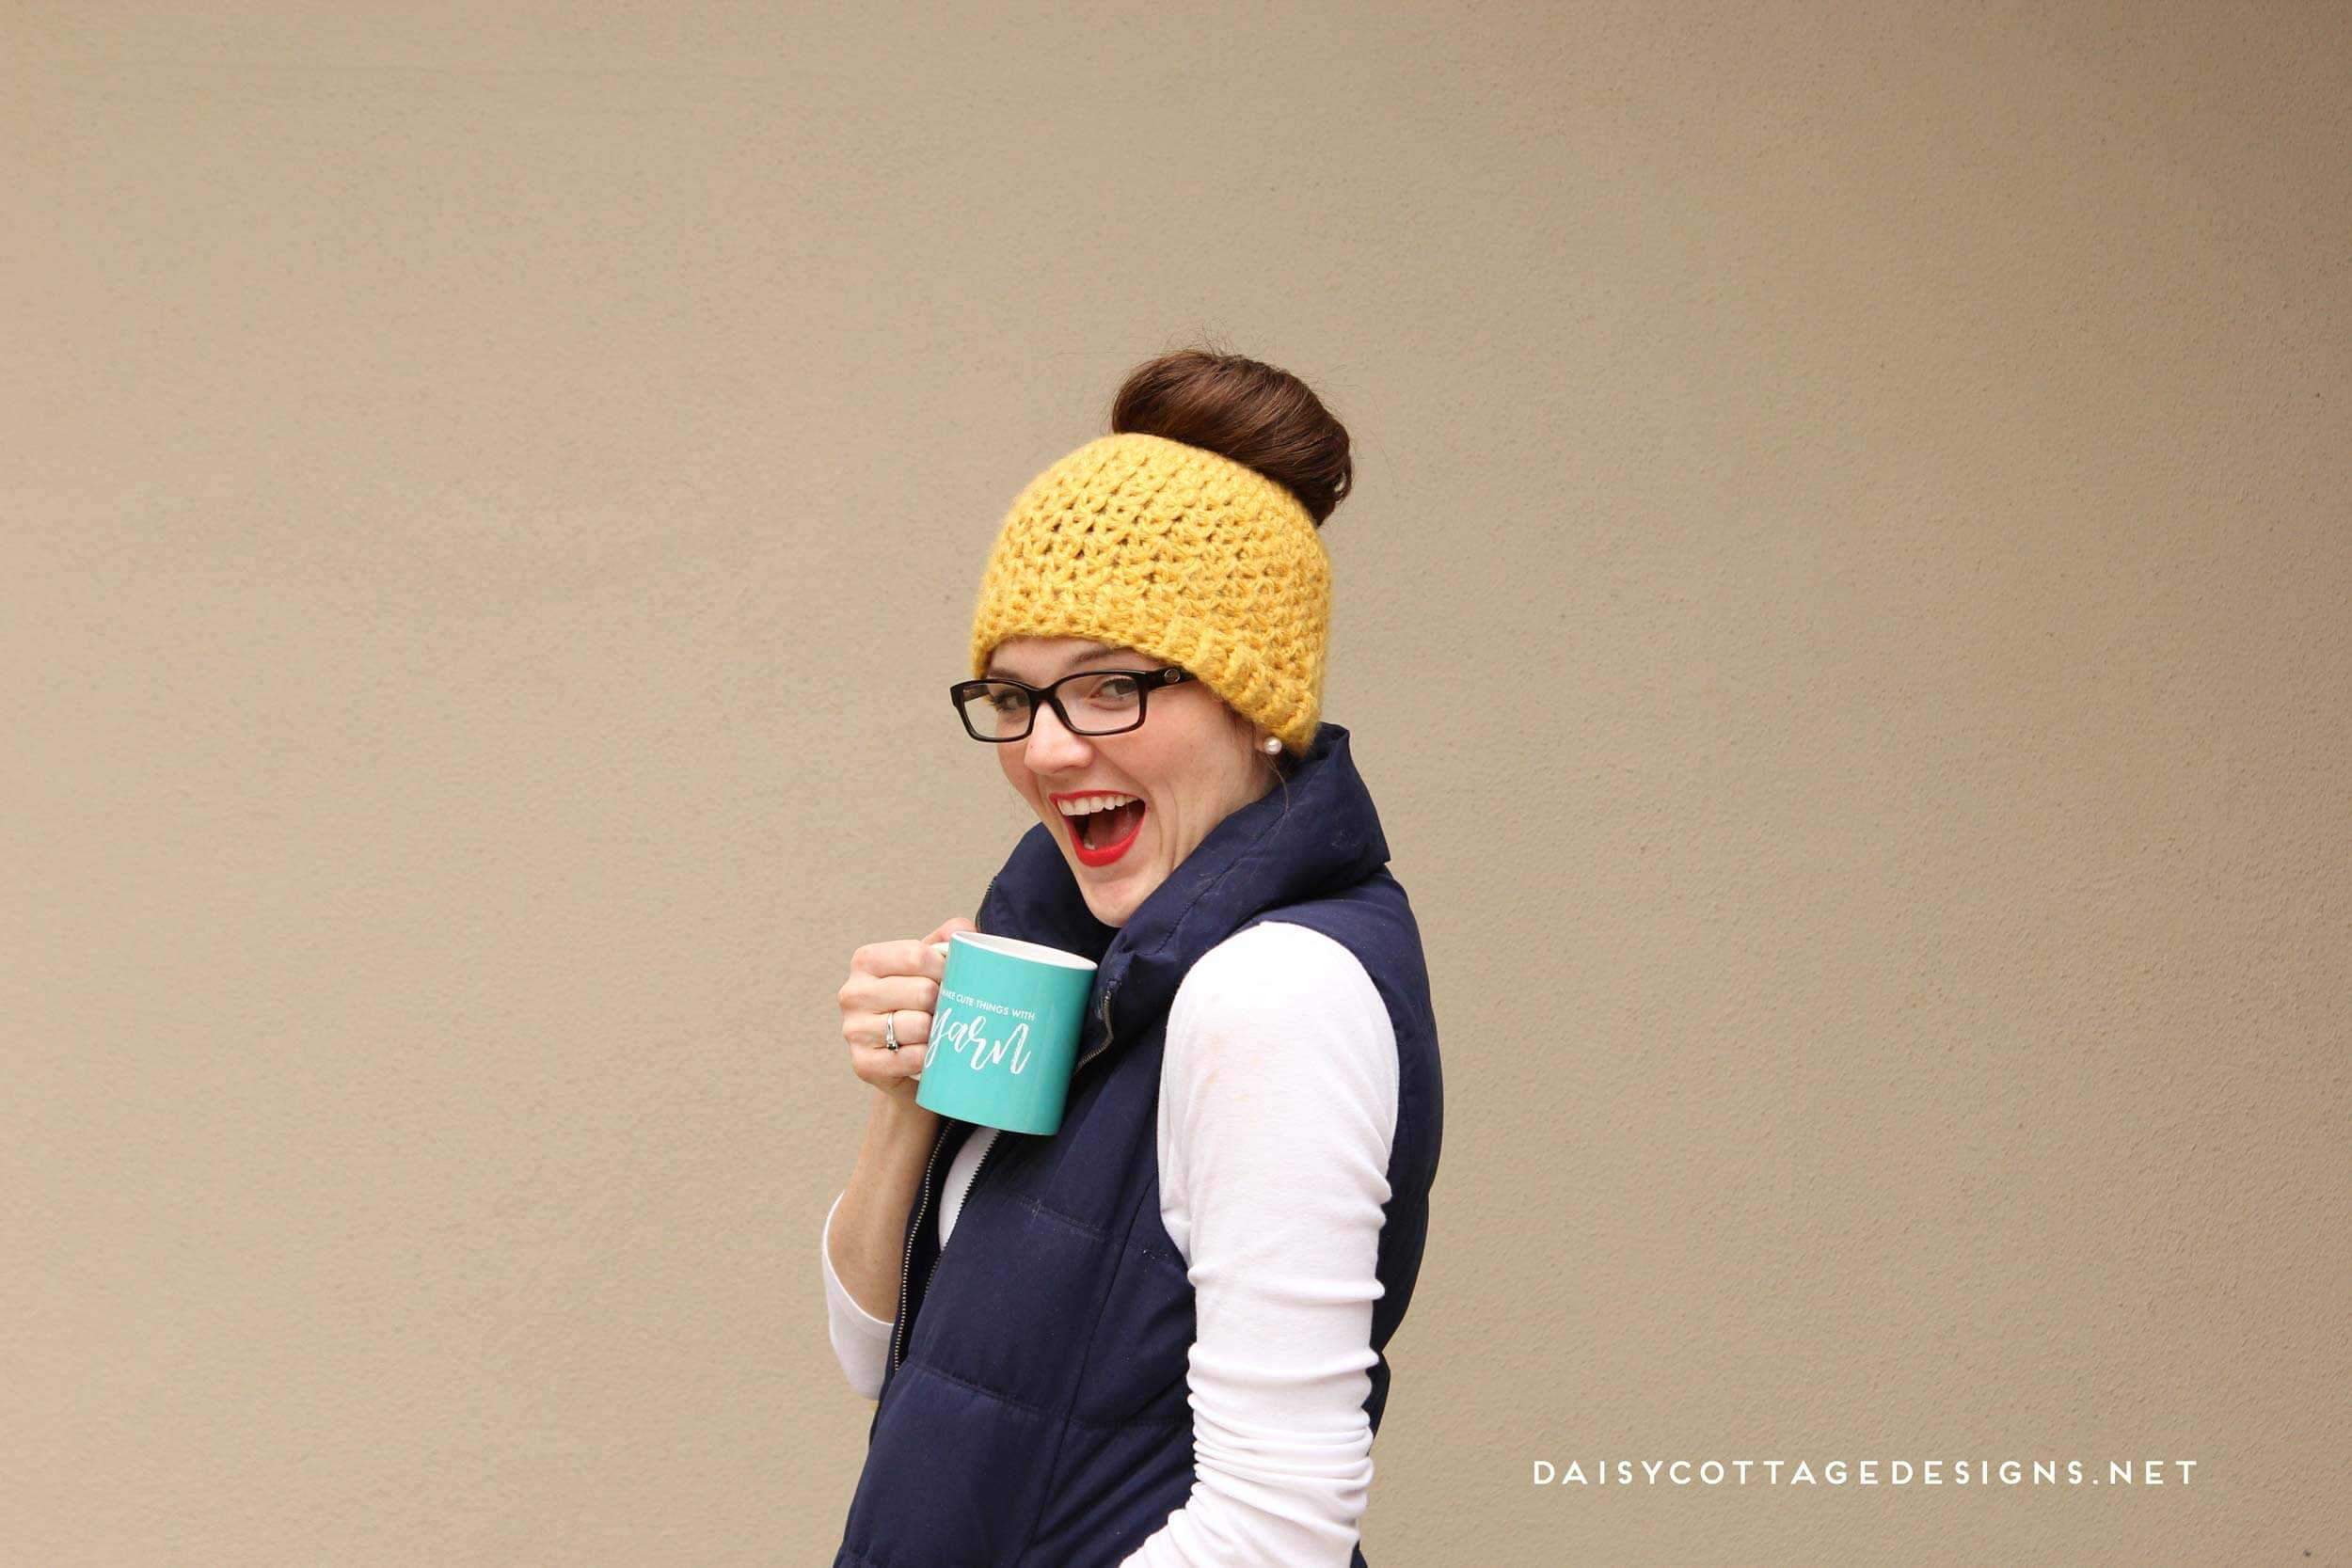
It’s what we call crochet season around our house (or maybe we should call it messy bun hat season?!). Living in Florida, it’s hard to get in the mood to work with cozy yarn when it’s 105˚ outside. It’s finally cooling off some in our neck of the woods, though, so I figured that called for a new free crochet pattern to appear on the Daisy Cottage Designs blog.
Regardless of the cool weather, I probably looked a little bit silly standing on the back patio today wearing my puffy vest, bright red lipstick, and my winter hat; but thankfully my husband got a few photos that worked so that’s a win!
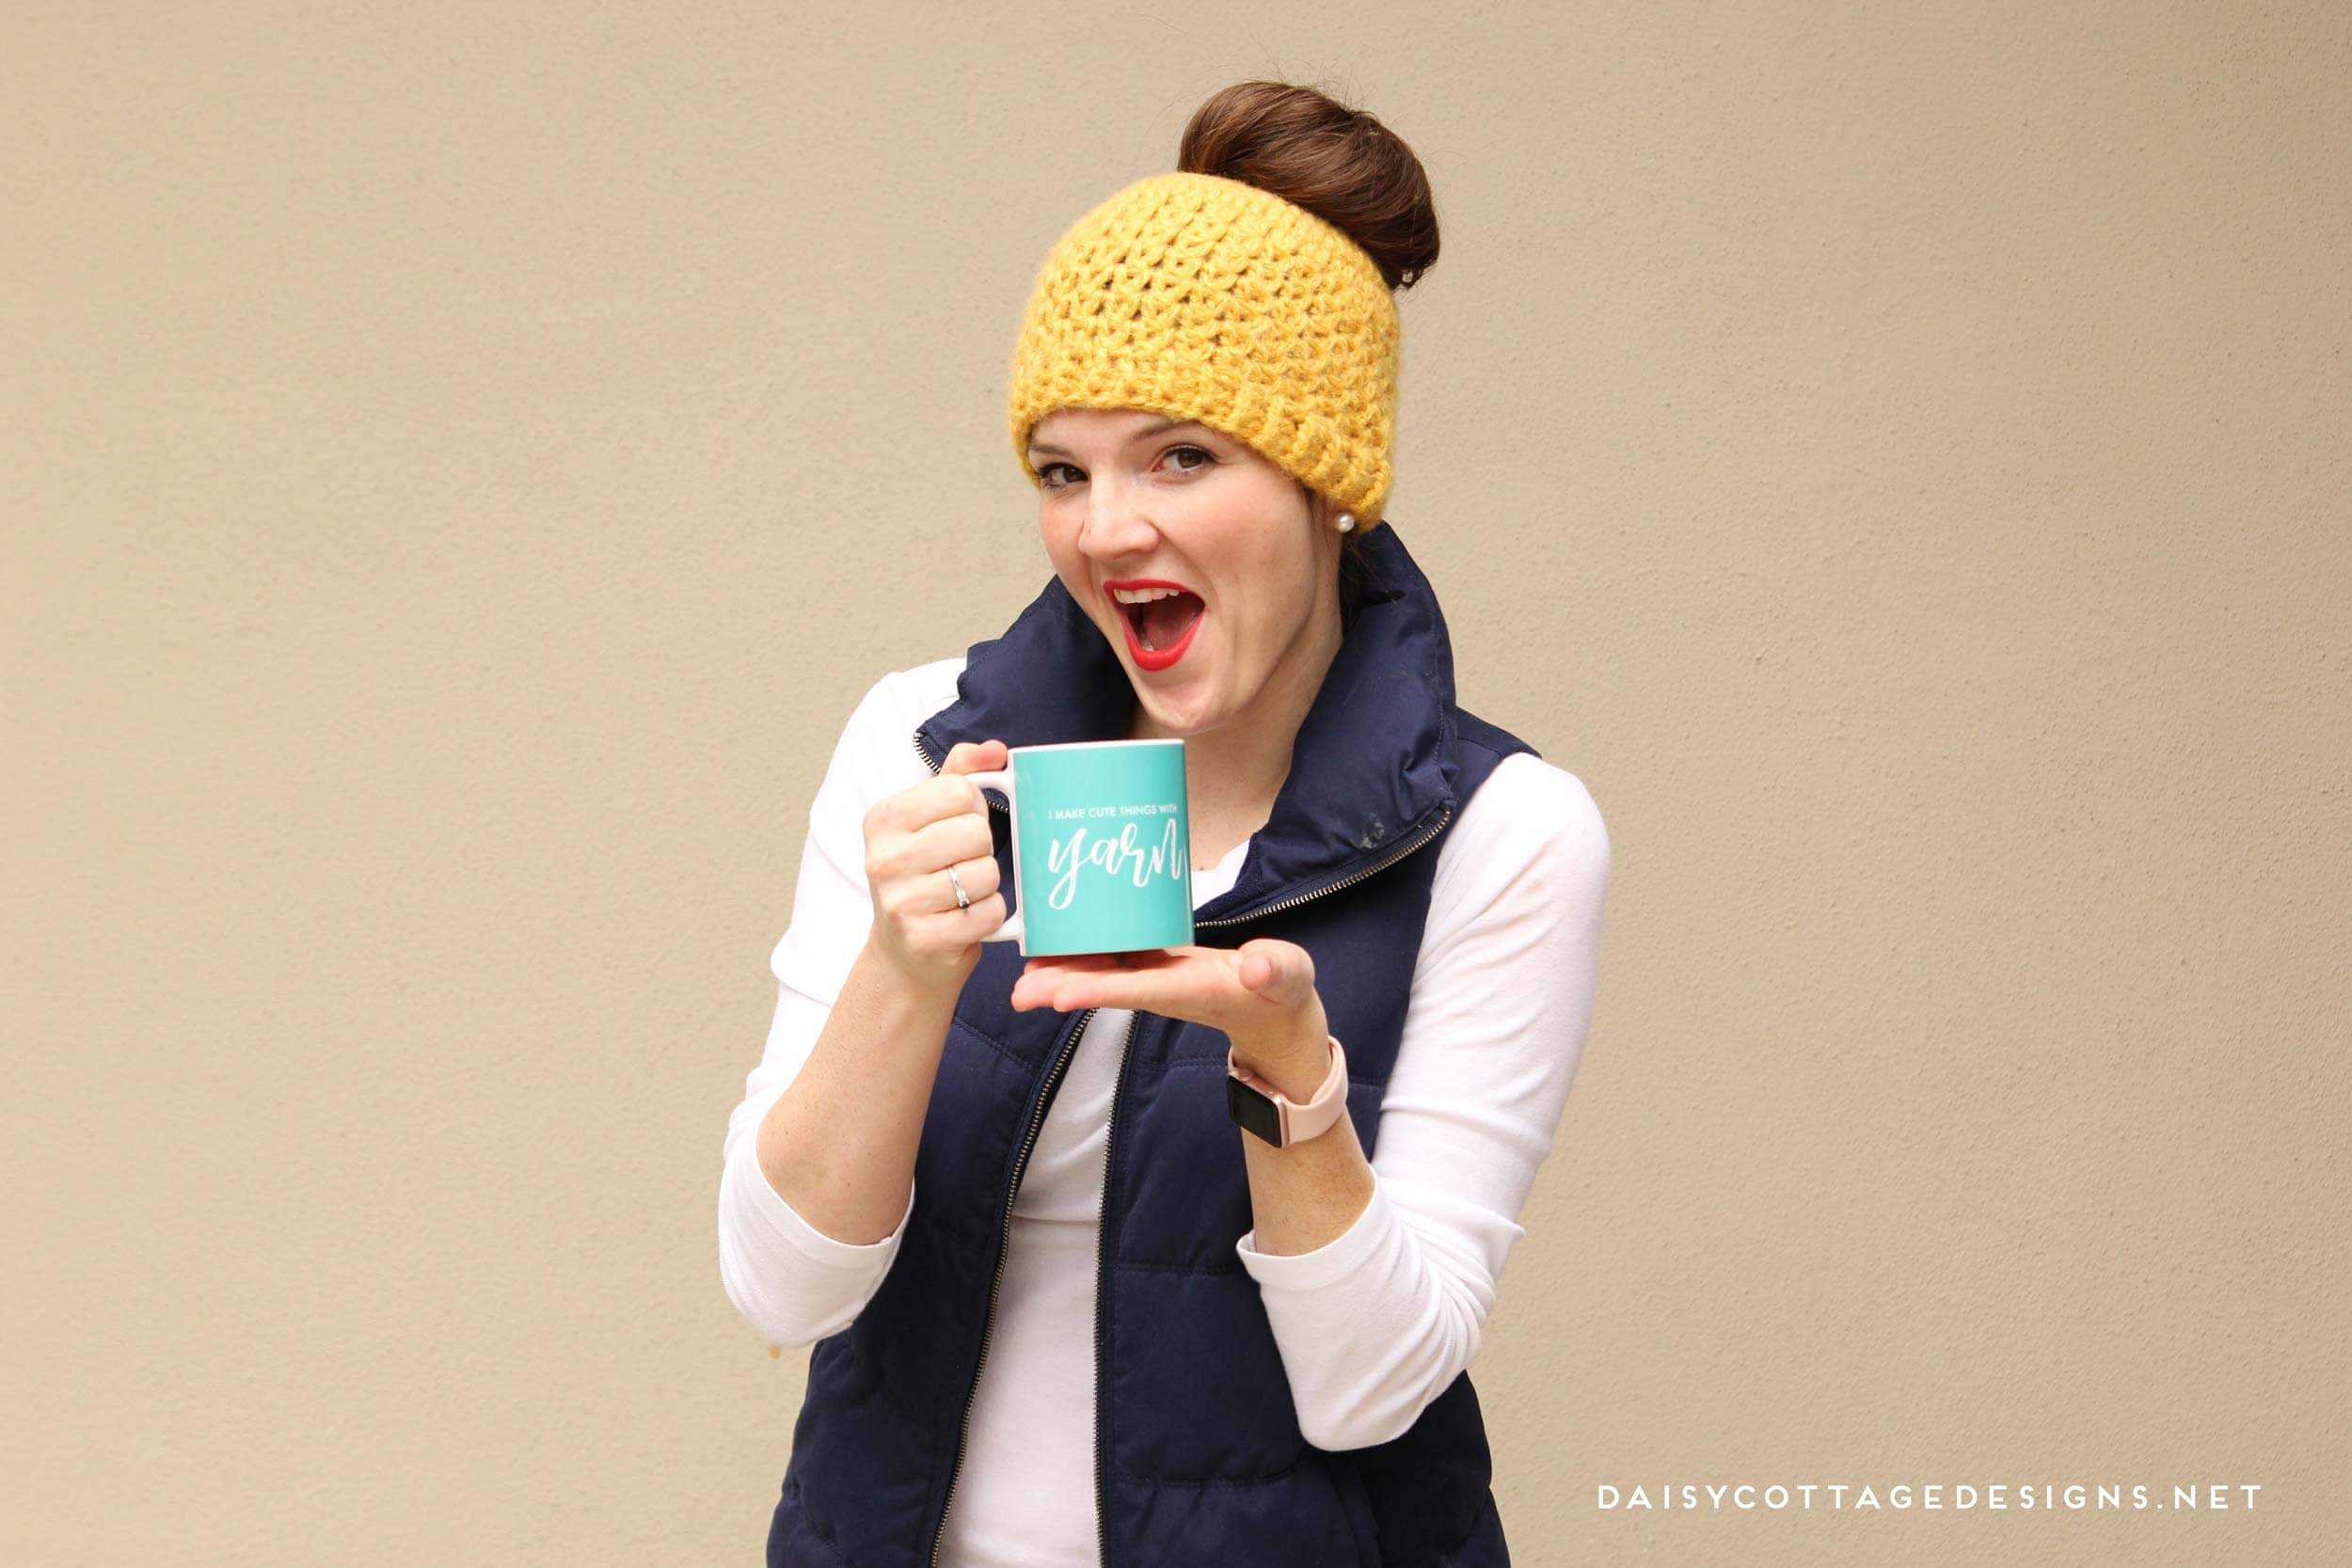
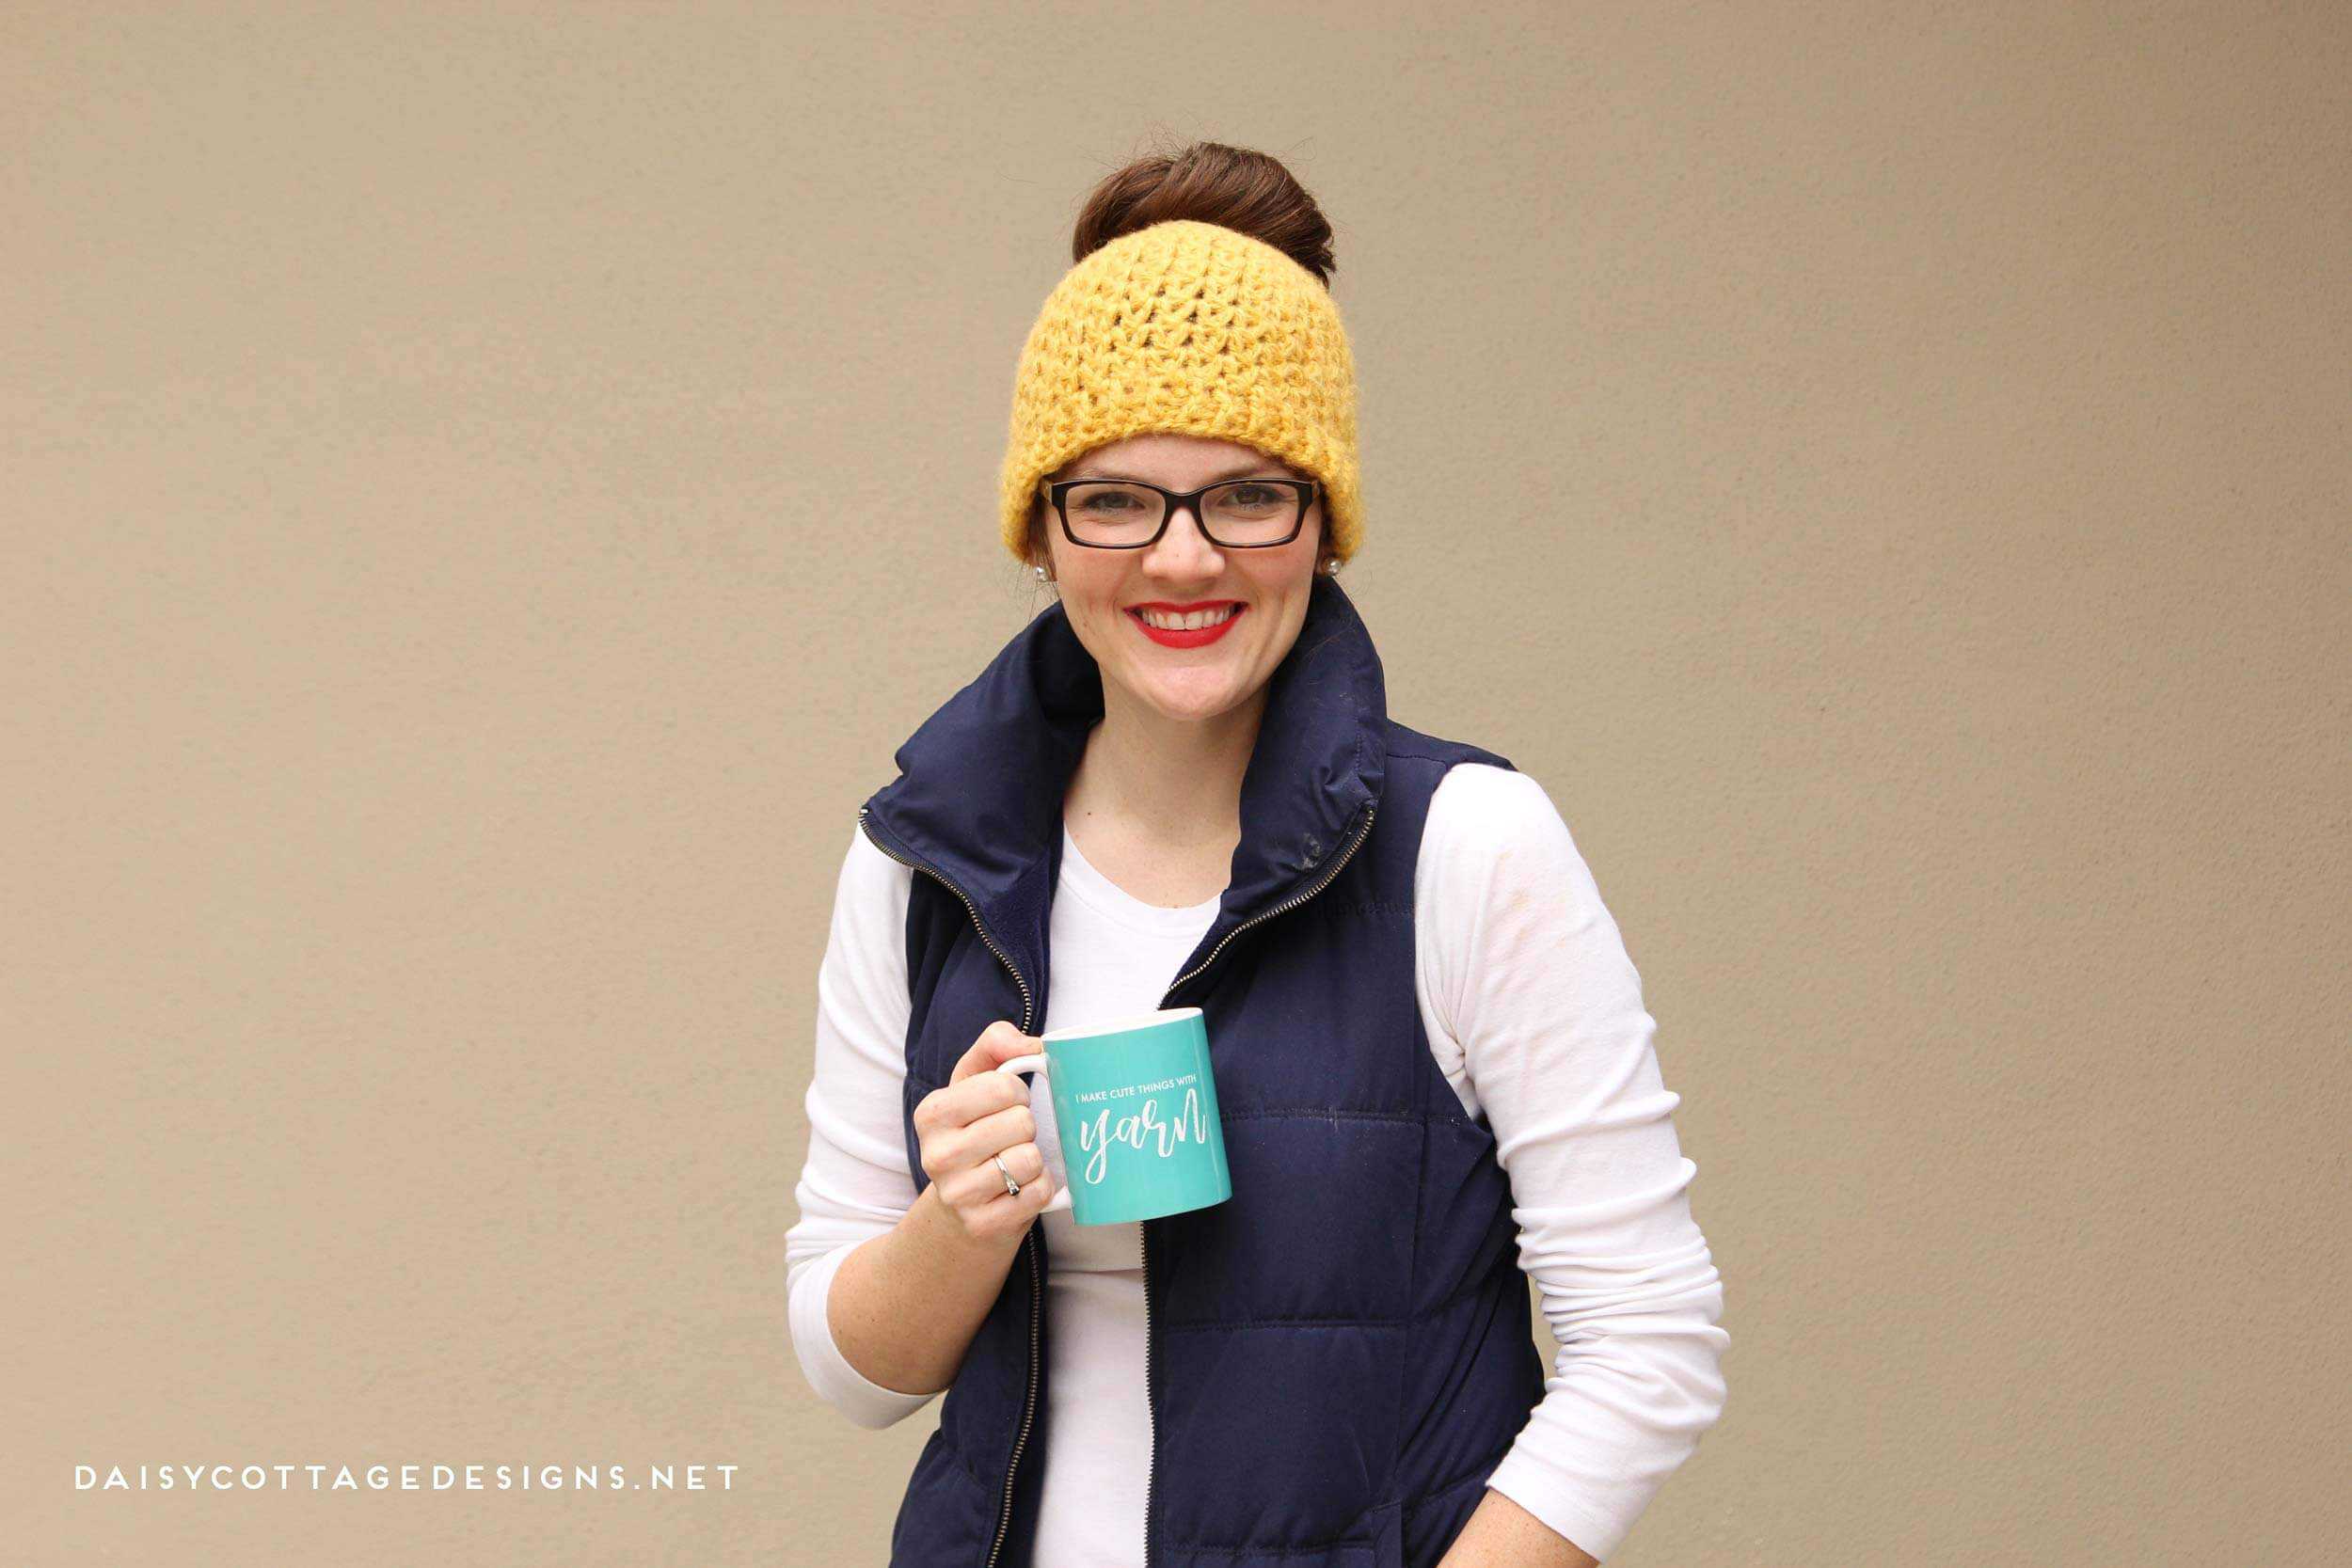
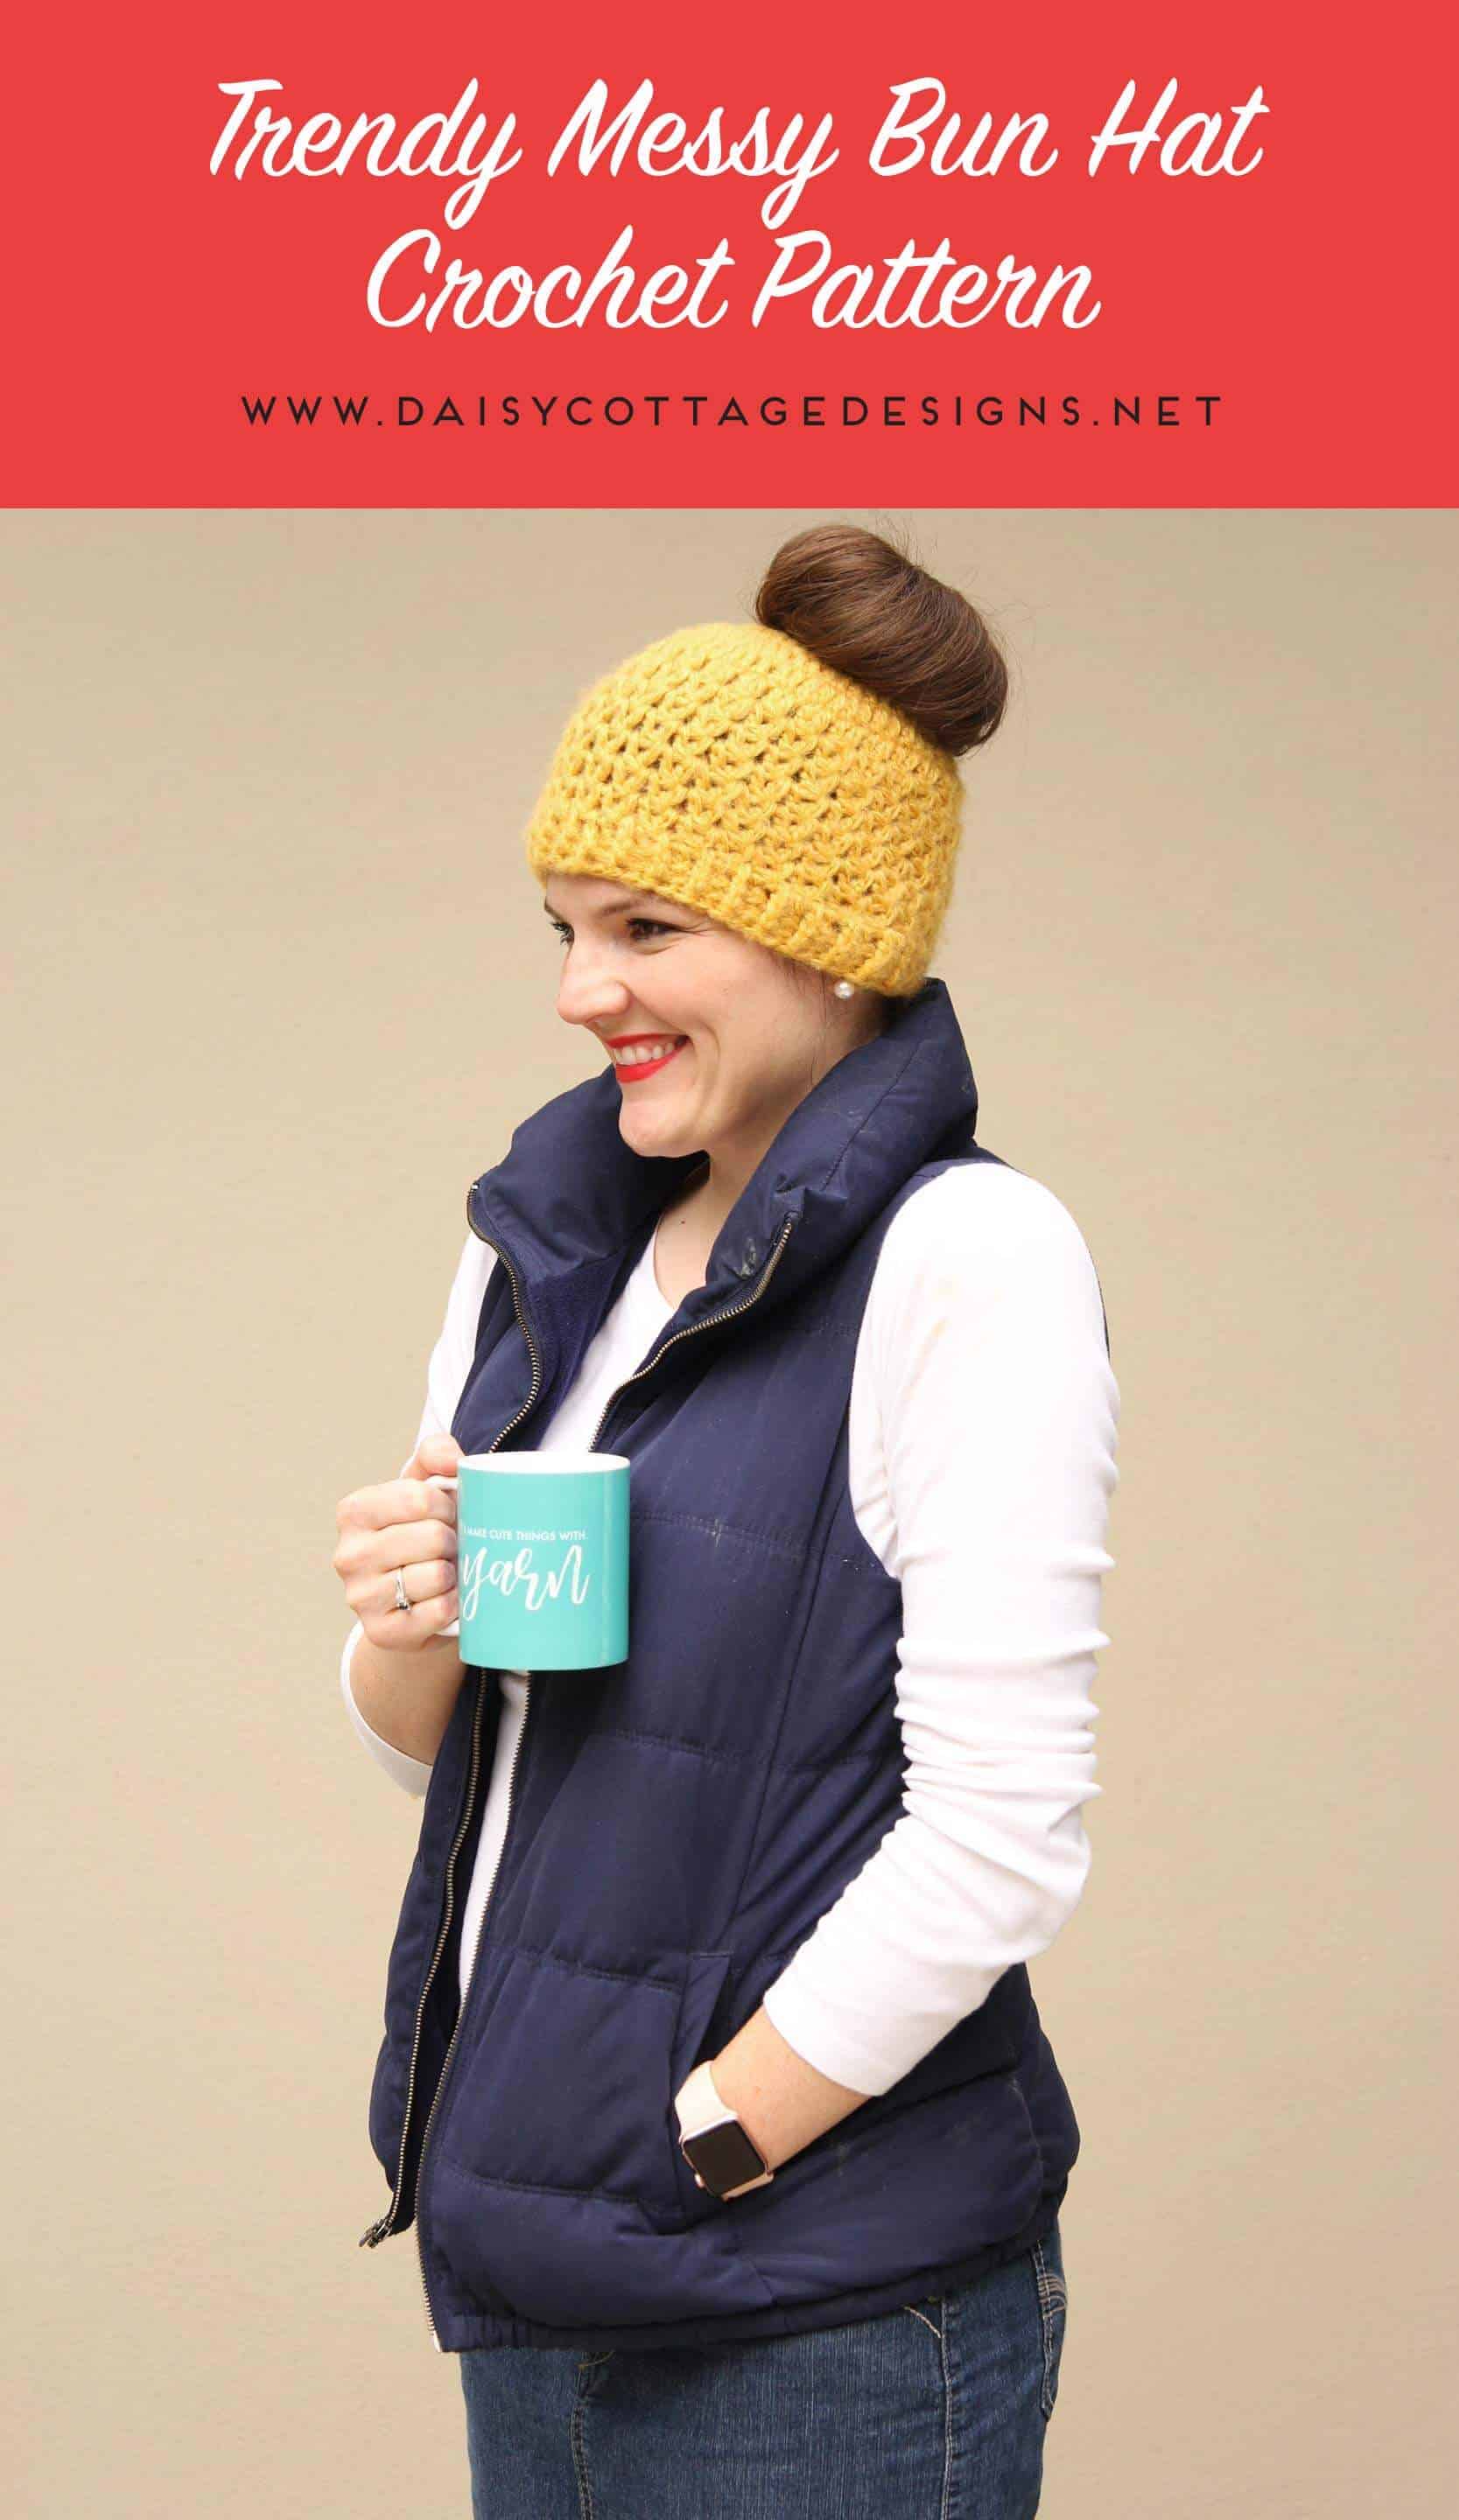
This messy bun hat uses chunky yarn, but you could also hold two strands of worsted weight yarn together. I used a trendy mustard shade that looks good with so much – including the fun florals and plaids that are so cute this fall!
If you have a crochet business, you’re going to want to whip some of these up! Messy bun crochet hats are selling like hotcakes and they make fantastic Christmas gifts for the longhaired people in your life.
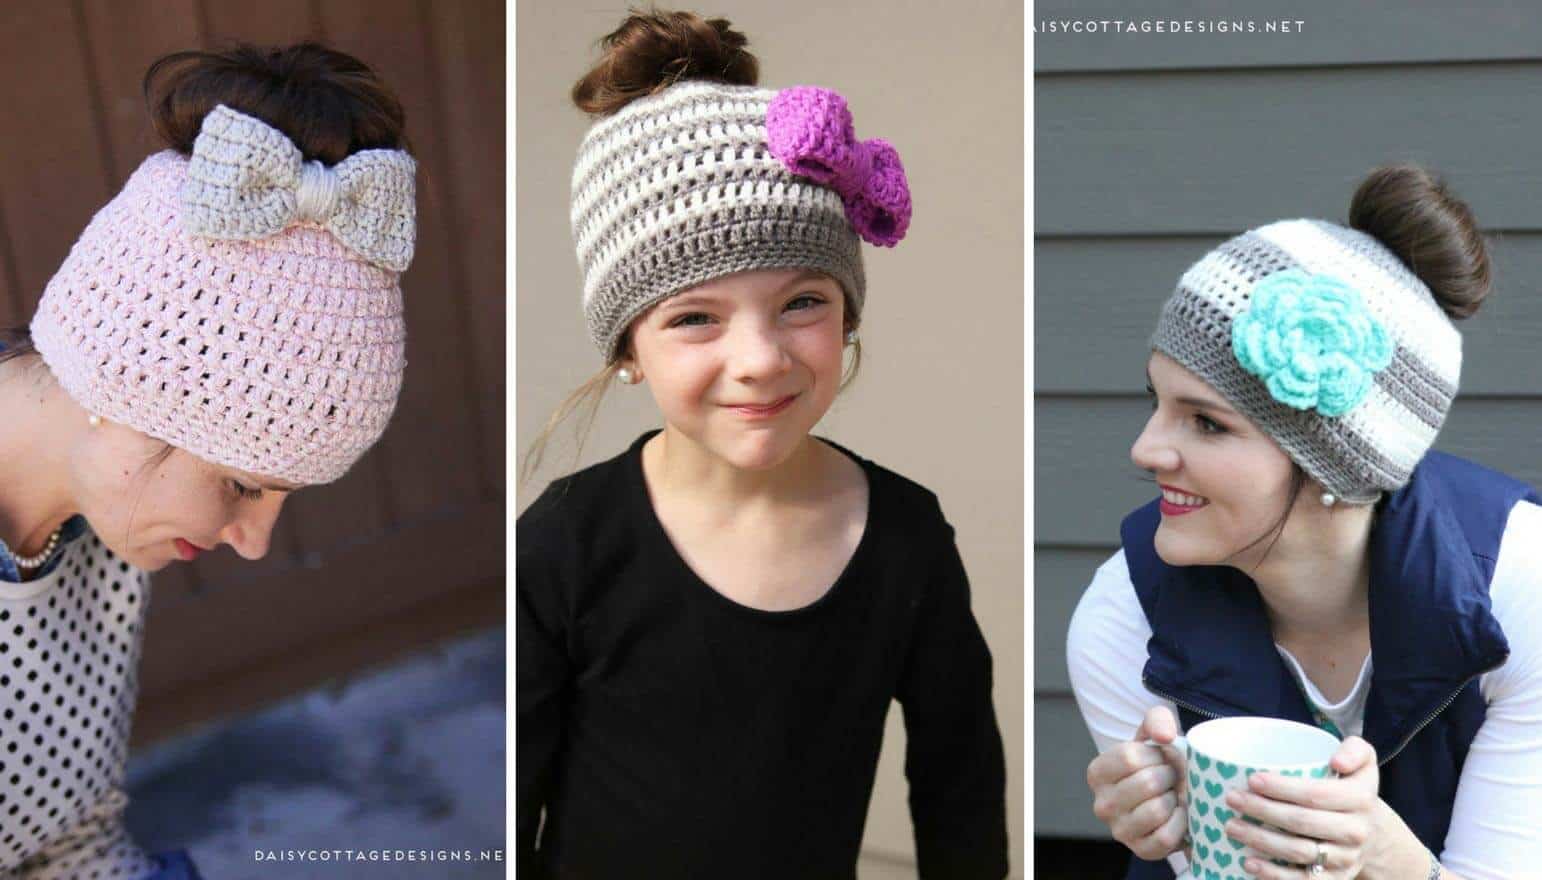
If you have’t seen my other messy bun hats, they’re free and available on the blog.
- Easy Messy Bun Pattern
- Kids Messy Bun Crochet Pattern
- Chunky Messy Bun Free Crochet Pattern
- Shell Stitch Ponytail Hat Crochet Pattern
I didn’t embellish this hat, but if you’d like to add something to dress it up, check out these free crochet patterns:
Also… isn’t my mug adorable?! I know it’s hard to make out in the photo, but it says “I make cute things with yarn.” If you want to purchase one for yourself, or send the hint to your loved ones, it’s available here.
Trendy Messy Bun Hat Free Crochet Pattern
An ad-free, easily printed version of this pattern is available for purchase here.
Materials:
- 1 skein of chunky yarn (I used Yarn Bee Tender Touch in the shade Amber)
- J Crochet Hook
- Scissors & Tapestry Needle
Pattern Notes
- This pattern is written in American crochet terms
- This pattern isn’t difficult, but rounds 4 and 5 may seem a little tricky at first.
- There are step-by-step instructions for rounds 4 and 5 at the end of the entire pattern.
- There is no tutorial given for special stitches. If you don’t know how to dc2tog or do front and back post dc (fpdc, bpd), you’ll want t quickly google those before starting this pattern.
Abbreviations:
- dc – double crochet
- sc – single crochet
- dc2tog – double crochet 2 together
- fpdc – front post double crochet
- bpdc – back post double crochet
- ch – chain
- sp – space
- st – stitch
Let’s get started!
First, you’re going to want to chain 22. Sl st in the first chain to make a loop. You’ll be working around (some may use the word into) this loop during round 1.
Round 1: ch 2. 42 dc around the loop. Sl st to the top of the first dc to join (NOT the top of the ch 2).
Round 2: Ch 2, dc in the first stitch (ch 2 and dc are in the same stitch) and in the next 5 stitches. *2 dc in the next st, dc in the next 5 stitches* around. Sl st to join.
Round 3: ch 2, dc in the first stitch and in the next 6 stitches. *2 dc in the next st, dc in the next 6 stitches*. Sl st to the top of the first dc to join.
Round 4: ch 3, dc in the first st. *ch 1, dc2tog* until the last stitch of the round. Dc in the last stitch and sl st around the ch 3 from the beginning of the round.
Round 5: ch 3. begin a dc2tog in the ch 3, and finish it in the next ch1 space. *ch 1, dc2tog by starting in the same ch 1 space, and finishing in the next ch 1 space* around until the last space. In the last space, you will work one ch1, and a dc after you have completed the very last dc2tog. Sl st around the ch 3 from the beginning of the round.
DO THESE ROUNDS SEEM A LITTLE CONFUSING? Please see the step by step instructions for rounds 4 and 5 below!
Rounds 6-10: Repeat Row 5.
Rounds 11-12: ch 2. *fpdc around the first dc, bpd around the next dc* around. sl st to the top of the ch 2.
Cut yarn, weave all your ends. Wear and enjoy!
I have a hunch that there may be some who want a little clarification on rounds 4 and 5. I’ll try to give more step by step instructions here.

Round 4 Step by Step:
Step 1: ch 3 – this will count as a dc and a ch 1 space
Step 2: dc in the SAME stitch
Step 3: ch 1 *dc2tog, ch1* around the hat until you have one stitch left
Step 4: dc in the last stitch
Step 5: Sl st around the ch 3 that you made at the beginning of the round.
Round 5 Step by Step:
Step 1: ch 3
Step 2: begin the first dc2tog by inserting your hook int the ch 3 of the previous row.
Step 3: finish the dc2tog in the first ch1 space, ch 1
Step 4: start the next dc2tog by in the SAME ch1 space
Step 5: finish the dc2tog in the next ch 1 space,
Step 6: *ch 1, dc2tog by starting in the same ch 1 space, and finishing in the next ch 1 space* around until the last space. Your last dc2tog of this round will end in the final space but you will not begin another one.
Step 7: Ch1 and dc in the last st.
Step 8: sl st around the ch 3 from the beginning of the round.
This video shows how to do the basic stitch. Though not worked in the round, it might help you get started if you’re having trouble.
