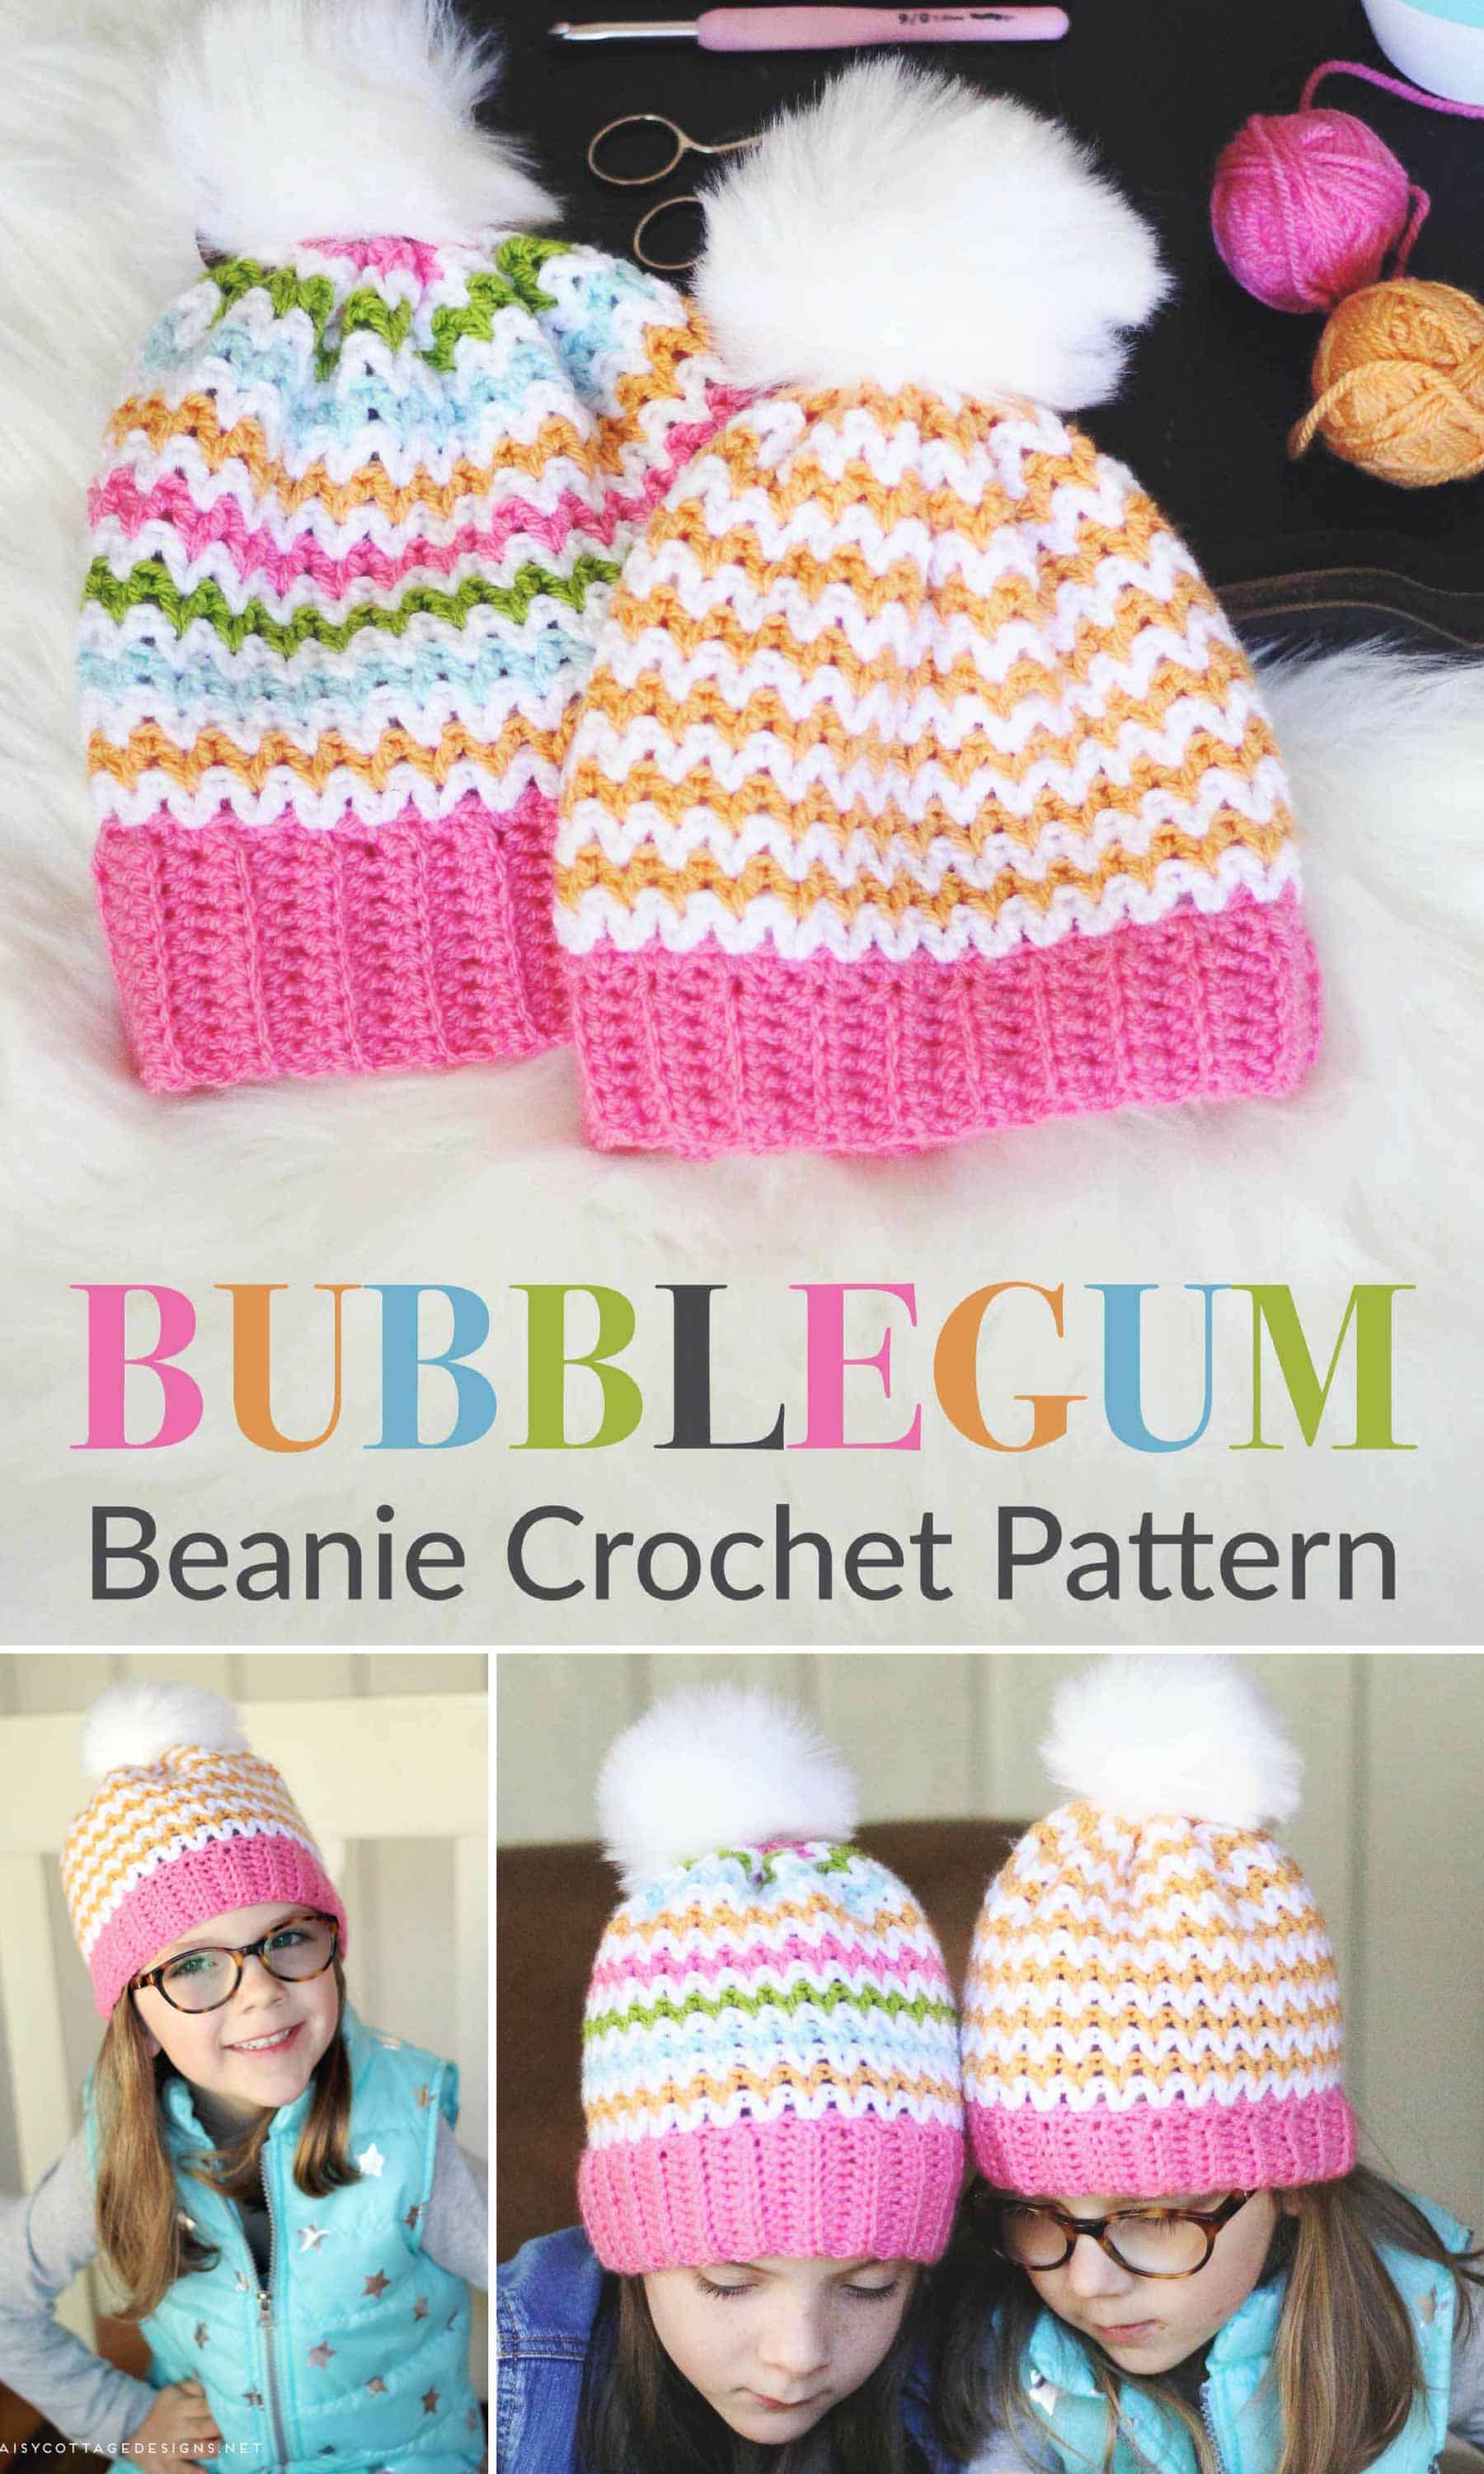
Slouchy Beanie Crochet Pattern
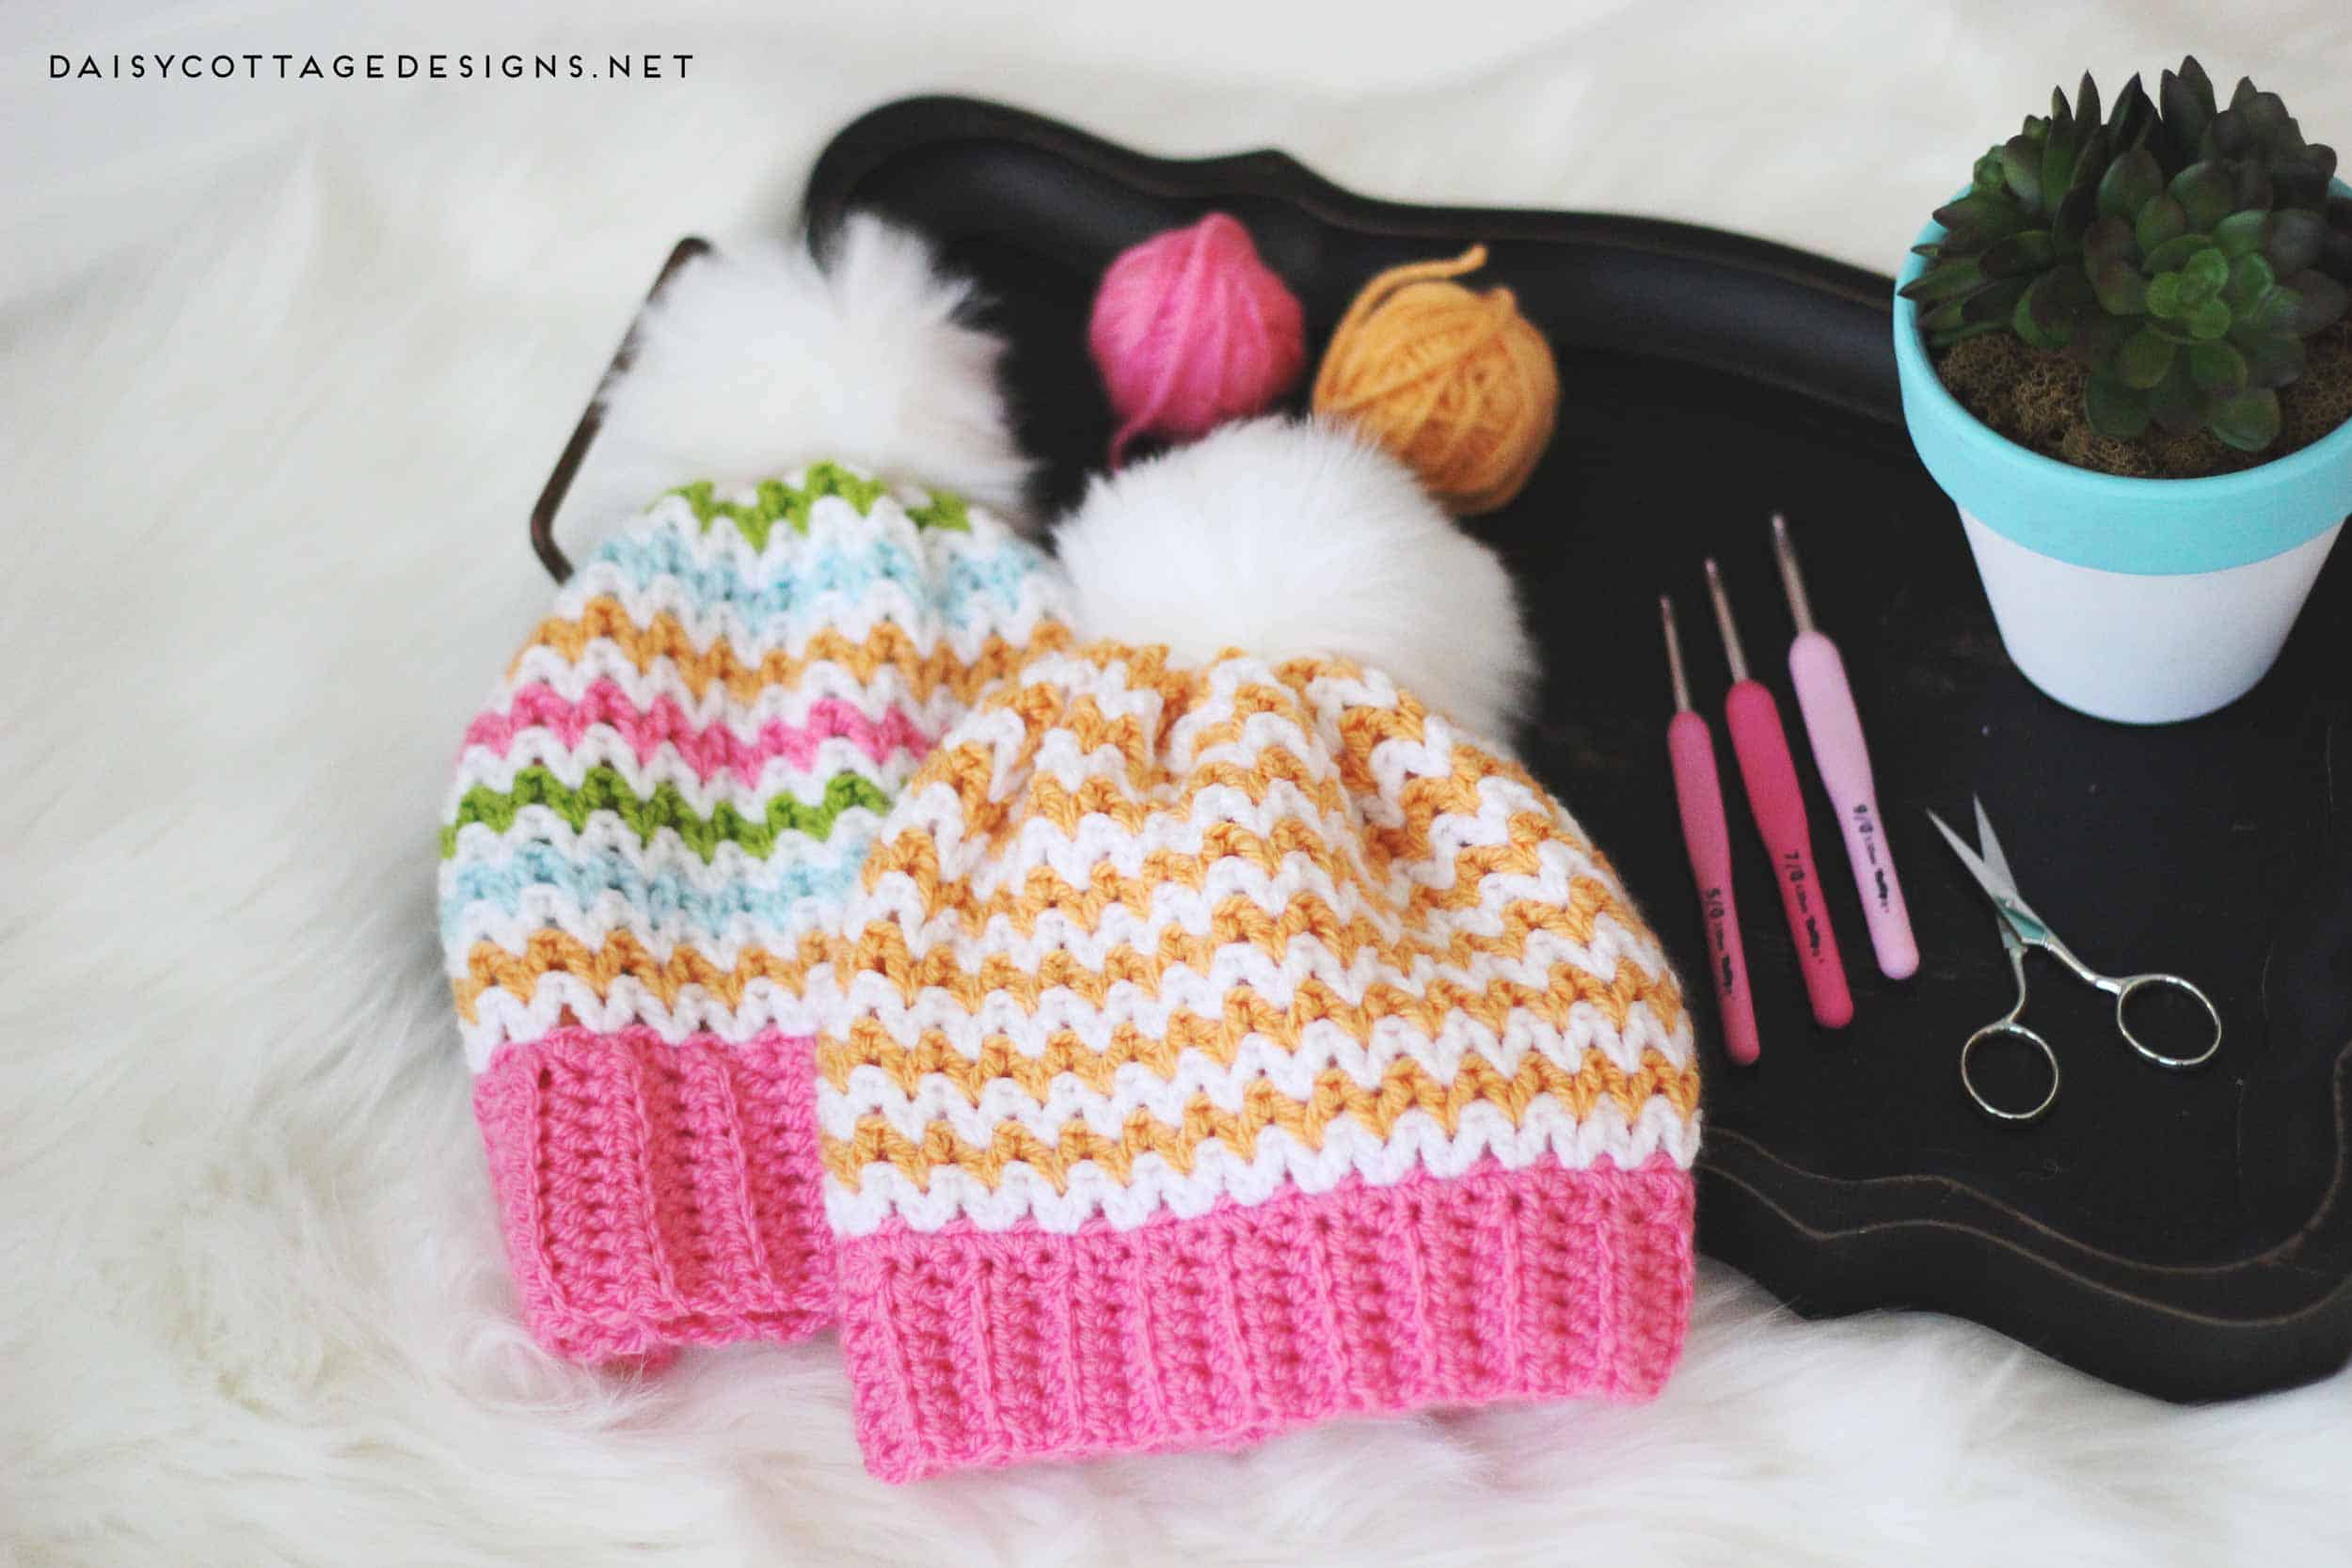
As I was making the v-stitch blanket that my children asked me to make for them last week, I kept thinking about how fun it would be to make a hat in the same stitch and colors. I had a couple other projects that I needed to finish up before diving into this project, but as soon as I could, I started working on this adorable, slightly slouchy beanie crochet pattern.
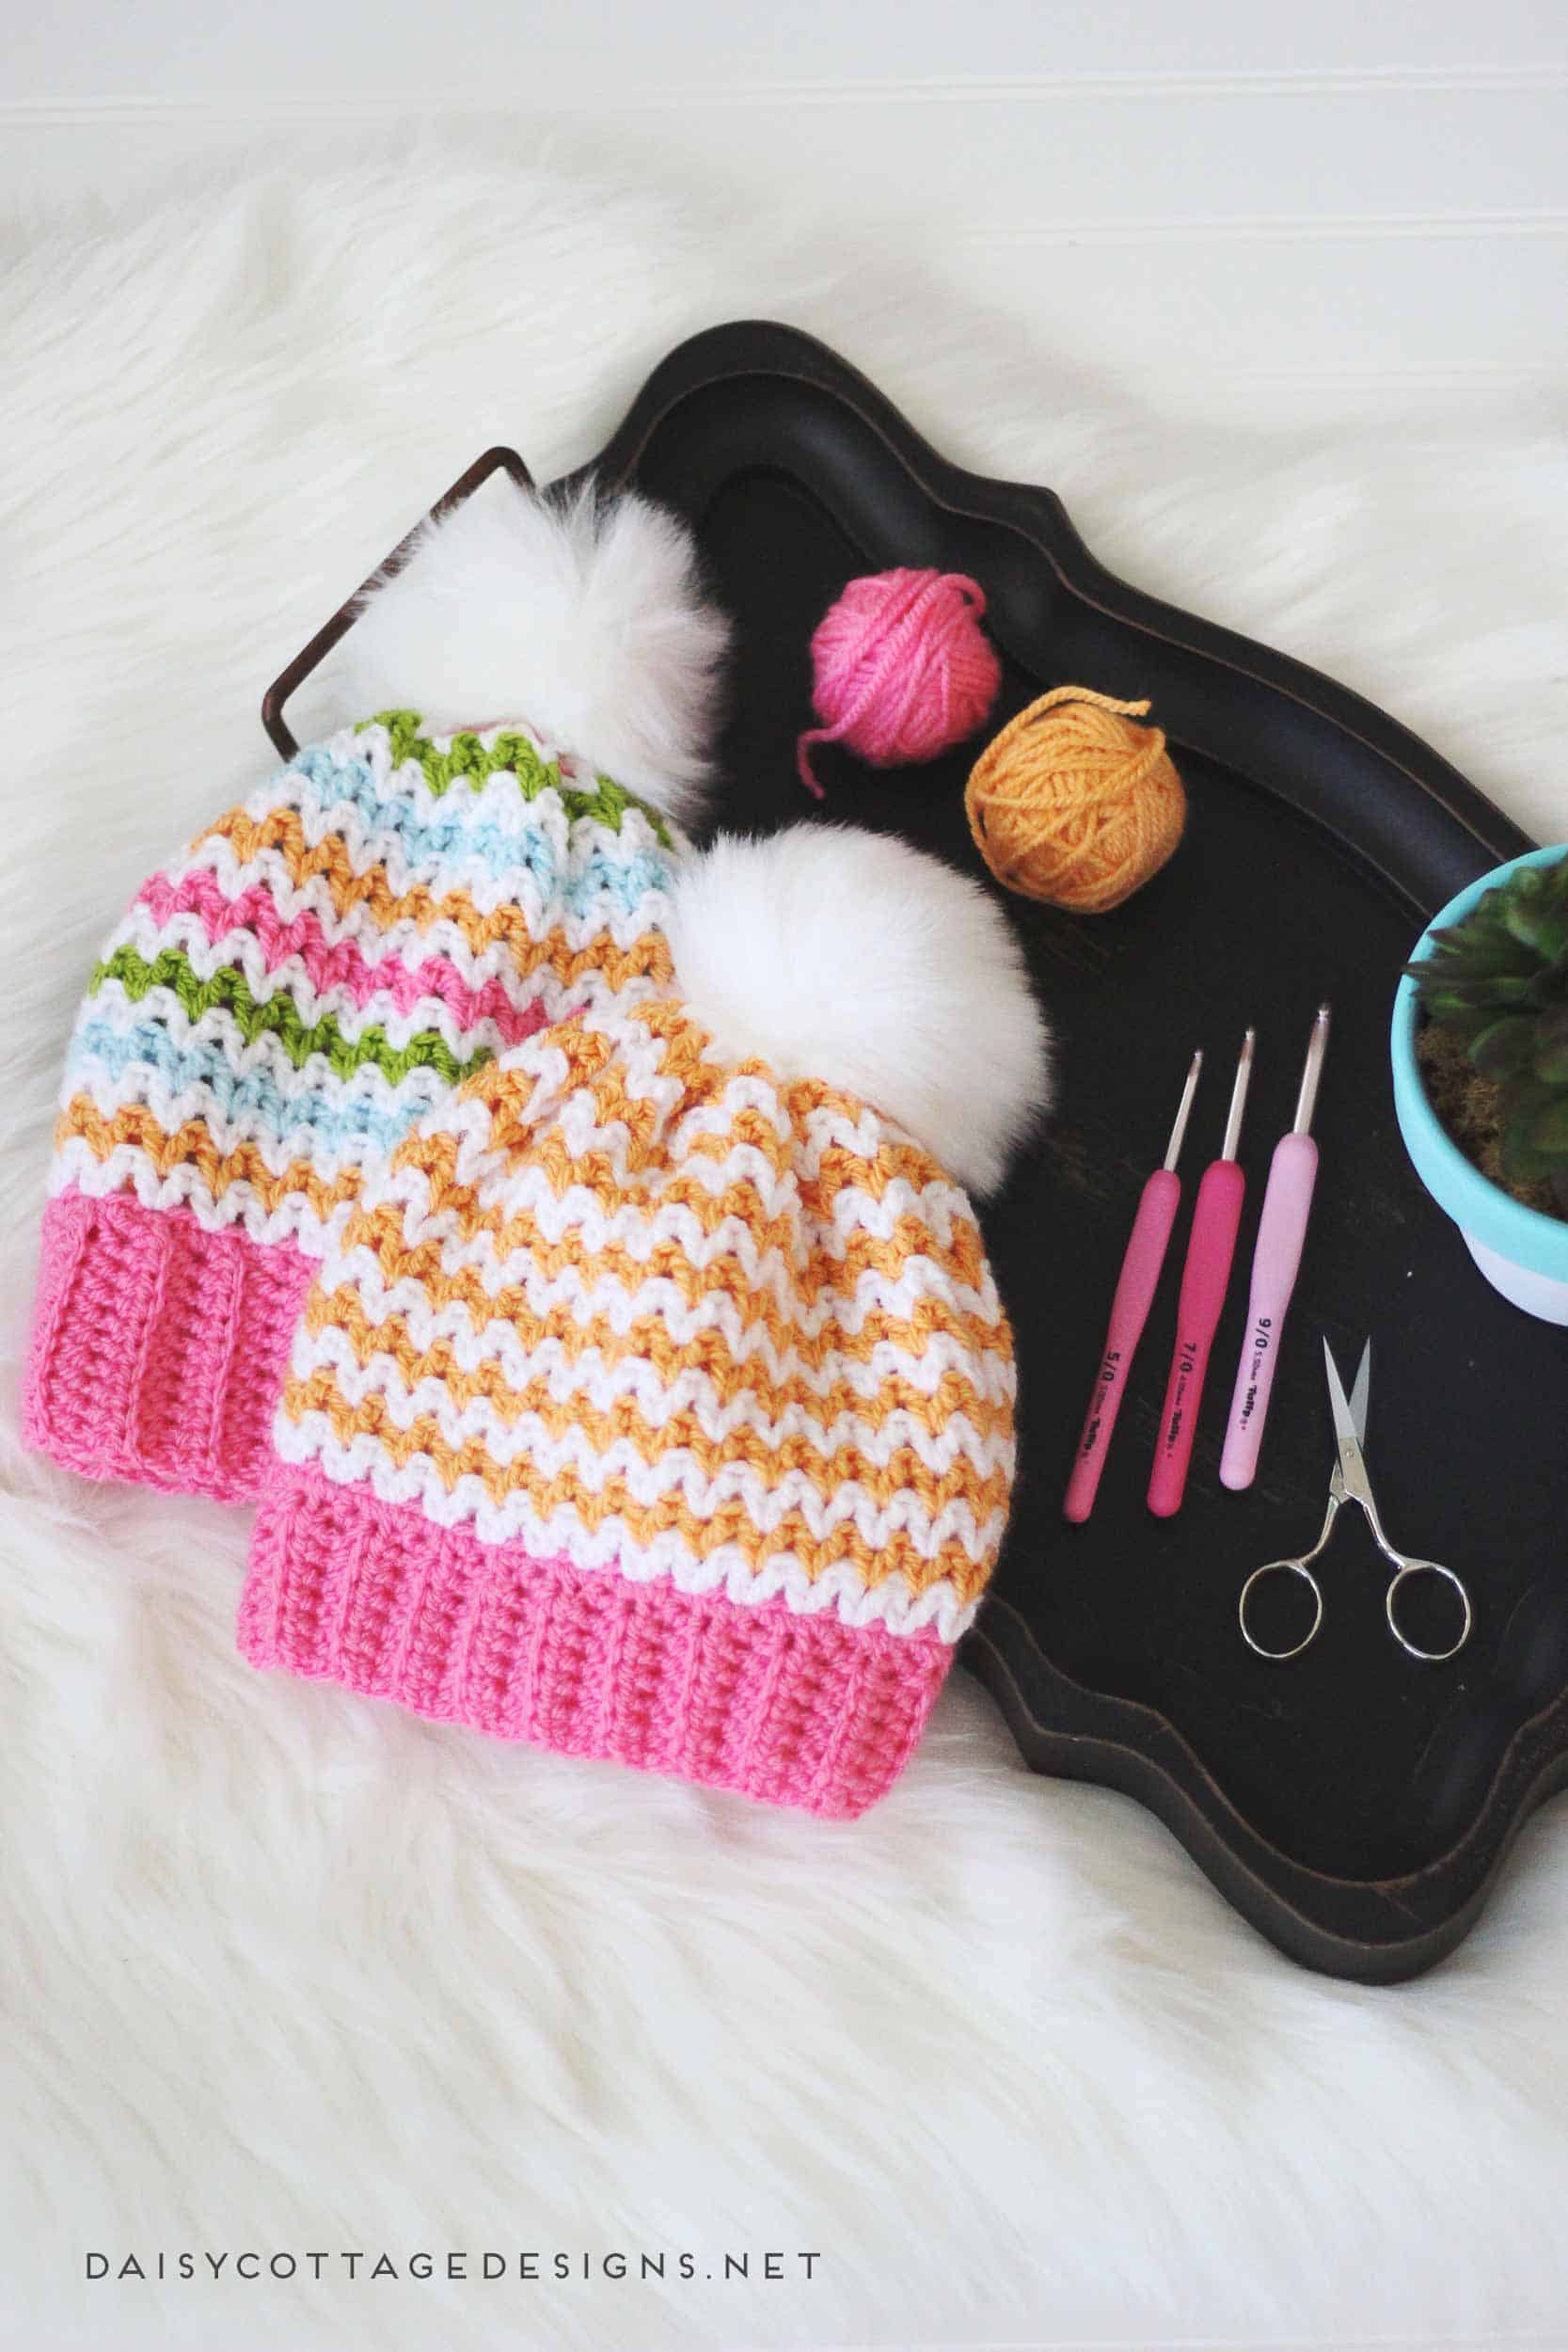
This hat is absolutely adorable, and I have so many different color schemes that I want to try. I’m loving these bubblegum inspired shades, but I’d also love to see it in navy, lime, and white; black, white, and red; and so many more.
Can’t crochet this hat right now?

My big girls loved the result and quickly claimed them. We live in Florida, but that hasn’t stopped them from wearing them while sitting around the house. The bright colors and fuzzy pompoms are just too hard for a kiddo to pass up.
If you follow me on Instagram, you may have been waiting for this pattern to come back from my testers. Be sure to follow along for sneak peaks of patterns and more. If make one of these hats, I hope you’ll tag me (@daisycottagedesigns) and use the hashtag #daisycottagedesigns.
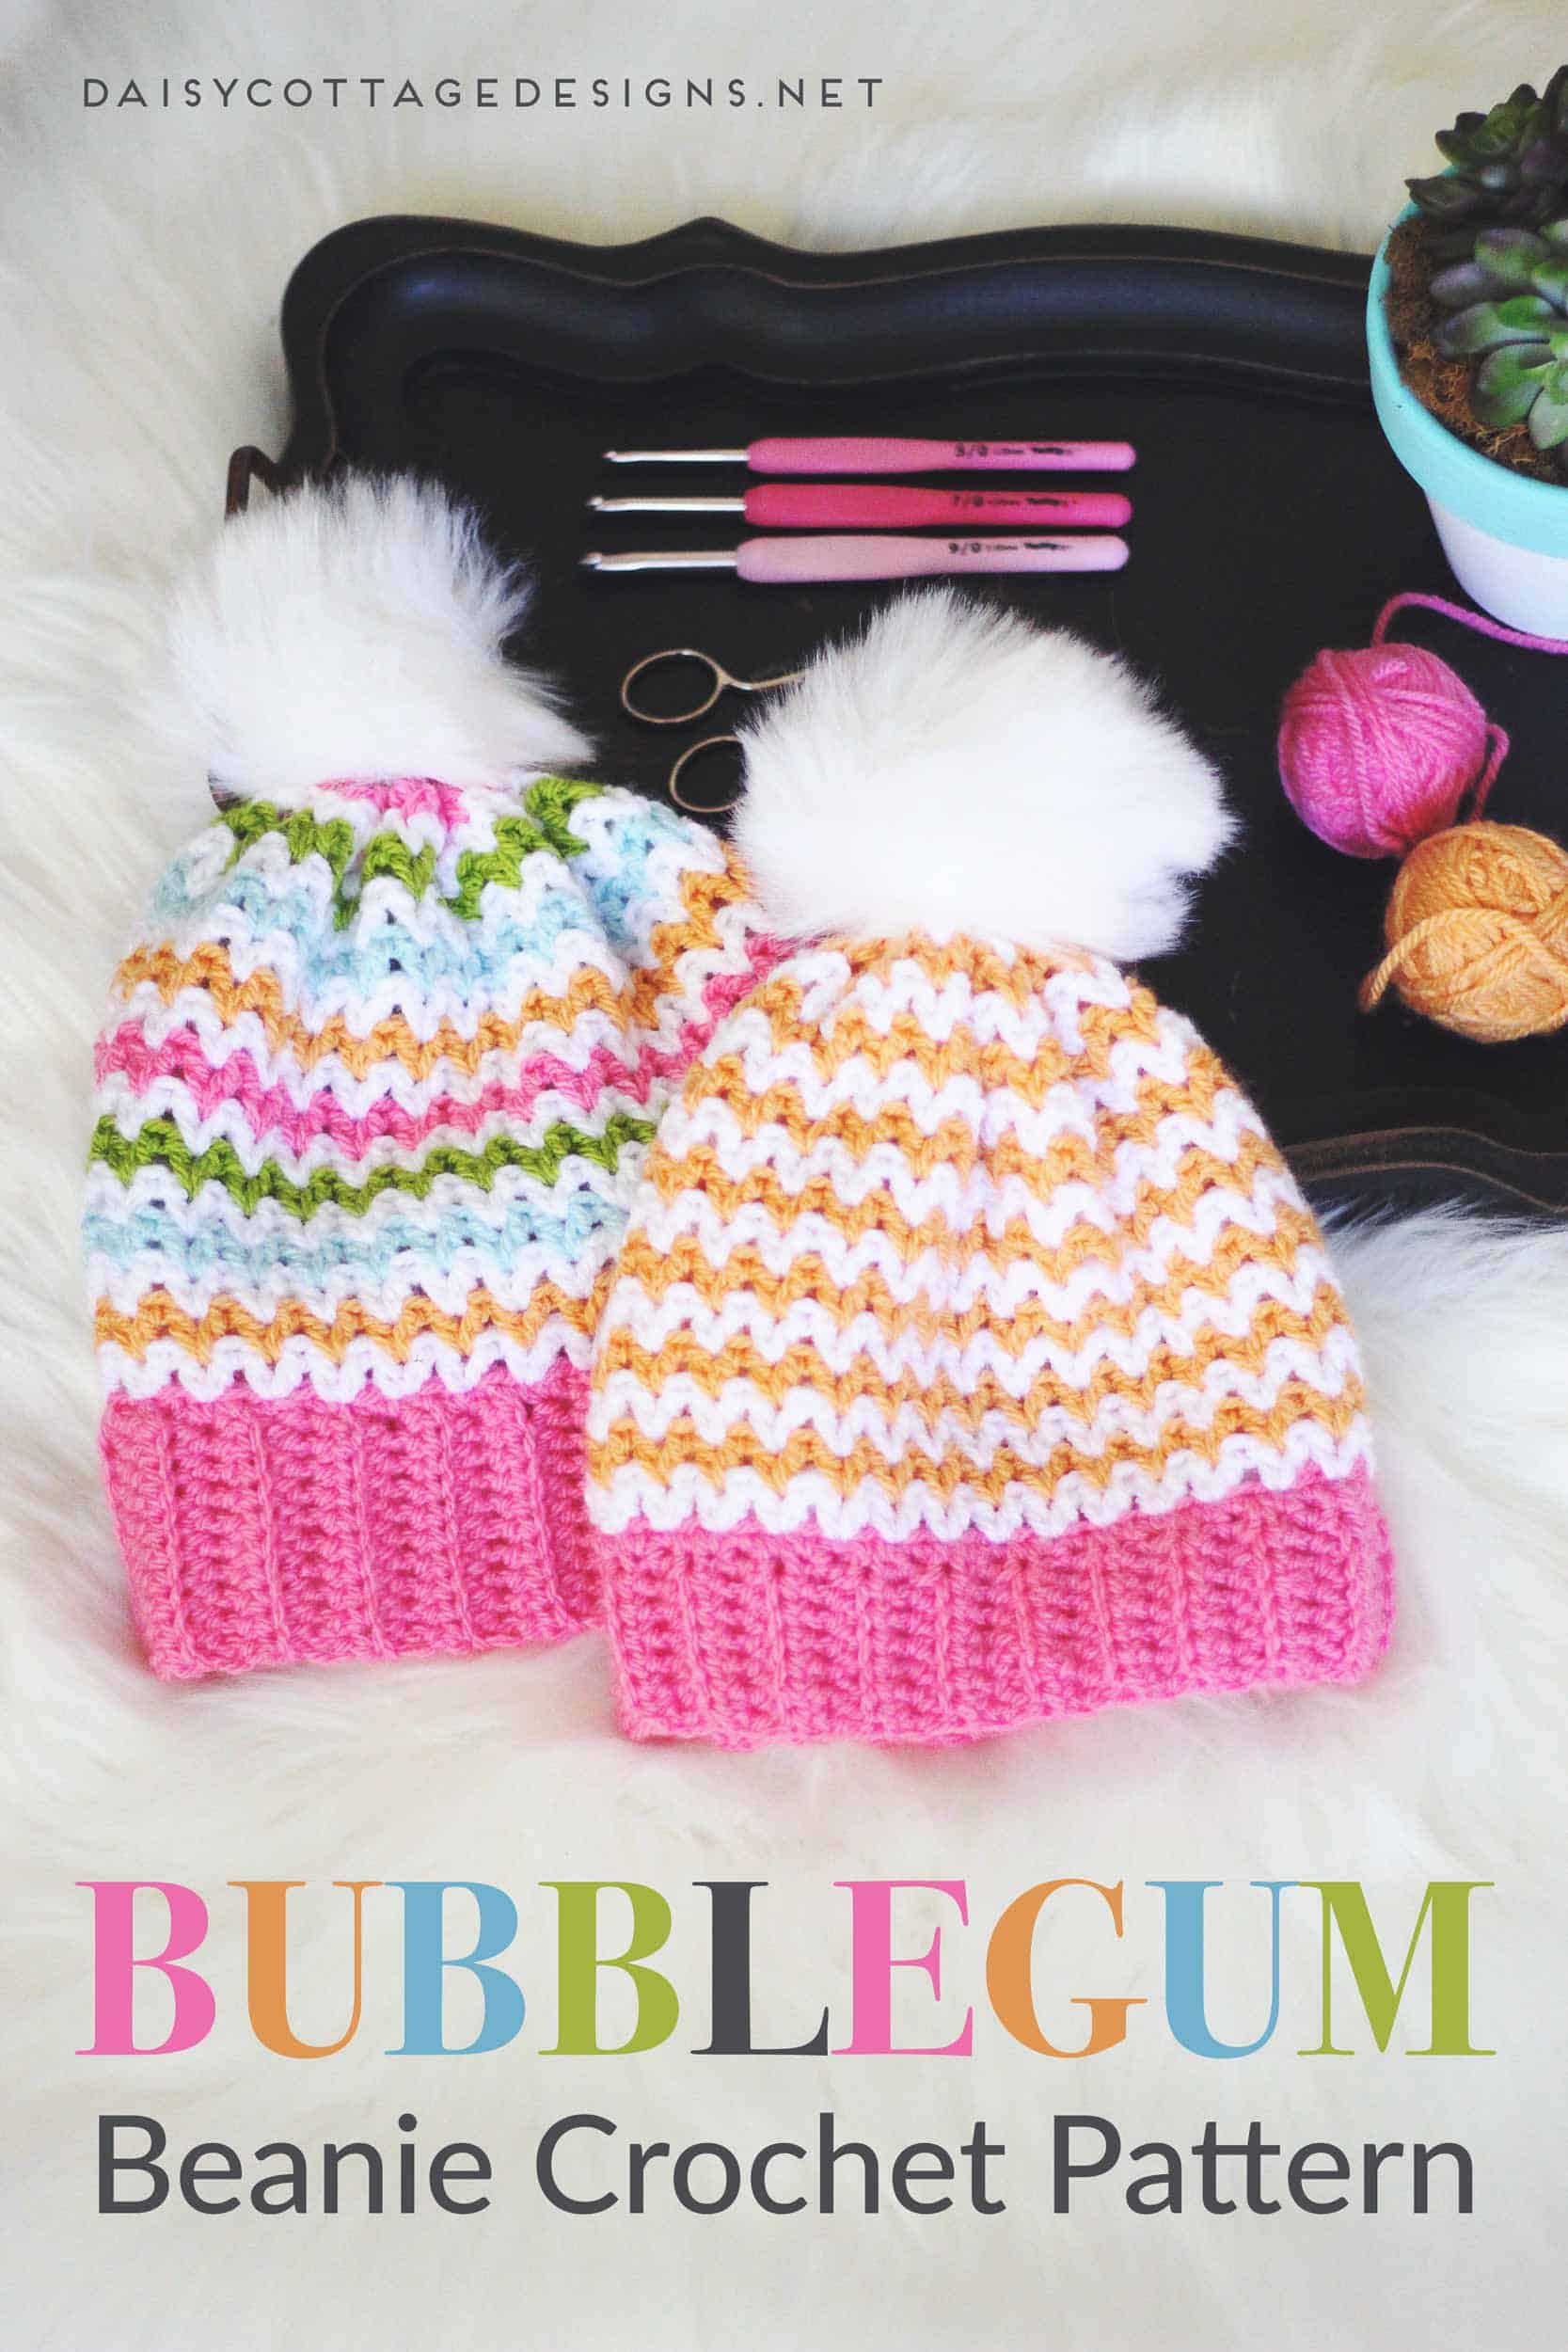
Bubblegum Stripe (Slightly) Slouchy Beanie Crochet Pattern
Purchase the ad-free, ready to print version of this pattern here.
Materials:
- Approximately 2.5 – 3 oz. (145-175 yards) of worsted weight yarn.
- I used Paintbox Yarn Simply Aran in these shades:
- H Crochet hook (or size required to achieve proper gauge)
- Tapestry Needle
- Fur or yarn pompom
- Scissors
Pattern Notes:
- The band of this hat is worked in rows.
- The V stitch portion is worked in rounds.
- There is a hole at the top of the hat that will need to be cinched when you’re done. Instructions for doing this are given at the end of each size. A video is included in the first size of this pattern showing how to do it. You can also access that video here.
- Chains DO NOT count as stitches on the band. Chains DO count as stitches on the body.
- Change colors as often or as little as you like. Cut yarn and weave ends when you wish to change color. On the next row join your new color with a sl st and proceed as instructed.
Stitch Abbreviations:
- V stitch = 2 dc in the same stitch.
- BLO indicates working into the back loop only.
- dc2tog = double crochet 2 together.
Gauge Swatch:
- Finished swatch should measure 4 inches x 4 inches. If your square is too small, go up in hook size. If your square is too big, go down in hook size.
- Ch 15.
- Row 1: Dc in the third chain from the hook and in each stitch across. Ch 2, turn. (13)
- Rows 2-8: Dc in the second stitch and in each stitch across, Ch 2, turn. (13)
Baby Size (approx. 6-12 months)
Ribbed Band
Ch 7.
Row 1: hdc in the second chain and in each chain across. Ch 1, turn. (6)
Row 2 – 42: hdc in both loops of the first stitch, hdc in the BLO of the next 4 stitches, hdc in both loops of the last stitch. Ch 1, turn. (6)
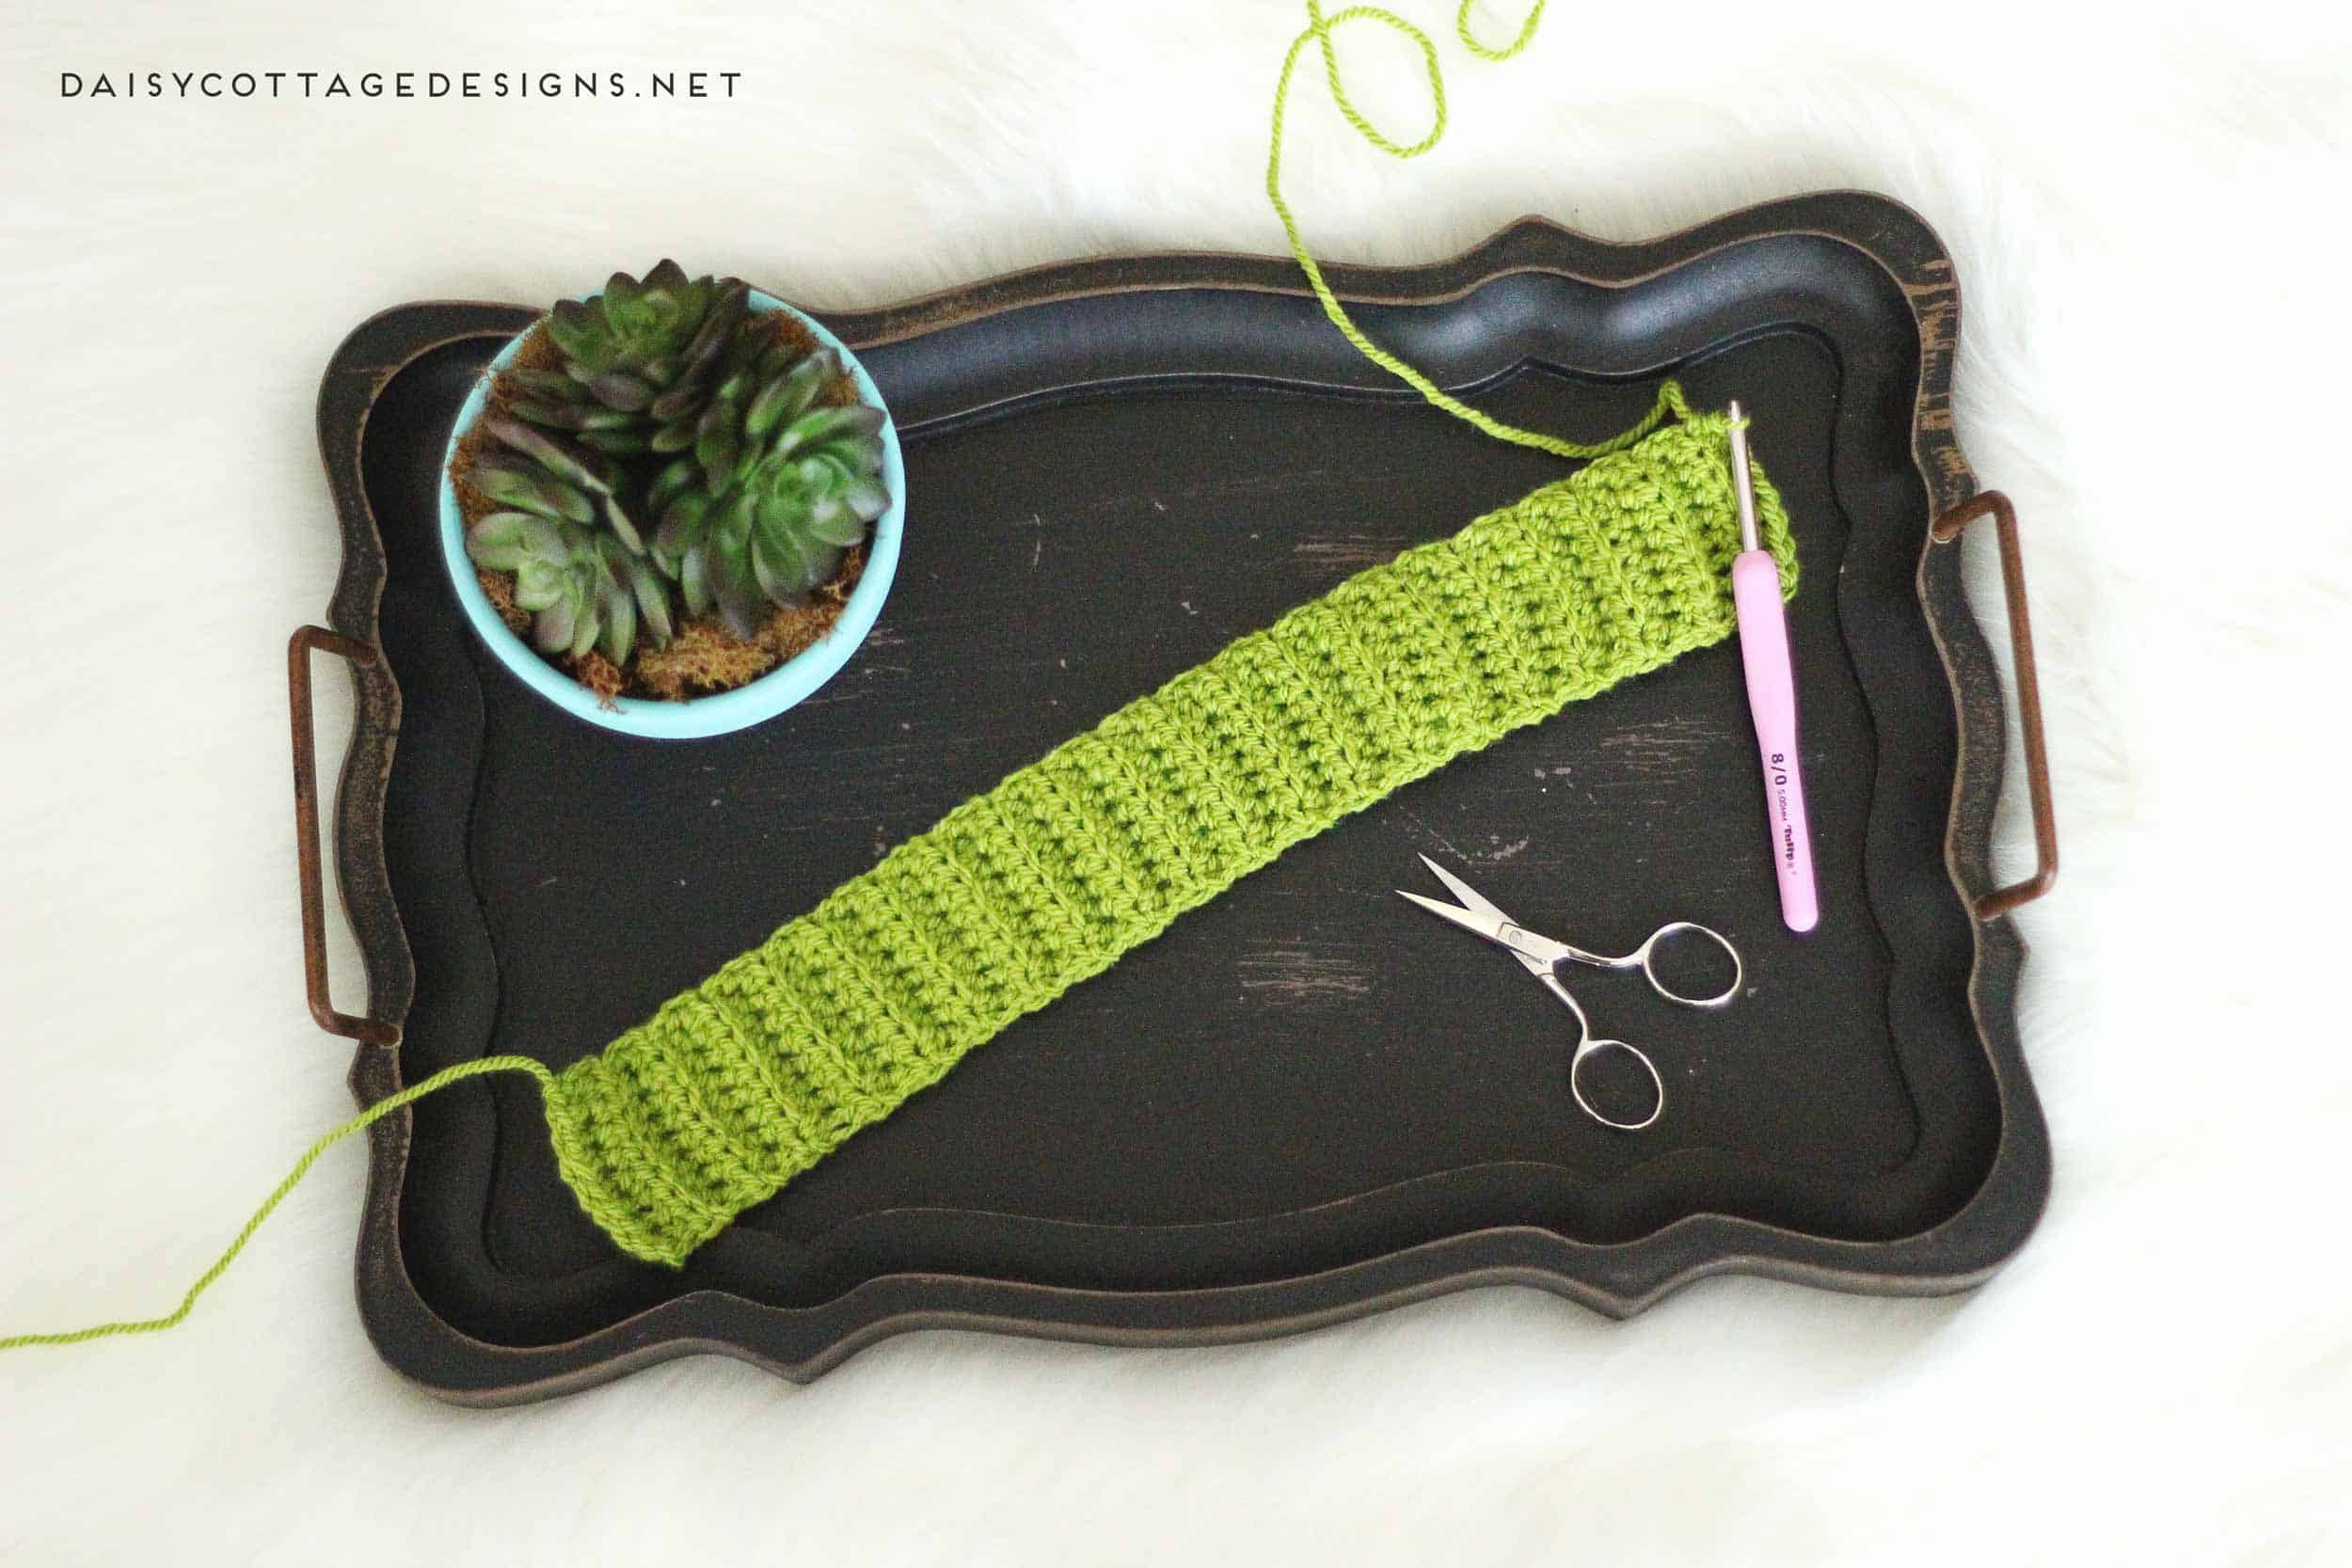
At this point, your brim should measure approximately 15 inches long when gently stretched. You don’t want to have to pull hard to reach this length – just a gentle stretch.
If your brim is longer, remove a few rows until the proper size is achieved. If your brim is too short, add rows until it’s the proper length.
Use a tapestry needle and the tail of yarn to sew the short edges of your band together.
Hat Body
Round 1: (Note: this round should be worked in the same color as your band!) Join yarn with a slip stitch, ch 1. Sc 50 around the top of the band. Join with a sl st. Ch 2. (50)
Round 2: ch 2, dc in the same stitch as the ch 2, *skip 1 stitch, 2 dc in the next stitch* around. Sl st to the top of the ch 2 to join. (or 25 v stitches).
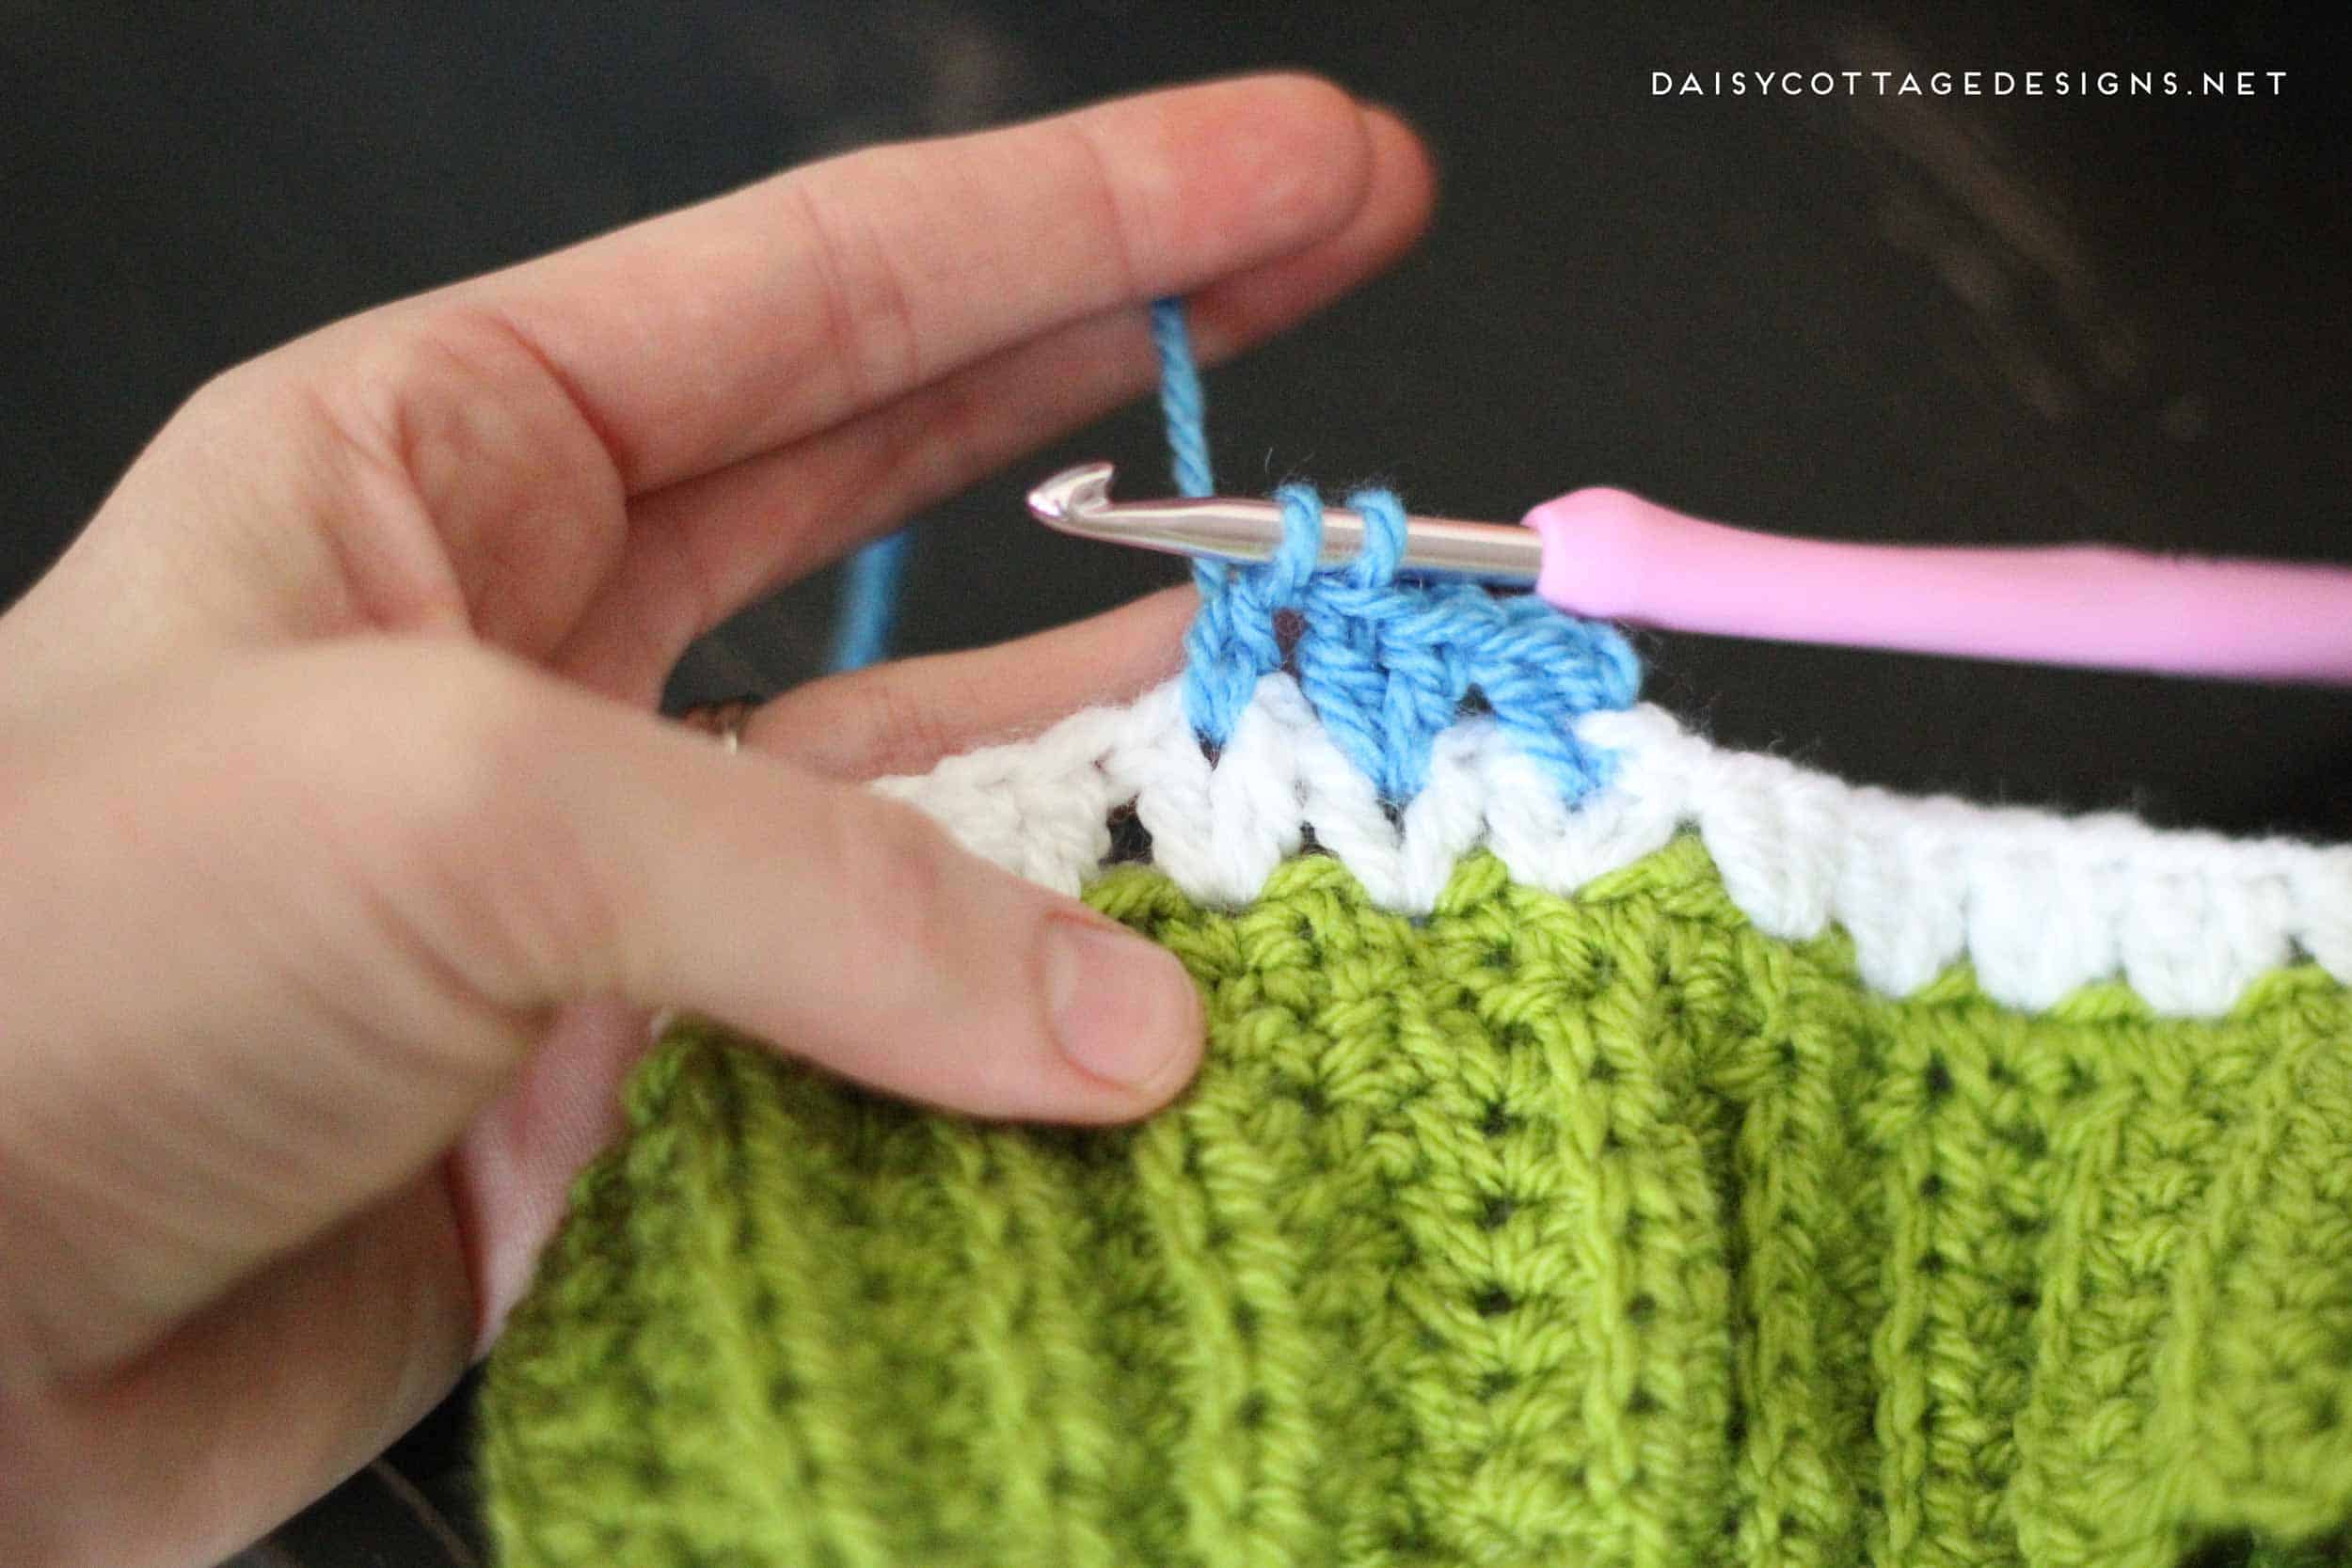
Rounds 3-11: ch 2, dc between the ch and the dc in the previous row. *v stitch in the middle of each v stitch from the previous round (see photo above).* Sl st to the top of the ch 2 to join. (25 v stitches)
Round 12: ch 2, dc between the ch and the dc in the previous row, v stitch in the middle of the next 3 v stitches, dc2tog in the middle of the next v stitch. *v stitch in the middle of the next four v stitches, dc2tog in the middle of the next v stitch around.* sl st to the top of the the ch 2 to join. (20 v stitches and 5 dc2togs). Cut yarn and leave a long tail for cinching the top of your hat.
Finishing Your Hat
Turn your hat inside out and weave your yarn in and out around the last row of your hat. Pull the ends and cinch closed. Tie the ends in a tight knot and weave to hide.
Weave all ends.
Turn right side out and attach the pompom of your choice!

Children’s Size (approx. 3-10 years)
Ribbed Band
Ch 9.
Row 1: hdc in the second chain and in each chain across. Ch 1, turn. (8)
Row 2 – 49: hdc in both loops of the first stitch, hdc in the BLO of the next 6 stitches, hdc in both loops of the last stitch. Ch 1, turn. (8)
At this point, your brim should measure approximately 17-18 inches long when gently stretched. You don’t want to have to pull hard to reach this length – just a gentle stretch.
If your brim is longer, remove a few rows until the proper size is achieved. If your brim is too short, add rows until it’s the proper length.
Use a tapestry needle and the tail of yarn to sew the short edges of your band together.
Hat Body
Round 1: (Note: this round should be worked in the same color as your band!) Join yarn with a slip stitch, ch 1. Sc 66 around the top of the band. Join with a sl st. Ch 2. (66)
Round 2: ch 2, dc in the same stitch as the ch 2, *skip 1 stitch, 2 dc in the next stitch* around. Sl st to the top of the ch 2 to join. (or 33 v stitches).
Rounds 3-15: ch 2, dc between the ch and the dc in the previous row. *v stitch in the middle of each v stitch from the previous round.* Sl st to the top of the ch 2 to join. (33 v stitches)
Round 16: ch 2, dc between the ch and the dc in the previous row, v stitch in the middle of the next v stitch, dc2tog in the middle of the next v stitch. *v stitch in the middle of the next two v stitches, dc2tog in the middle of the next v stitch around.* sl st to the top of the the ch 2 to join. (22 v stitches and 11 dc2togs). Cut yarn and leave a long tail for cinching the top of your hat.
Finishing Your Hat
Turn your hat inside out and weave your yarn in and out around the last row of your hat. Pull the ends and cinch closed. Tie the ends in a tight knot and weave to hide.
Weave all ends.
Turn right side out and attach the pompom of your choice!
Teen/Adult Size
Ribbed Band
Ch 13.
Row 1: hdc in the second chain and in each chain across. Ch 1, turn. (12)
Row 2 – 52: hdc in both loops of the first stitch, hdc in the BLO of the next 10 stitches, hdc in both loops of the last stitch. Ch 1, turn. (12)
At this point, your brim should measure approximately 18-19 inches long when gently stretched. You don’t want to have to pull hard to reach this length – just a gentle stretch.
If your brim is longer, remove a few rows until the proper size is achieved. If your brim is too short, add rows until it’s the proper length.
Use a tapestry needle and the tail of yarn to sew the short edges of your band together.
Hat Body
Round 1: (Note: this round should be worked in the same color as your band!) Join yarn with a slip stitch, ch 1. Sc 70 around the top of the band. Join with a sl st. Ch 2. (70)
Round 2: ch 2, dc in the same stitch as the ch 2, *skip 1 stitch, 2 dc in the next stitch* around. Sl st to the top of the ch 2 to join. (or 35 v stitches).
Rounds 3-15: ch 2, dc between the ch and the dc in the previous row. *v stitch in the middle of each v stitch from the previous round.* Sl st to the top of the ch 2 to join. (35 v stitches)
Round 16: ch 2, dc between the ch and the dc in the previous row, v stitch in the middle of the next 3 v stitches, dc2tog in the middle of the next v stitch. *v stitch in the middle of the next 3 v stitches, dc2tog in the middle of the next v stitch around.* sl st to the top of the the ch 2 to join. (28 v stitches and 7 dc2togs). Cut yarn and leave a long tail for cinching the top of your hat.
Finishing Your Hat
Turn your hat inside out and weave your yarn in and out around the last row of your hat. Pull the ends and cinch closed. Tie the ends in a tight knot and weave to hide.
Turn right side out and attach the pompom of your choice!
Weave all ends.
Turn right side out and attach the pompom of your choice!
