How to Change Colors and Weave Ends in Crochet

Over the years, many people have asked me, “How do I seamlessly change colors in crochet?” Or “How do I weave ends in crochet so that my work doesn’t come apart.”
I remember having those same questions. The last thing you want after pouring hours into a beautiful crochet project is to have something go wrong when it’s washed or worn.
The video below will walk you through how to change colors and securely weave the ends of any project.
Before we get to that, here are a few things to keep in mind.
Important things to remember when changing colors in crochet & weaving ends:
- Be sure to leave a tail that’s long enough to weave securely – I like to have at least 4-5 inches.
- Use a metal tapestry needle. Plastic needles are much more difficult to work with.
- Do not cinch your work when weaving ends. This causes your work to bunch.
- Be sure to work in at least two directions when weaving ends.

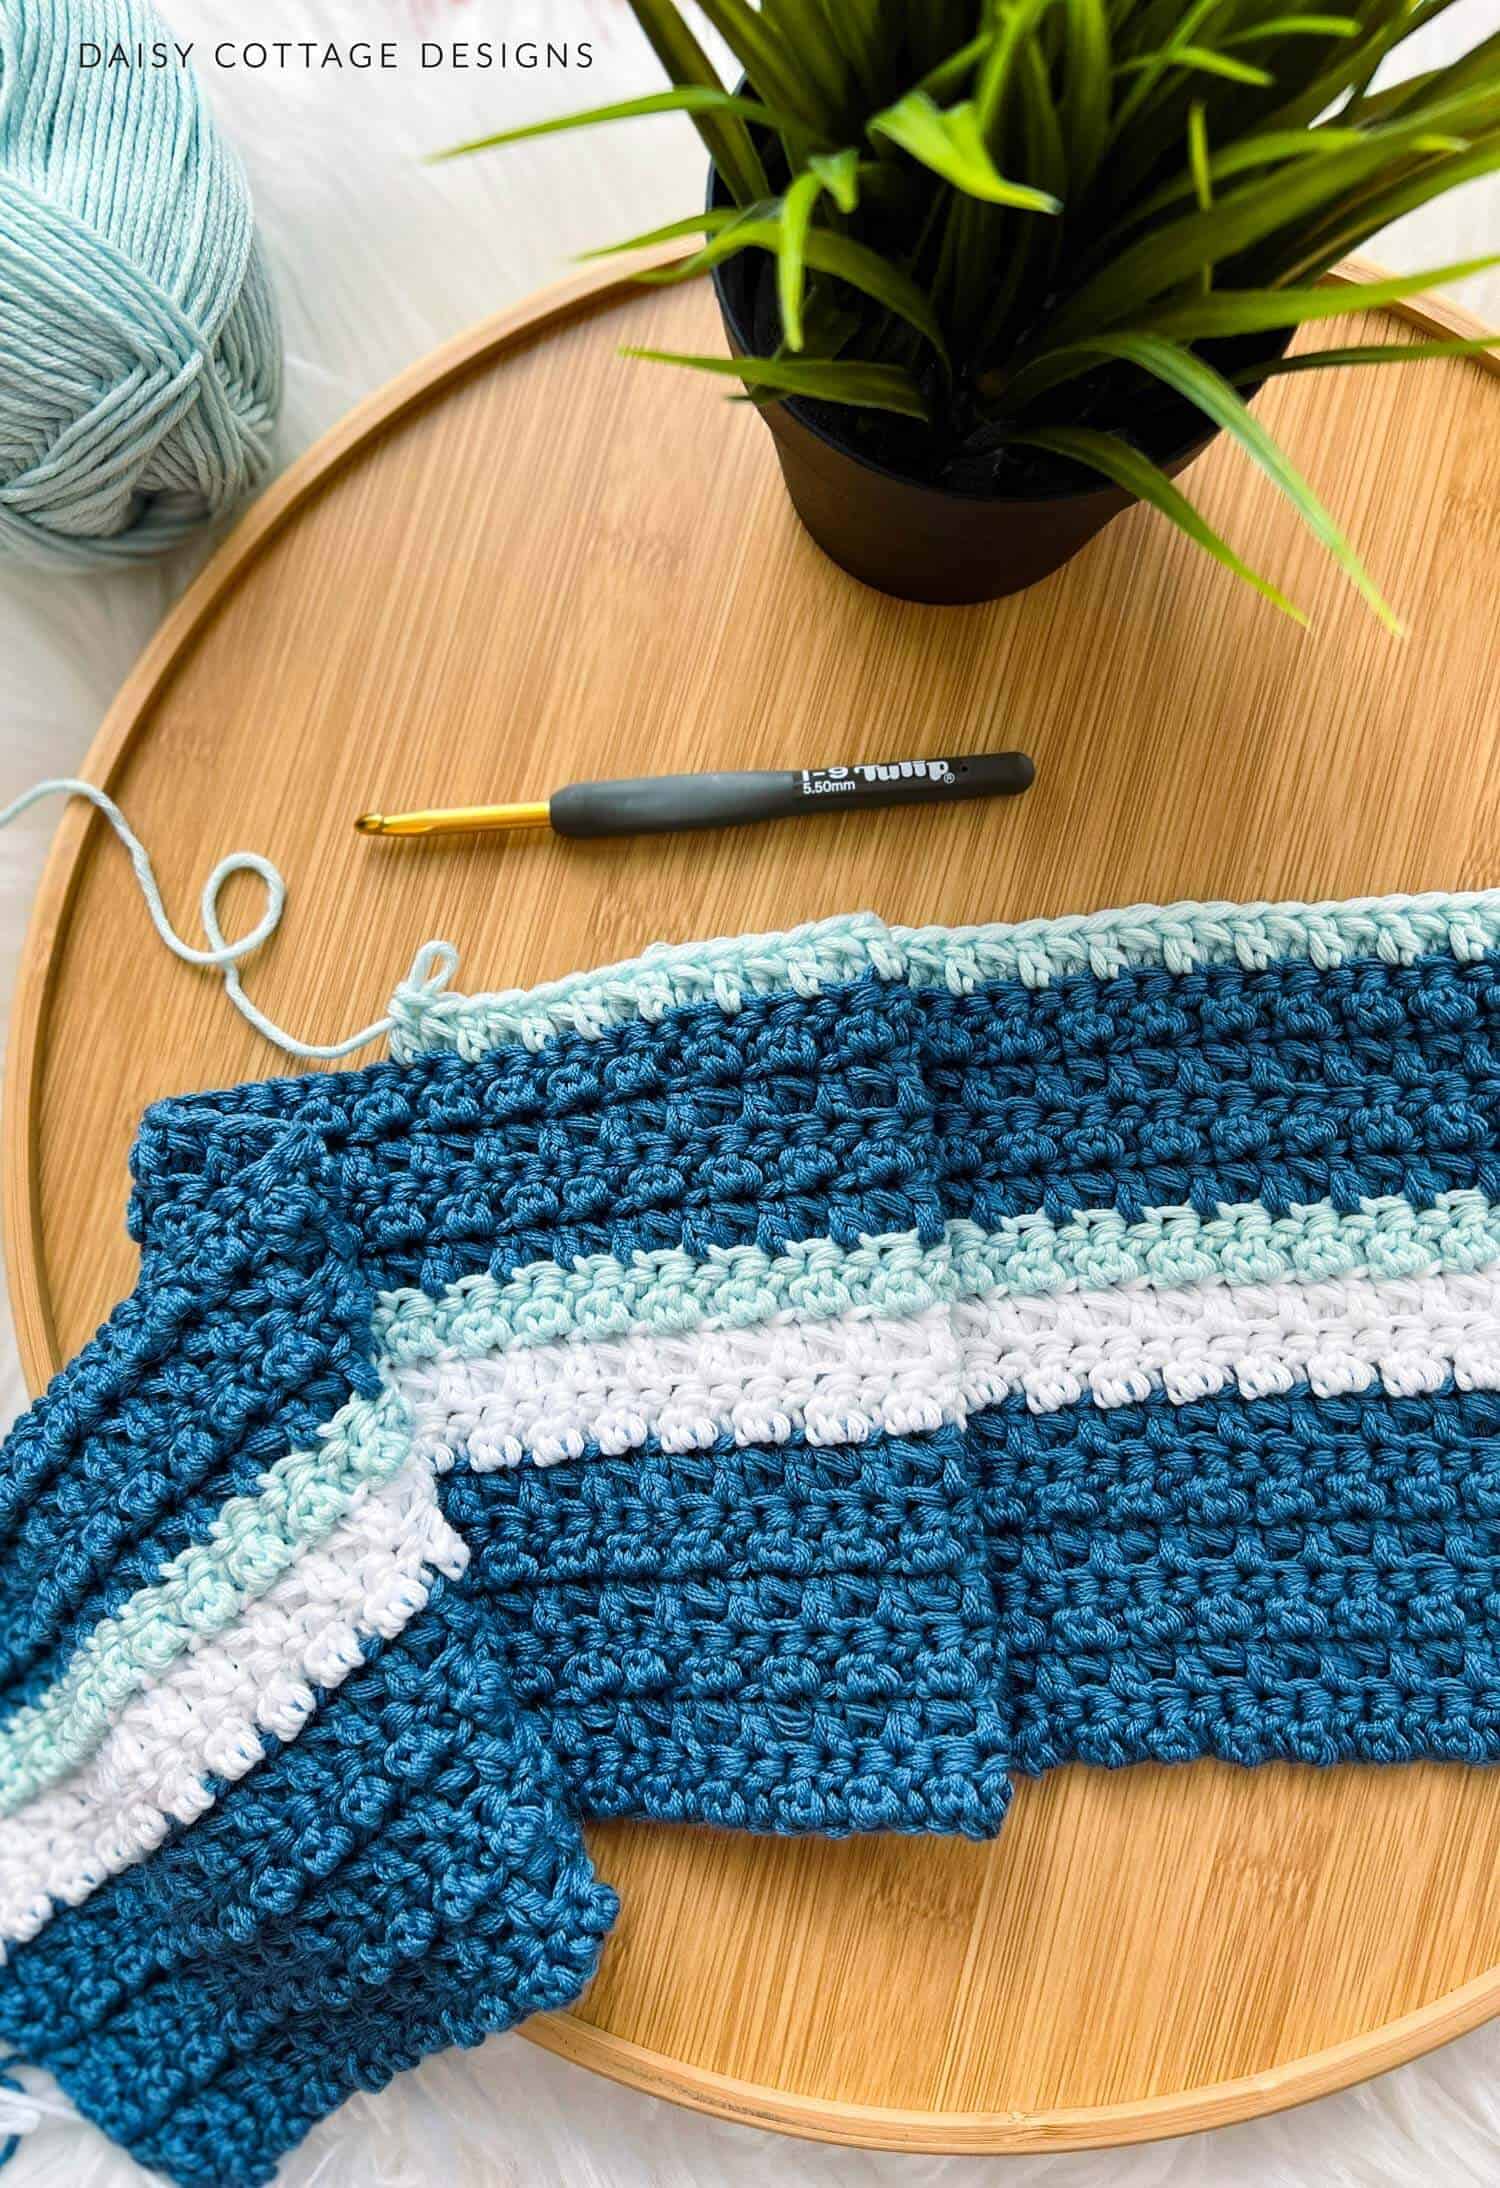
I’m working on a blue version of this crochet baby blanket in the video. This video tutorial will walk you through this stitch.
I’ve heard of people who are scared to make striped blankets because the thought of changing colors scares them. Hopefully, this video will show you just how easy it is.
Striped blankets are my favorite. The hassle of changing colors and weaving ends is well worth it in the end, I promise!
If you’d like to be able to refer to this later, click the image below to save it to Pinterest.

