Gentle Ripple Crochet Pattern
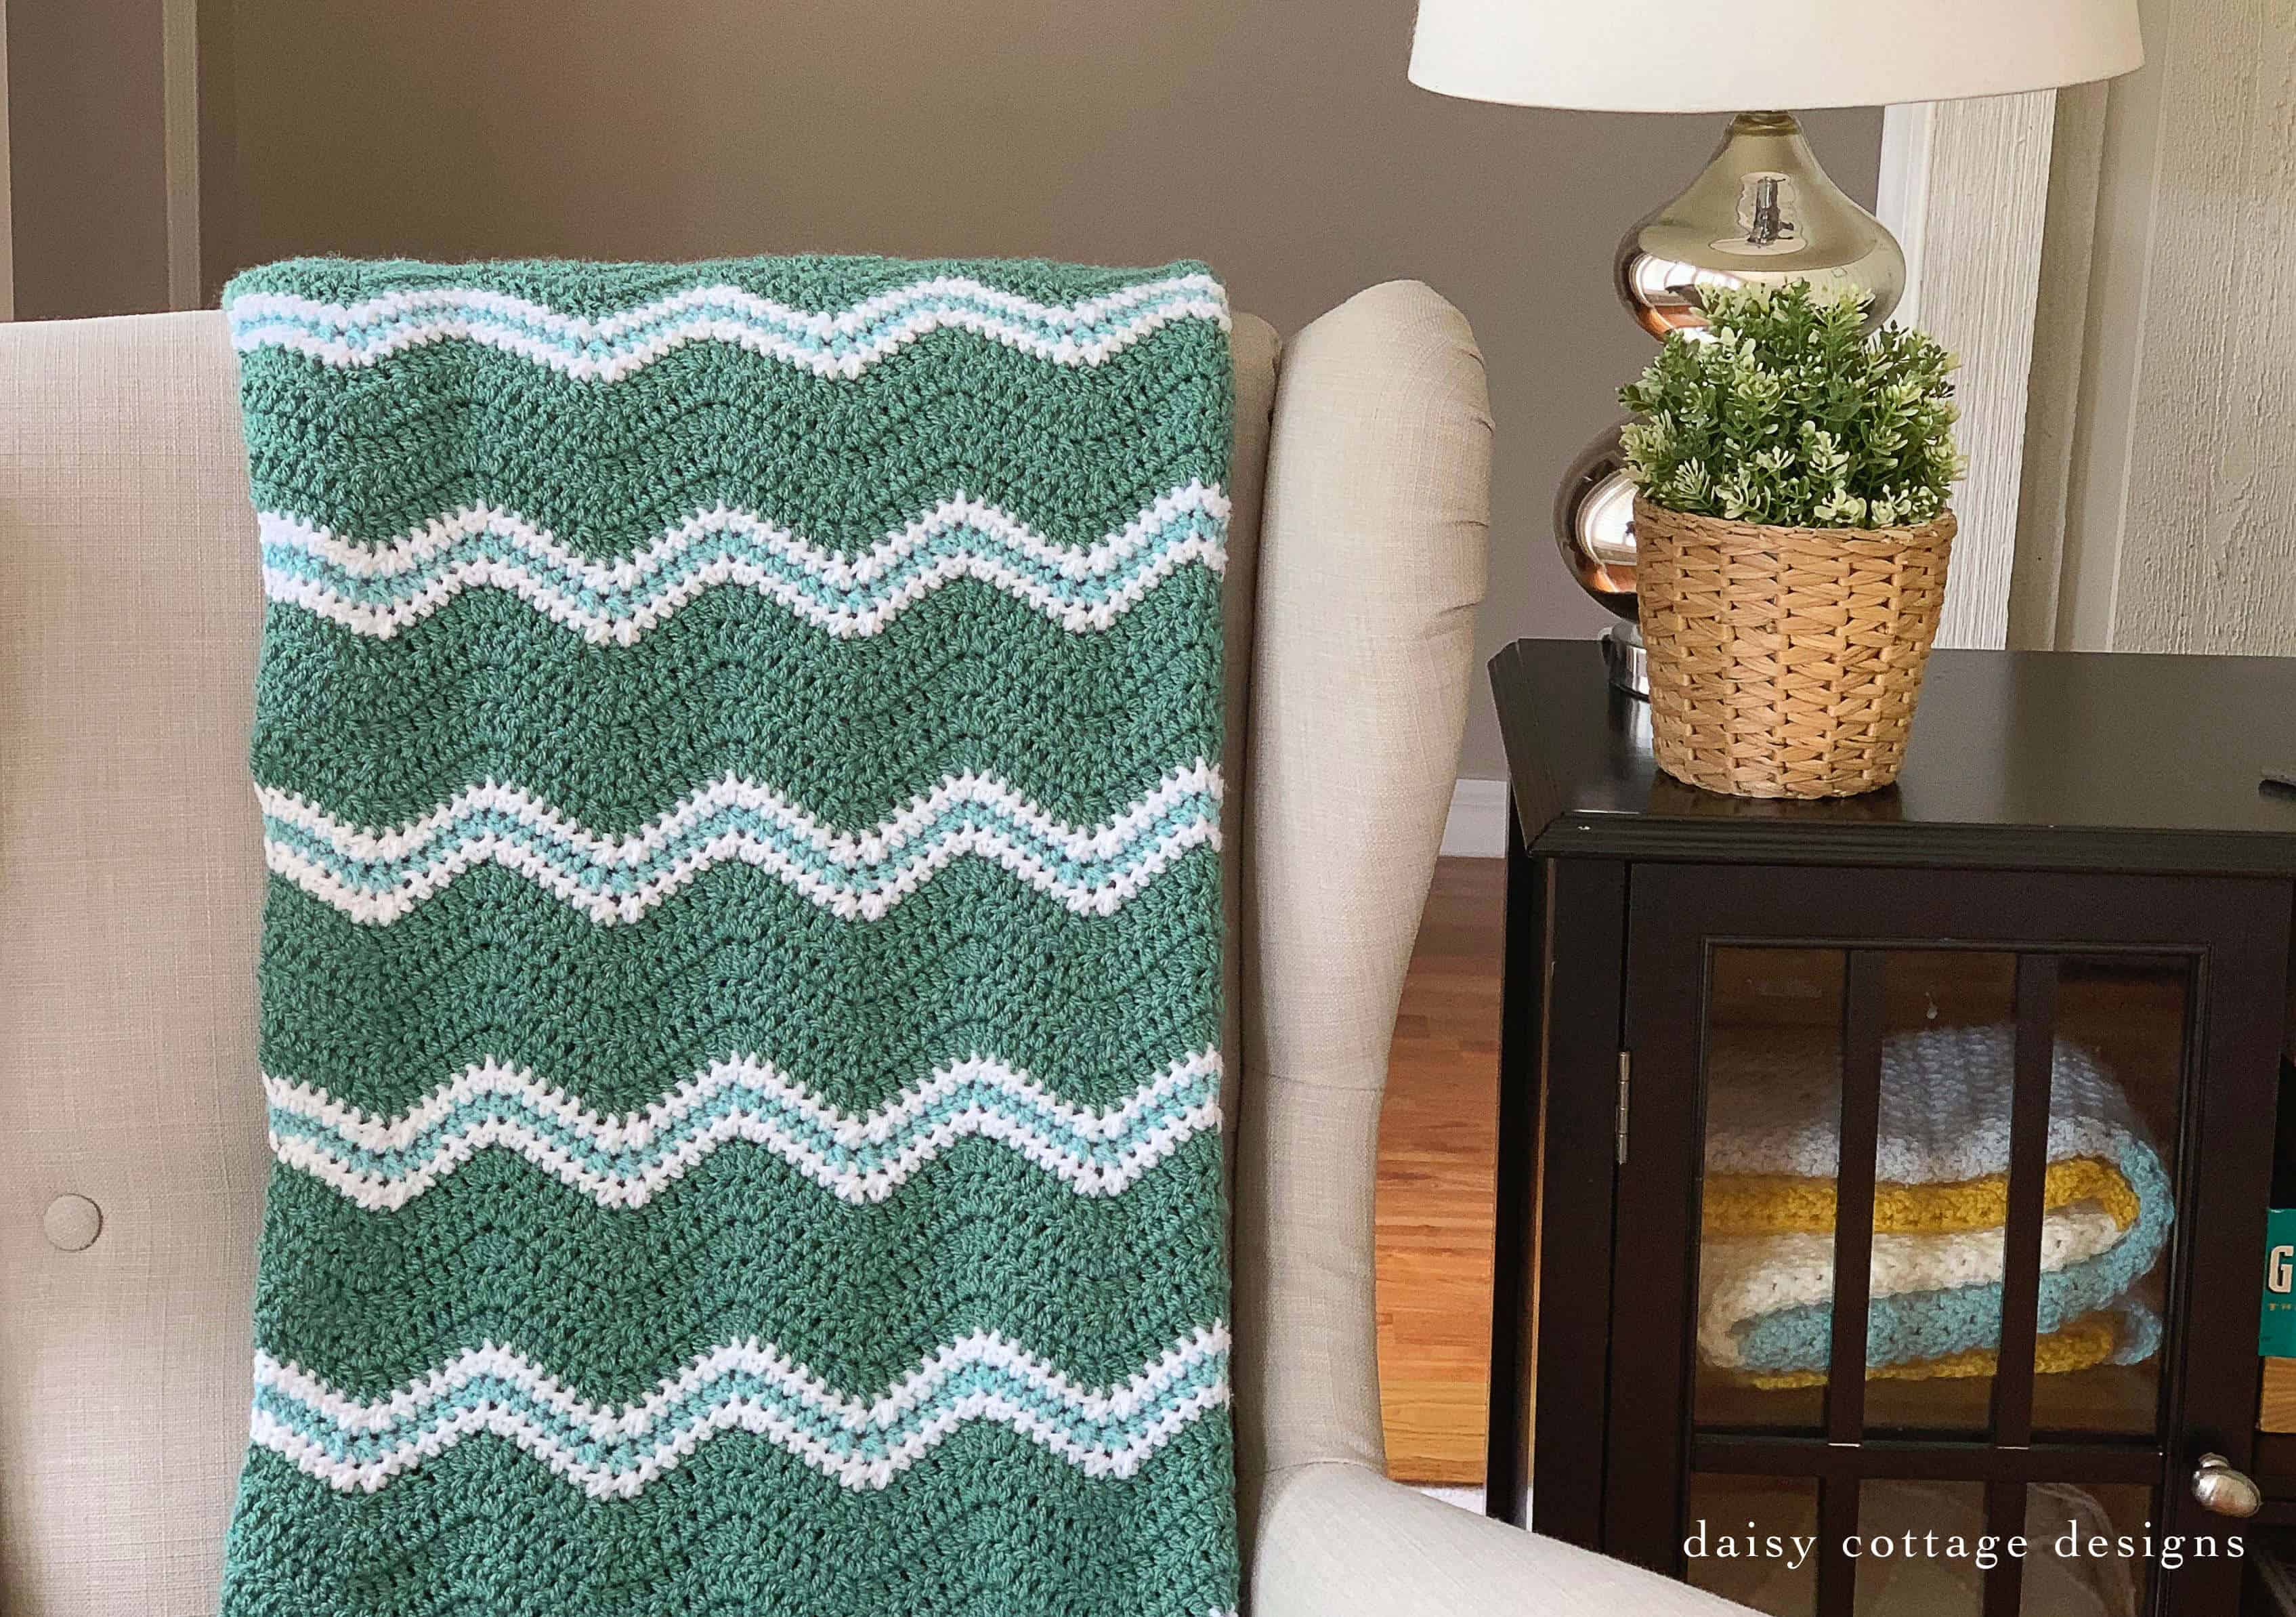
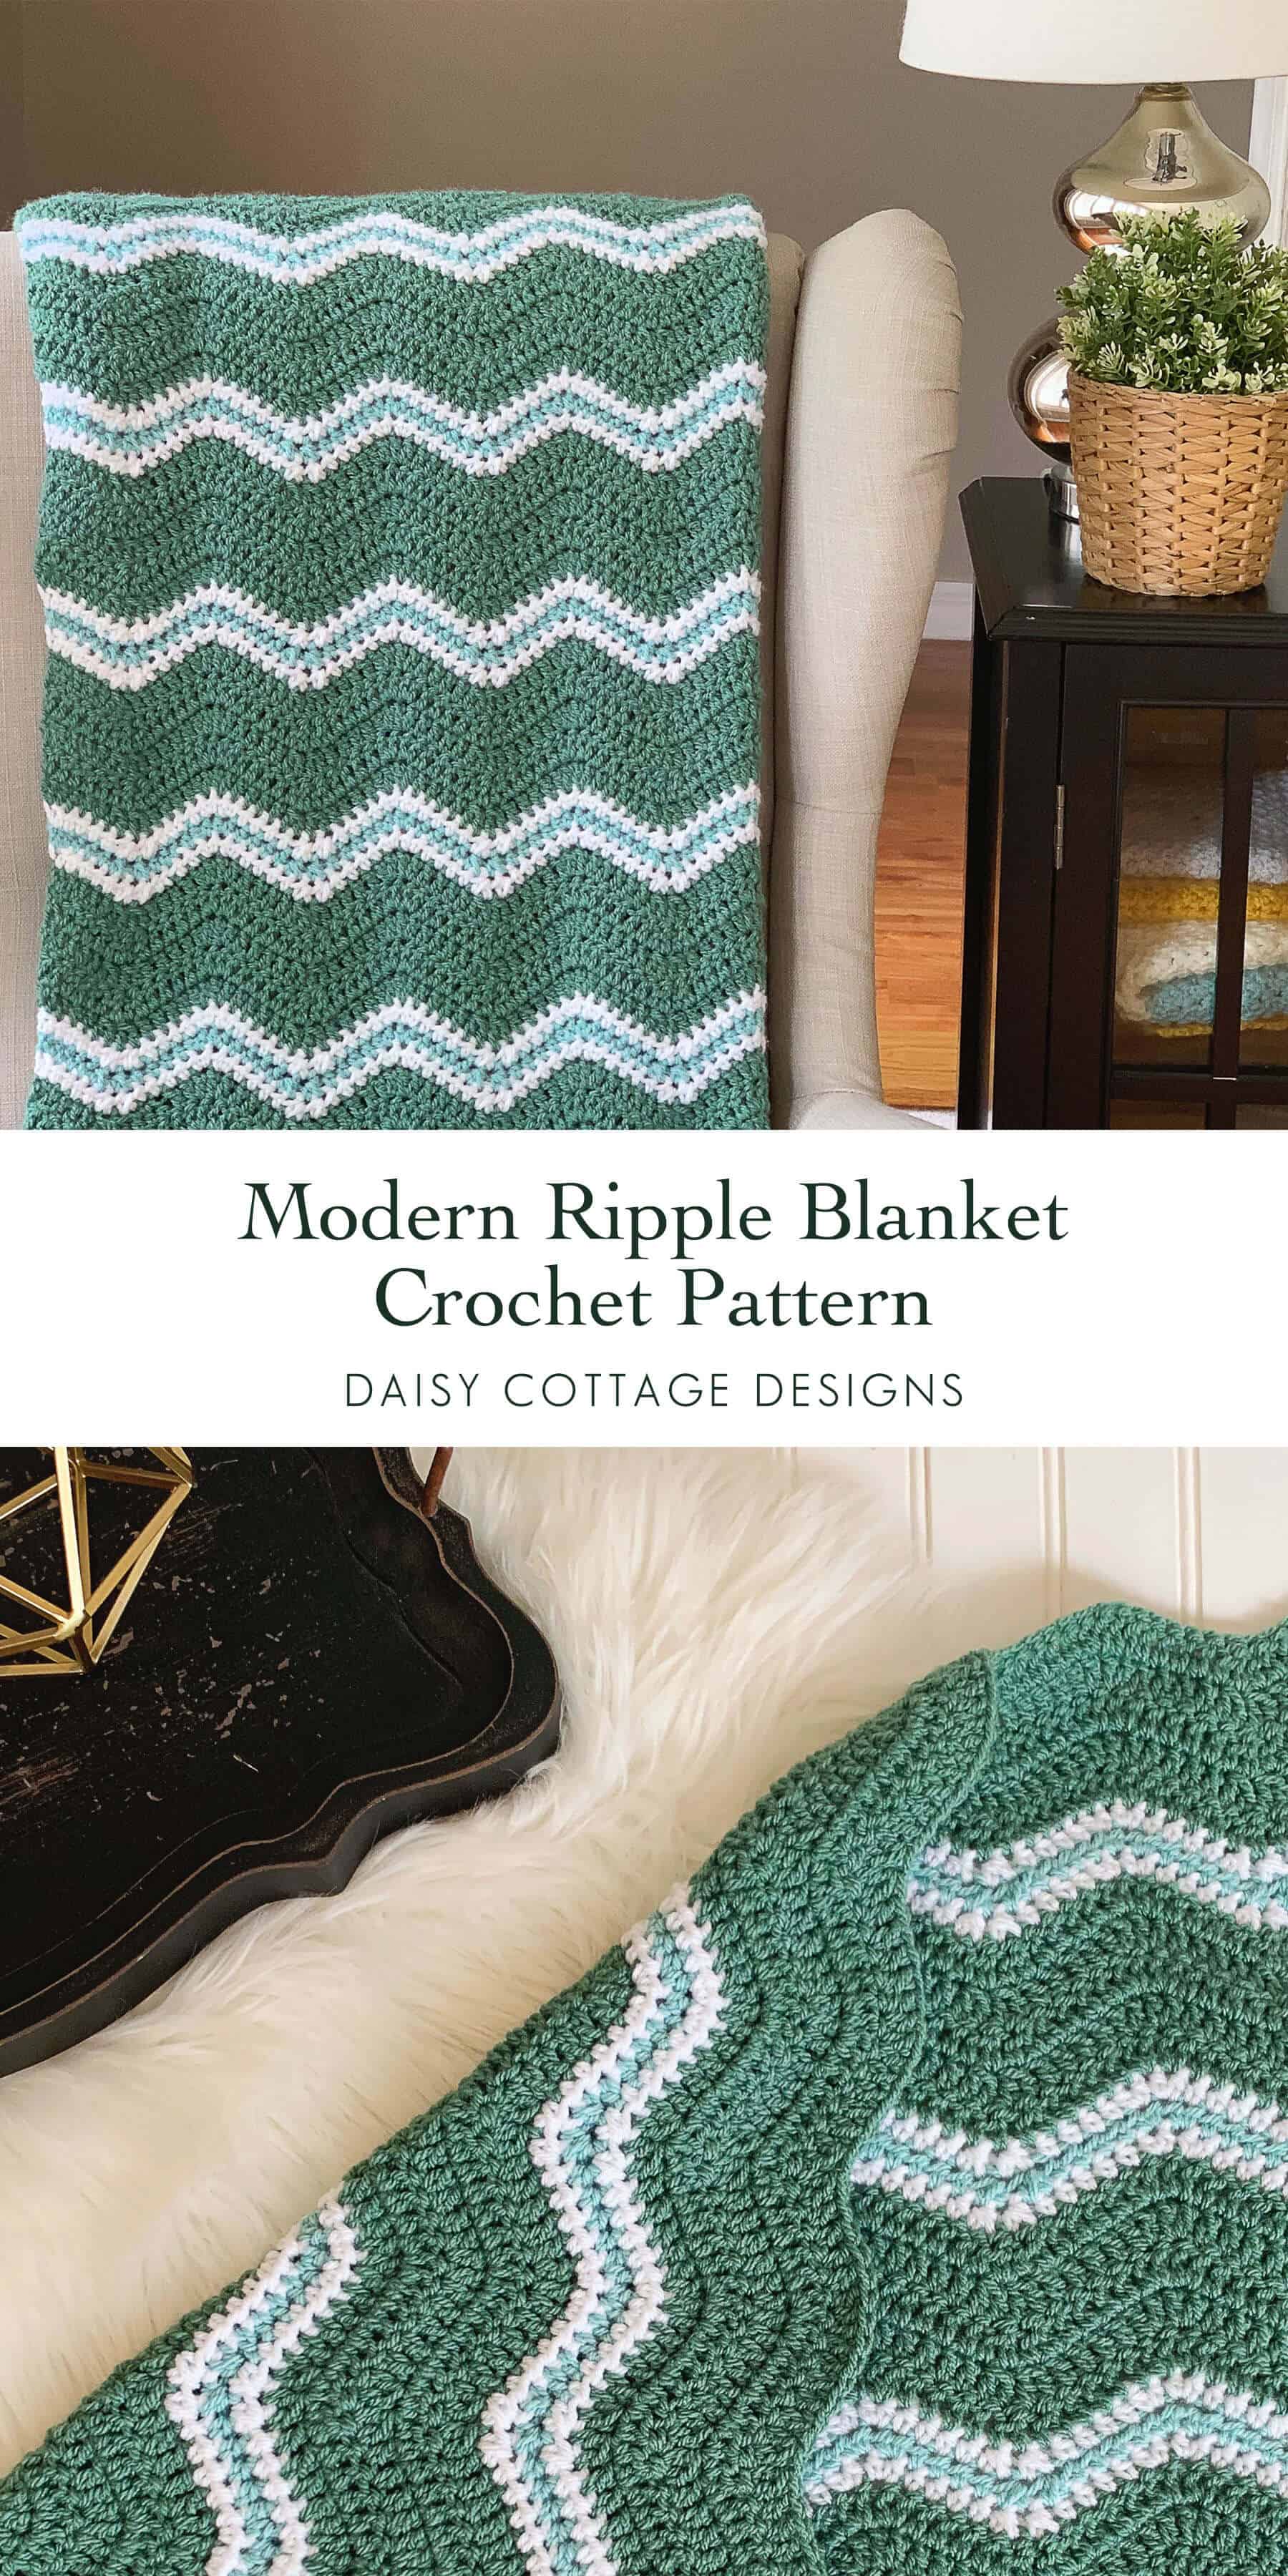
Ripple crochet blankets are definitely some of my favorite to make. They’re not as repetitive as a simple back and forth pattern, but they’re not so intricate that you can’t talk to your family or listen to a podcast (I actually read my 4 year old several books while I was working on this particular blanket).
Working with colors is very fun in any type of striped crochet pattern, if you ask me. But, adding in different sized ripples made it even more enjoyable for me while I was designing this blanket. Tossing in some hdc let me achieve the exact look I was going for.
If you’d rather make a ripple blanket without the hdc rows, head over to this post to find the pattern for my classic ripple blanket. If you prefer a sharper point, check out this chevron blanket.
The colors of this blanket really put a smile on my face. When I purchased that green yarn, I wasn’t quite sure what I was going to use it for. I’m a girl mom, though, so let’s face it. I’m surrounded by pink and purple most of the time. When I have the chance to work with blues and greens, I jump on it.
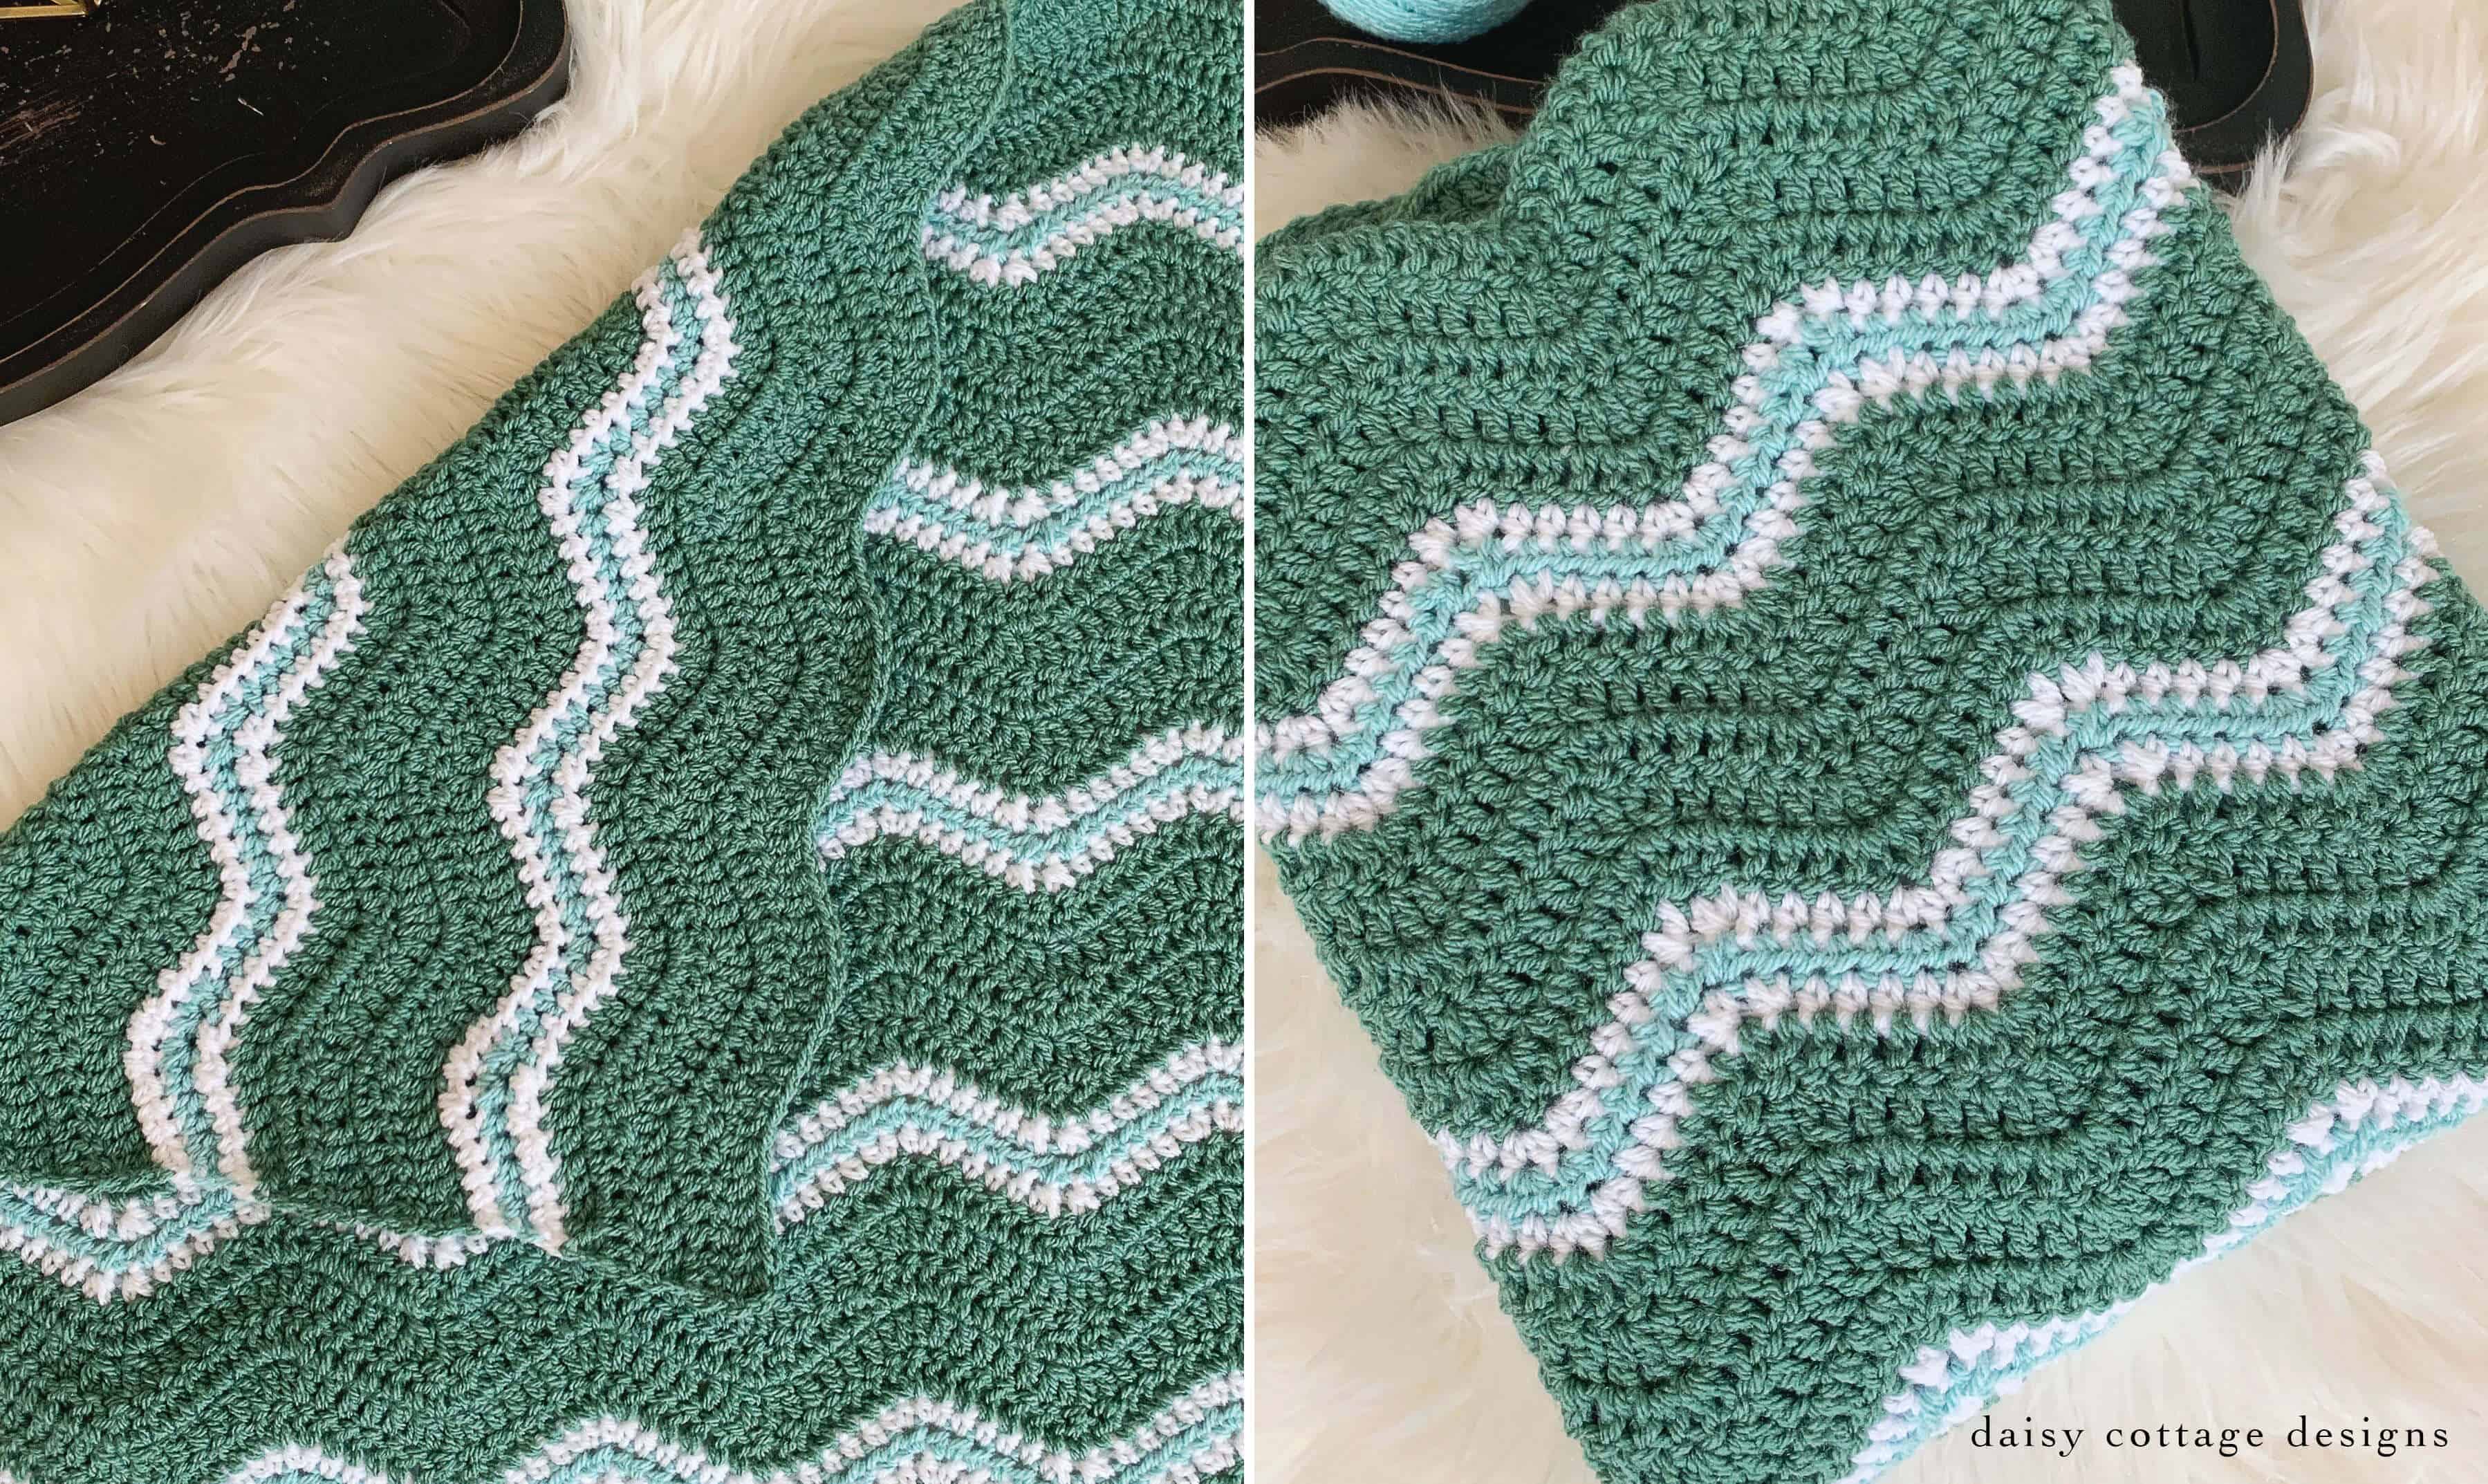
Before you get started on this project, head over to lovecrafts.com and ooh and ah over the beautiful Paintbox Yarn colors. I love working with those yarns and find that I gravitate towards them for almost every project these days.
Also, head over to Instagram and follow me if you haven’t done that already. I’m getting ever-so-close to the 10k mark and that coveted swipe up feature. My handle is @daisycottagedesigns. Please always remember to tag me or use the hashtag #daisycottagedesigns so I can see the beautiful projects you make from the Daisy Cottage Designs patterns!
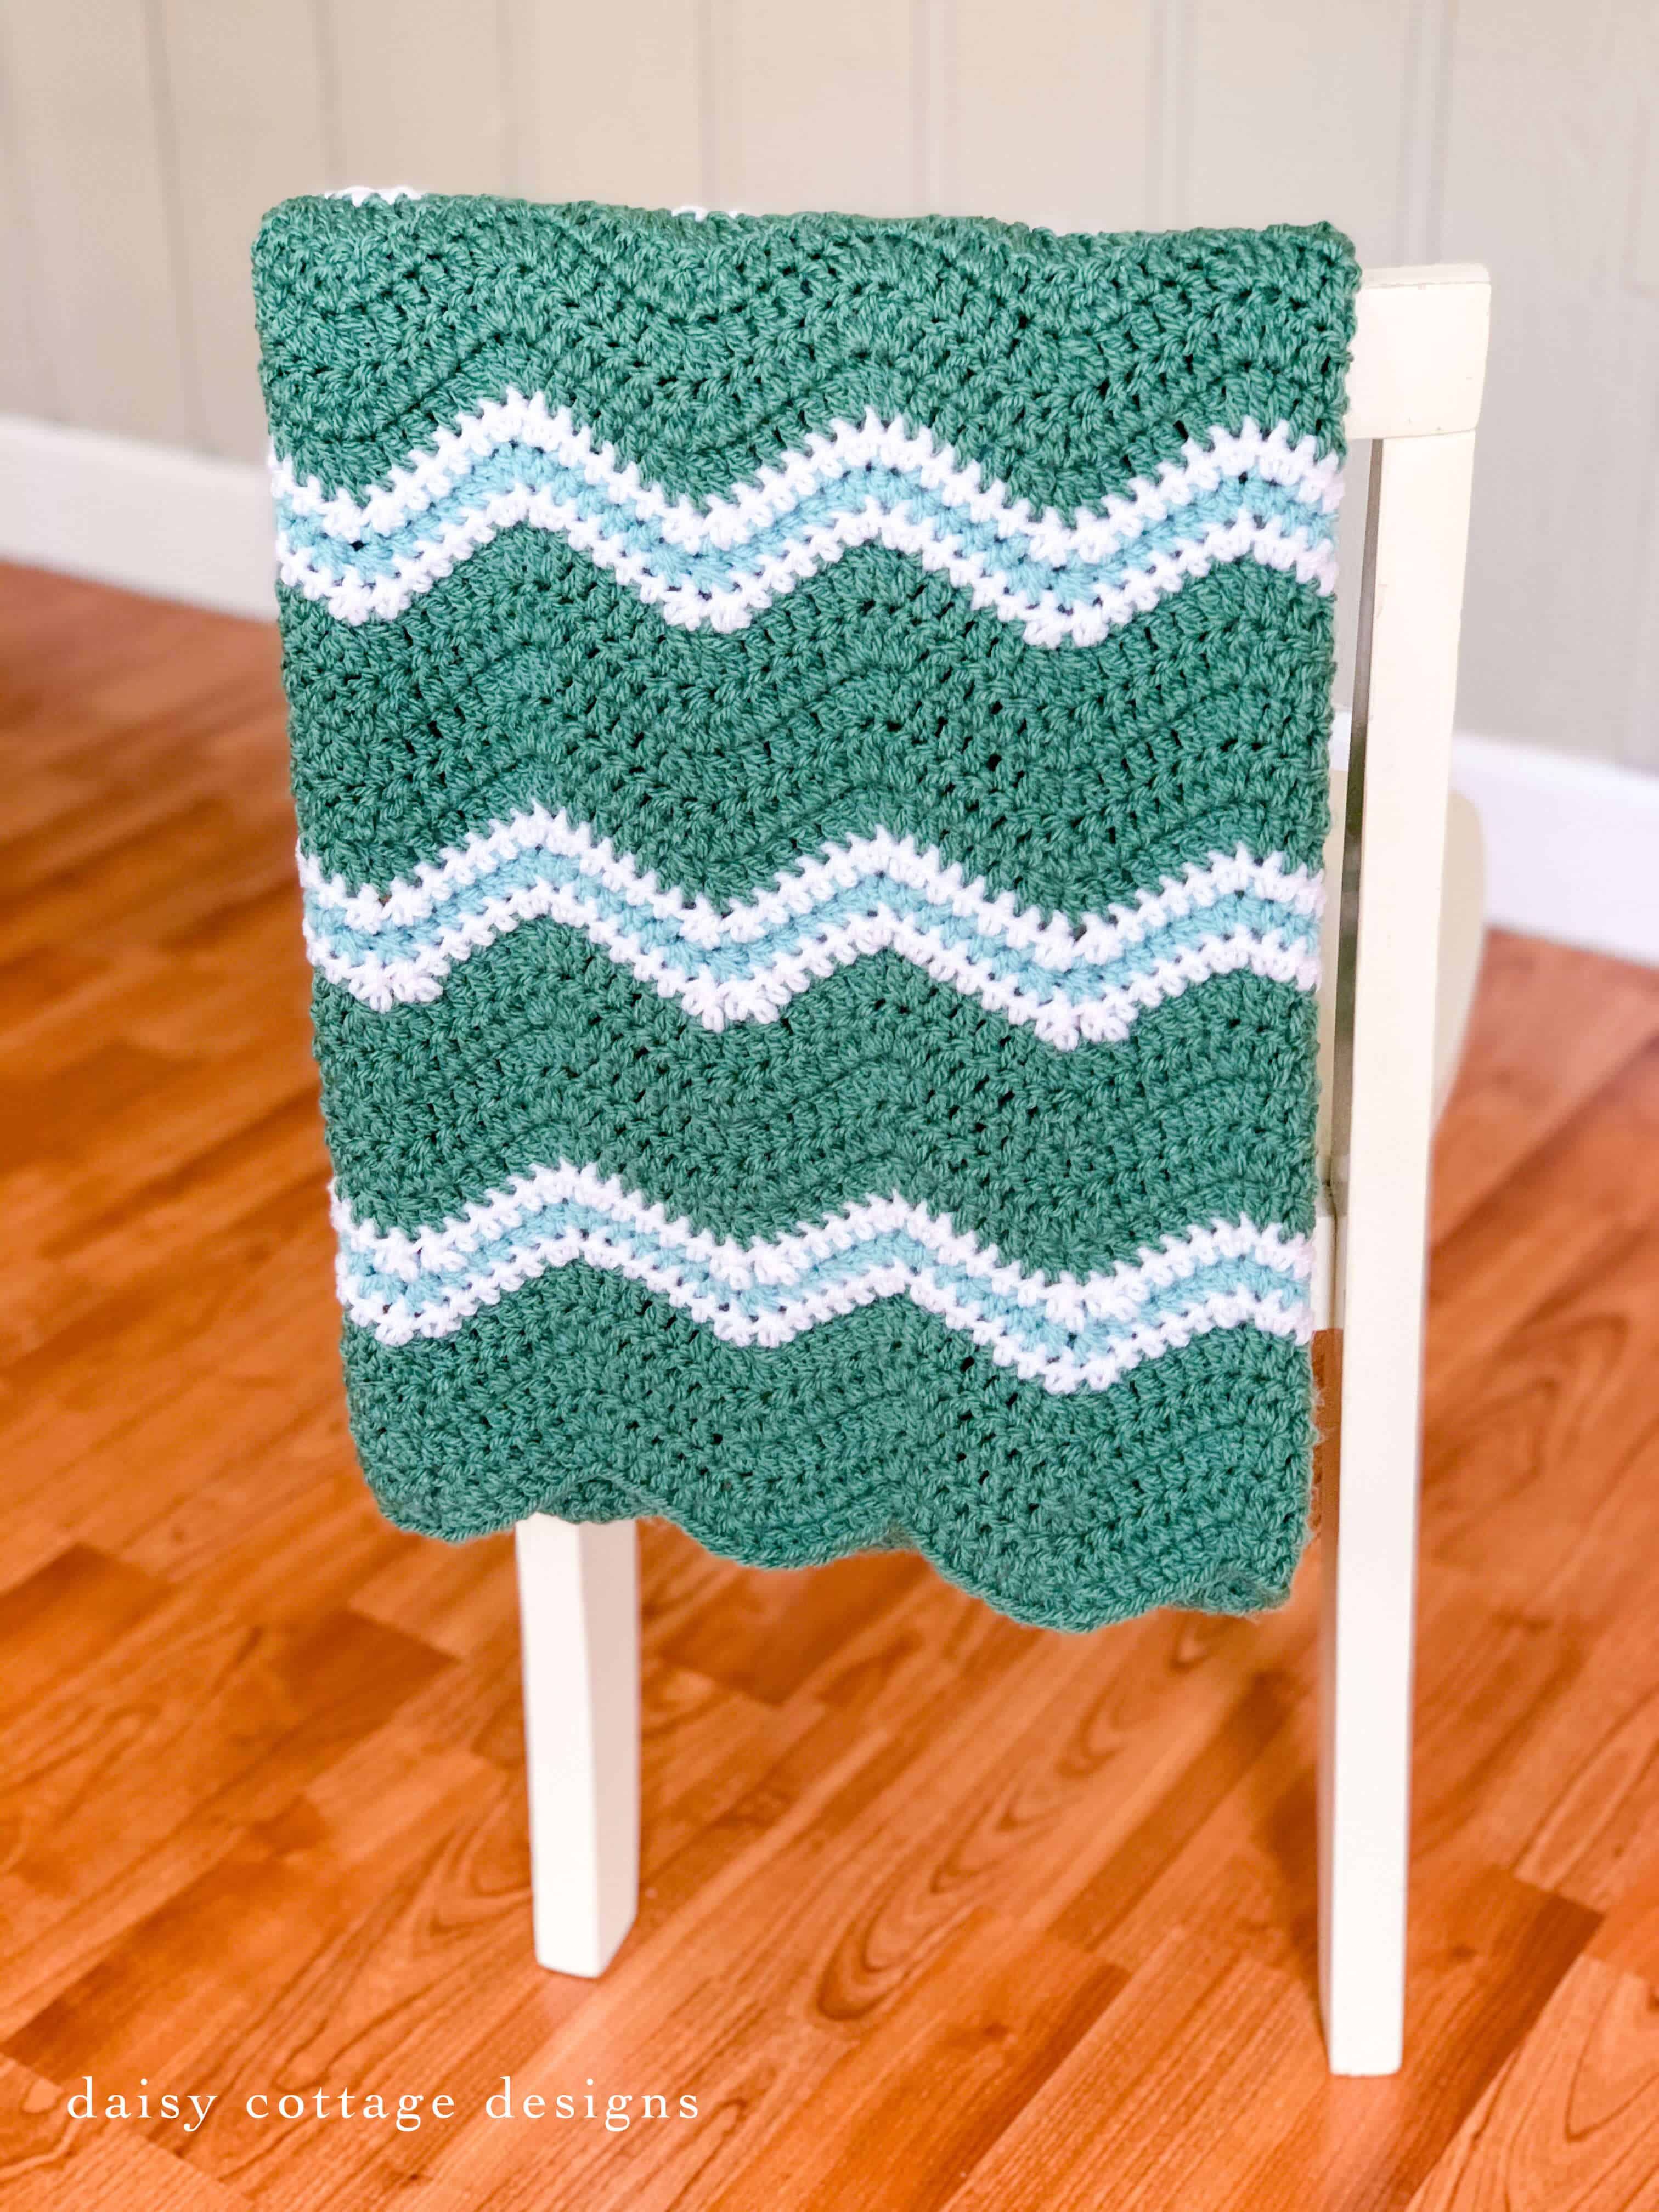
Not quite ready to make this blanket?
Materials:
- J Crochet Hook (10/6.00 mm) – using a slightly larger hook than the yarn called for gave this blanket a great drape and feel. Using a smaller hook will create a less supple blanket, but it may be more durable if you plan on washing it very, very often.
- 4 Skeins Paintbox Simply Aran in Slate Green
- 1 Skein Paintbox Simply Chunky in Paper White
- 1 Skein Paintbox Simply Chunky in Washed Teal
- Tapestry Needle & Scissors for weaving ends
Pattern Notes:
- Pattern is worked through both loops
- Using all aran yarn will work just fine, as will using all chunky yarn.
- The chain 2 at the beginning of each row counts as a stitch. I recommend marking this stitch in some way so that you don’t forget to work into the top of the turning chain at the end of each row. If you fail to work into the top of each turning chain, all of your ripples will be “wonky.”
- Sometimes a dc2tog is called a dc decrease in other patterns.
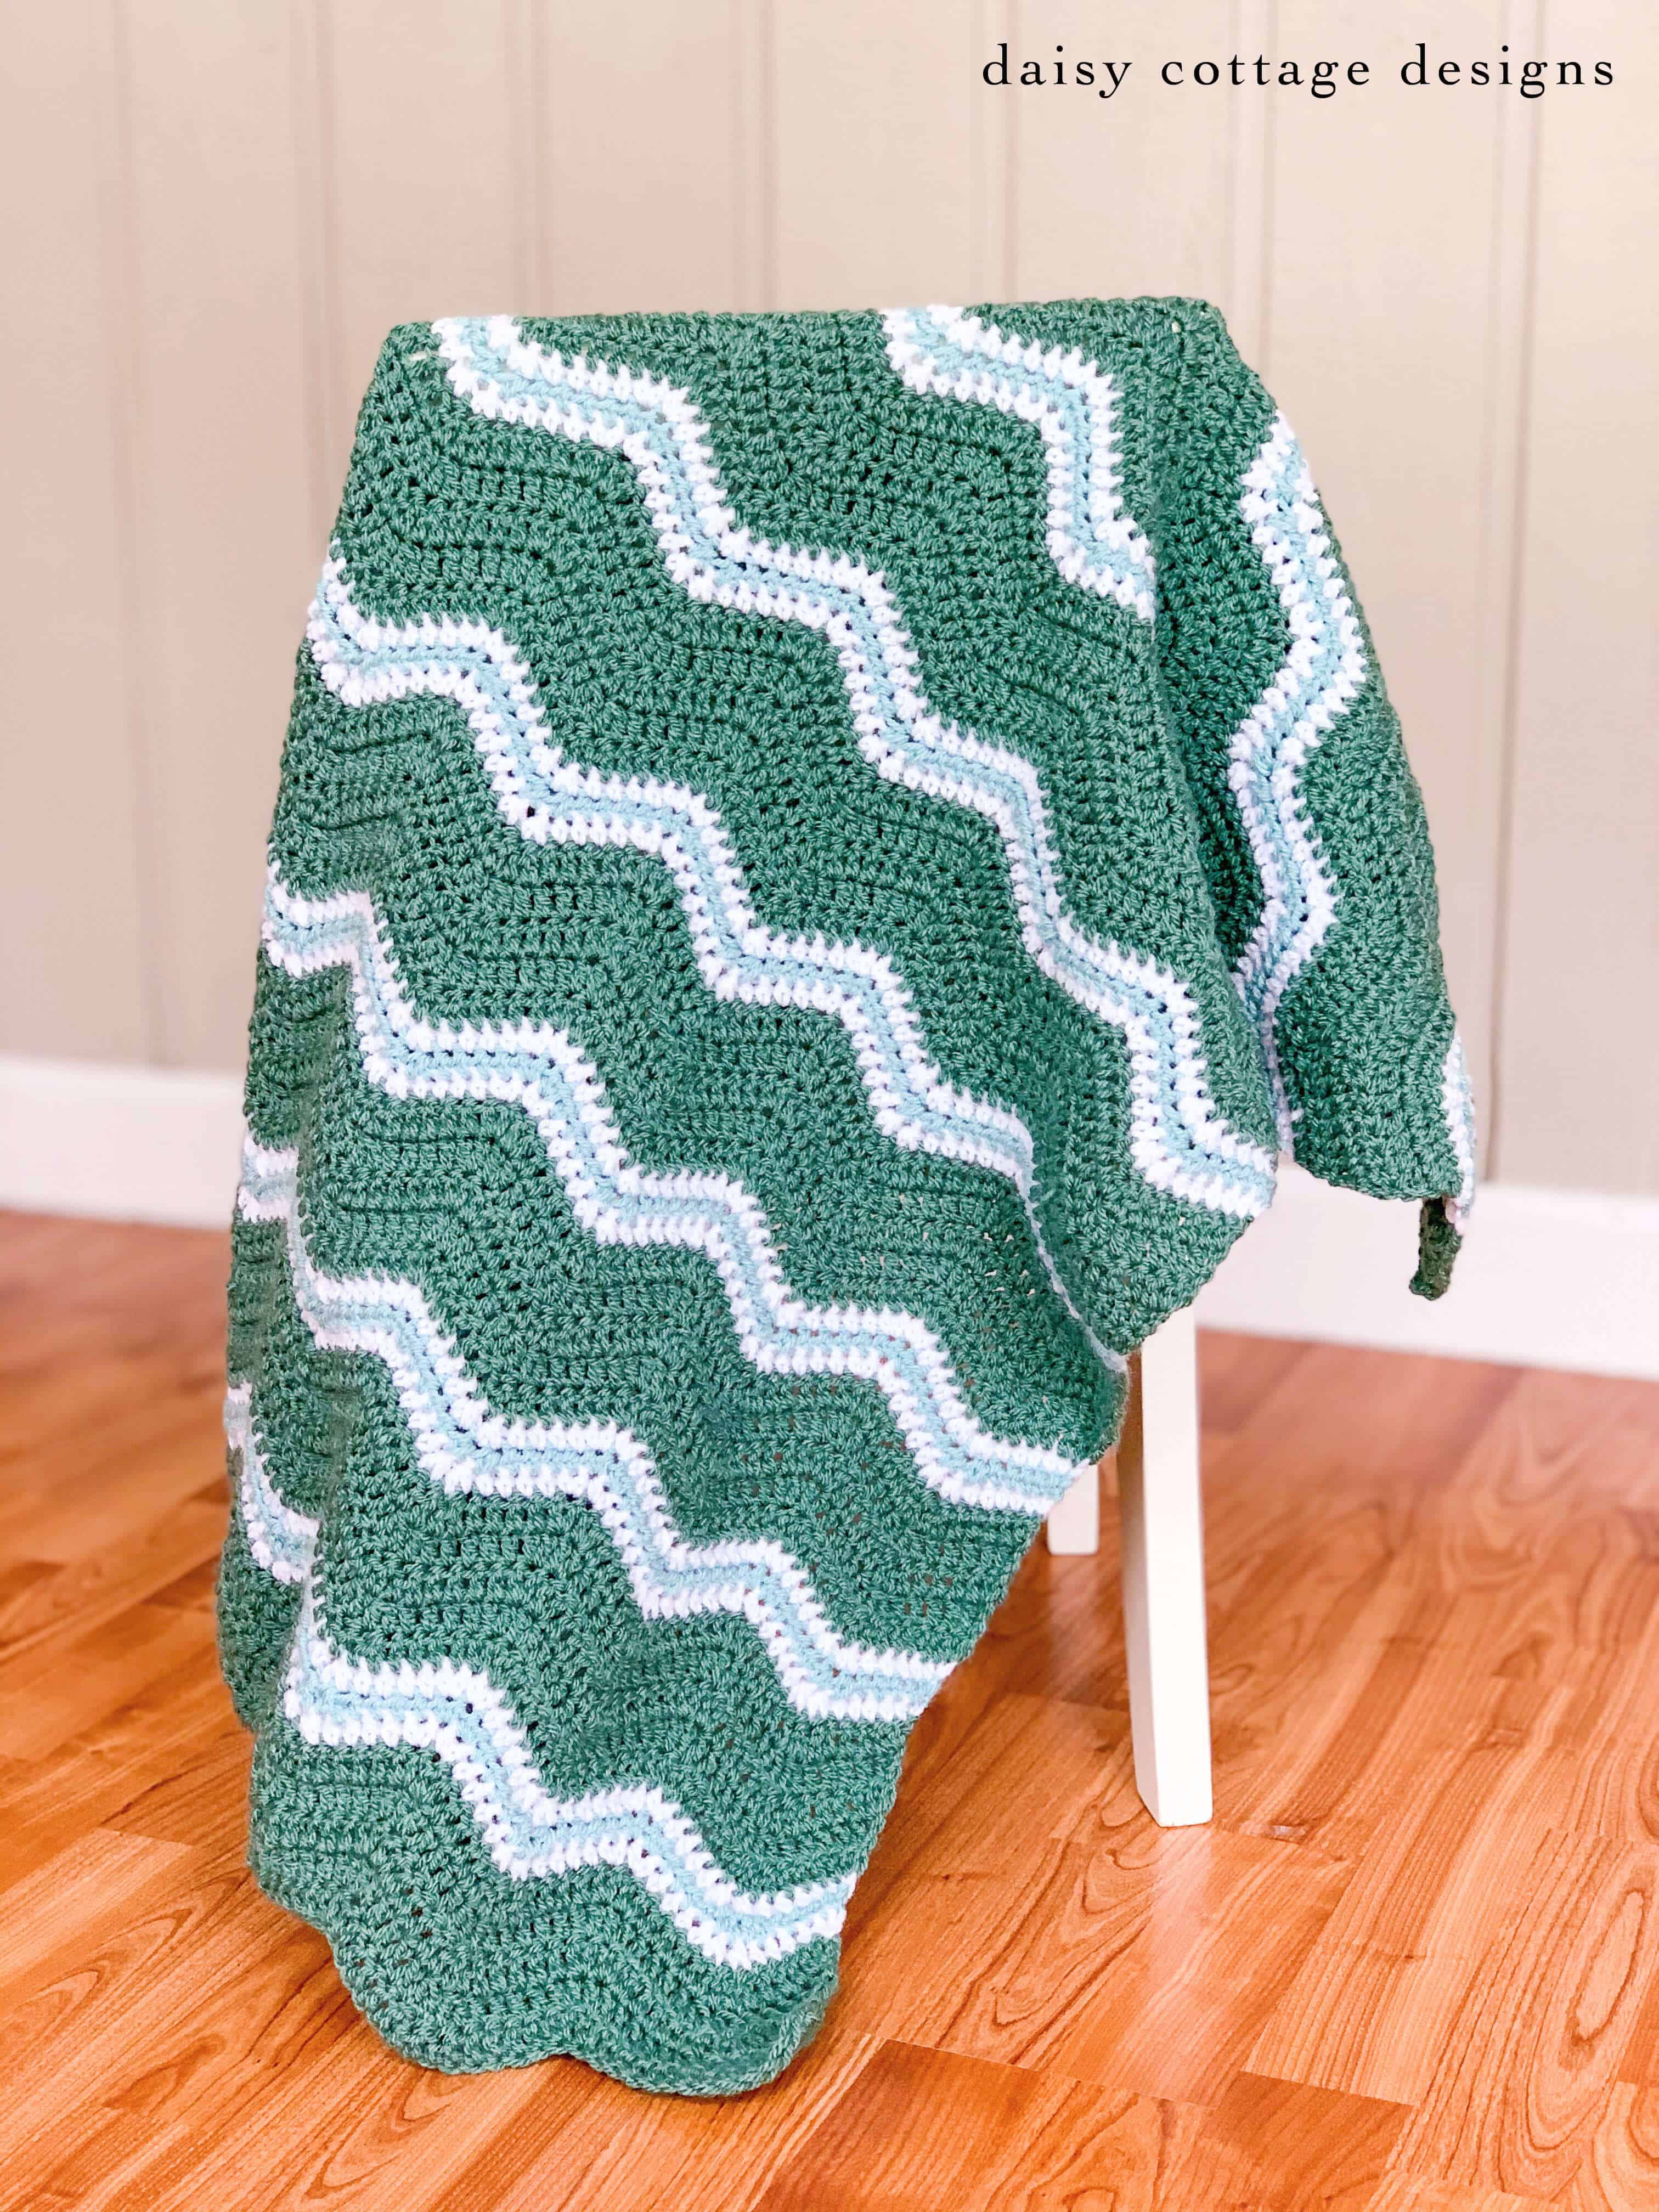
- As written, the finished blanket measures approximately 40 x 32 inches.
- If you would like to change the size of this pattern, the multiple for the starting chain is 14 + 2. In other words, make sure your chain is a multiple of 14 and then add 2 more.
- I have a video tutorial explaining this pattern here.
Special Stitches:
- Instructions for both stitches are included in this video tutorial.
- dc2tog (double crochet two together): Yarn over, pull up a loop. Pull through the first two loops. Yarn over, insert hook into the next stitch and pull up a loop. Pull through the first two loops. Pull through the remaining 3 loops. Instructions are included in the video tutorial.
- hdc2tog (half double crochet two together): Yarn over, pull up a loop. Yarn over, pull up a loop in the next stitch. Yarn over, pull through all 5 loops on your hook.
Pattern:
Print-Friendly, Ad-Free Version available in my Etsy shop.
Using Slate Green, Chain 114.
Row 1: dc in the third chain from the hook. Dc in the next 4 stitches. Dc2tog, dc 2 tog. Dc in the next 4 stitches. *Work 2 dc into the next 2 stitches. Dc in the next 4 stitches. Dc2tog, dc2tog. Dc in the next 4 stitches.* End with 2 dc in the last chain. Ch 2, turn.
Row 2: dc in the first stitch (do not skip the first dc because of the chain) and in the next 4 stitches. dc2tog, dc2tog. Dc in the next 4 stitches. *Work 2 dc into the next 2 stitches. dc in the next 4 stitches. dc2tog, dc2tog. dc in the next 4 stitches.* End with 2 dc in the last stitch (thiswill be the top of your ch 2 from the previous round). Ch 2, turn.
Rows 3-5: Repeat row 2. At the end of row 5, cut yarn and weave ends. Use your preferred method for changing colors.
Join Paper White yarn.
Row 6: hdc in the first stitch (do not skip the first dc because of the chain) and in the next 4 stitches. hdc2tog, hdc2tog. hdc in the next 4 stitches. *Work 2 hdc into the next 2 stitches. hdc in the next 4 stitches. hdc2tog, hdc2tog. hdc in the next 4 stitches.* End with 2 hdc in the last stitch (this will be the top of your ch 2 from the previous round). Cut yarn and weave ends.
Join Washed Teal yarn.
Row 7: hdc in the first stitch (do not skip the first hdc because of the chain) and in the next 4 stitches. hdc2tog, hdc2tog. hdc in the next 4 stitches. *Work 2 hdc into the next 2 stitches. hdc in the next 4 stitches. hdc2tog, hdc2tog. hdc in the next 4 stitches.* End with 2 hdc in the last stitch (this will be the top of your ch 2 from the previous round). Cut yarn and weave ends.
Join Paper White yarn.
Row 8: hdc in the first stitch (do not skip the first dc because of the chain) and in the next 4 stitches. hdc2tog, hdc2tog. hdc in the next 4 stitches. *Work 2 hdc into the next 2 stitches. hdc in the next 4 stitches. hdc2tog, hdc2tog. hdc in the next 4 stitches.* End with 2 hdc in the last stitch (this will be the top of your ch 2 from the previous round). Cut yarn and weave ends.
Repeat rows 1-8 7 times.
Repeat row 2 5 times in Slate Green to finish the pattern.
You will have a total of 69 rows.
I didn’t work any border on this blanket at all. The raw edges don’t bother me at all. If they aren’t your favorite, work sc stitches up each side to cover the raw edge.
