How To Crochet A Daisy Granny Square (Step By Step Tutorial)
Crochet granny squares are often used for making gorgeous crochet blankets. Learn how to make a Daisy Granny Square with this free crochet pattern.
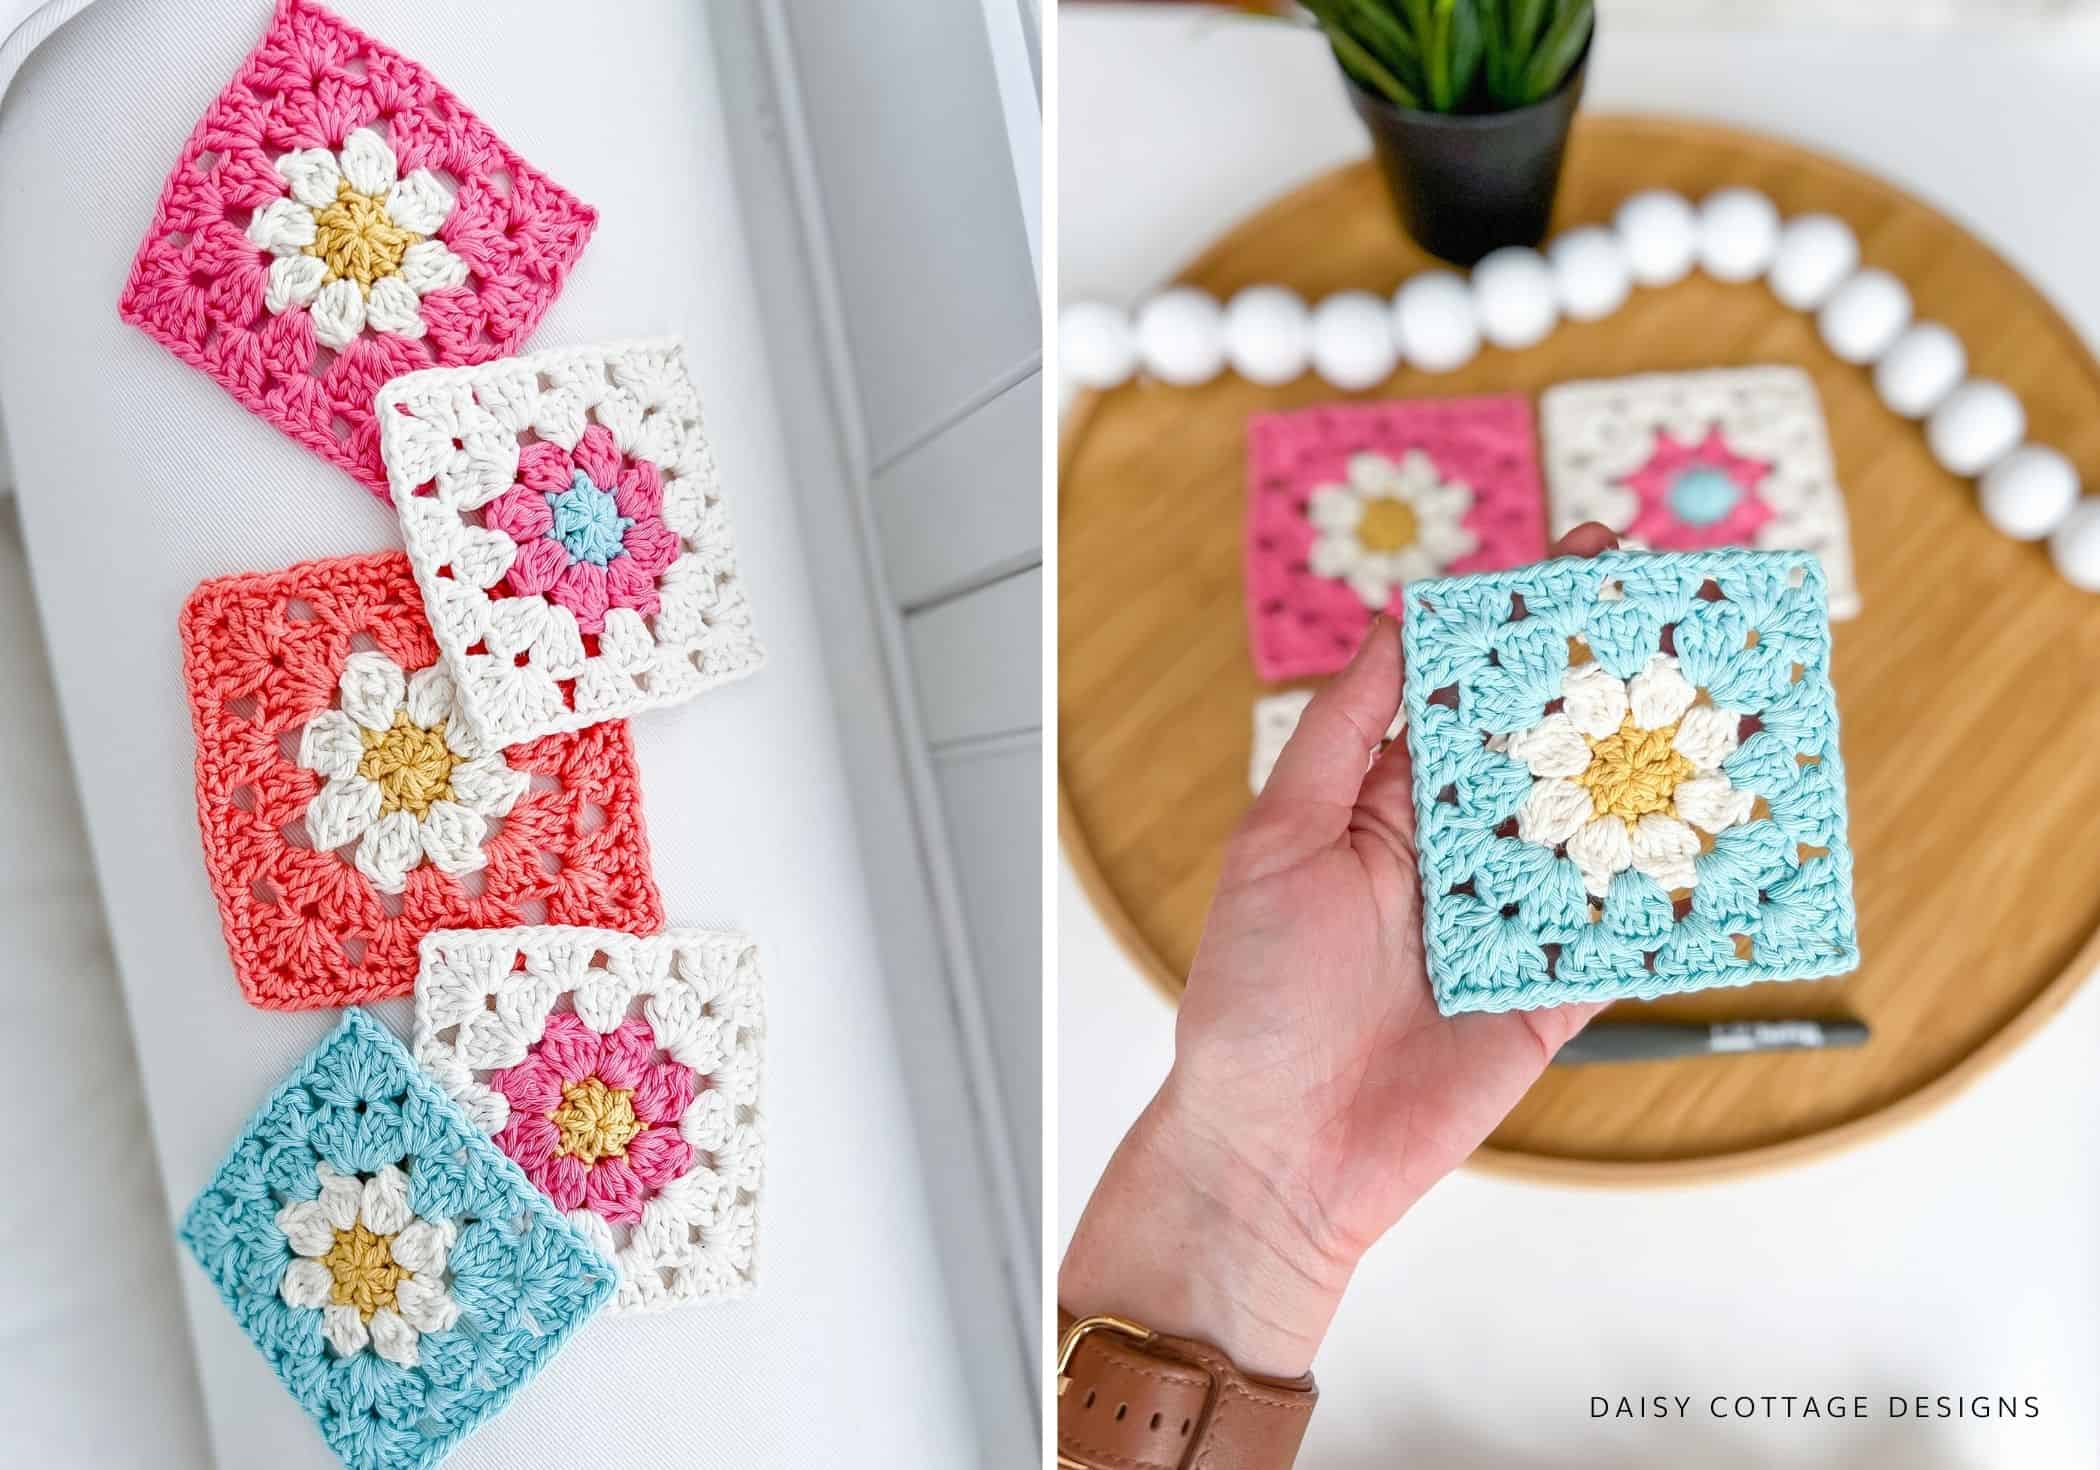
Table of contents
I’ve always wanted to make a patchwork blanket, but it’s always intimidated me just a little bit. You know, that whole weaving and joining process? It sounds scarier than it probably is.
While I have big plans of joining these into a gorgeous baby blanket, I’m not going to wait for the day that happens to share this tutorial with you.
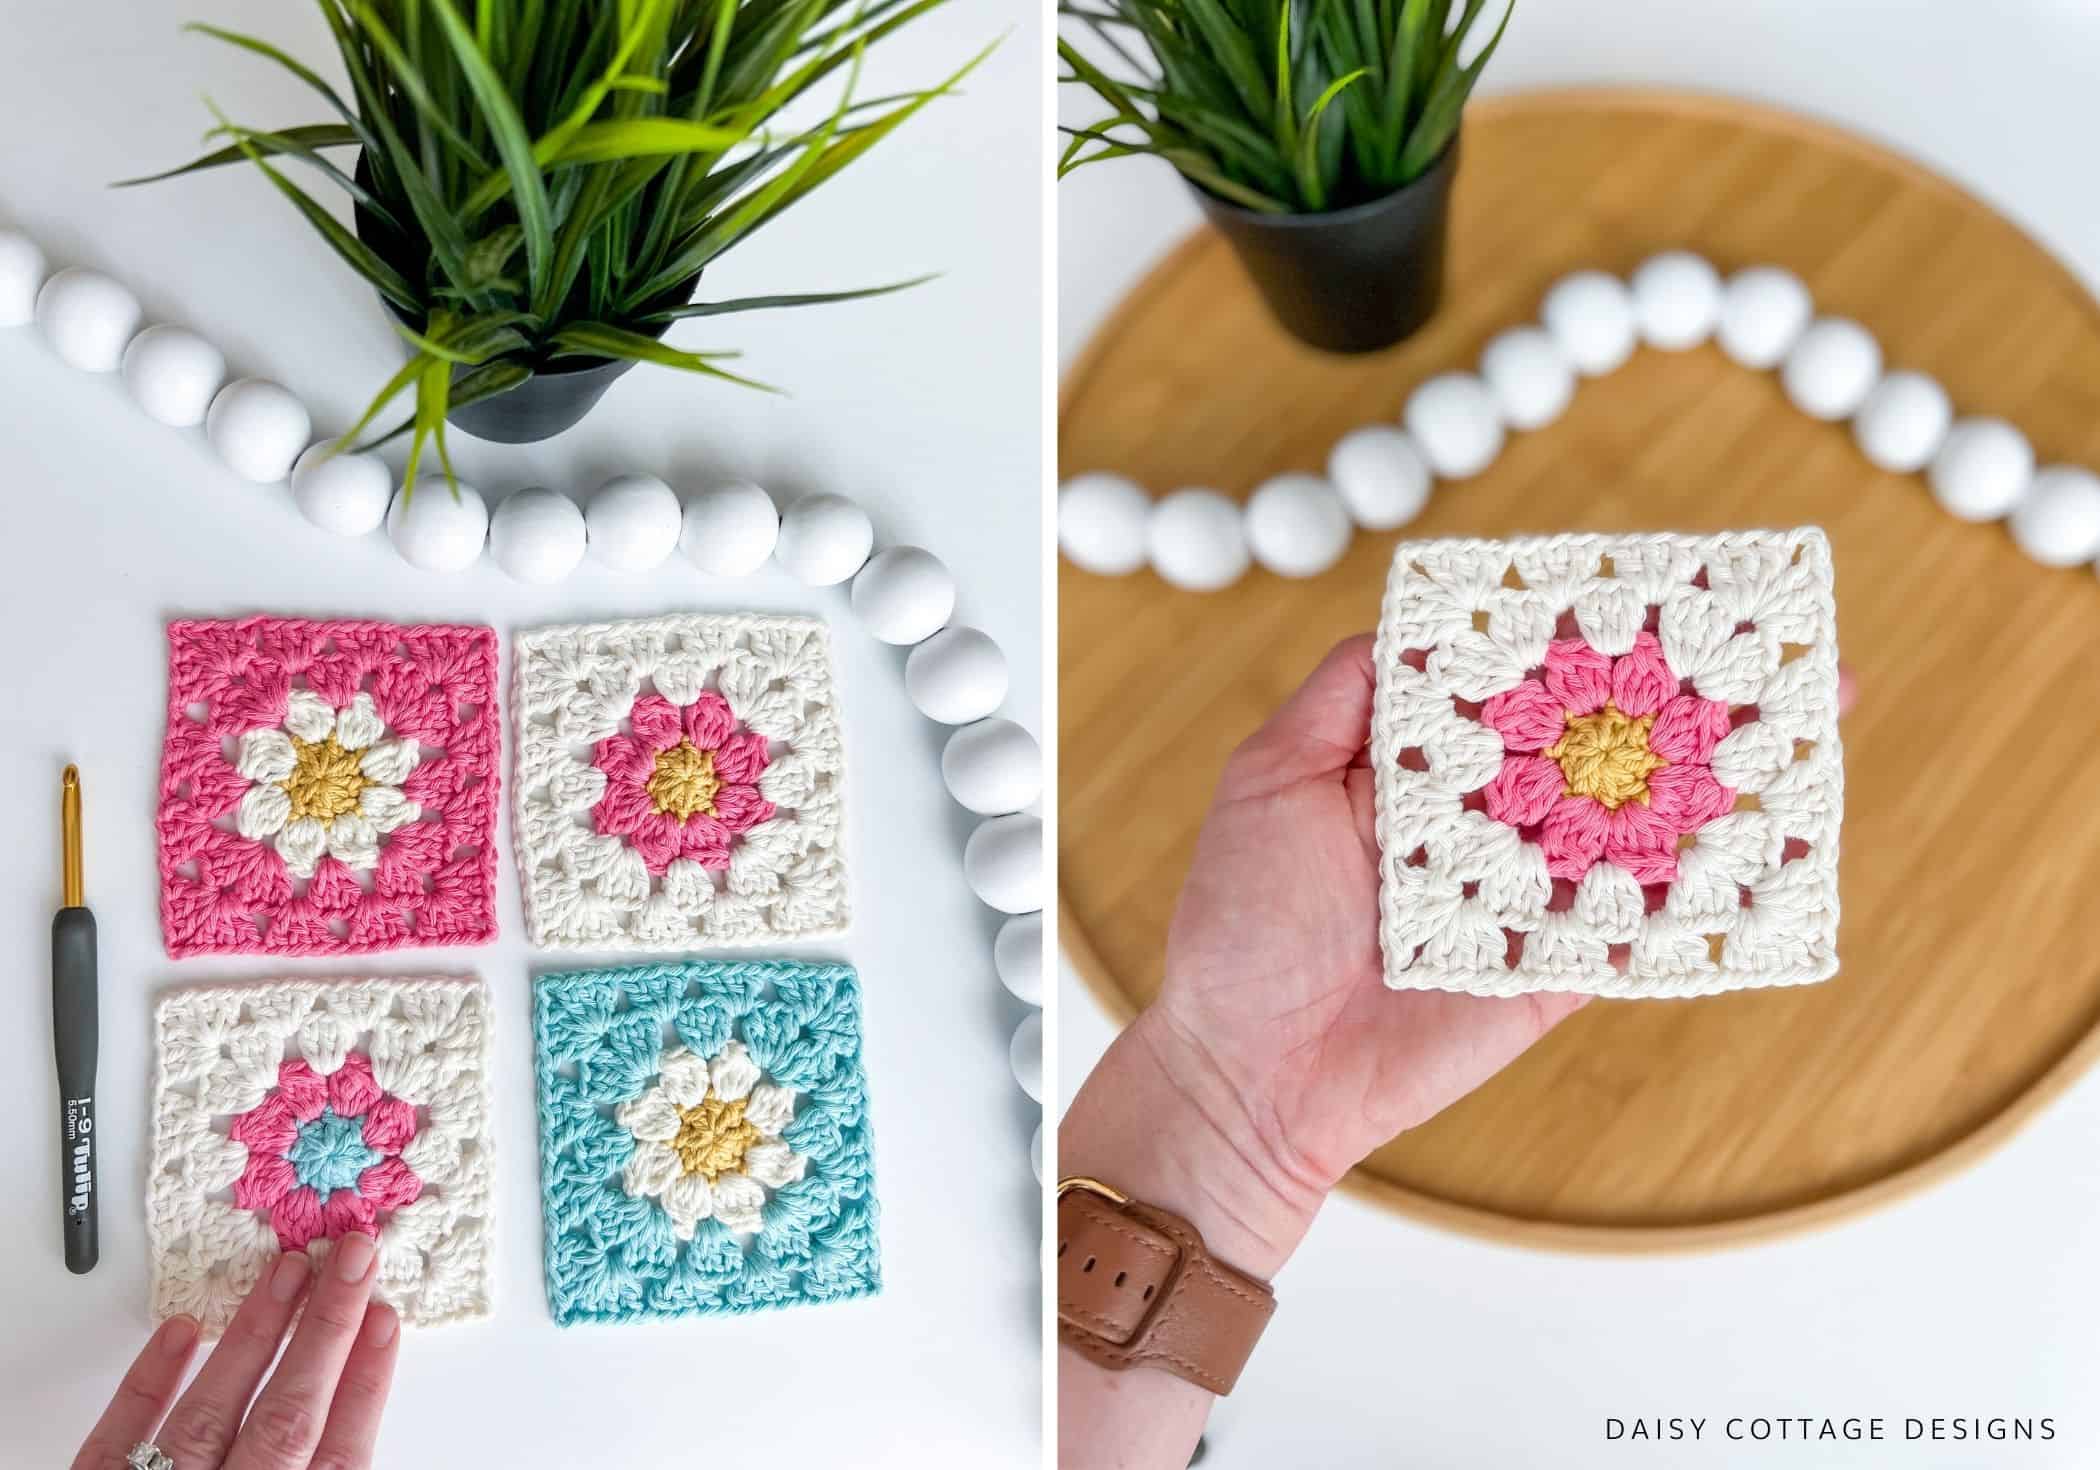
This daisy granny square is simple yet beautiful with the flower center. If you don’t want to make an afghan or baby blanket, they also make fantastic coasters when made with an absorbent cotton yarn.
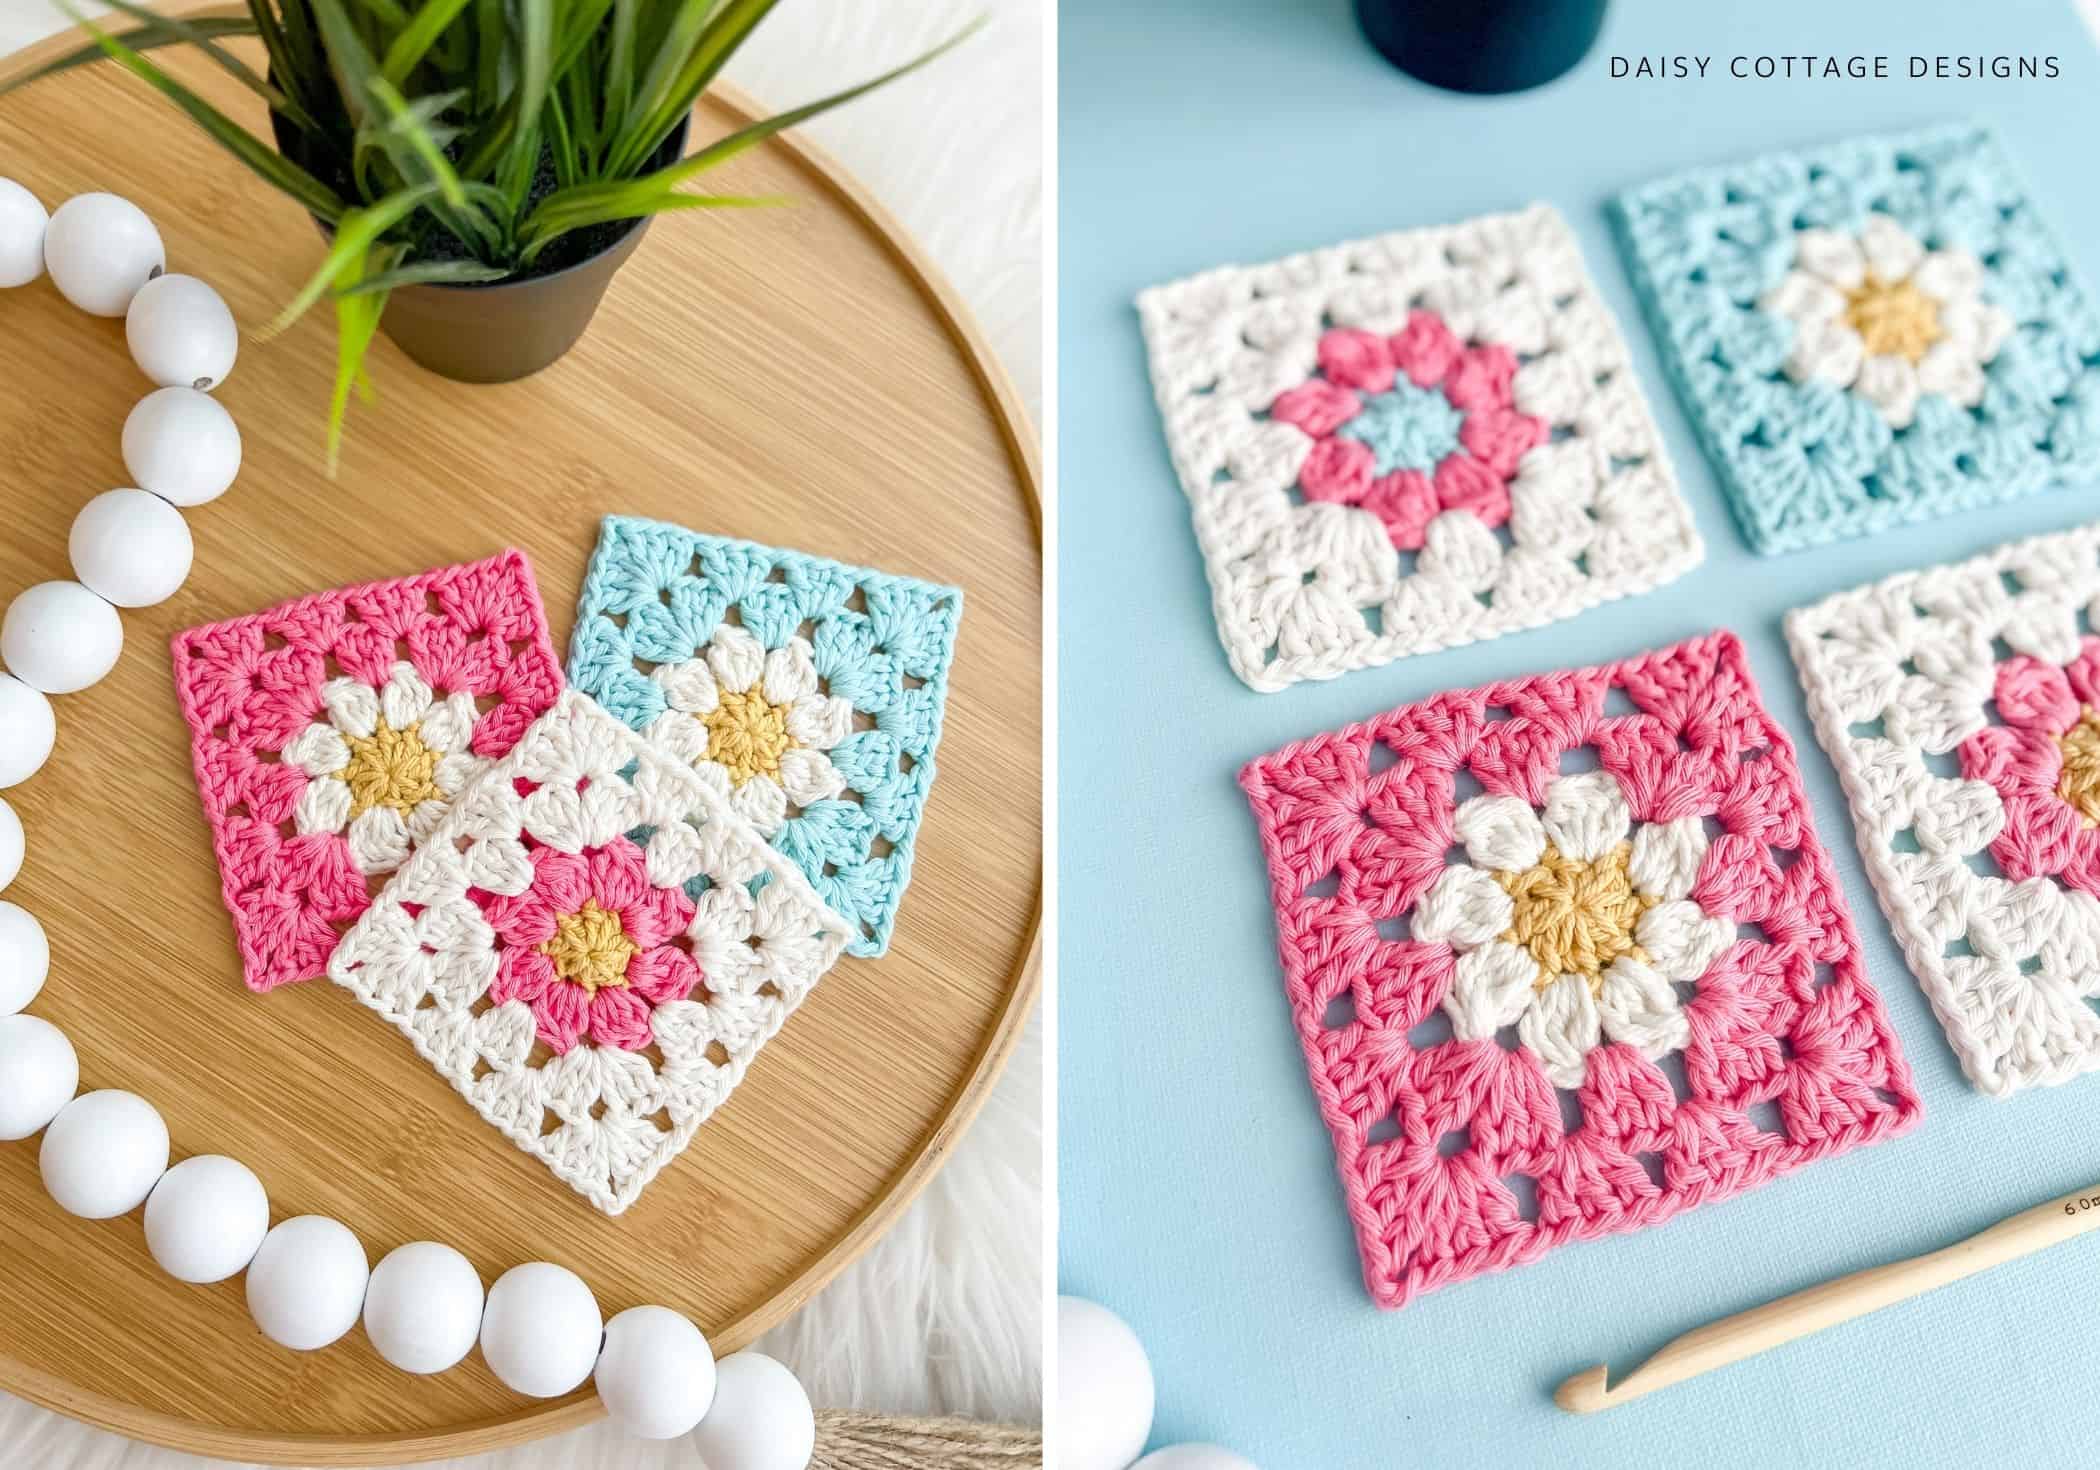
How to crochet daisy granny square?
Granny squares are made in rounds. You’ll start by making the daisy in the center, then you’ll transition to a regular granny pattern once you’ve completed the flower.
I’ll walk you through how to make one of these squares step-by-step!
Grab Your Materials
- Small amounts of worsted weight yarn in yellow, white, and another bright color.
- I used Paintbox Cotton Aran Yarn in the following shades
- Washed Teal
- Bubblegum Pink
- Light Champagne (the off white shade)
- Buttercup Yellow (I actually used Dishie in the shade Creme Brûlée but this is a similar shade)
- I/9 5.5 mm Crochet Hook
- Tapestry Needle and Scissors
- NOTE: Finished square measures approximately 4″x4″
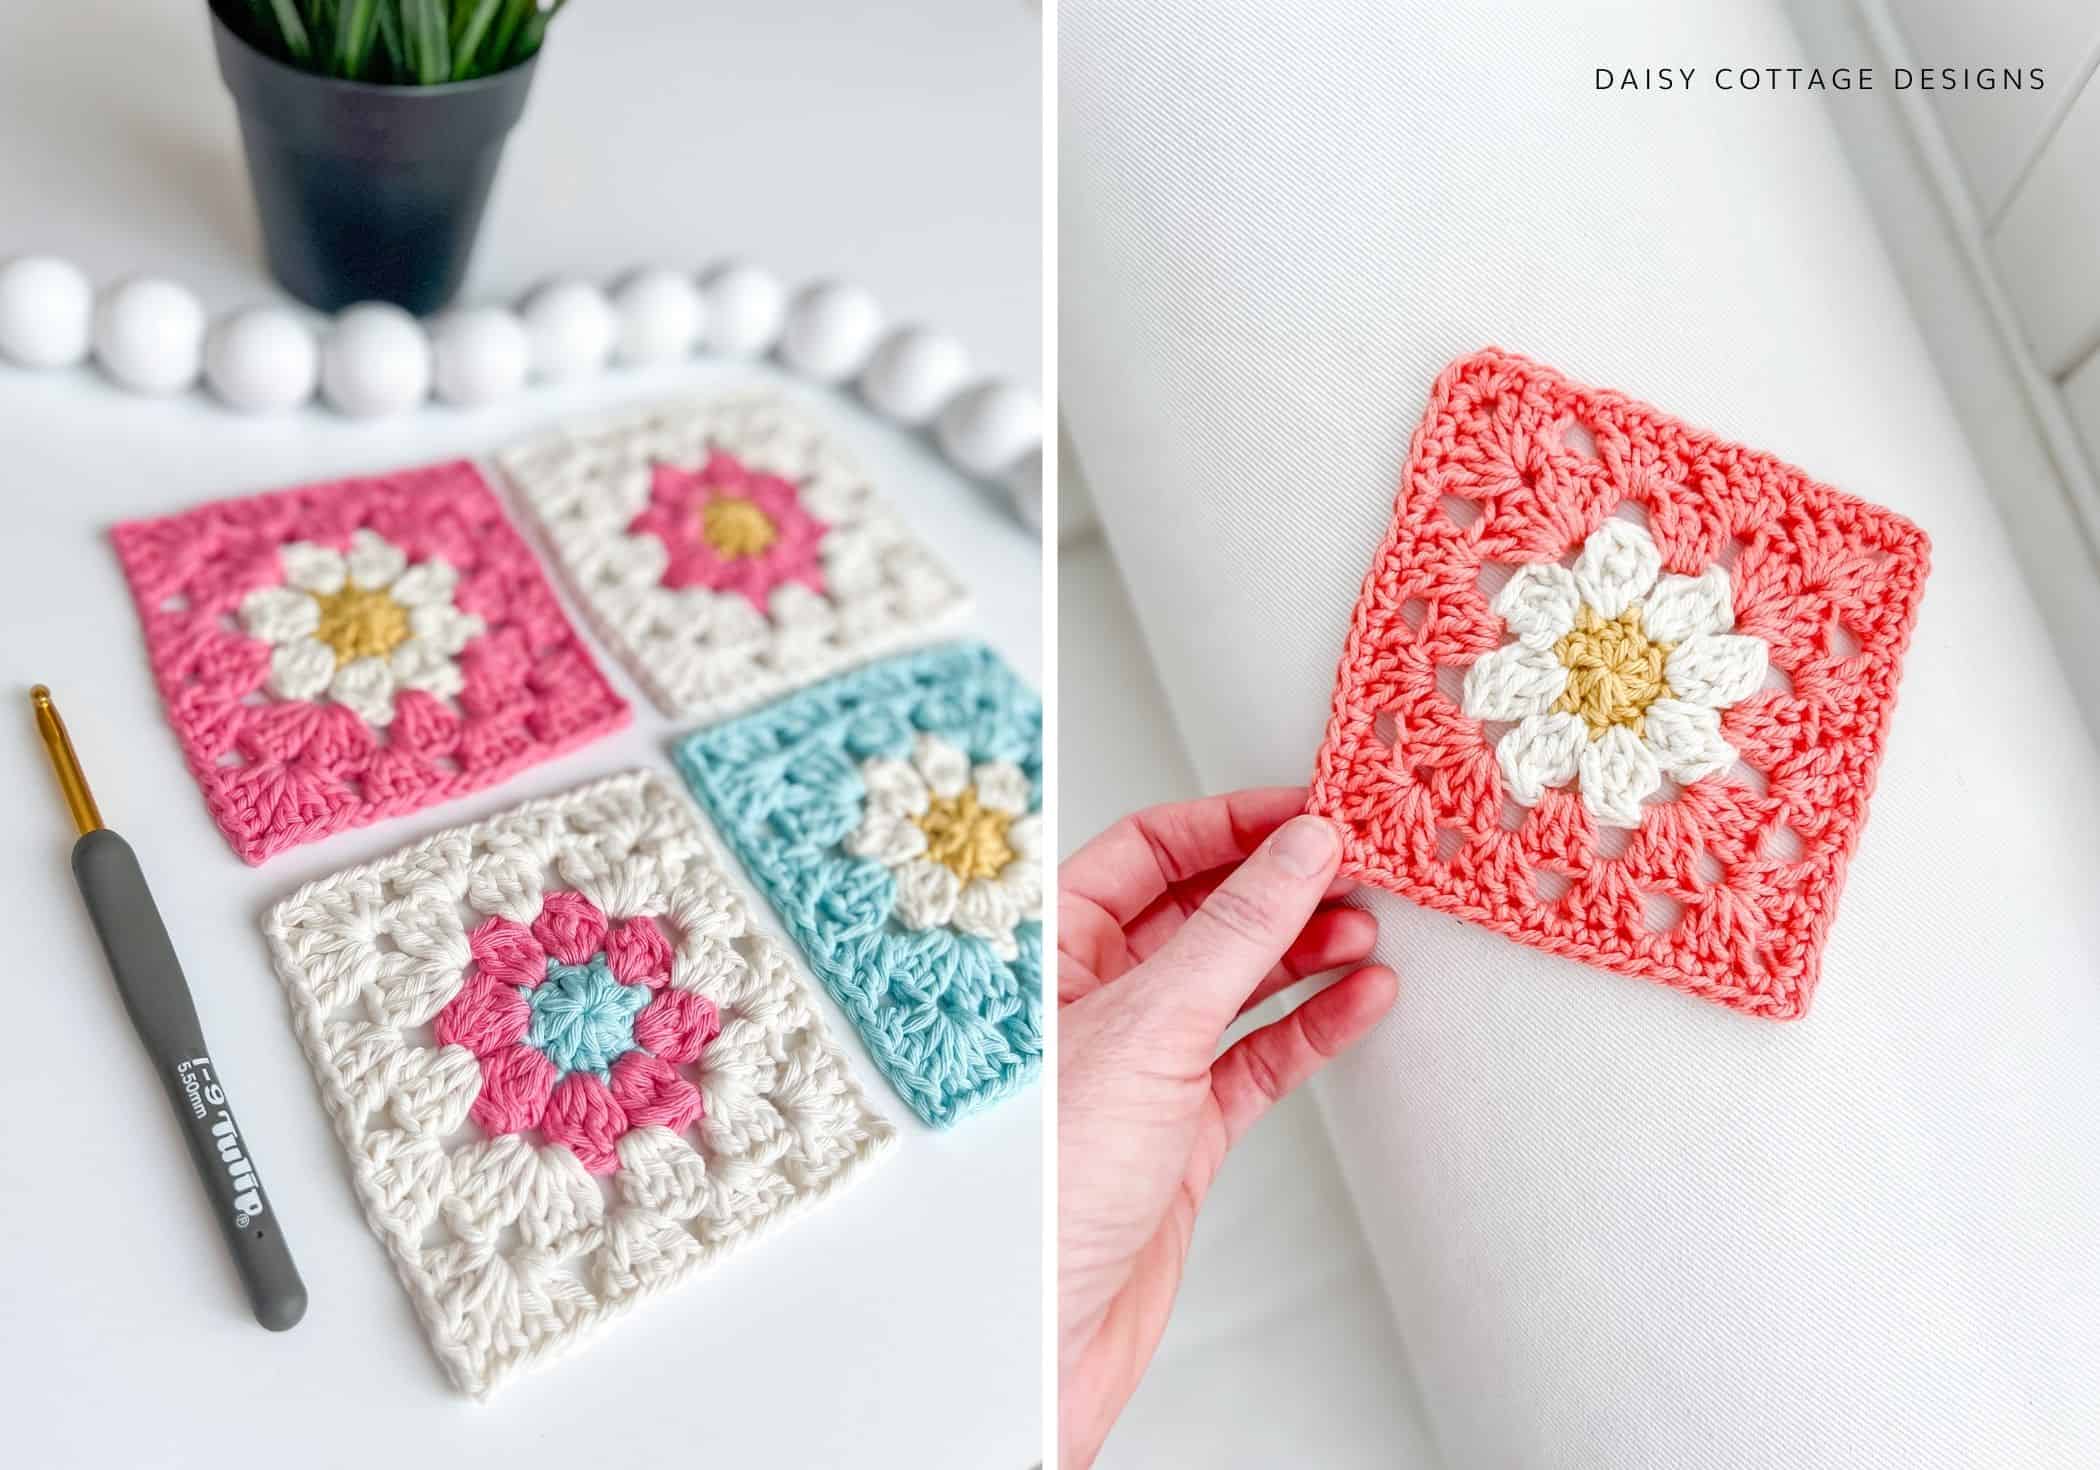
Special Stitches
- 3 Double Crochet Cluster (3 dc Cluster): Yarn over, insert hook into the stitch and pull up a loop; yarn over, pull through two loops. Yarn over, insert hook into the SAME stitch and pull up a loop; yarn over, pull through two loops. Yarn over, insert hook into the SAME stitch and pull up a loop. yarn over, pull through two loops. There should be 4 loops on your hook. Yarn over, pull through all 4 loops.
- 4 Double Crochet Cluster (4 dc cluster): Yarn over, insert hook into the stitch and pull up a loop; yarn over, pull through two loops. Yarn over, insert hook into the SAME stitch and pull up a loop; yarn over, pull through two loops. Yarn over, insert hook into the SAME stitch and pull up a loop; yarn over, pull through two loops.Yarn over, insert hook into the SAME stitch and pull up a loop; yarn over, pull through two loops.
https://www.high-endrolex.com/27
There should be 5 loops on your hook. Yarn over, pull through all 5 loops.
If you’re a visual learner, this is a great video tutorial.
Abbreviations:
- dc – double crochet
- sl st – slip stitch
- 3 dc cluster – 3 double crochet cluster
- 4 dc cluster – 4 double crochet cluster
- ch2-sp – chain 2 space
Granny Square with a Center Daisy Tutorial
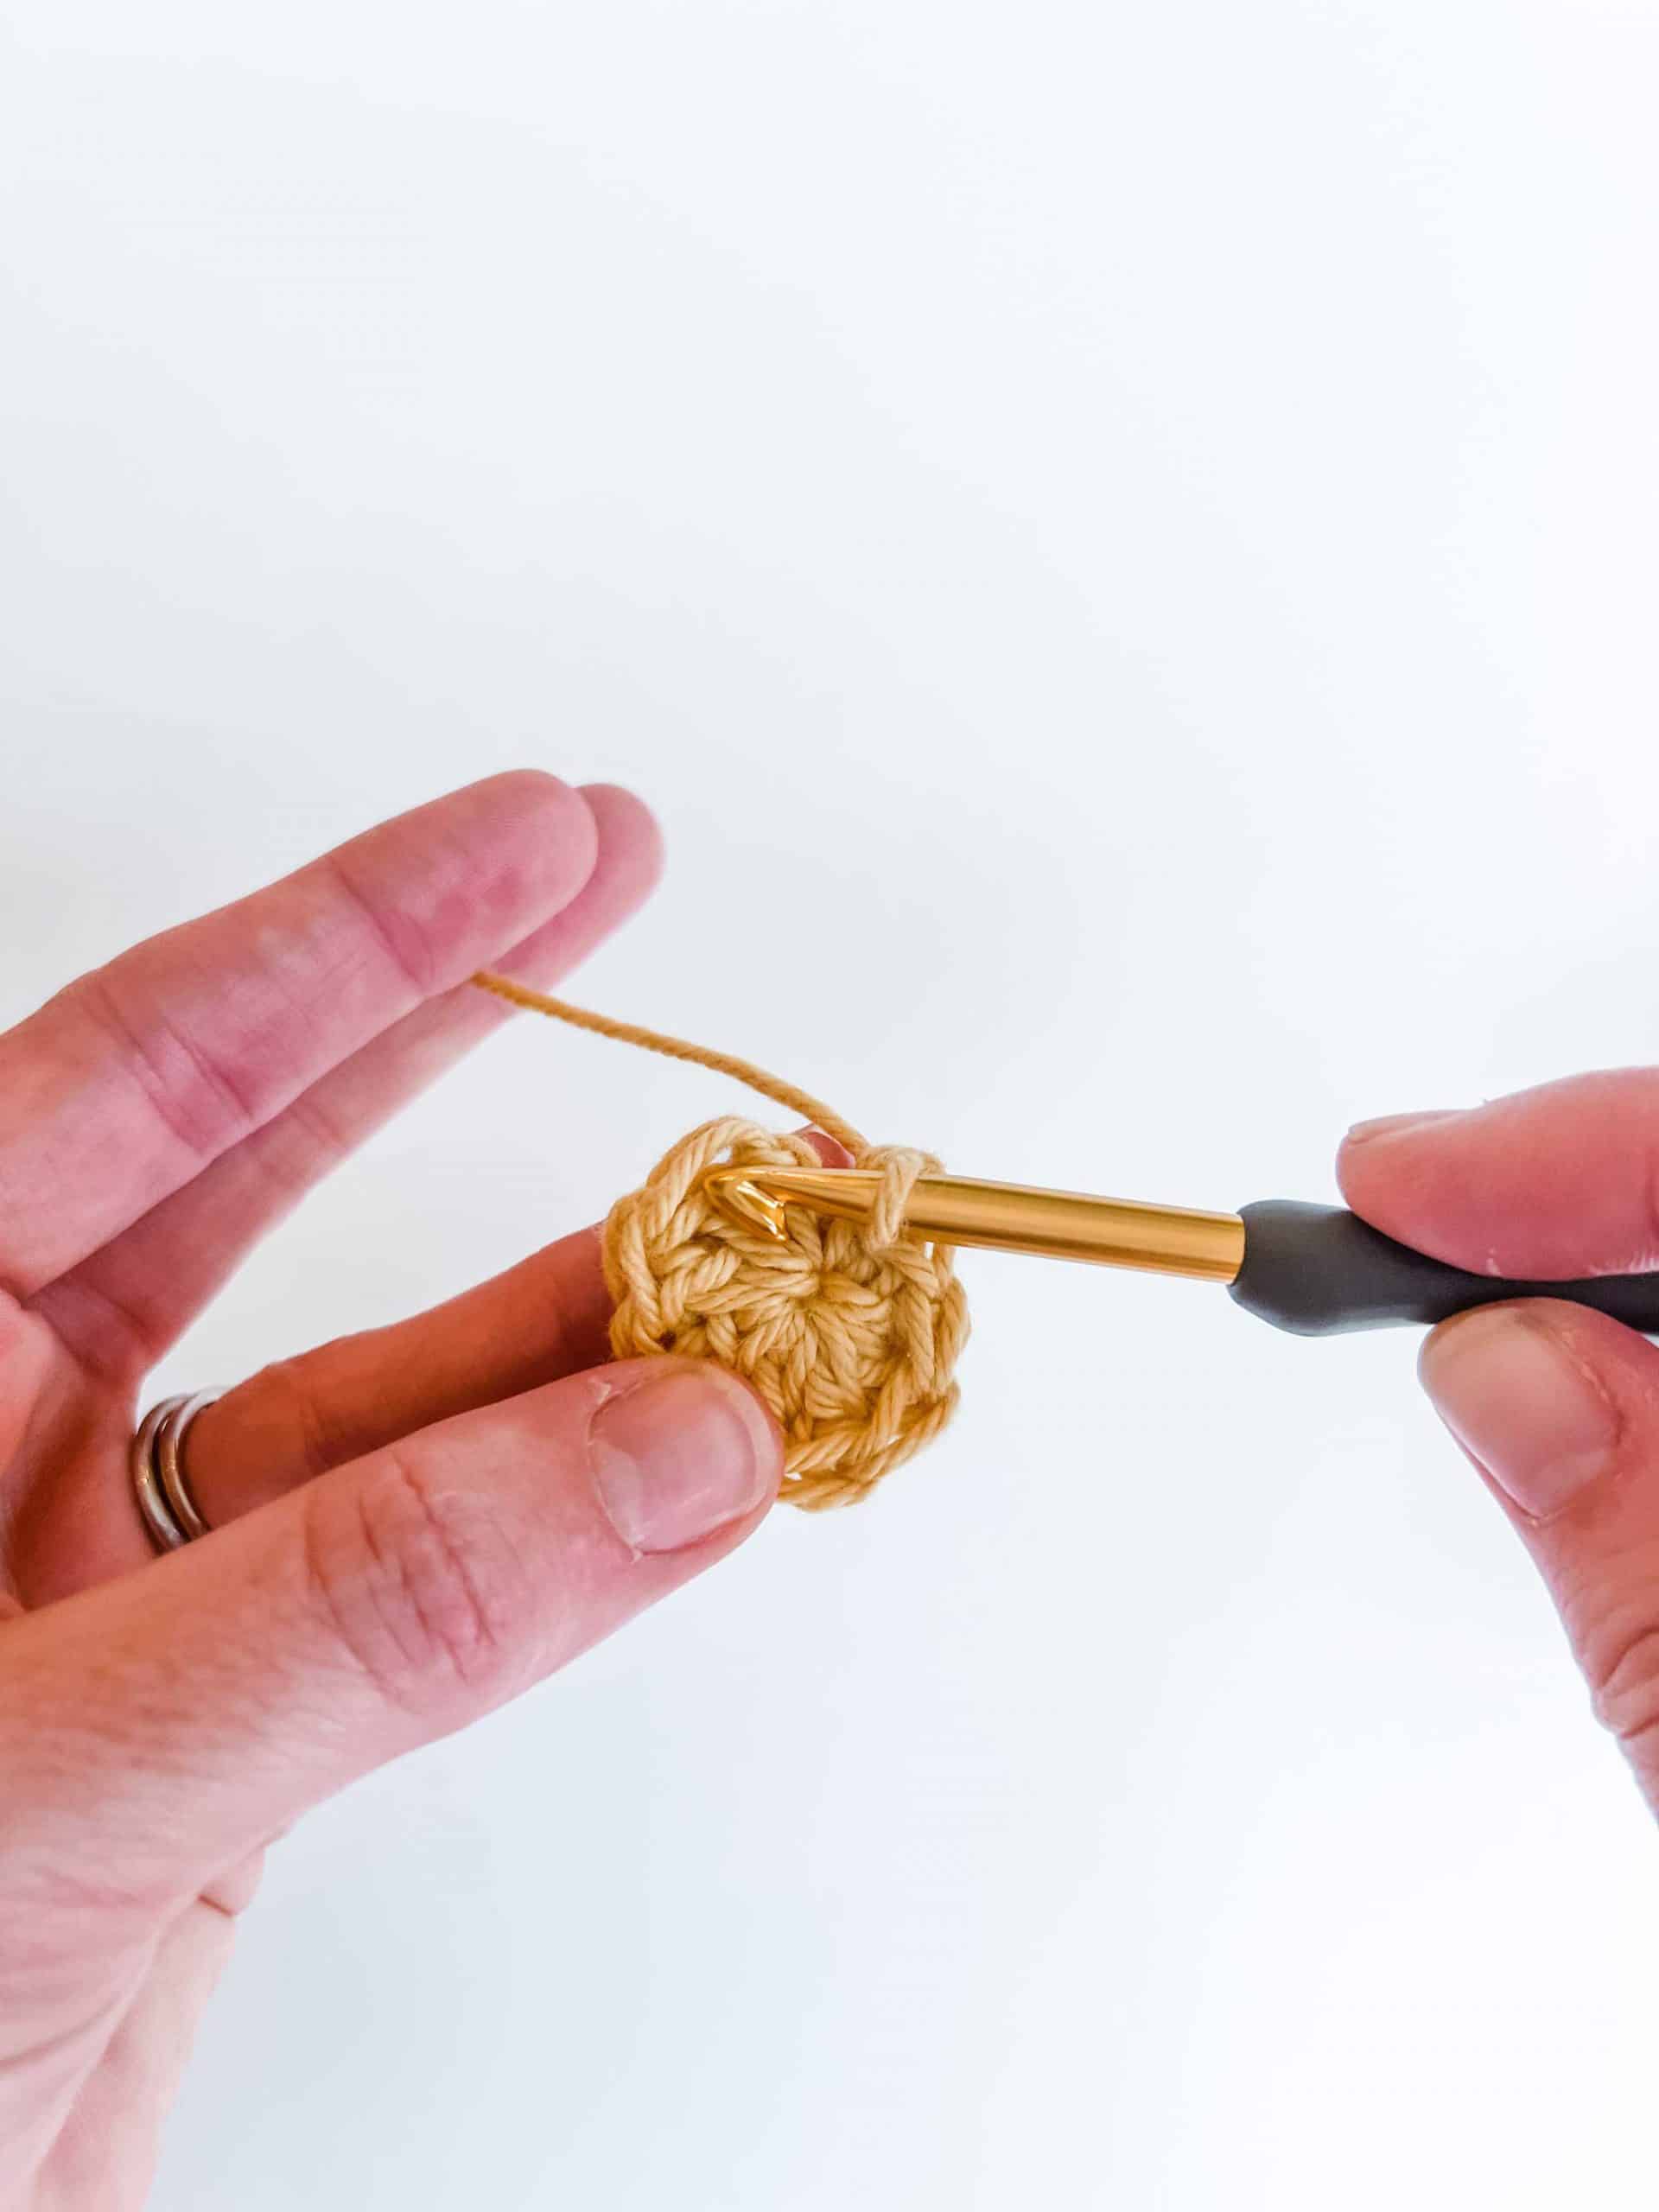
Ch 3 using yellow yarn. (You could also start with a magic circle)
Round 1: 8 dc into the first ch. Sl st to the top of the first dc (not the top of the initial chain). Cut yarn and weave ends. (8)
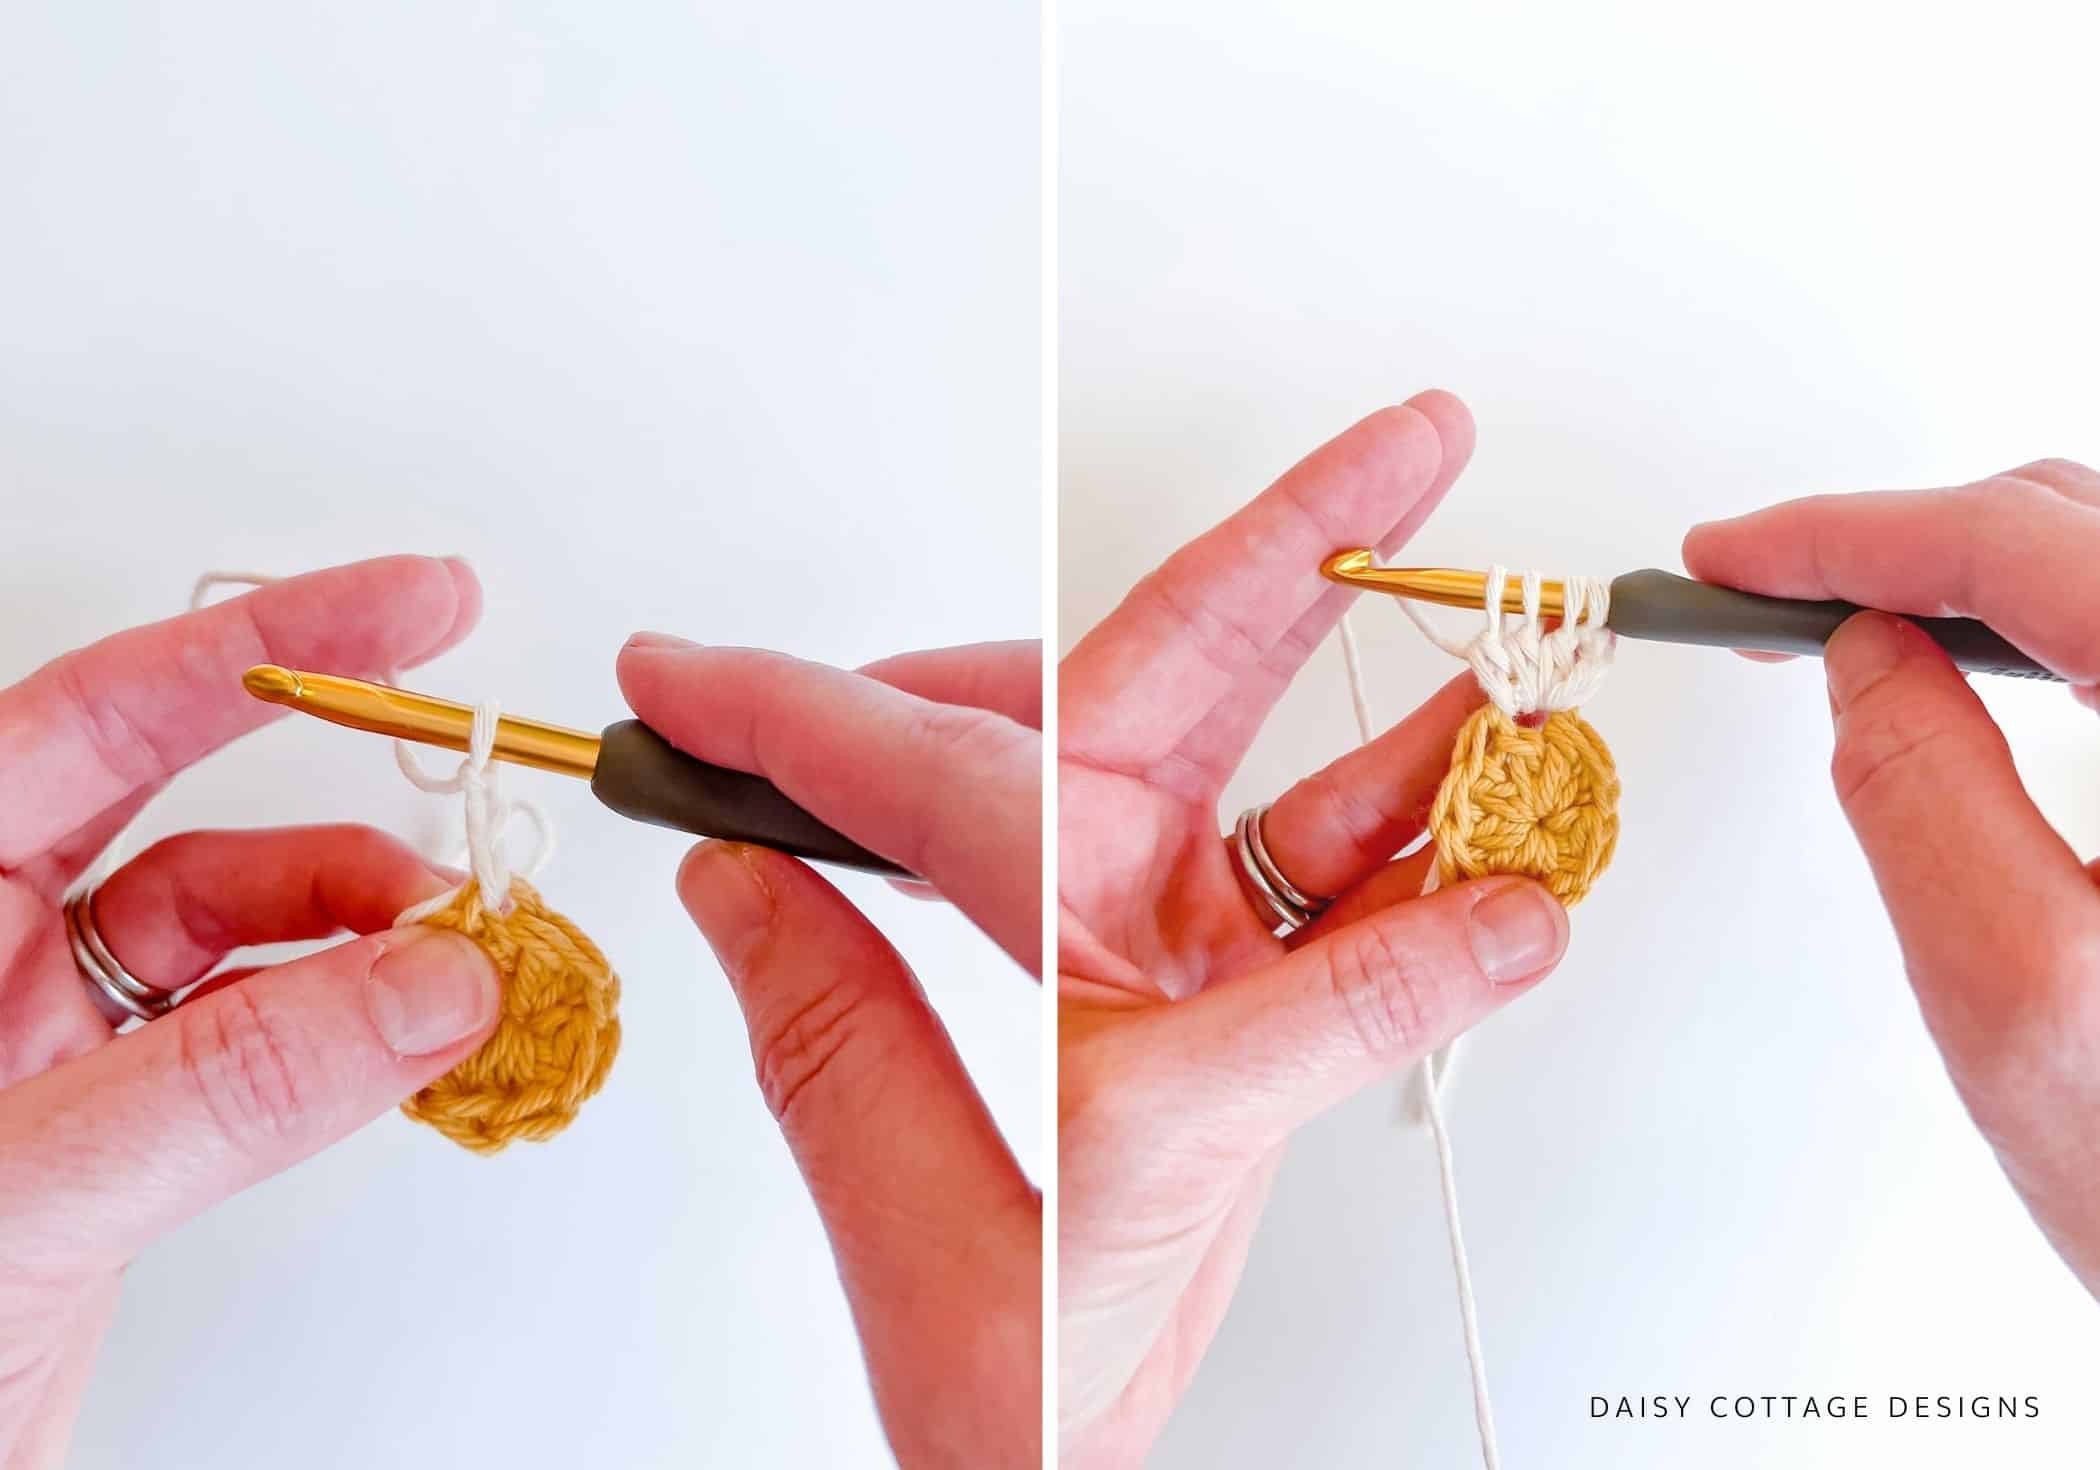
Round 2: Join white yarn in any stitch and ch 2. Work a 3 dc cluster in the same stitch and ch 2. This completes the first petal. Work a 4 dc cluster followed by a ch 2 in the remaining stitches. Sl st to the top of the first cluster stitch. (You should have 8 clusters and 8 ch 2 spaces at the end of this round.)
Cut yarn and weave ends.
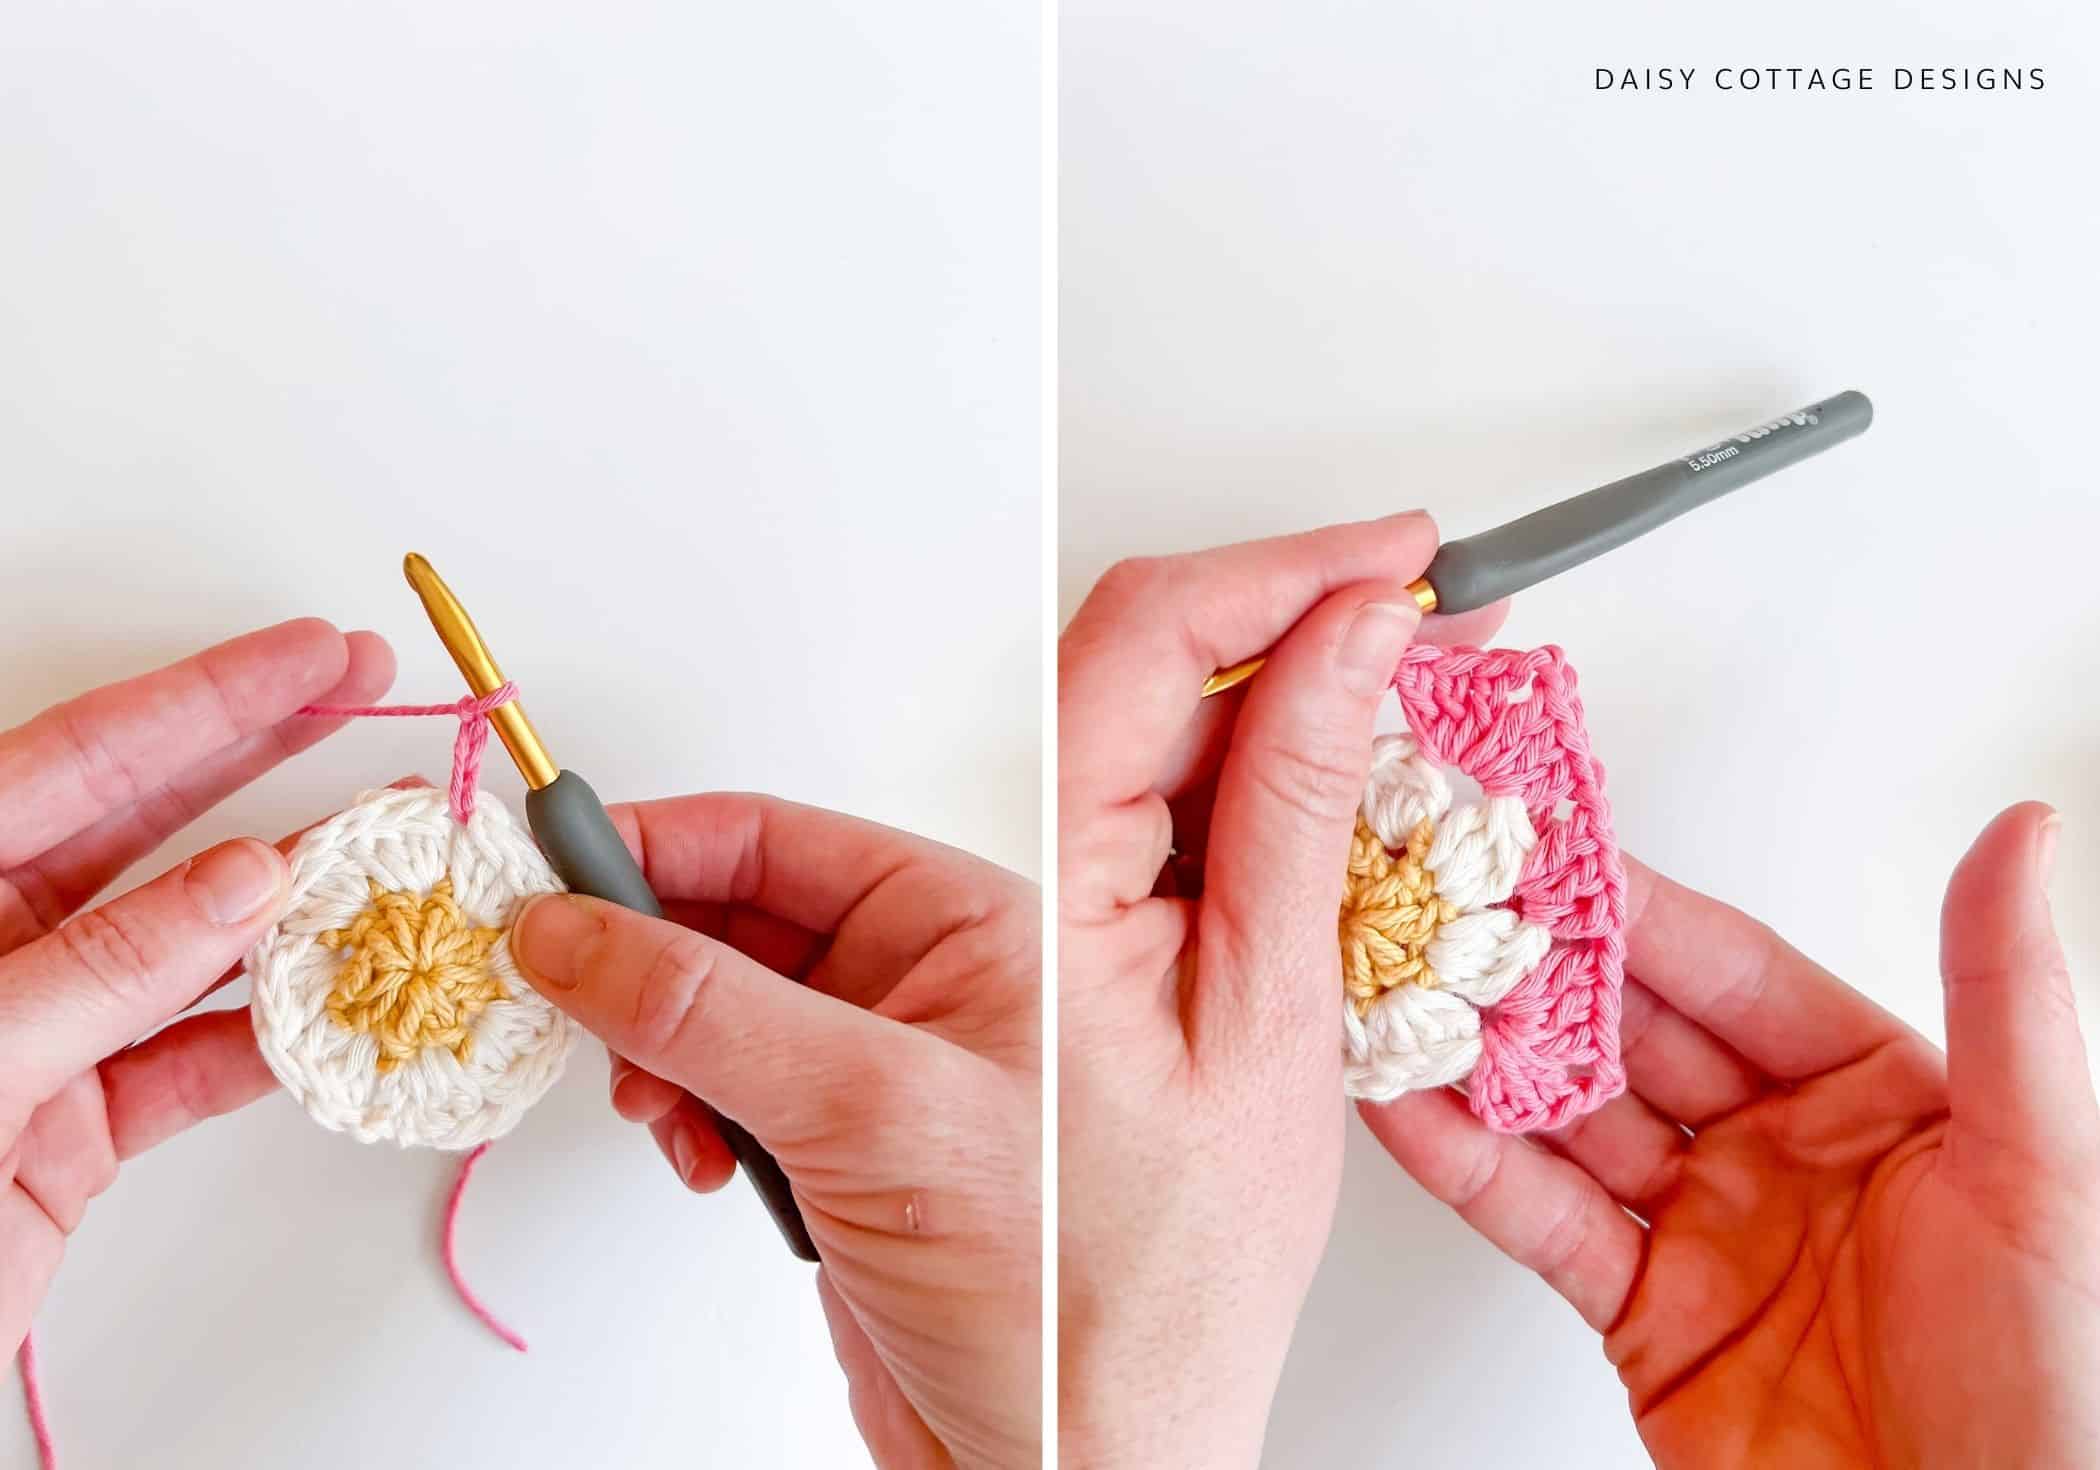
Round 3: Join your background color in any of the ch 2 spaces and ch 2. Work 2 dc and then ch 2. In the same space, work 3 more dc and ch 1. You’ve made your first corner. Work 3 dc in the next ch 2 space and ch 1. *Work 3 dc, ch 2, and 3 more dc in to the next ch 2 space and ch 1. Work 3 dc in the next ch 2 space and ch 1.* three more times. Sl st to the top of the ch 2 to join.
Slip stitch in the next two stitches and into the next ch 2 space.
At this point, you’ll proceed like you would for a traditional granny square.
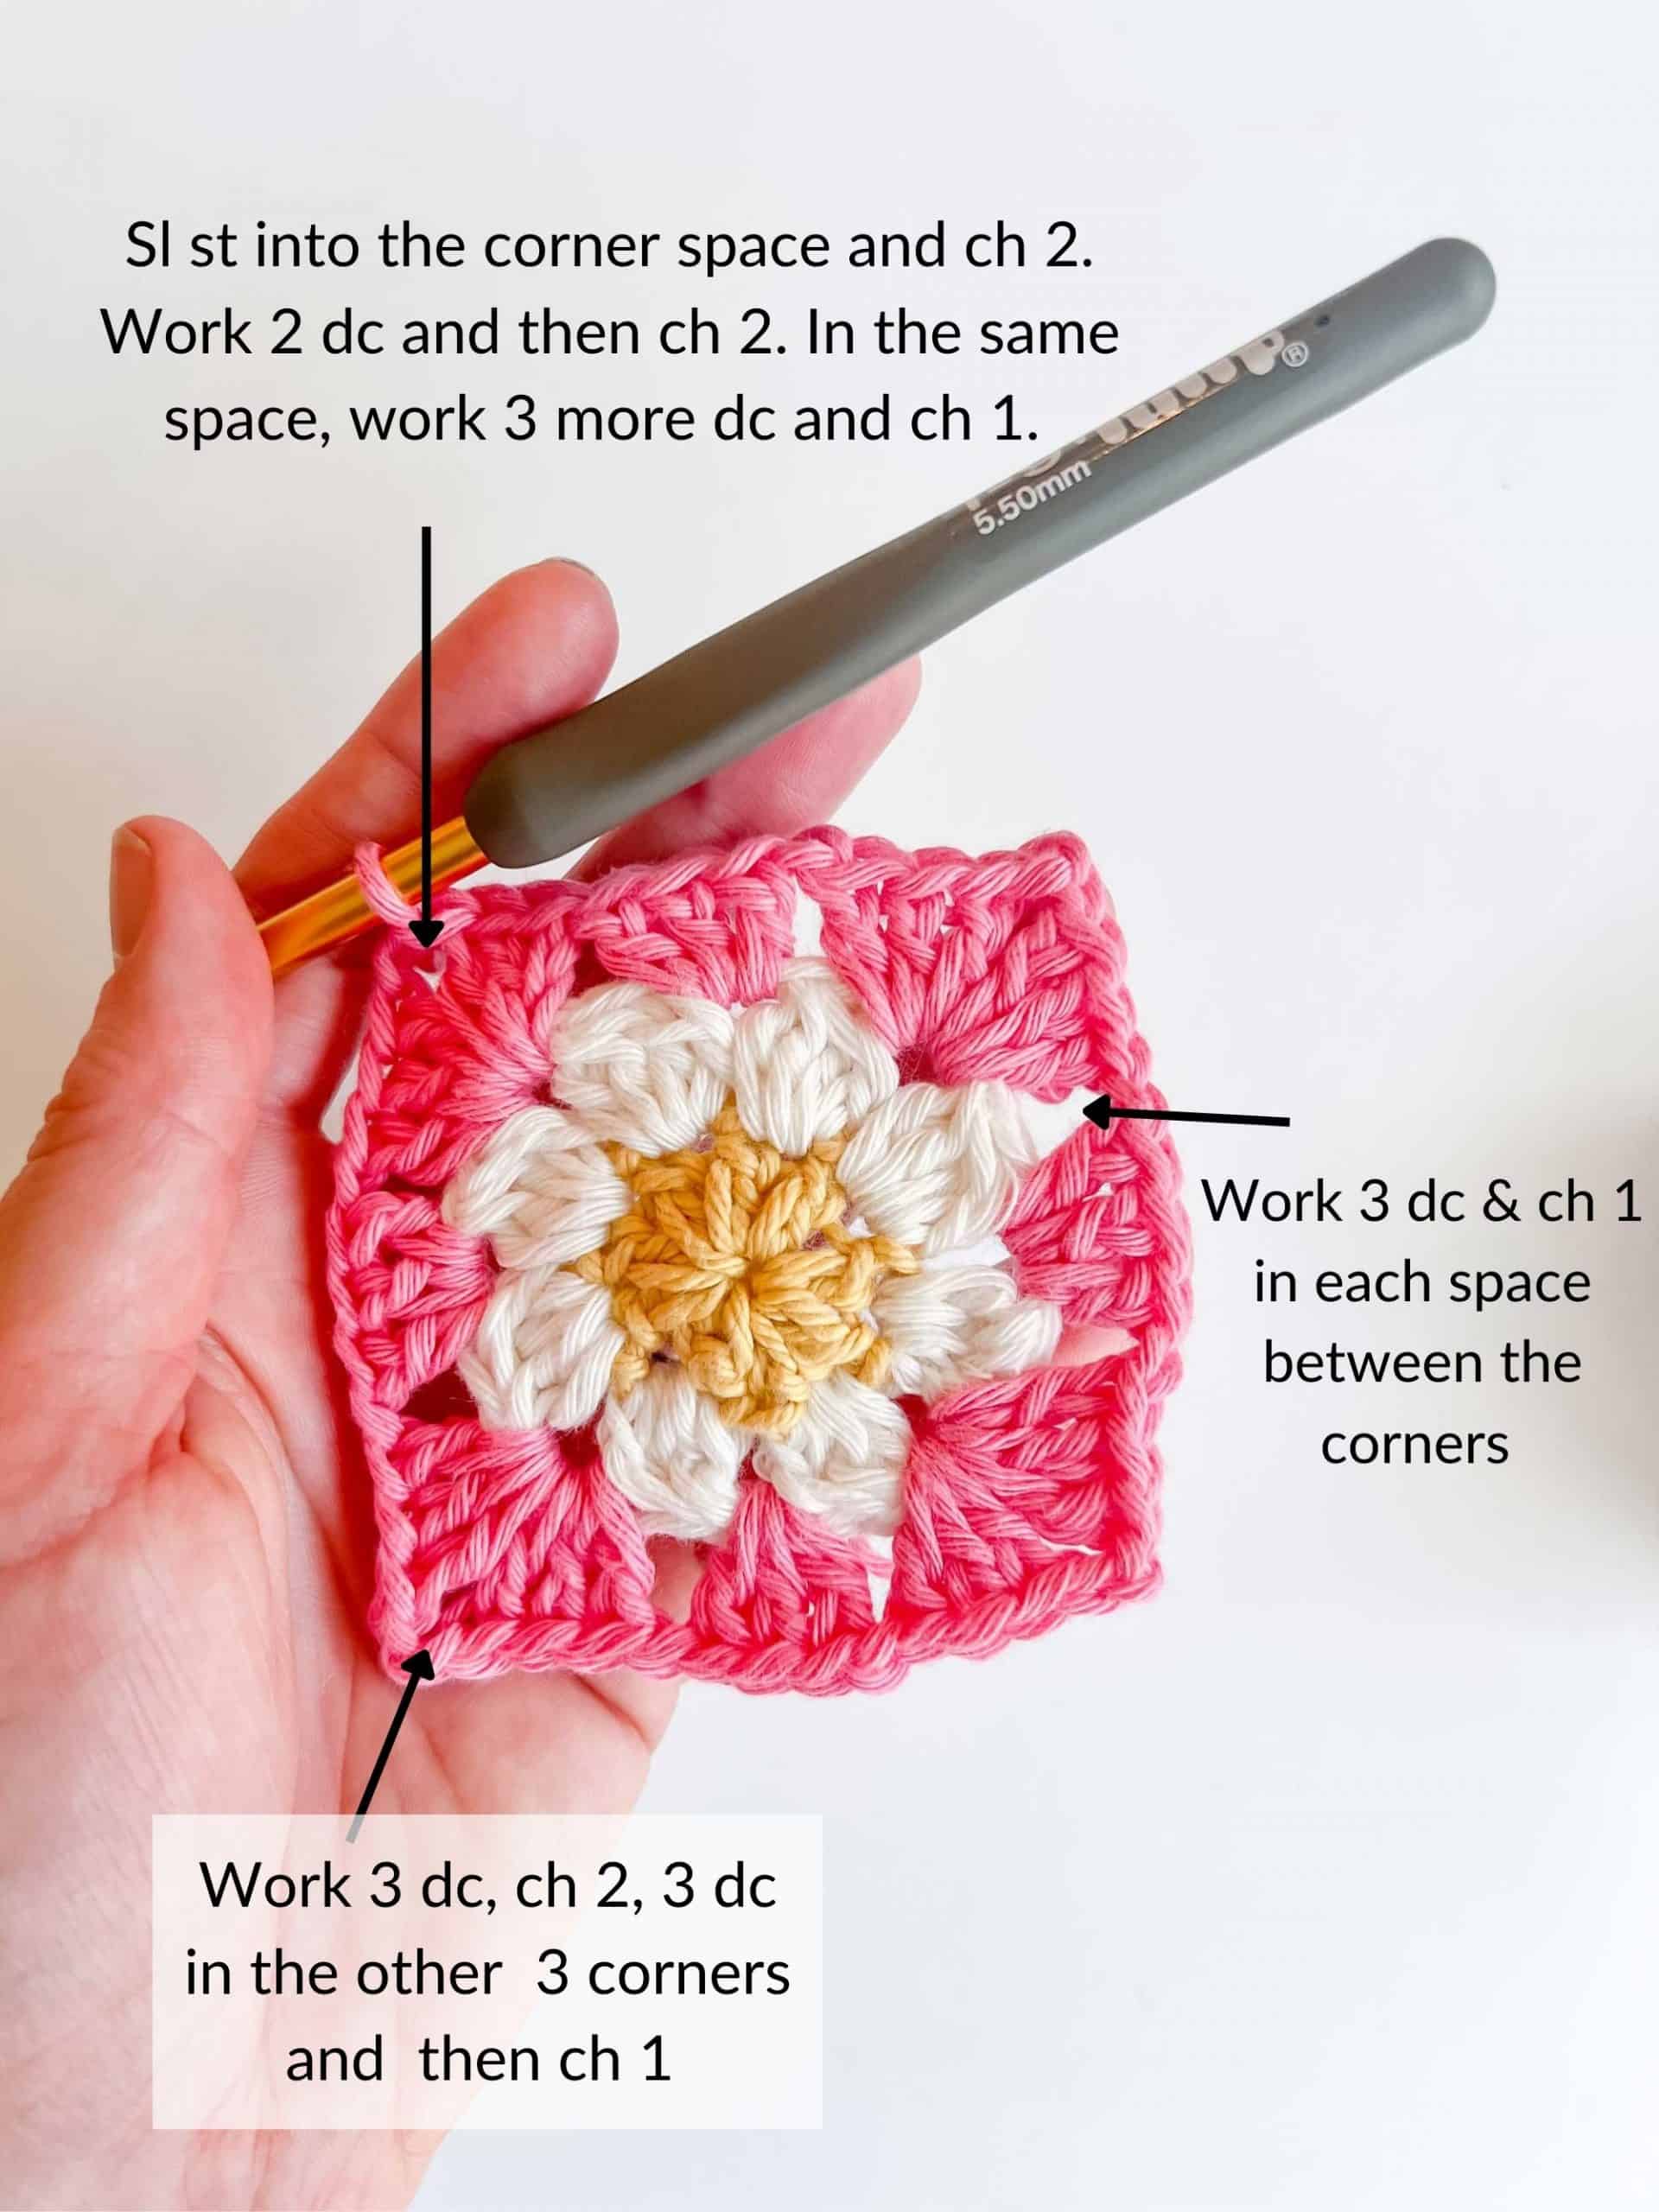
Round 4: ch 2. Work 2 dc and then ch 2. In the same space, work 3 more dc and ch 1. You’ve made your first corner. Work 3 dc and a ch 1 in the next two spaces. *In the corner, work 3 dc, ch 2, and 3 more dc into the corner and ch 1. Work 3 dc and a ch 1 in the next two spaces.* three more times. Sl st to the top of the ch 2 to join.
Share Your Work!
If you’ve made granny squares using this pattern, I’d love to see them! Tag me on Instagram or Facebook. It makes me so happy to see other people enjoying these patterns.
Granny Square FAQ
While there is a wide variety of granny square patterns, the most traditional granny squares use mostly double crochets and chains.
Granny squares with a daisy in the center also use some sort of cluster stitches – whether they be double crochet clusters or treble crochet clusters – to form the flower petals.
Traditional granny square patterns make a wonderful first project. They’re simple and easy to get the hang of. This granny square blanket is a great place to start.
While daisy in the center squares are just a little more tricky, I don’t think you’ll have any trouble with this variation as long as you’re familiar with the stitches used.
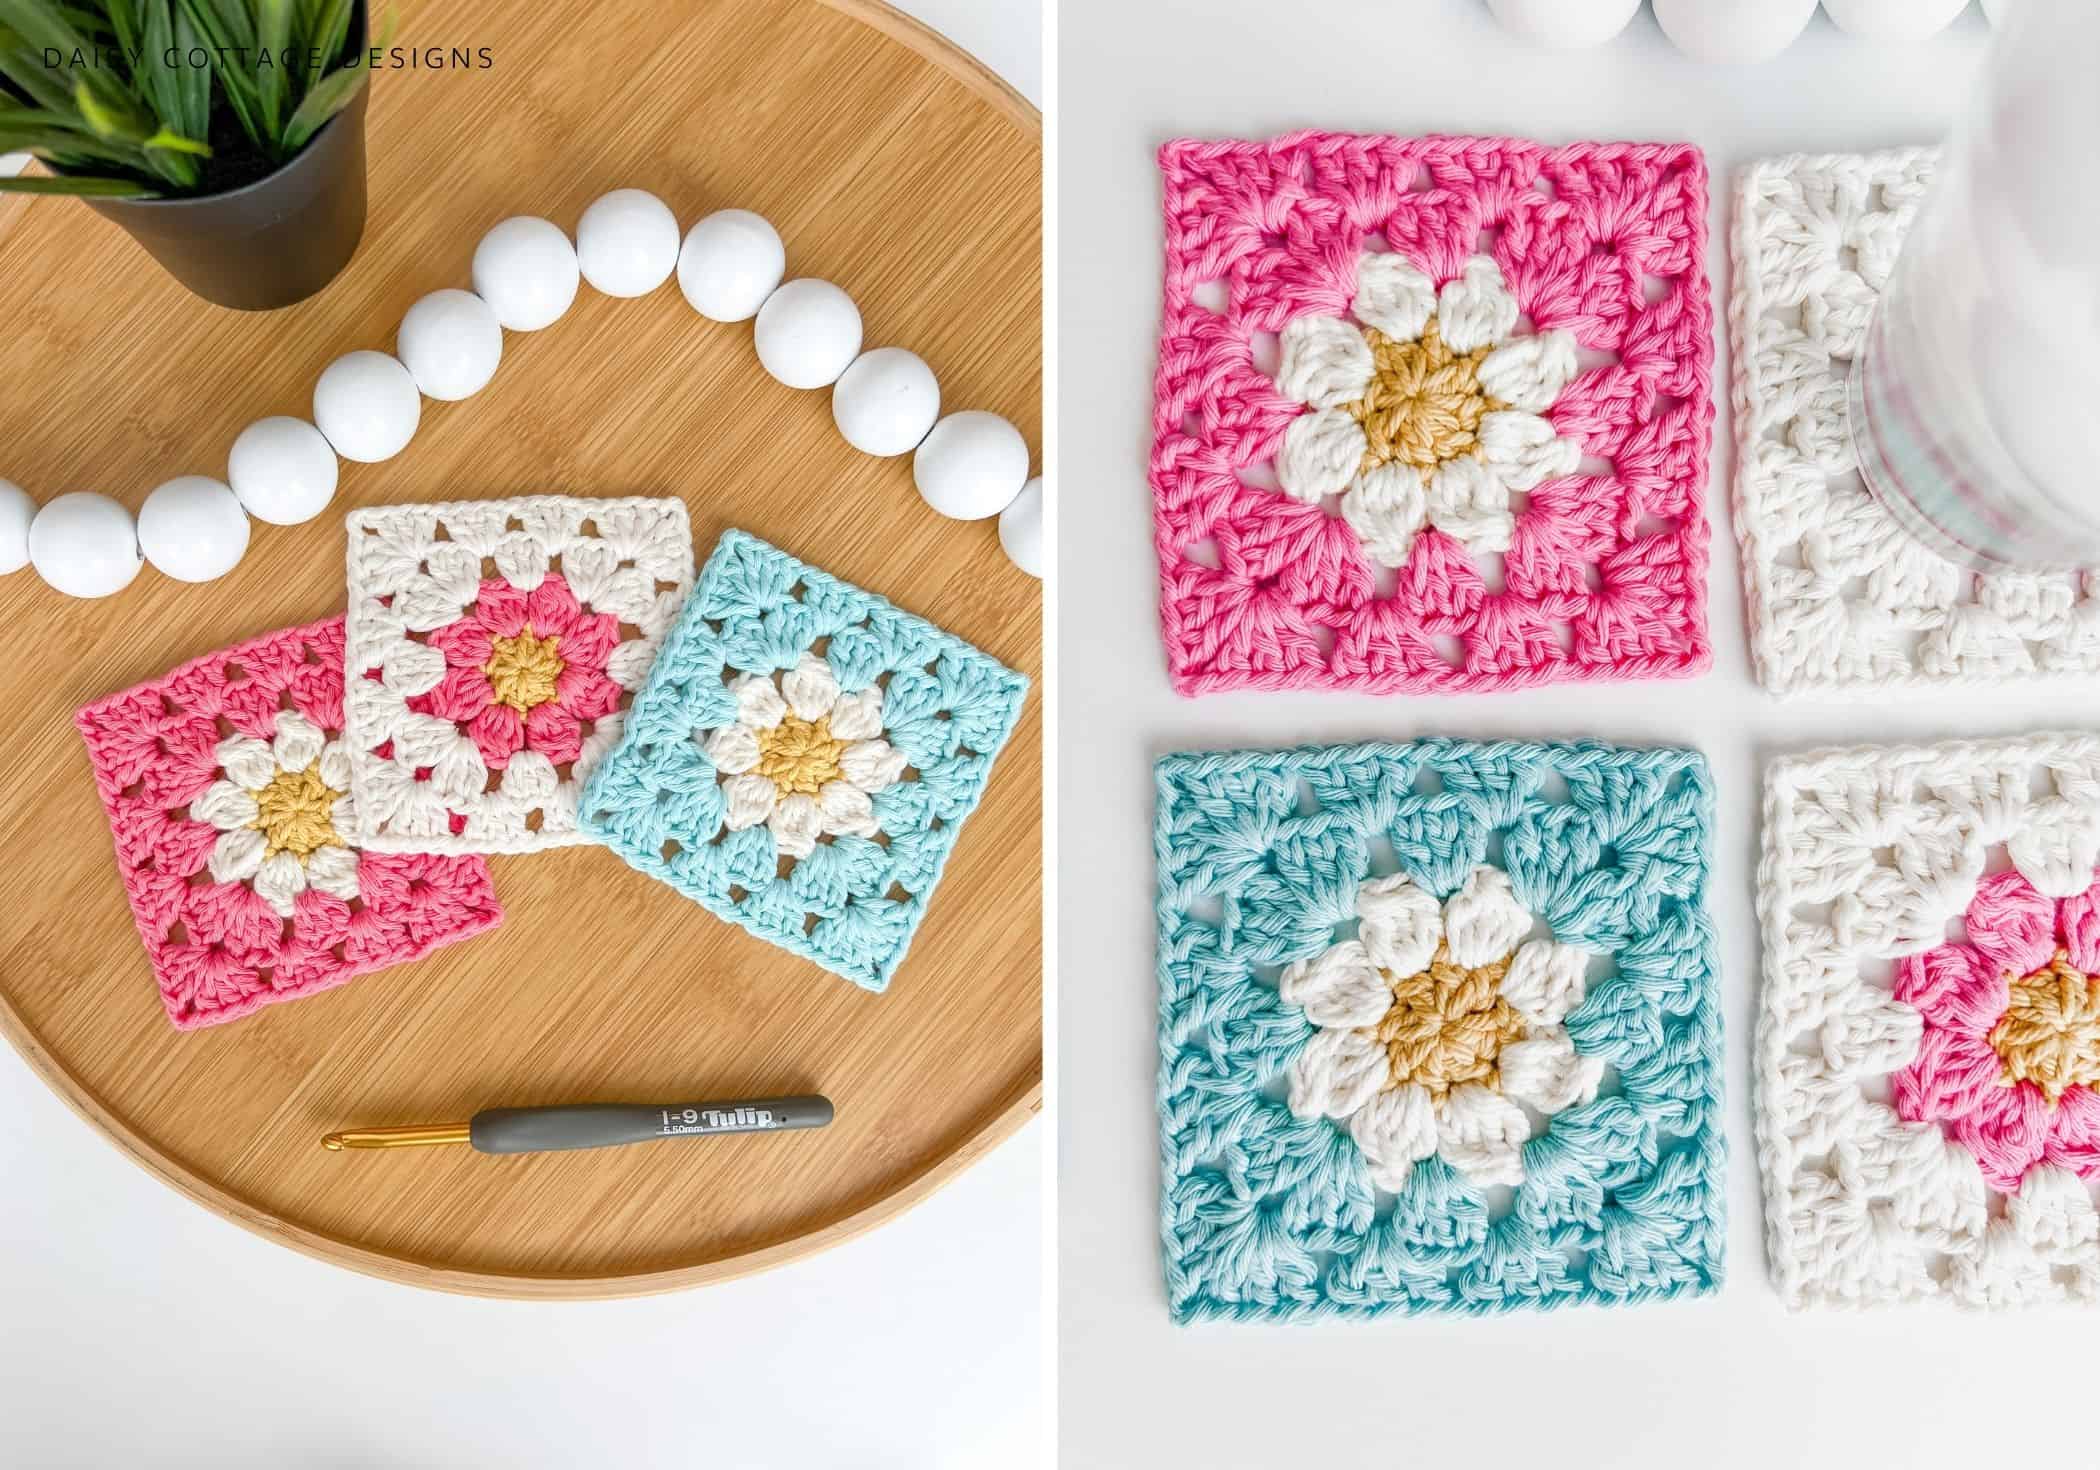
I find that worsted weight works well for granny squares and that’s what I’ve used for the dainty daisy granny squares you see here.
However, other sizes/weights can definitely be used. Try a DK or bulky weight and see what you think!
I’m a big fan of the I/9 crochet hook when I’m making granny squares with worsted weight yarn. If you know you crochet tightly, you might want to step up to a J. On the other hand, if you know you crochet loosely, going down to an H will help you achieve a nice, neat looking square.
If you wanted to use these squares to make a baby blanket, you’d need between 64 and 80 squares depending on if you want a square or rectangular blanket.
To make a larger throw, you’d need more squares. Each of these daisy grannies is 4 inches square so you’d need to divide your desired width and length by 4 to see how many squares to make.
Granny squares can be connected in many different ways. There are invisible joins and single crochet joins and join as you go methods. Sometimes the possibilities seem endless.
This post from Spruce Crafts outlines 7 different joining methods.
I’m actually a big fan of blocking granny squares before putting them all together. Joining your squares will be much easier if each one is blocked to exactly the same size.
If you’re unfamiliar with how to block crochet projects, this post will help walk you through.
Crochet squares look a lot better when the corners are… actually square. Blocking makes sure your project is a perfect square because you’re able to manipulate the stitches to exactly the size you want (within reason).
Blocking crochet squares also makes it a lot easier when you’re trying to decide where to insert your hook when you start joining your squares together at the end of your crochet project.

I love doing different granny squares. I may have to try this one next….thanks.
Beautiful! Thank you!