Crochet Throw Blanket Pattern: Cobblestone Pathways
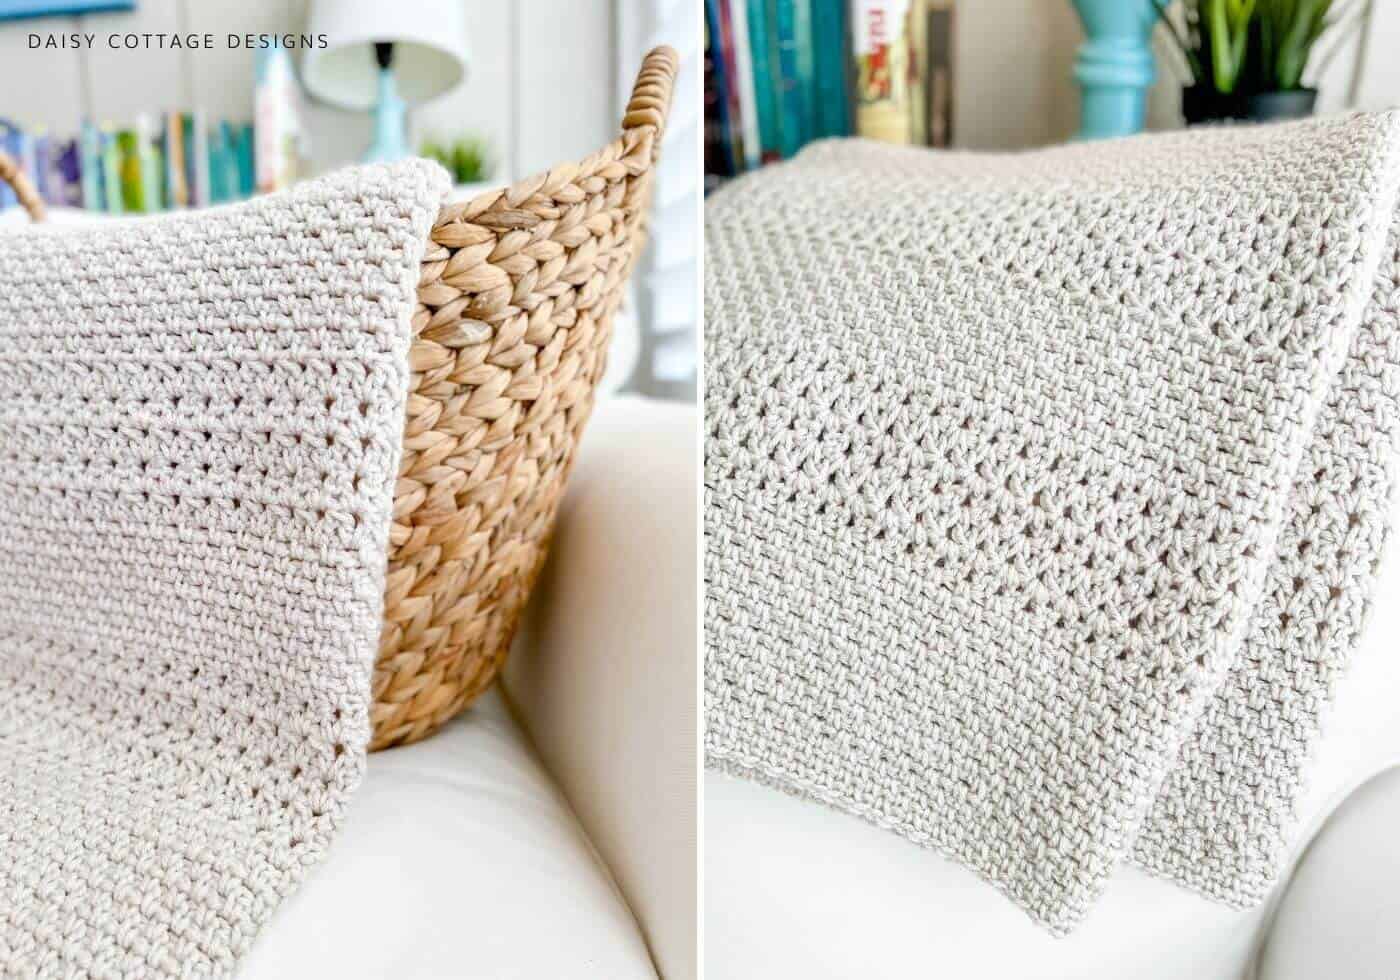
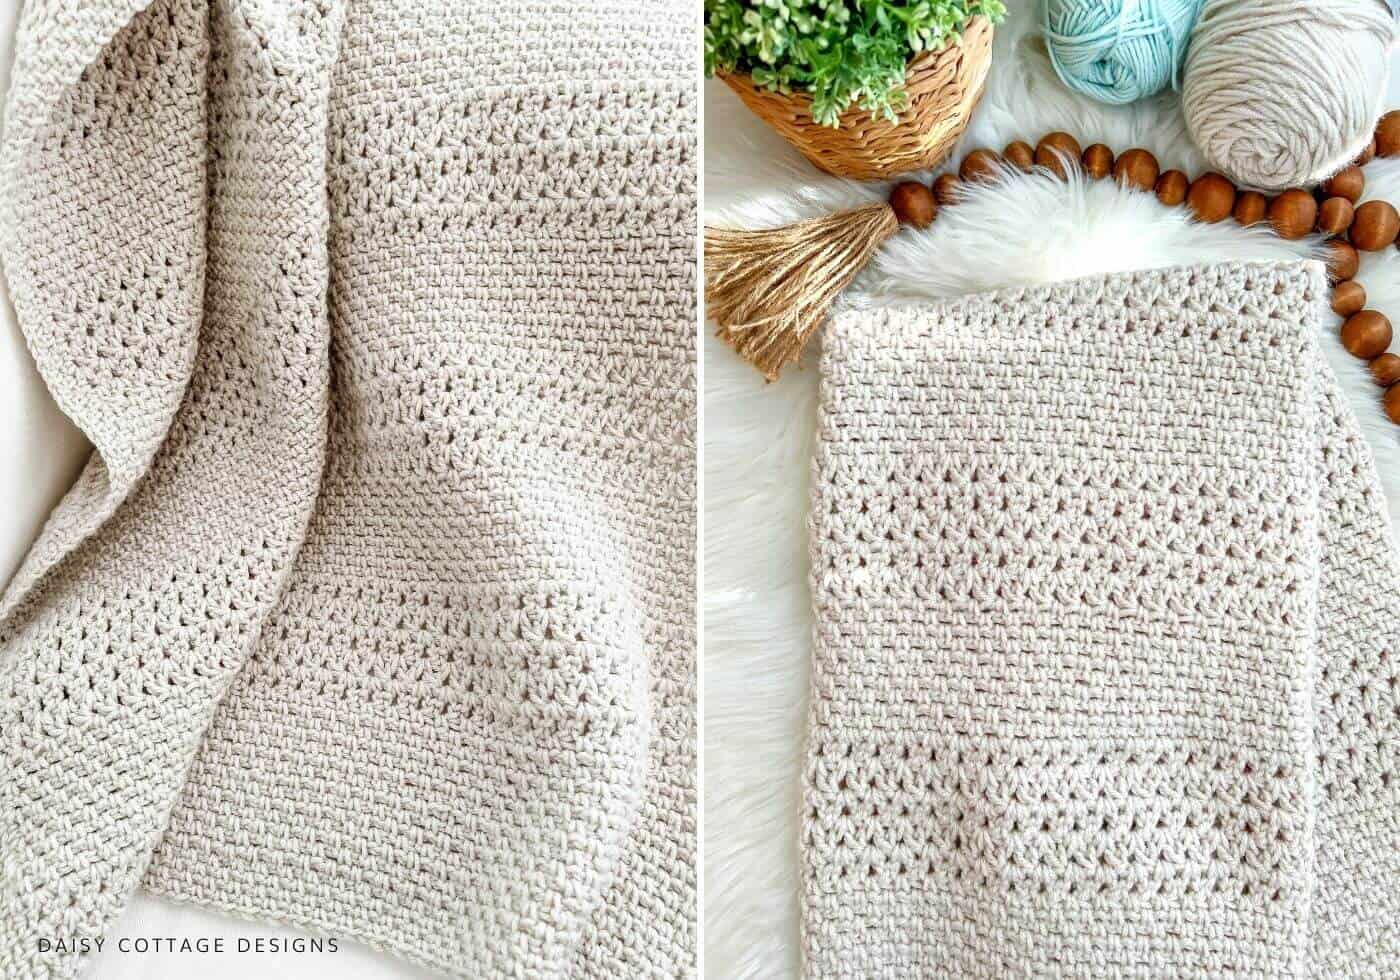
I’m in love with this crochet throw blanket pattern. To go from the idea stage to this finished pattern took me longer than any of the other crochet patterns that I’ve designed – I wanted to make sure everything worked out just right.
The time spent was worth it. From the video tutorials to the perfect texture, the hours invested made sure everything about this afghan pattern was perfect.
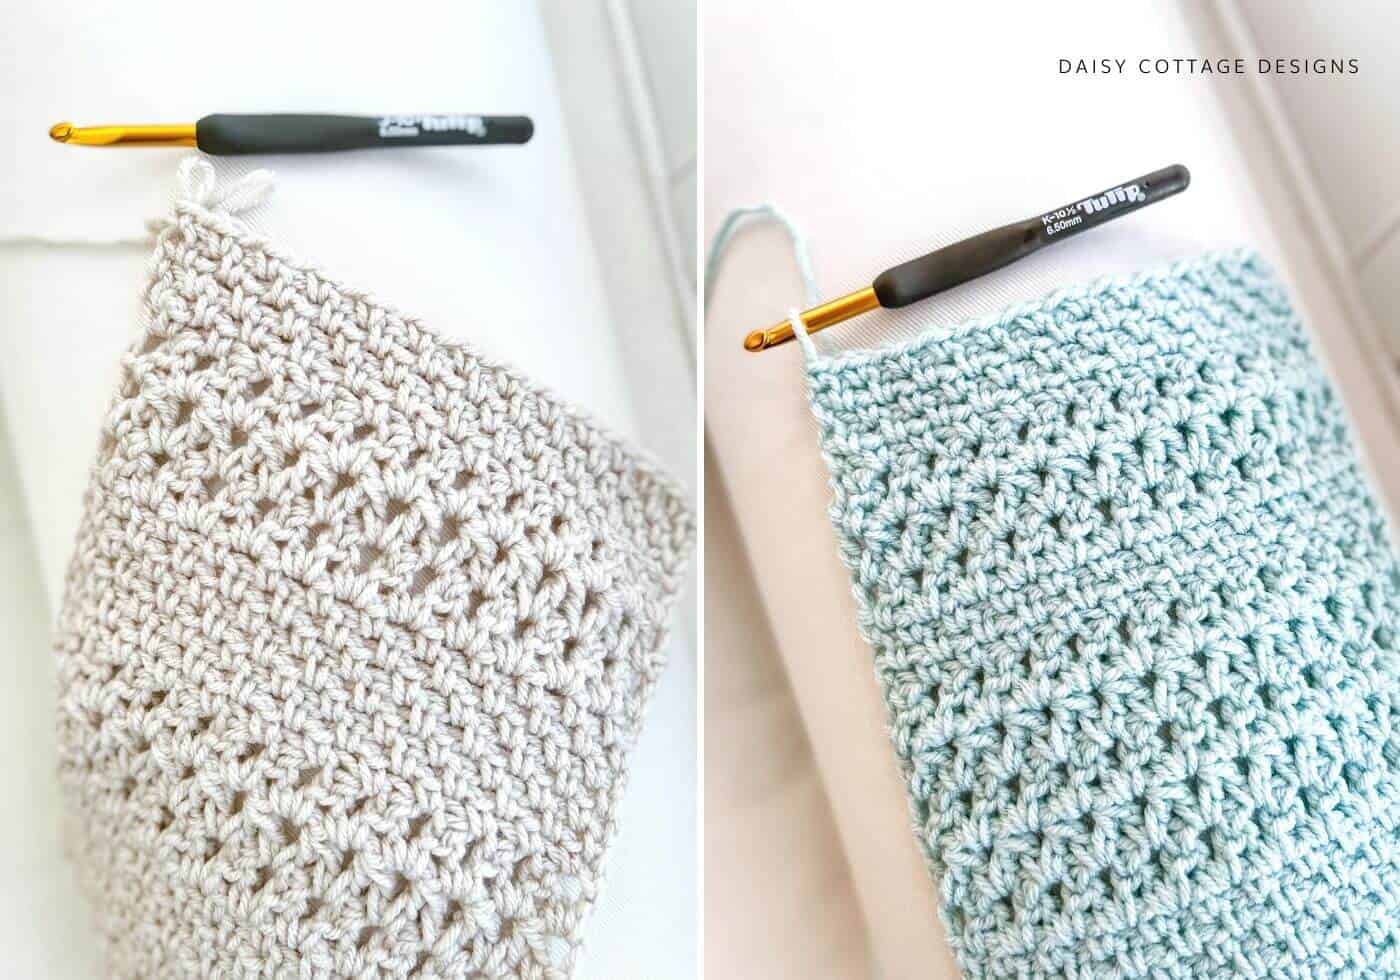
It all started with these swatches. I love any crochet projects that involve the moss stitch (like this Rainbow Moss Stitch Blanket), but I knew I wanted to work in another stitch, too.
I played around with some different options, but this stitch combination came out on top.
While the various crochet stitches might look difficult, I think you’ll find that this pattern has a great rhythm once you get the hang of it. Even if you’re a beginner crocheter, I encourage you to give it a try.
This video will walk you through the steps you’ll need to make this blanket.
If you’d like to purchase the ad-free, printable PDF, that’s available in my Etsy shop.
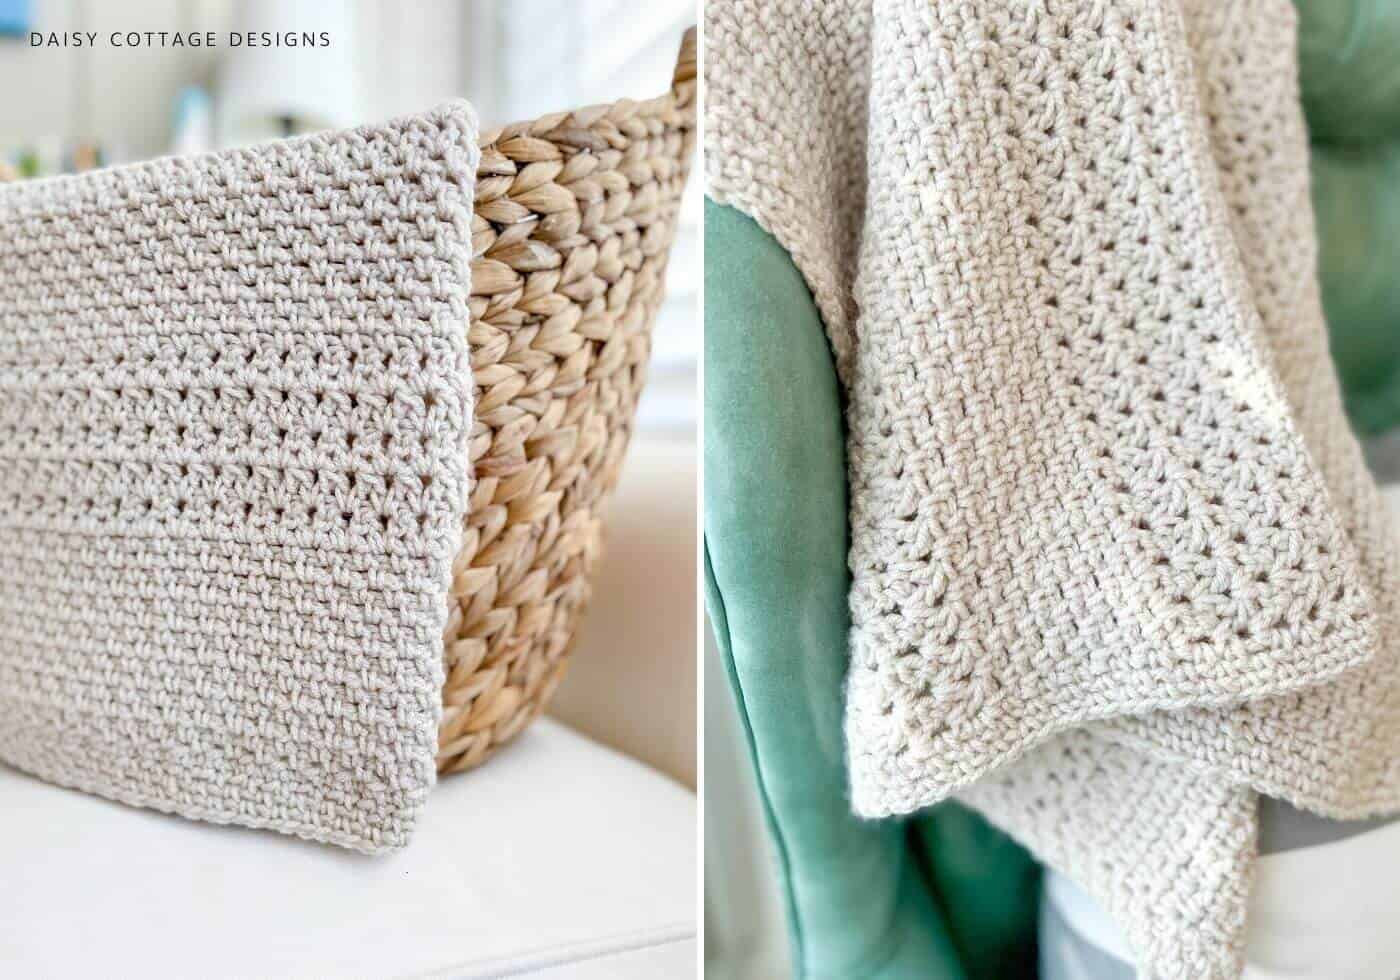
Here are the instructions to make this Cobblestone Pathways Throw Blanket Crochet Pattern
Materials:
- J/10 (6 mm) and I/9 (5.5 mm) Crochet Hooks
- For the size shown (30”x36”), I used 2.5 skeins (approximately 16 oz) of Hobby Lobby’s I Love This Yarn in the shade Linen.
- If you’d like to use a different yarn, you’ll need approximately 1000 yards of worsted weight yarn for this size. Yardage for 5 sizes is given at the end of the pattern.
- Stitch markers (optional but helpful)
- Tapestry Needle & Scissors
- If you prefer an ad-free, printable PDF, it’s available in my Etsy shop.
Pattern Notes:
- Please read through entire pattern before beginning.
- Work the moss stitch rows with the J/10 hook and the dc2tog rows with the I/9 crochet hook.
- With the exception of working into the stitches of the foundation row, you will be working into the ch 1 spaces across each row and around the ch 2 at the end of each row. Work around this chain by inserting your hook under the ch 2 at the end of the row.
- Placing a stitch marker around the ch 2 after you turn will allow you to clearly see where to work the last stitch of each row.
- This video will walk you through the stitches used in this blanket.
- Instructions for adjusting the size of the blanket are given after the pattern.
- For instructions on how to crochet the border, please watch this video.
- Please feel free to send me a message or email if you have any questions.
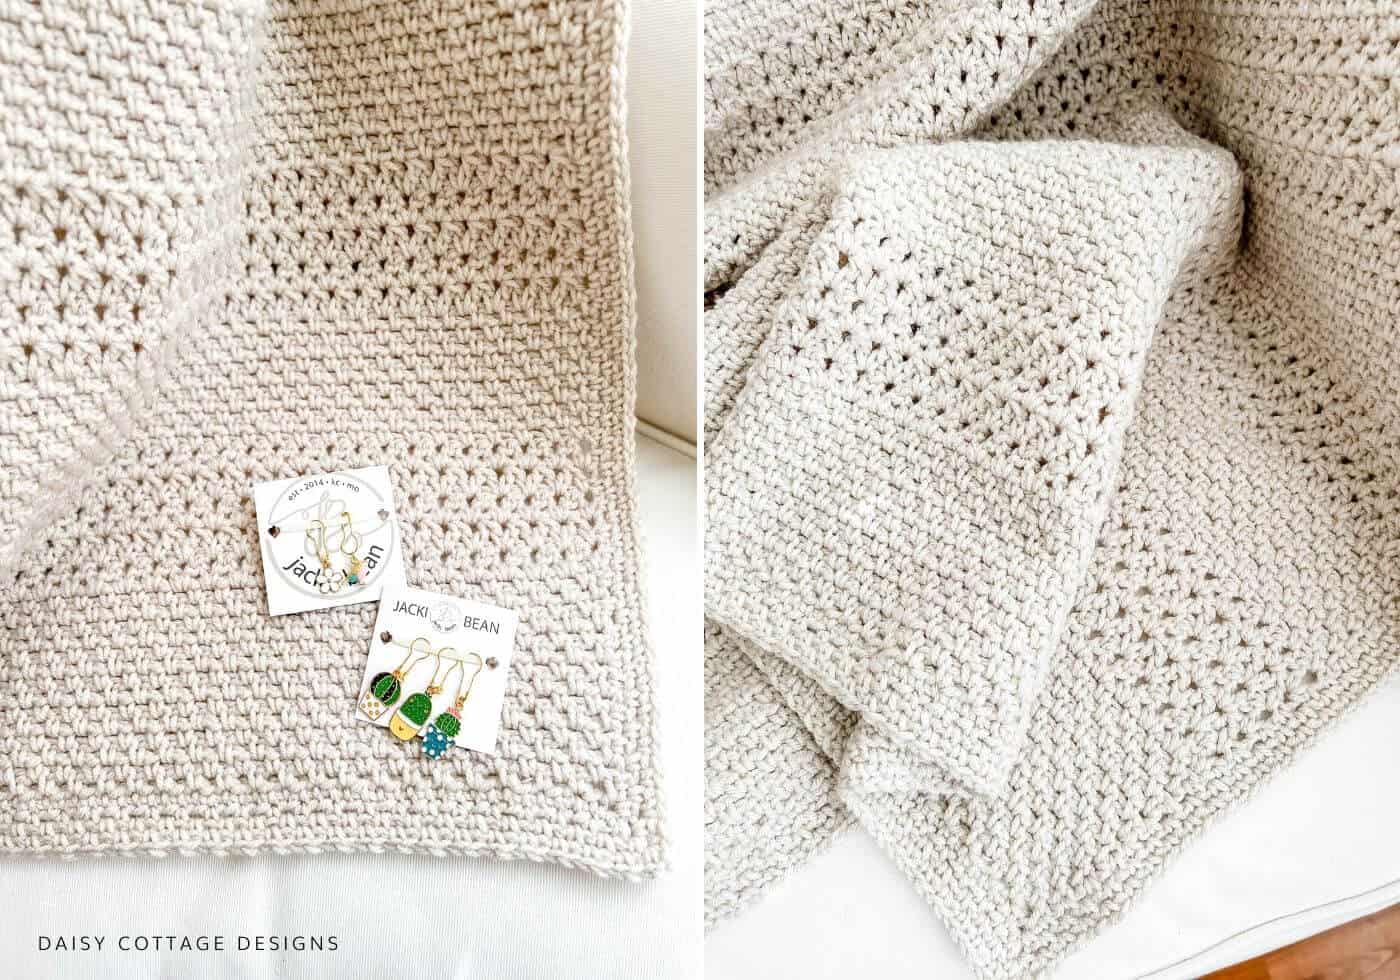
Special Stitch:
- dc2tog: yarn over, insert your hook into the ch 1 space and pull up a loop. Pull through two loops on your hook. Yarn over, insert your hook into the next ch 1 space and pull up a loop. Pull through 2 loops, pull through remaining 3 loops.
- Please note: You will be finishing one dc2tog, chaining 1, and then starting the next dc2tog in the same ch 1 space.
- For detailed instructions on how to create the stitches used throughout this blanket, please watch this video.
Using the J/10 hook, Chain 97 (or 121, 181, or 201 depending on size… see the chart below).
Foundation Row: Sc in the second ch and in each stitch across. Ch 2, turn.
(Place a stitch marker around your ch 2s to make it easy to see where to insert your hook at the end of subsequent rows)
Row 2: sc in the second stitch, ch 1. *skip the next stitch, sc in the next stitch, ch 1* across. End with a sc in the last st. Ch 2, turn.
Row 3: *sc, ch 1* in each ch 1 space across. Sc around the ch 2 at the end of the row (insert your hook under the ch 2 – should be easy to see if you marked it). Ch 2, turn.
Rows 4-16: Repeat row 3
You’ve completed the first Moss Stitch Section. You should have 1 row of single crochet and 15 rows of moss stitch in this section.
Now you will work the “Dc2tog” Section. Please read the special stitch instructions above if you haven’t already.
Switch to the I/9 hook.
Row 17: Begin a dc2tog in the first ch 1 space, finish the dc2tog in the next ch 1 space, ch 1. *begin a dc2tog in the same ch 1 space, finish the dc2tog in the next ch 1 space. Ch 1.* across to the last ch 1 space. Begin your last dc2tog in the final ch 1 space, finish the dc2tog around the ch 2 (insert your hook under the ch 2), ch 1. Dc around the same ch 2. Ch 2, turn.
Rows 18-21: Repeat row 17
You’ve completed your first “Dc2tog” Section. You should have 5 rows in this section.
Note: When transitioning to the next moss stitch section, Be sure to work into the ch 1 space between the stand alone dc and the first dc2tog.
To finish this size, continue by working the following:
- 10 rows moss stitch (repeat row 3)
- 5 rows dc2tog stitches (repeat row 17)
- 10 rows moss stitch (repeat row 3)
- 5 rows dc2tog stitches (repeat row 17)
- 10 rows moss stitch (repeat row 3)
- 5 rows dc2tog stitches (repeat row 17)
- 10 rows moss stitch (repeat row 3)
- 5 rows dc2tog stitches (repeat row 17)
- 15 rows moss stitch (repeat row 3)
Other sizes will follow the same stripe pattern:
- You’ll start with one foundation row of sc
- 15 rows moss stitch (repeat row 3)
- Alternate between 5 rows dc2tog stitches (repeat row 17) and 10 rows moss stitch (repeat row 3) until you reach the last 15 rows
- Your last moss stitch section will have 15 rows
Adjusting the Size of Your Blanket
Please see the chart below for starting chain and number of rows for various sizes. If you have a certain size in mind and you’d like help coming up with the correct numbers, feel free to send me a message.
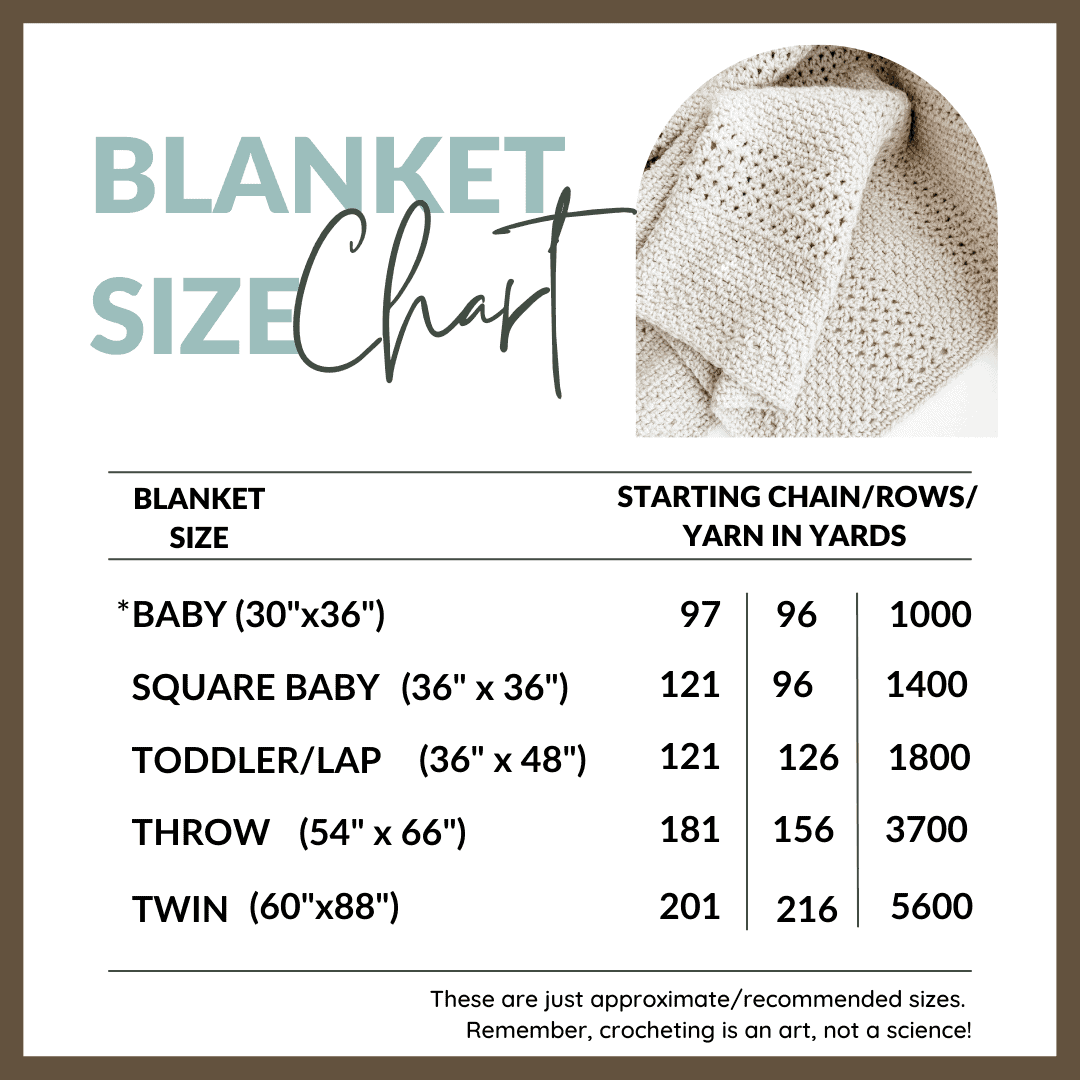
If you’d like to make a custom size, start with any odd multiple and follow the stripe pattern until the blanket is the length you want.
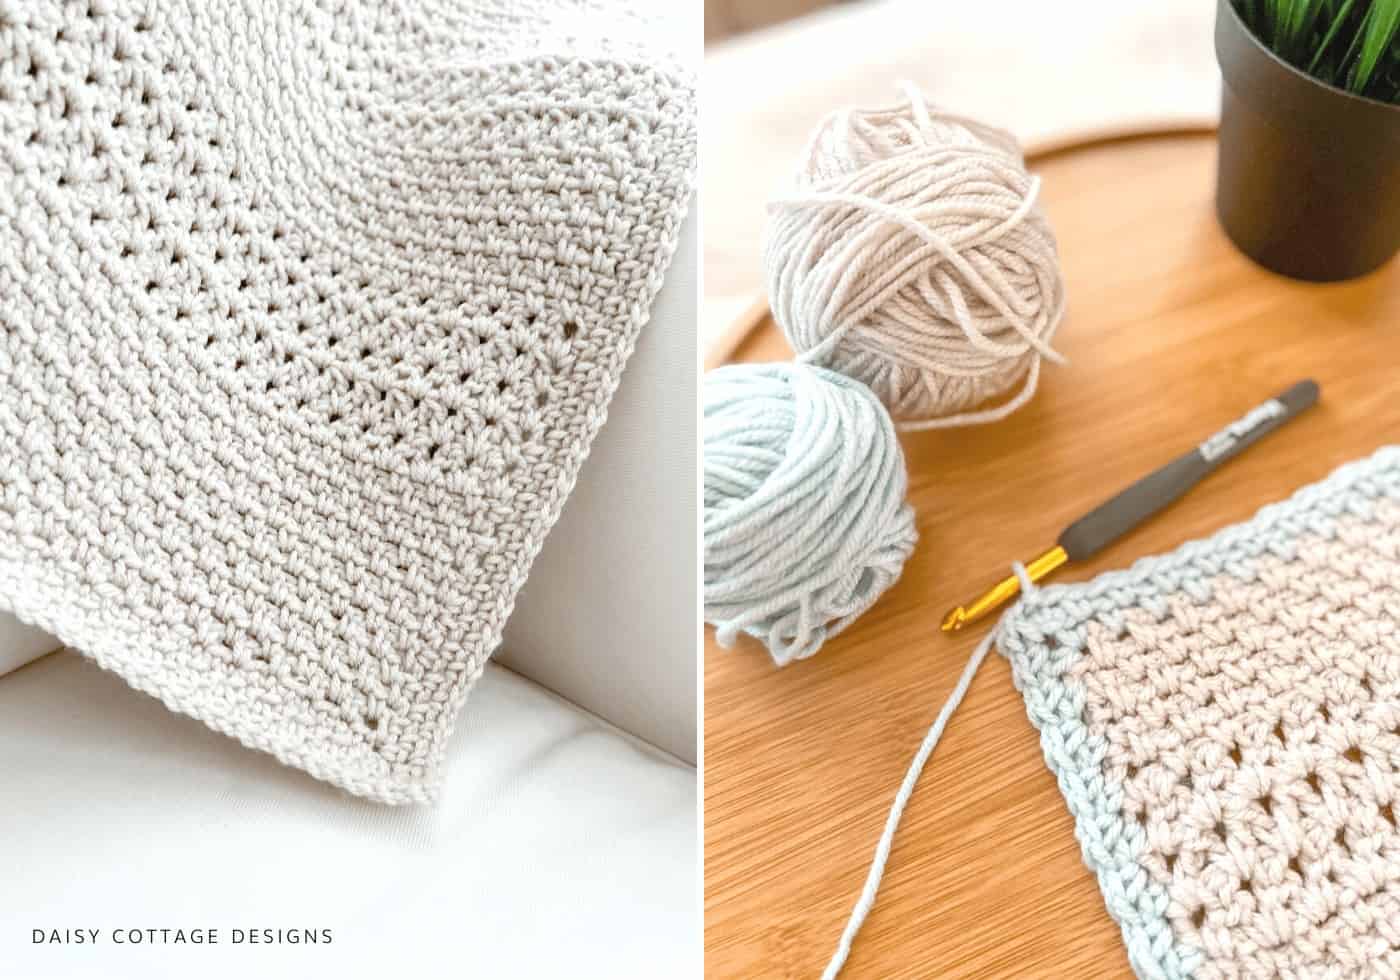
Adding a Moss Stitch Border to Your Throw Blanket
Border may be worked in the same color or in a contrasting color.
Moss Stitch Border – Video tutorial available here.
Join yarn in any corner.
Round 1: ch 1 (does not count as a stitch). *Sc, ch 2, sc* in the same stitch. Ch 1, skip a stitch, *sc, ch 1 in the next st, skip a st* across to the next corner. *dc, ch 2, dc in the corner space. Ch 1* *sc, ch 1 in the next st, skip a st* across to the next corner. Follow these steps until you return to your first corner. Sl st to the top of the first sc to join. Sl st into the ch 2 space.
Note: on the raw edges, there aren’t really stitches to skip, but you’ll want to skip a little bit of space between your single crochet stitches so your border doesn’t get wavy.
Rounds 2-3: Ch 1 (does not count as a stitch). *sc, ch 2, sc* in the corner space. Ch 1. *sc, ch 1* in each ch 1 space across all 4 sides. Work *sc, ch 2, sc* in each corner space, followed by a ch 1. Sl st to the top of the first sc to join. Sl st into the ch 2 space.
At the end of round 3, cut yarn and weave ends.
Alternate Single Crochet Border (If the Moss Stitch Border seems a little scary):
Join yarn in any corner.
Round 1: sc evenly around the entire blanket. Work sc, ch 2, sc in each corner st.
Rounds 2-3: sc in each stitch from the previous round. Work sc, ch 2, sc in each corner space.
After round 3, cut yarn and weave ends.
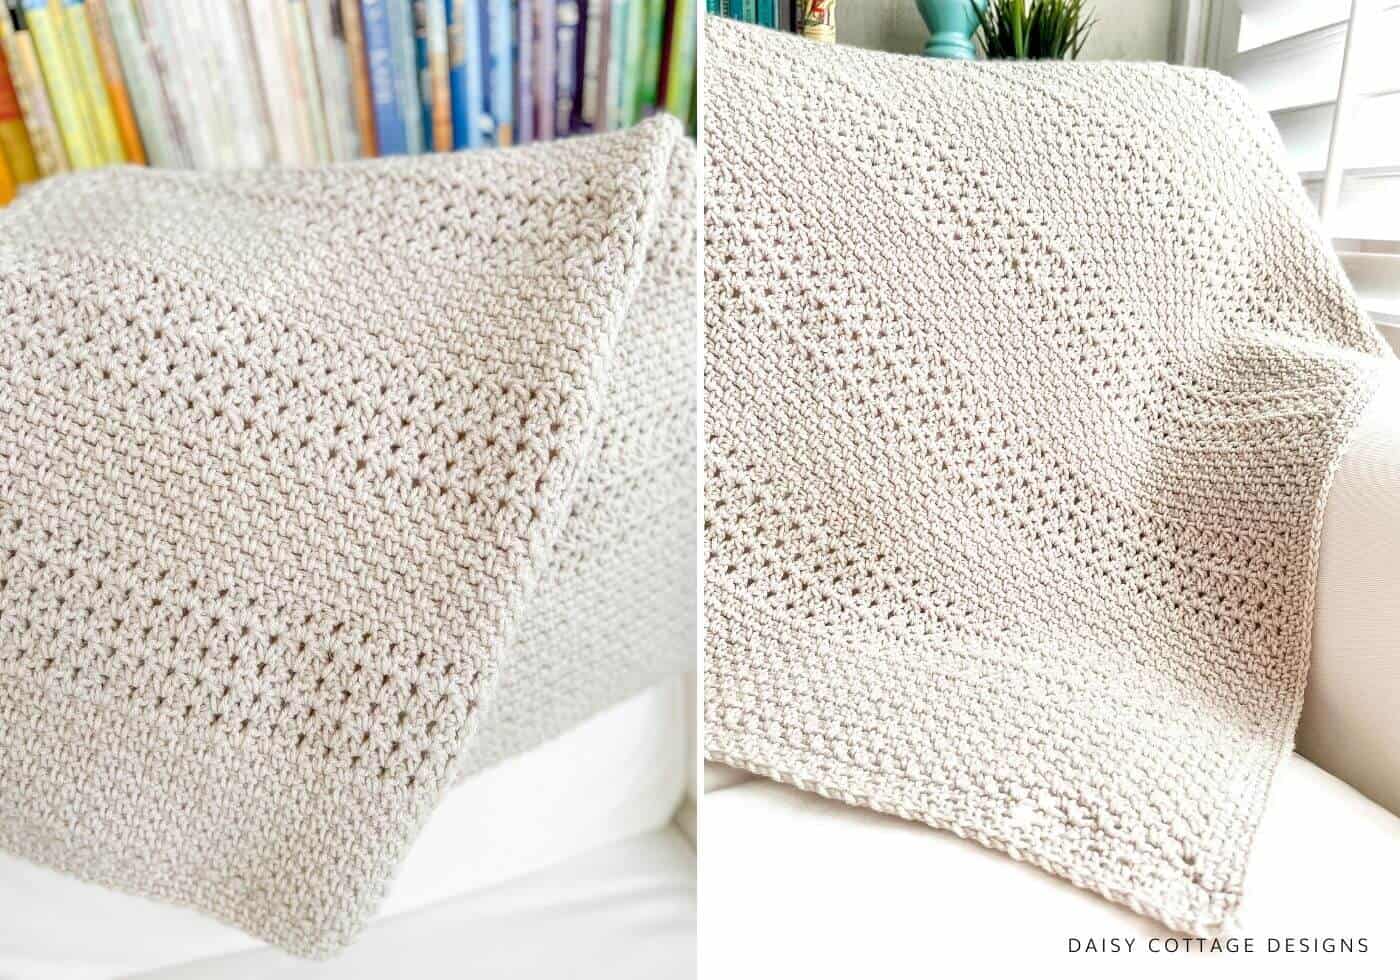
If you’ve made this crochet throw blanket pattern, please tag me in your Facebook and Instagram posts (@daisycottagedesigns or use #daisycottagedesigns). I love seeing the beautiful creations you make!
If you are ready to crochet something else, check out these other free crochet blanket patterns.


Hello
This is a beautiful pattern, its very easy to do, but finished result is so exquisite.
My question is,for part 2, what tension do you reccomend sb used, is somewhat loose better?
Thank you, i love your tutorials and patterns.
In the video you do not change the crochet hook when switching to the double crochet together. Is it necessary to change?
I found it necessary to change to a smaller hook. I did a few swatches and settled on going down 2 hook sizes (based n my natural tension).
Did this make your edges even? I’ve been crocheting for over 20 years and have no issues with my tension. I just can’t get the edges straight when switching from moss stitch to the double crochet.
I absolutely love this pattern! But, when I change to the cluster, I find that it gets wavy. Shoulda I tighten my tension or go down another hook size to help that?
I also had the same. I’m changed to a 6.5mm hook for the moss stitch and 5.5mm for the cluster.
The videos look like cotton yarn is used; has anyone done this pattern in cotton blends?
I want to make the throw blanket so do I do the
15 rows moss stitch (repeat row 3)
Alternate between 5 rows dc2tog stitches (repeat row 17) and 10 rows moss stitch (repeat row 3) until you reach the last 15 rows
Your last moss stitch section will have 15 rows
Until I reach the desired length for the throw?
Thanks
Lesa