Crochet Photography: My Favorite Tips & Tricks
Whether you’re looking to sell your crochet projects or simply share them with friends and family, it’s always nice to learn how to take more eye-catching photos. Use these simple tips and tricks to take your pictures to the next level!
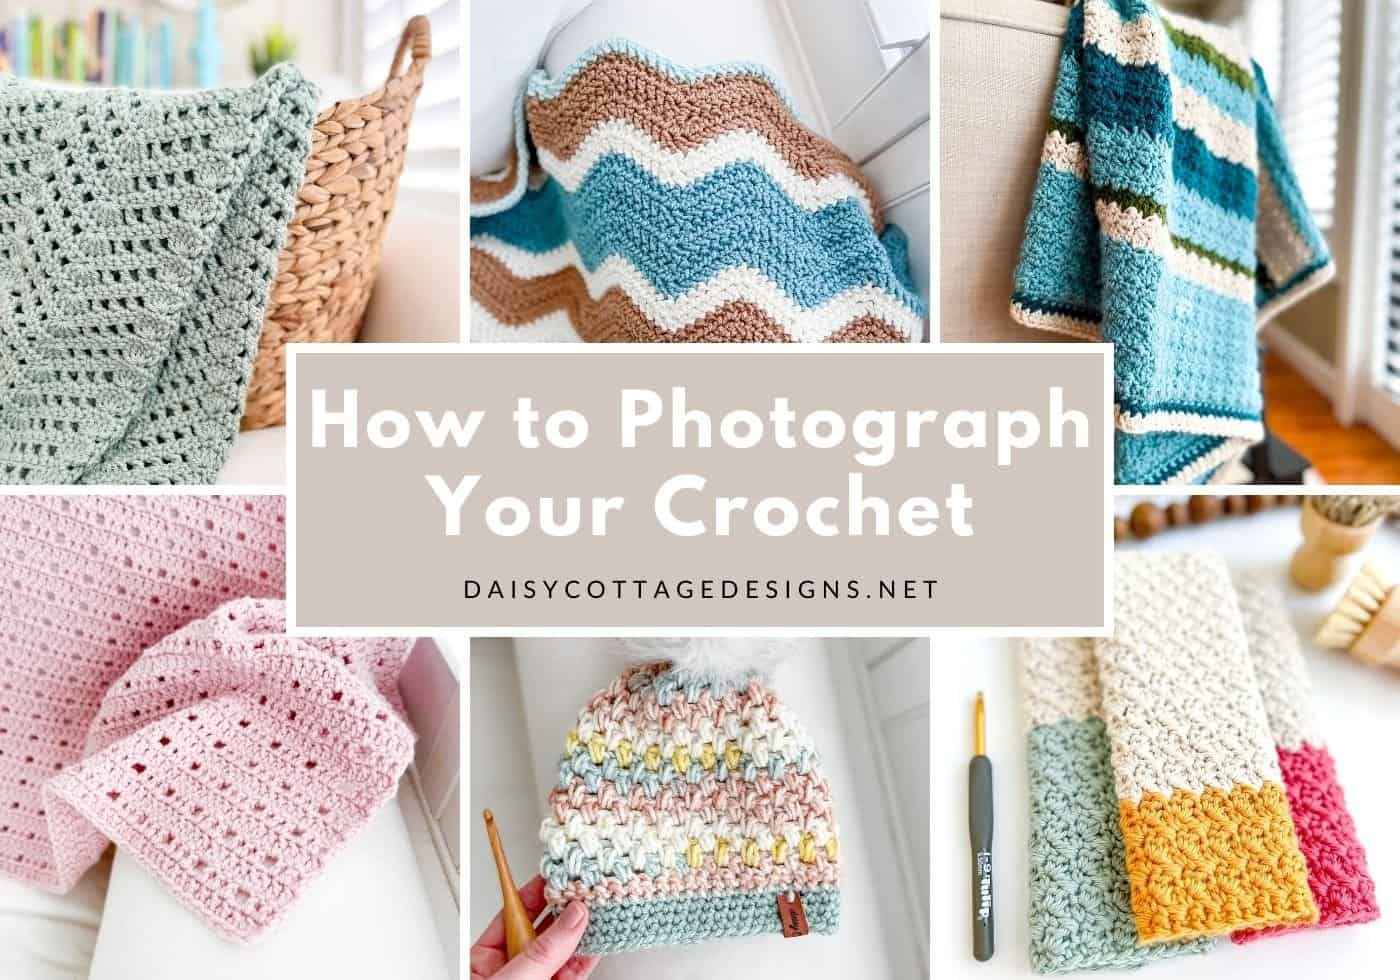
We live in a visual world. We’re surrounded by beauty in stores, online, and on social media. Sometimes those bright, beautiful photos that we see on Instagram or Pinterest feel unattainable for those of us who might not have the most expensive gear or editing software.
I’m here to tell you that with your smartphone and a free app, you’ll be able to take your photos to the next level (and beyond!).
Maybe you want to sell your items on Etsy or another marketplace, so you need great pictures to showcase your work. Or, maybe you just want to find a community of other crocheters and help inspire them with your makes.
Either way, good photography is helpful. Below you’ll find my top tips and tricks for the best photos possible.
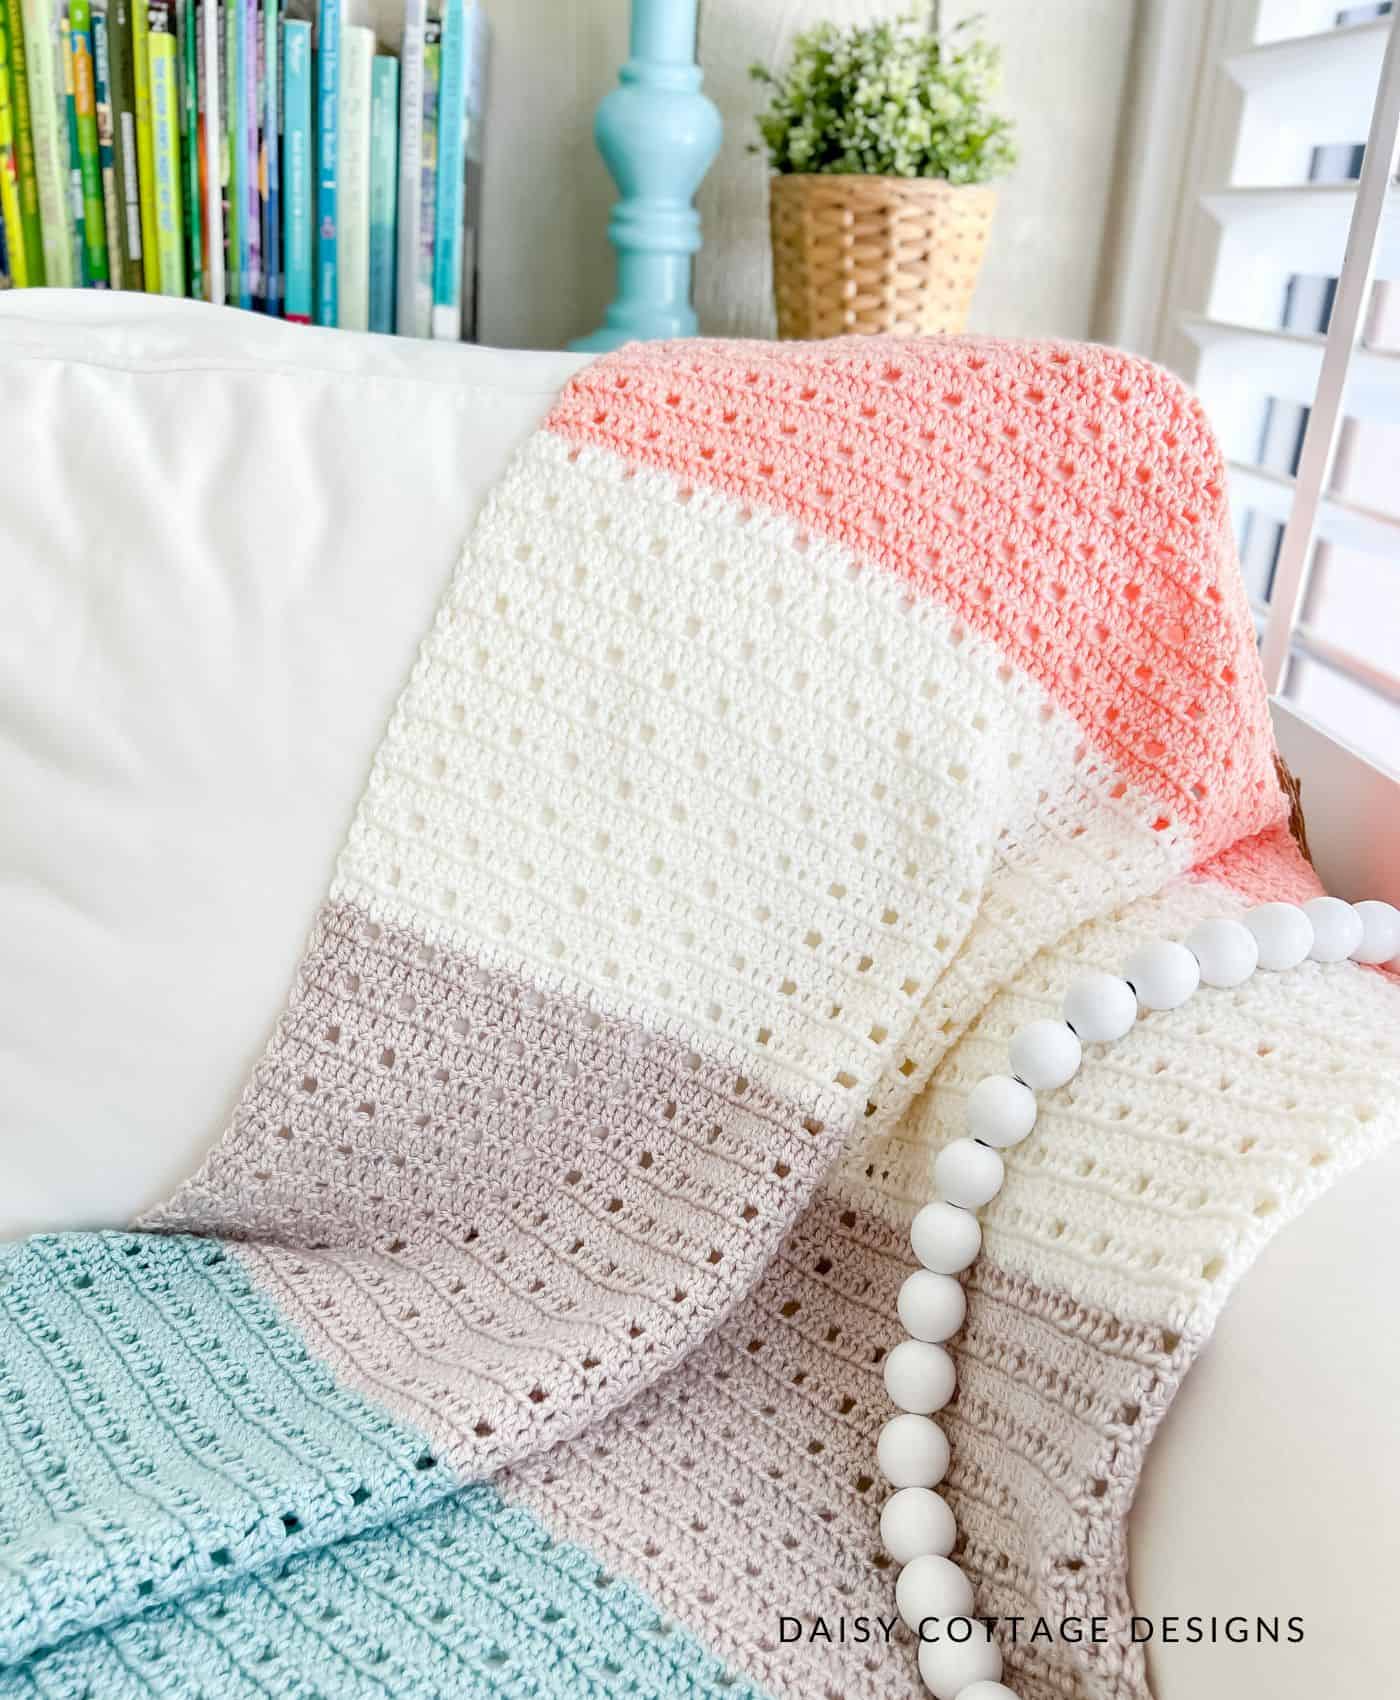
1. Use natural light.
If I could just give you one tip, this would be it. Repeat after me: flash is not your friend. I’m serious, it’s not. Flash has a way of distorting colors and taking away dimension. Let’s just promise ourselves we’ll wait for a sunny day and never use flash, ok?
When you’ve found that natural light, put it at your back or to your side. Set up your products in front of a window, but position yourself between the window and the products. Alternatively, put the window to the right or left of you and your product.
2. Don’t use the zoom feature on your phone.
Rather than zooming in by pinching on your screen, move closer to what you’re photographing. You can adjust the frame later by cropping it just how you want it. You can always crop in closer, but you can’t widen the shot.
3. Adjust the camera settings.
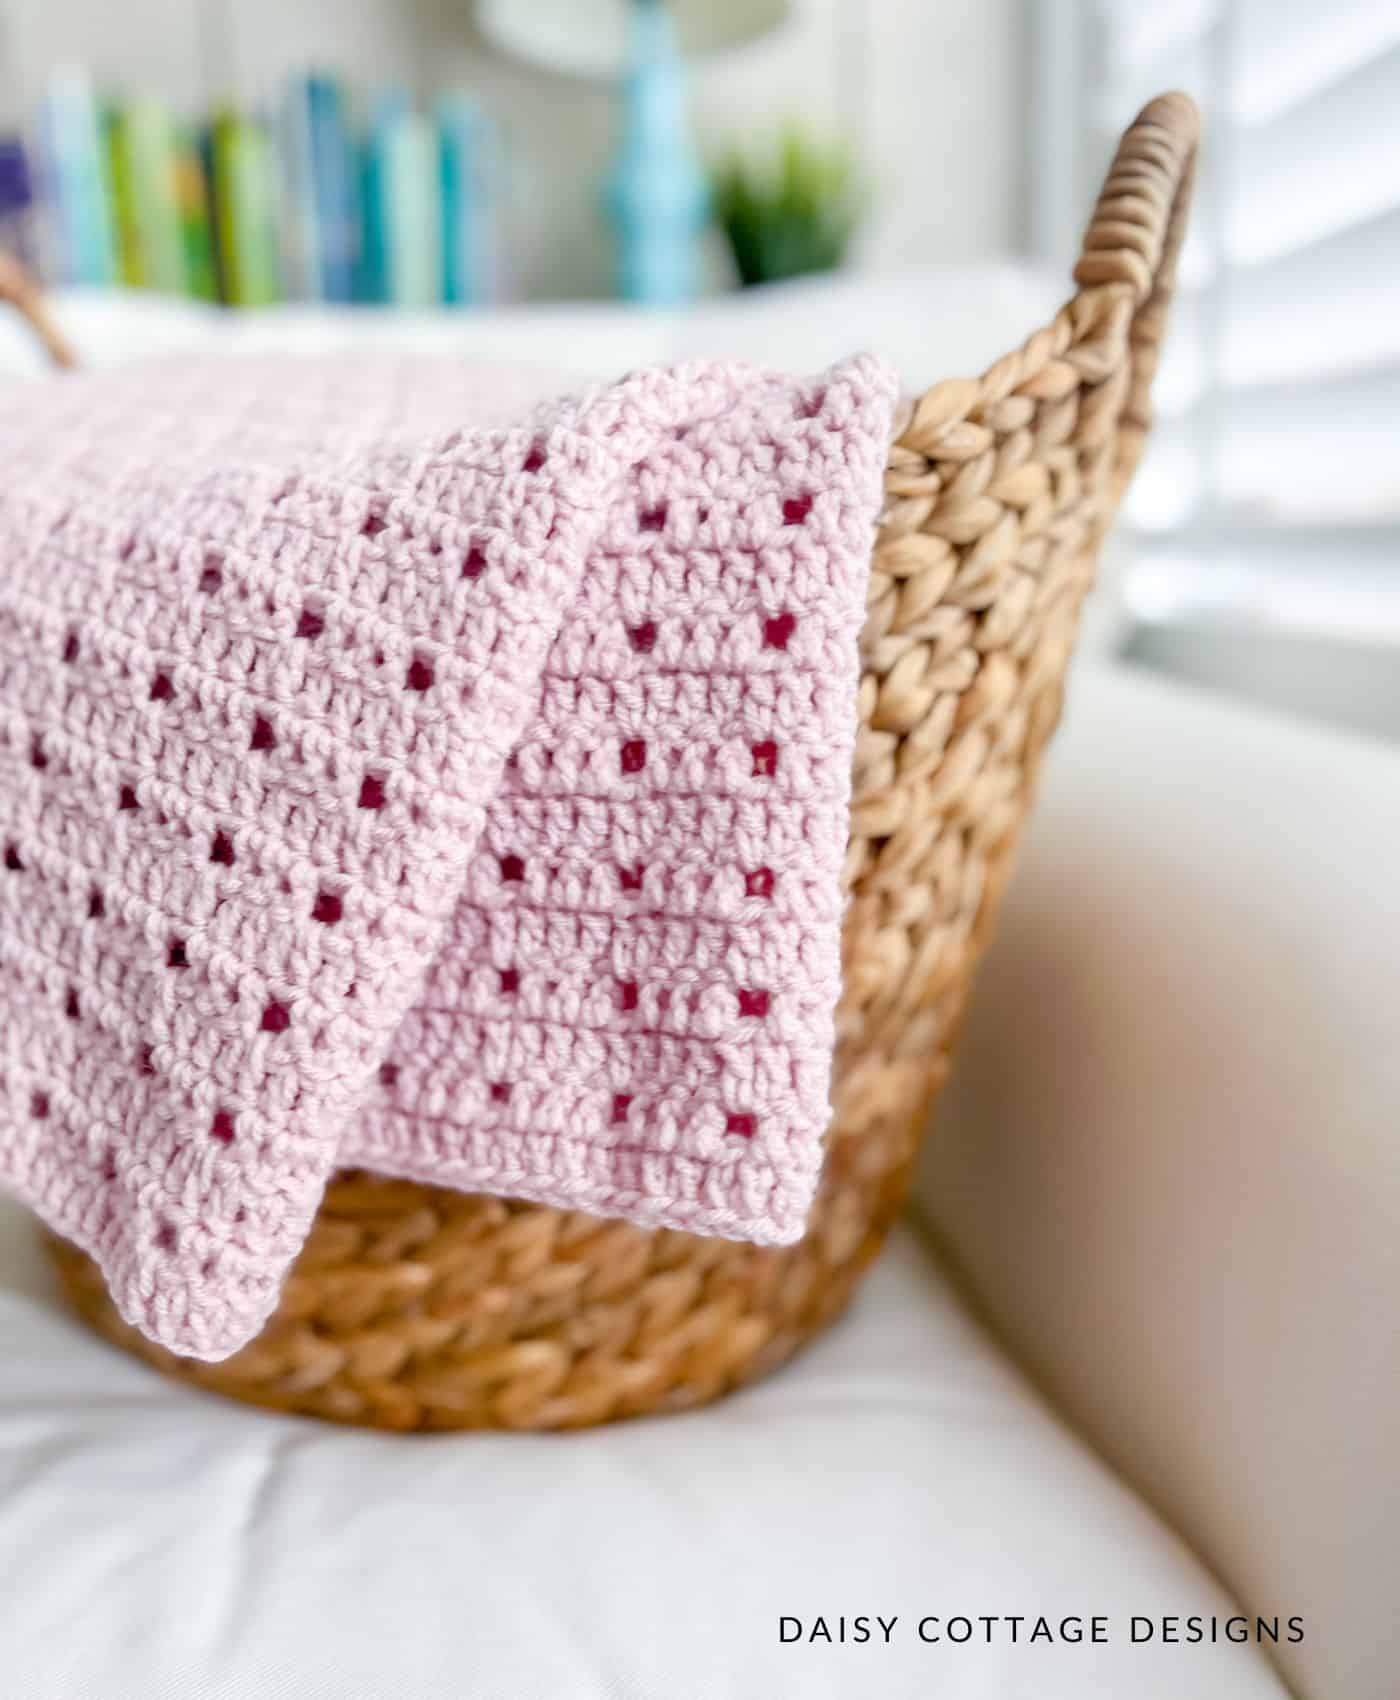
Smartphone cameras are amazing these days, and there are so many settings you can change. Adjust your exposure (how bright a photo is) and consider switching to portrait mode (this gives you a nice blurred background and keeps your crochet project in focus) to make your photos look even better.
You can see in the photo above that the books in the background aren’t in focus. This is achieved by using portrait mode and allows the eye to be drawn to my blanket.
4. Clear the frame.
I’ve been known to rearrange a room to get a great shot. While that’s a little over the top, it is a good idea to push the clutter out of the way and allow your work to be the focal point. Thankfully, using portrait mode is also effective in “clearing the background” of your photos.
4. Use a background.
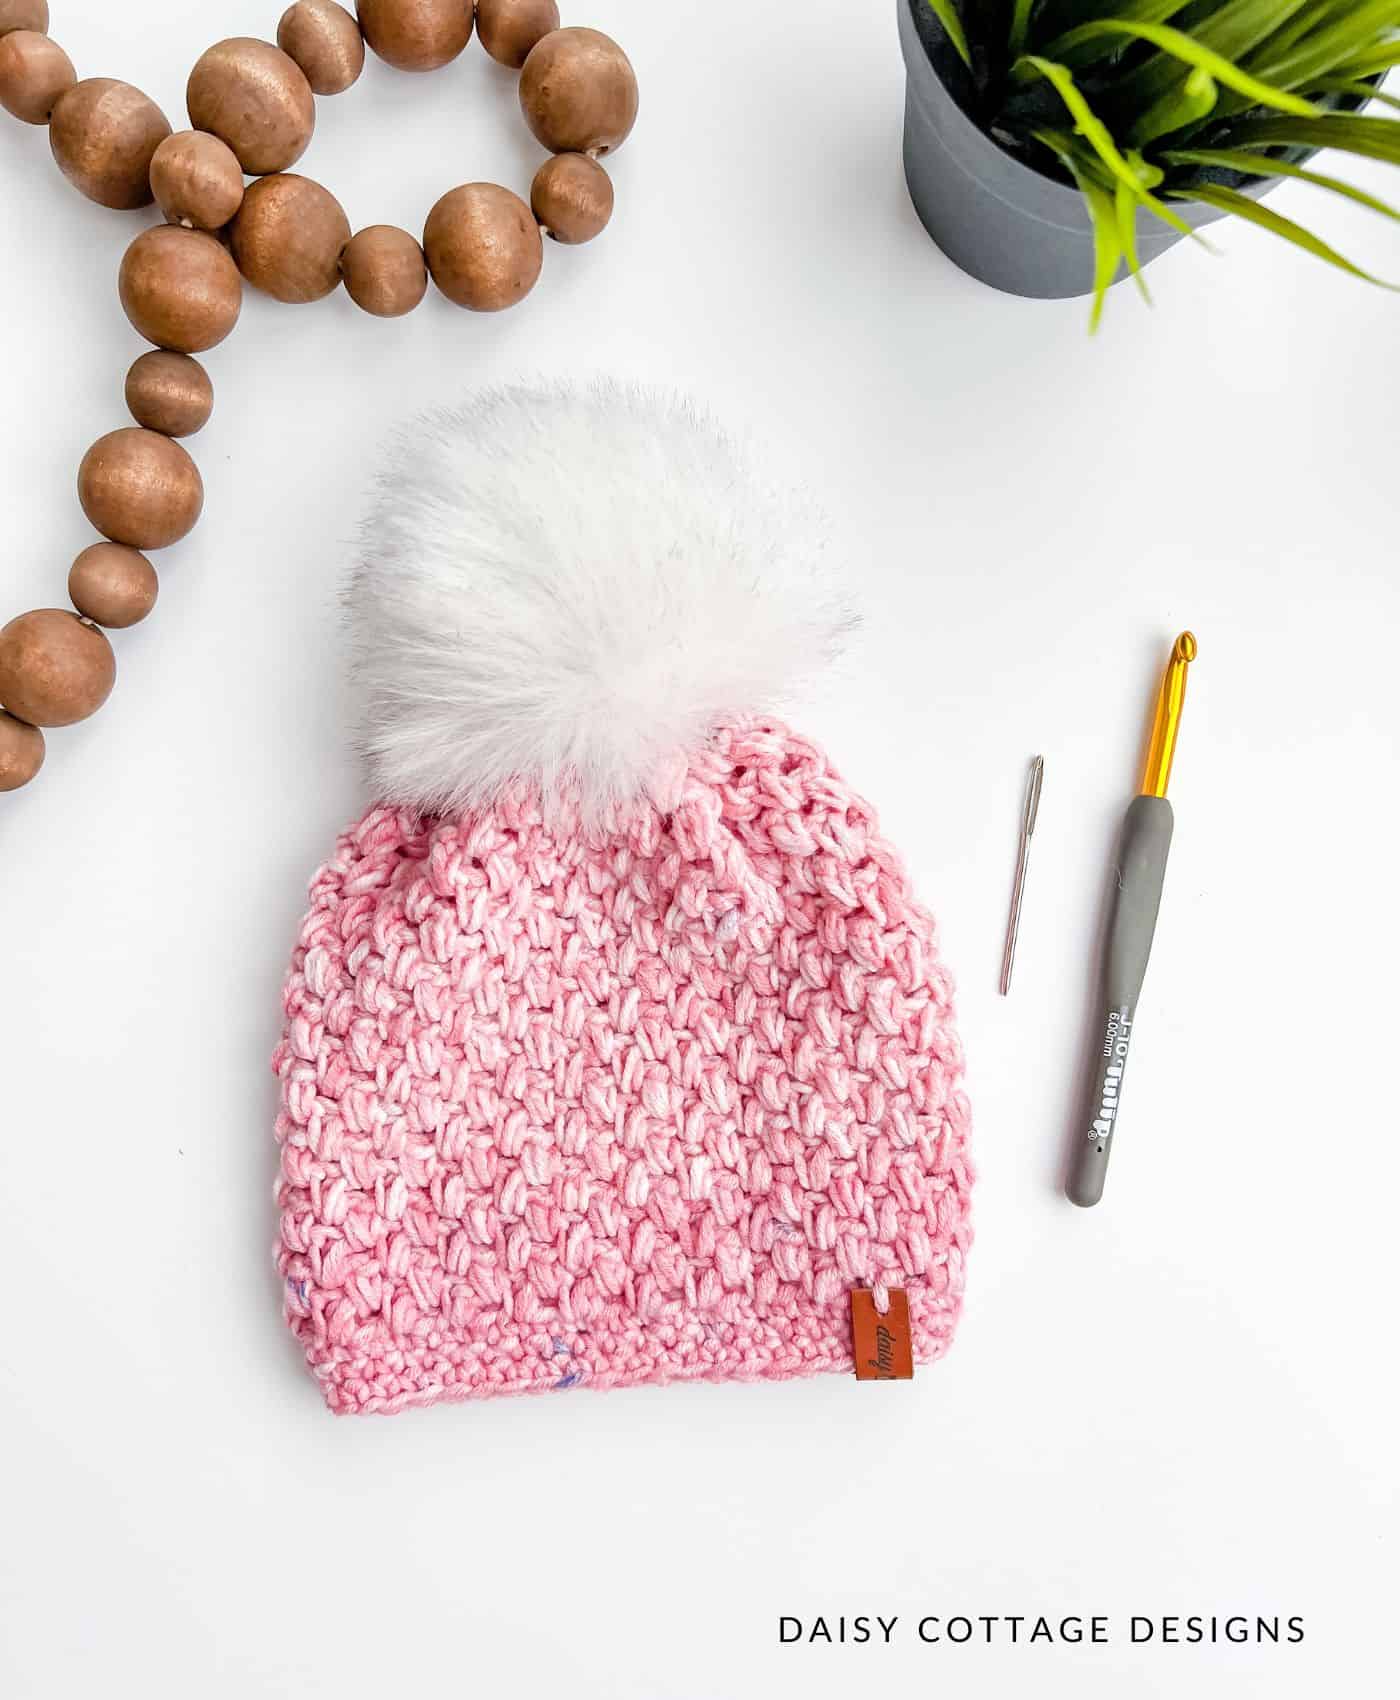
Maybe you have floors that are the perfect neutral shade and you’re able to use those for your product photography flat lays. Or, maybe you’re like me and you have dated floors that don’t do much to enhance your photos. Either way, consider purchasing a few items to use as backgrounds for your photos. I love my faux fur rug and my plain white backdrop (poster board works great). They give my photos a consistent look, and make my crocheted hats and blankets pop.
If your couch or chair isn’t a color that will make your crochet project pop, drape a neutral color blanket or sheet over the part in the photo.
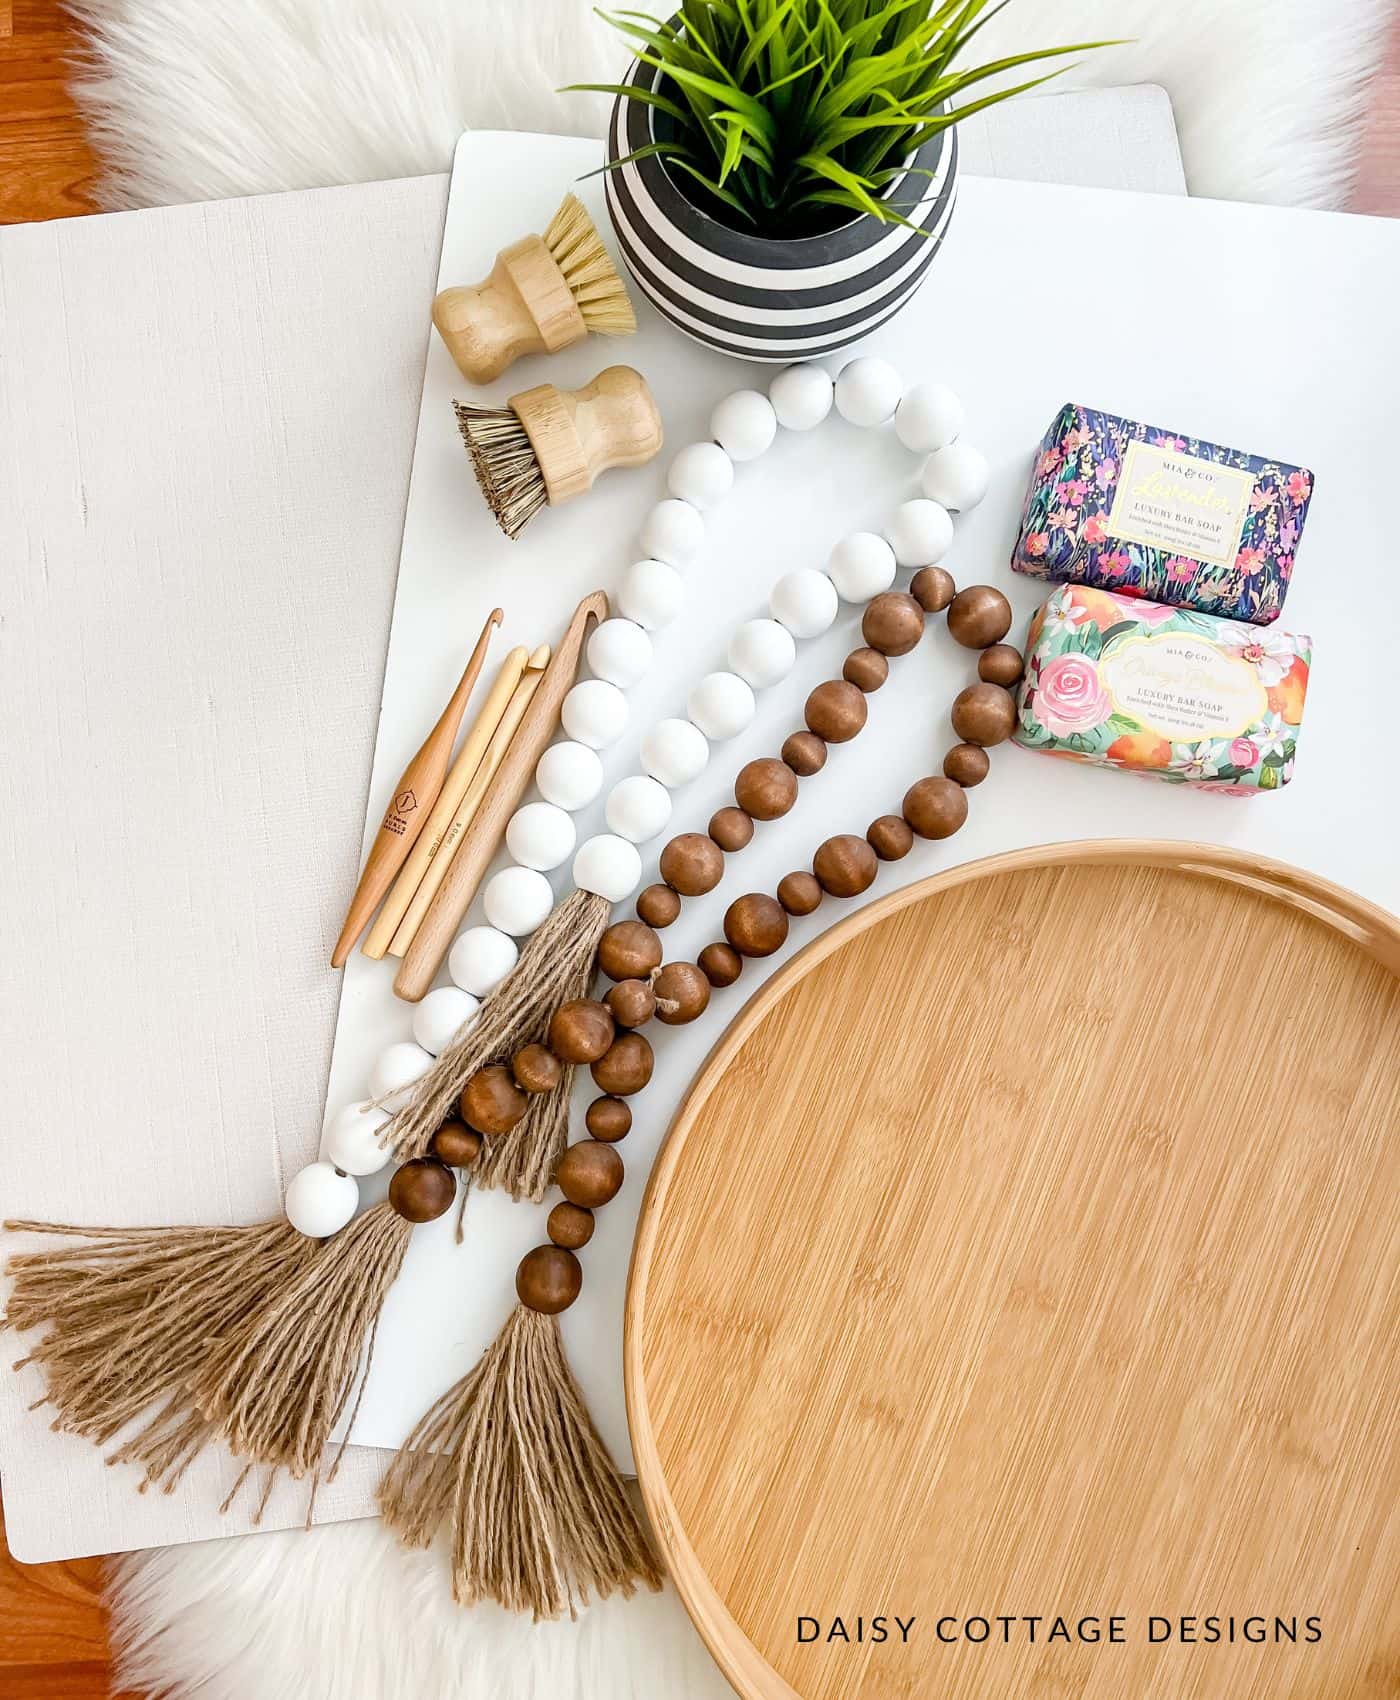
5. Style your photos with props.
Adding layers to your photos adds visual interest. I like to have baskets, plants, beads, pretty crochet hooks, and other items handy to add a little dimension to my photos. I love finding these items at places like TJ Maxx or Ross. Again, be sure that your product takes the show. You don’t want your staging to detract from your object.
I used to think I needed to have a bunch of each item, but that became a storage nightmare. You know what? Now I use the same basket for almost all of my blanket photos. It’s ok to use the same props for your almost all of your photos. Believe it or not, it will give your photography consistency.
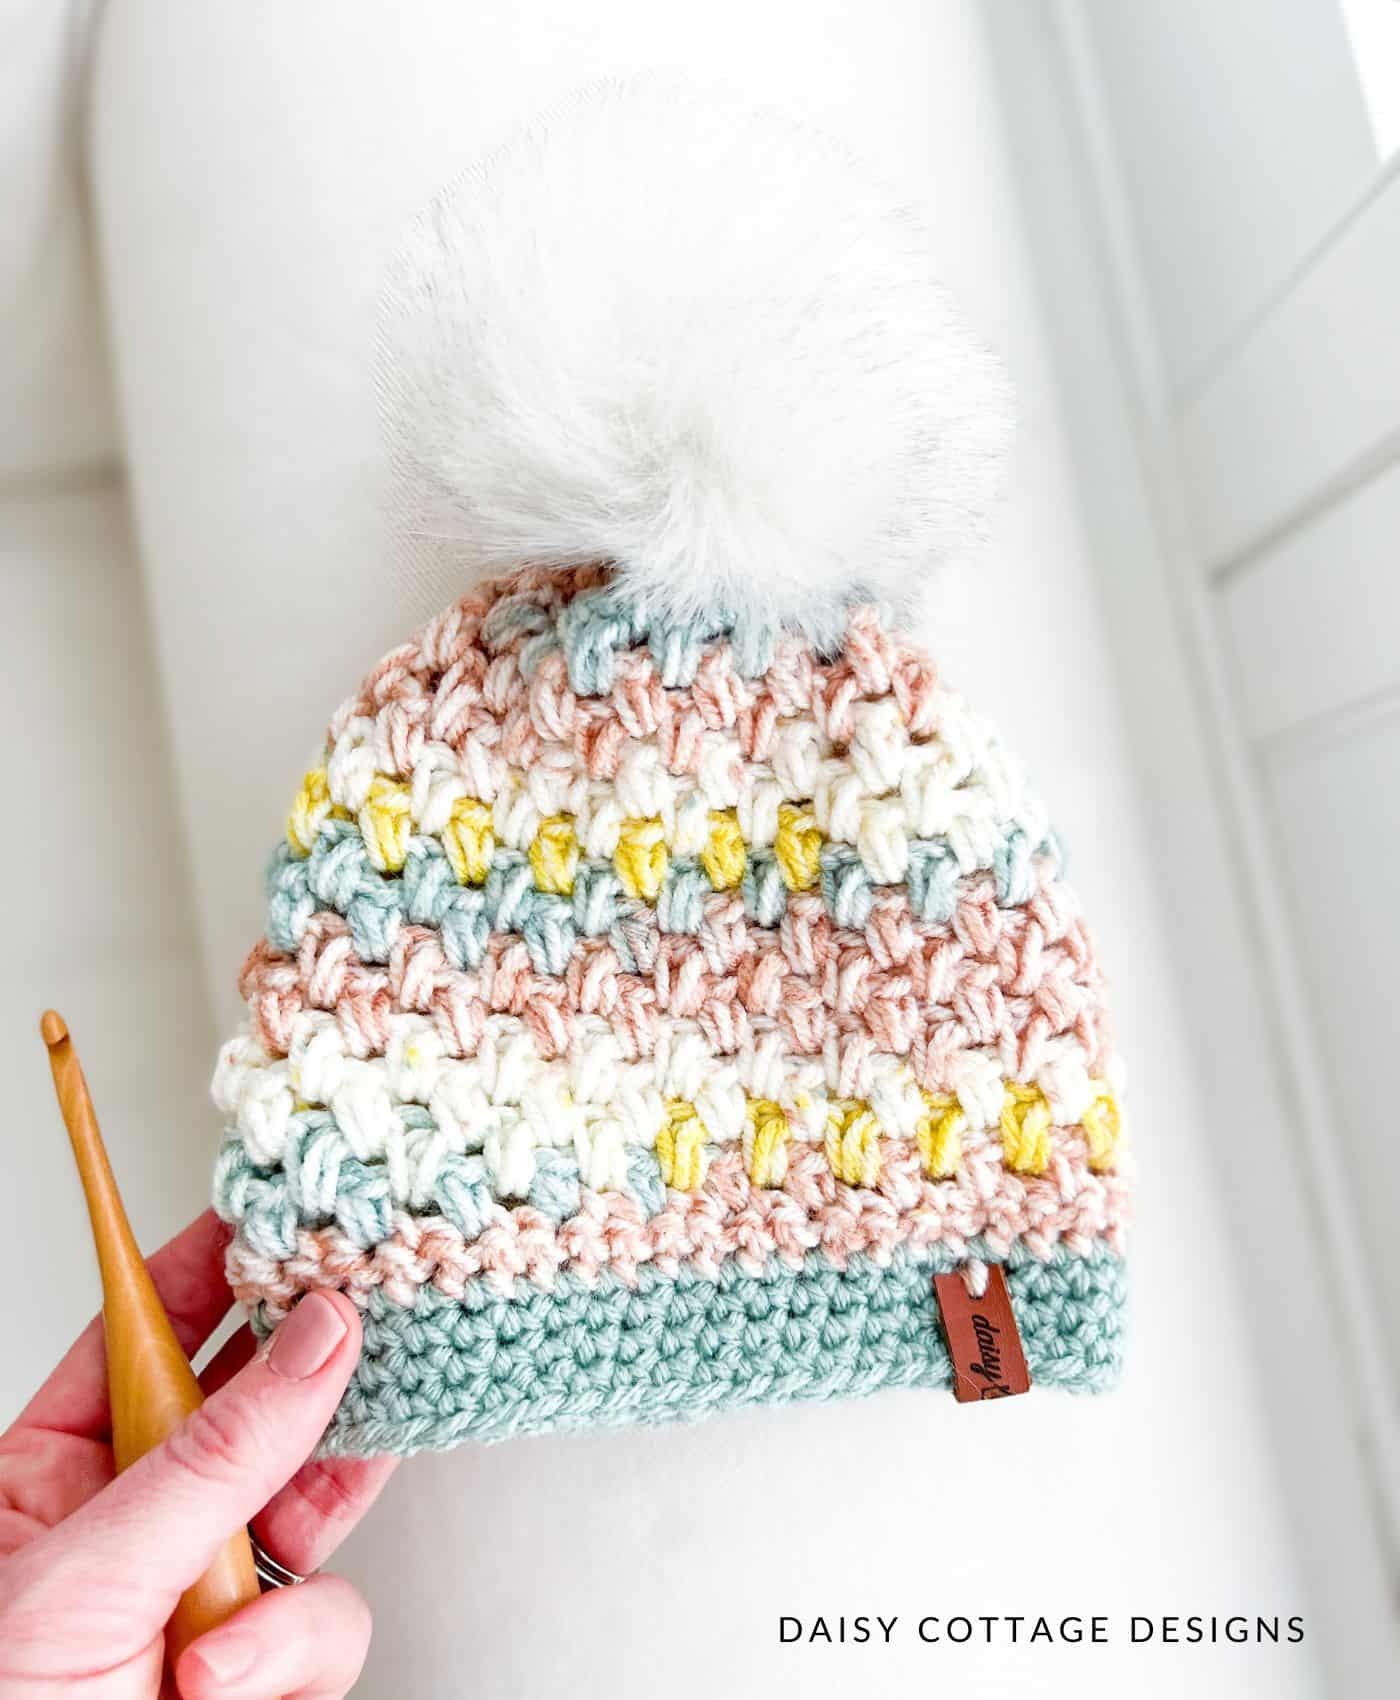
6. Use a variety of “poses.”
I like to drape my projects over the arm of a chair or couch, fold them, hang them over a basket, lay them out flat, etc. Believe it or not, I have a checklist on my phone of all the “poses” I want to capture on photoshoot days.
Not ever position works for every item that I make, but I do what I can. While you can’t really hang a hat over the side of a basket, you can lay it over the arm of a chair and get a really cool shot.
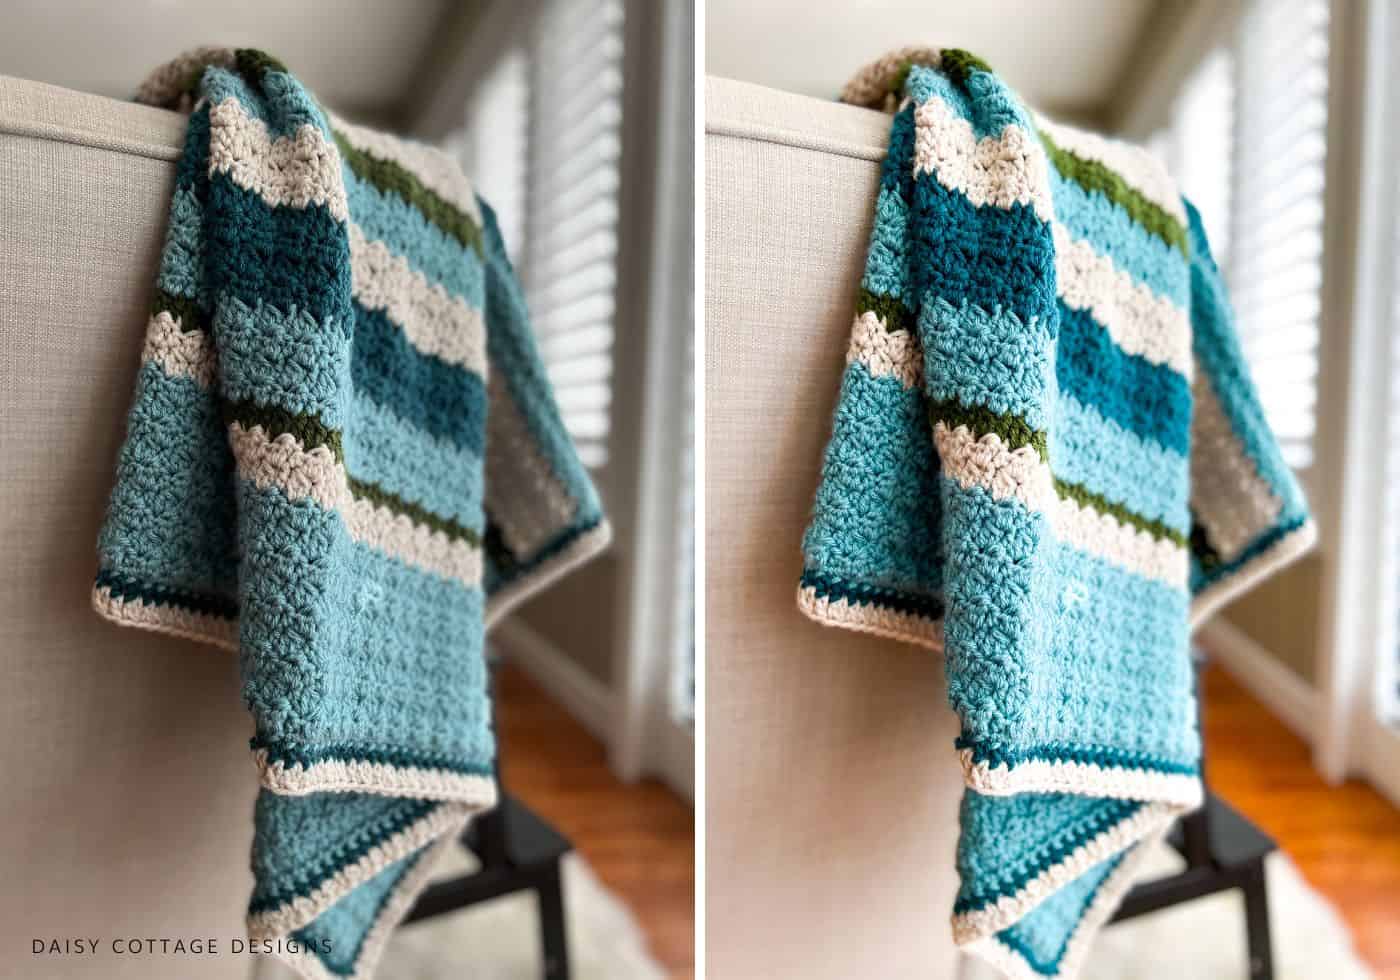
7. Edit your photos.
I think some people are hesistant to use filters on their photos, and I totally understand that. You want your photos to look natural. But, brightening up a photo using a quick tap of a button on your phone is a great way to instantly make your photos more appealing.
My favorite way to edit photos is using the Lightroom Mobile app. This free app is a handy little tool that allows you to edit photos quickly and easily. You can find presets that allow you to edit photos with the click of a button. If you search for “Lightroom Mobile Presets” on Etsy, you’ll find hundreds of options.
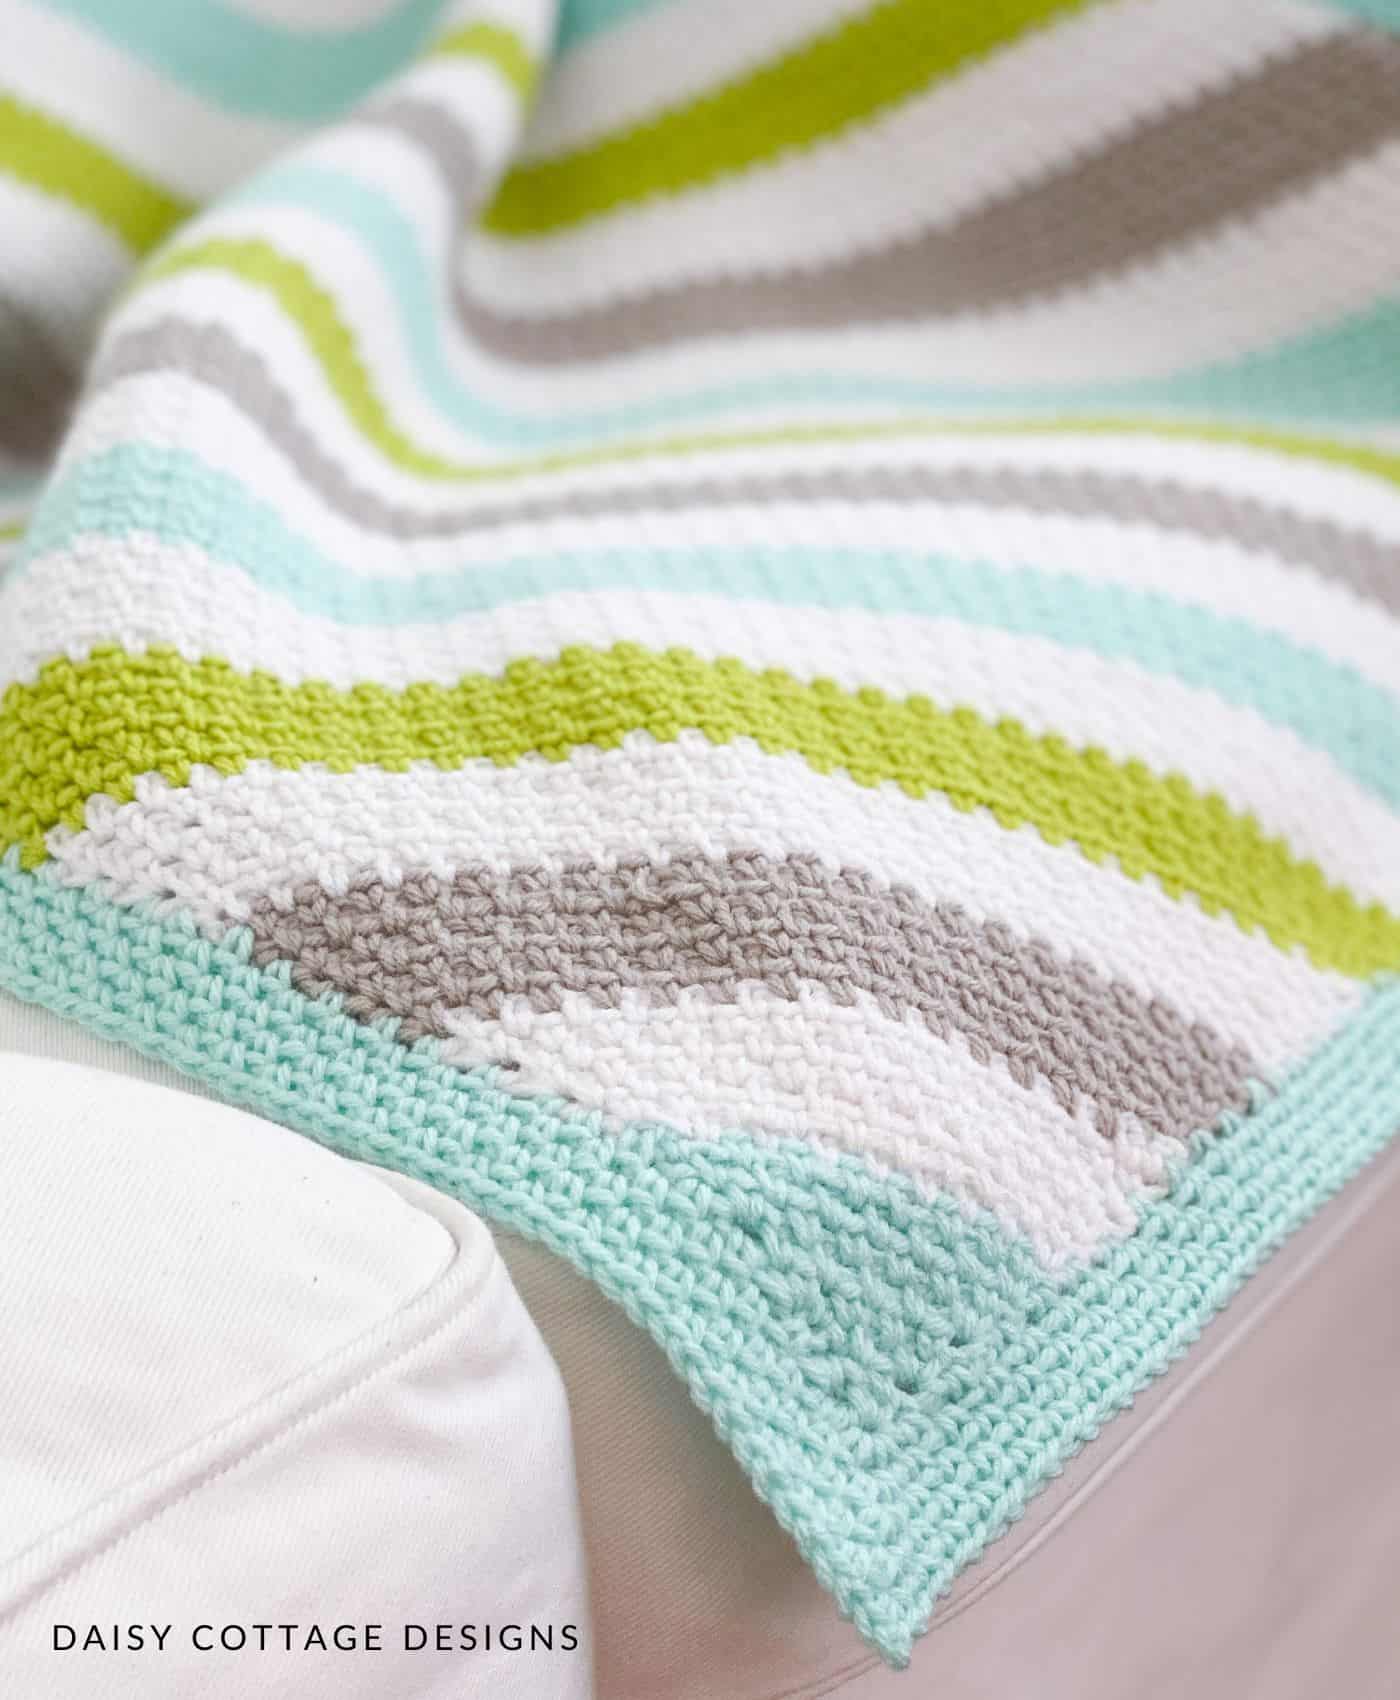
I’ve created my own Lightroom Mobile presets that I use on my crochet photography. They’re available in my Etsy shop if you want to take the guesswork out of editing your photos. The photo above gives a small idea of what these 16 presets can do to your photos.
8. Experiment and have fun!
Try new ideas. Use fresh props. Experiment with different angles. Photography is one of my favorite aspects of the work that I do. I love finishing a new project and setting up for “picture day.” It took me years of playing and tweaking to find my “style.”
Keep taking photos and trying new ideas until you find your sweet spot! When you do, photography may just become one of your favorite aspects of your crochet journey.

Thank you got your tips
Great ideas! Thanks!
Good morning and thank you for all the great tips. As a crazy gramma who takes endless photos, I did not realize that I have favorite places for many photos. I thought your tip on consistency was so true and a sure thing because you get used to the spot or item or place . It doesn’t matter if you use the same props as it’s the item you want to see. That was another great tip. My favorite though was have fun , spontaneity may not always work but I think it can get the best shot. That would apply to photos with people in them. Thank you for your love of crochet and your endless sharing ( including your family) I follow or watch a lot of sites and yours is very informative, free , have not seen an error yet, your are down to earth and very natural . Your blanket stitches are phenomenal my very favorite of all is your gingham patterns , so genius ❤️❤️🎶
Great tips! I’ll be trying them out. Thank you, Lauren!! 🥰
Love the photo tips. I have been taking photos outside and it is just a bit too “busy”….will try the interior filtered natural light. I looked at the app options and am wondering if you pay for the app? I am not a resaler so am just trying to document my projects. I don’t really want to subscribe to a service I will use only occasionally. Can you please tell me which exact option on the app you use?
I love your patterns for their simplicity and freshness. I shared your web site with my adult daughter, whom I taught to crochet, and she loves the contemporary feel of your patterns.
I prefer to crochet in acrylic rather than cotton as I haven’t found a soft cotton that will slip easily on a hook – do you have recommendations?
Thank you so much for creating such lovely patterns!
Allison
Fabulous tips Thankyou and your photos just fabulous 😍
Thank you for such wonderful tips. I have always wondered how crocheters and knitters get such lovely photos. Great tips and I’m making some adjustments per your tips
I love all of these tips. A lot of them I would have never thought about using. Thanks for the information.
Thank you Lauren! This is a helpful post. I take pictures of all my projects but never feel like the camera does them justice, especially on the color. I’ve had several people tell me I should sell my creations, but this is one area that has held me back. Off to purchase some poster board and props!