Corner to Corner Crochet Blanket Pattern, The Sunrise Sorbet Blanket
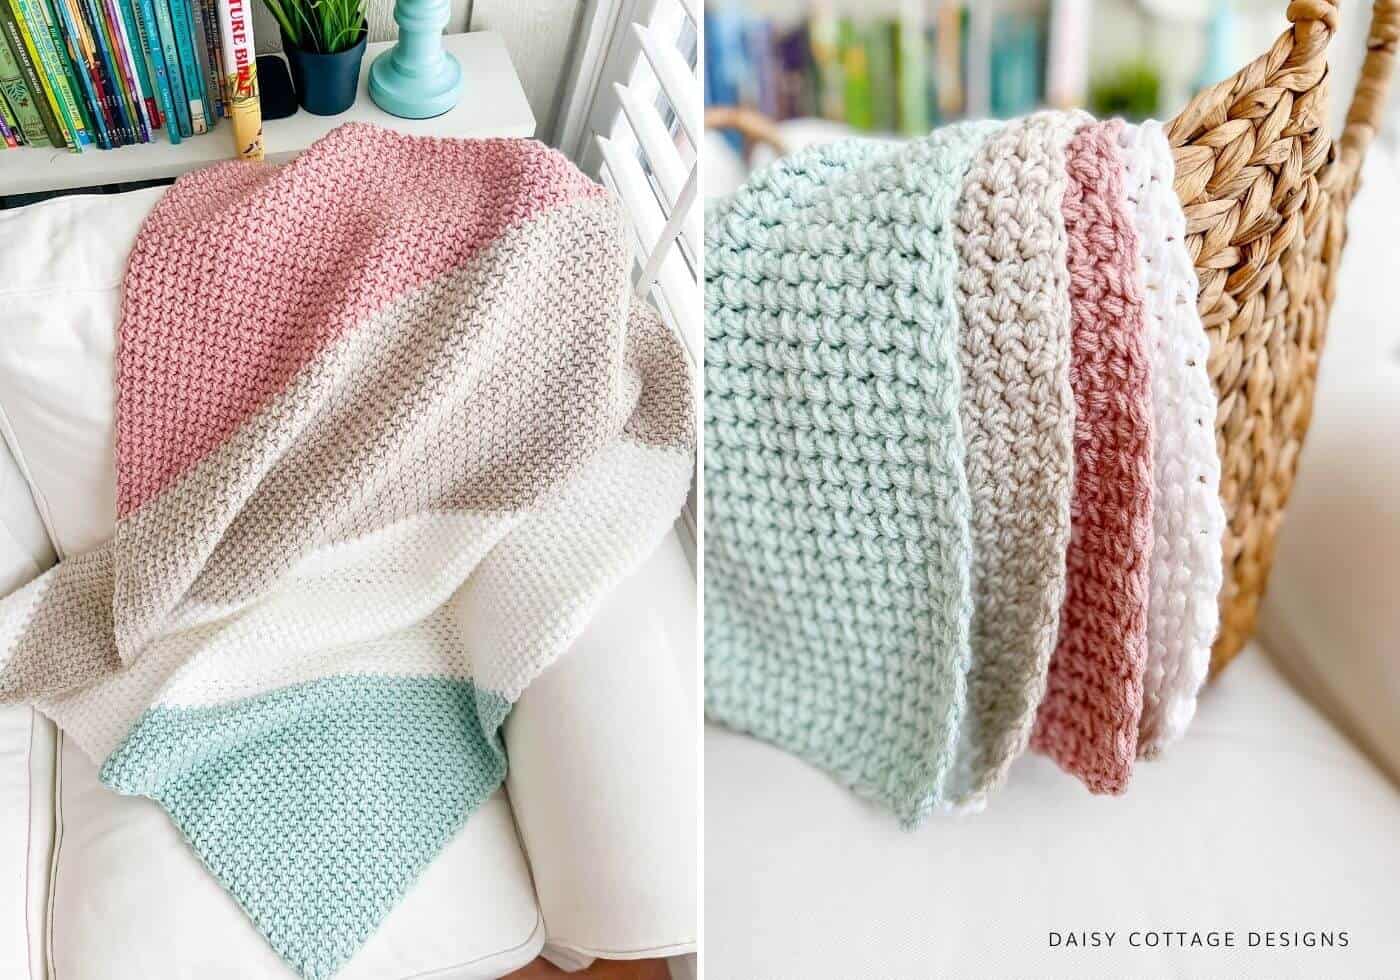
Corner to corner crochet is a fun trend that is growing in popularity. Many people make beautiful graphgans using the traditional c2c stitch, but this project is different.
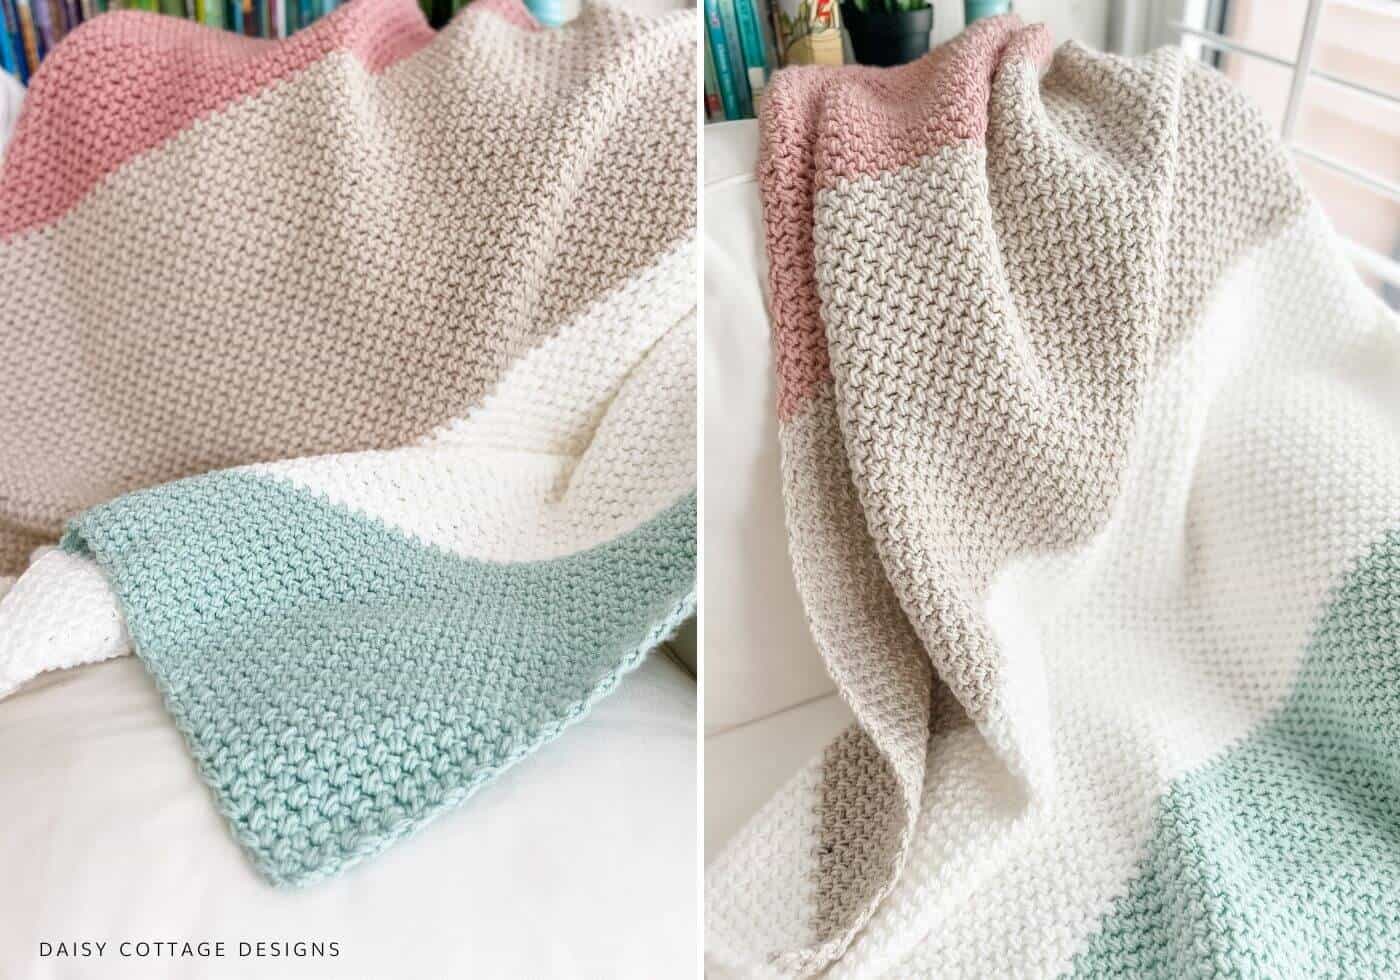
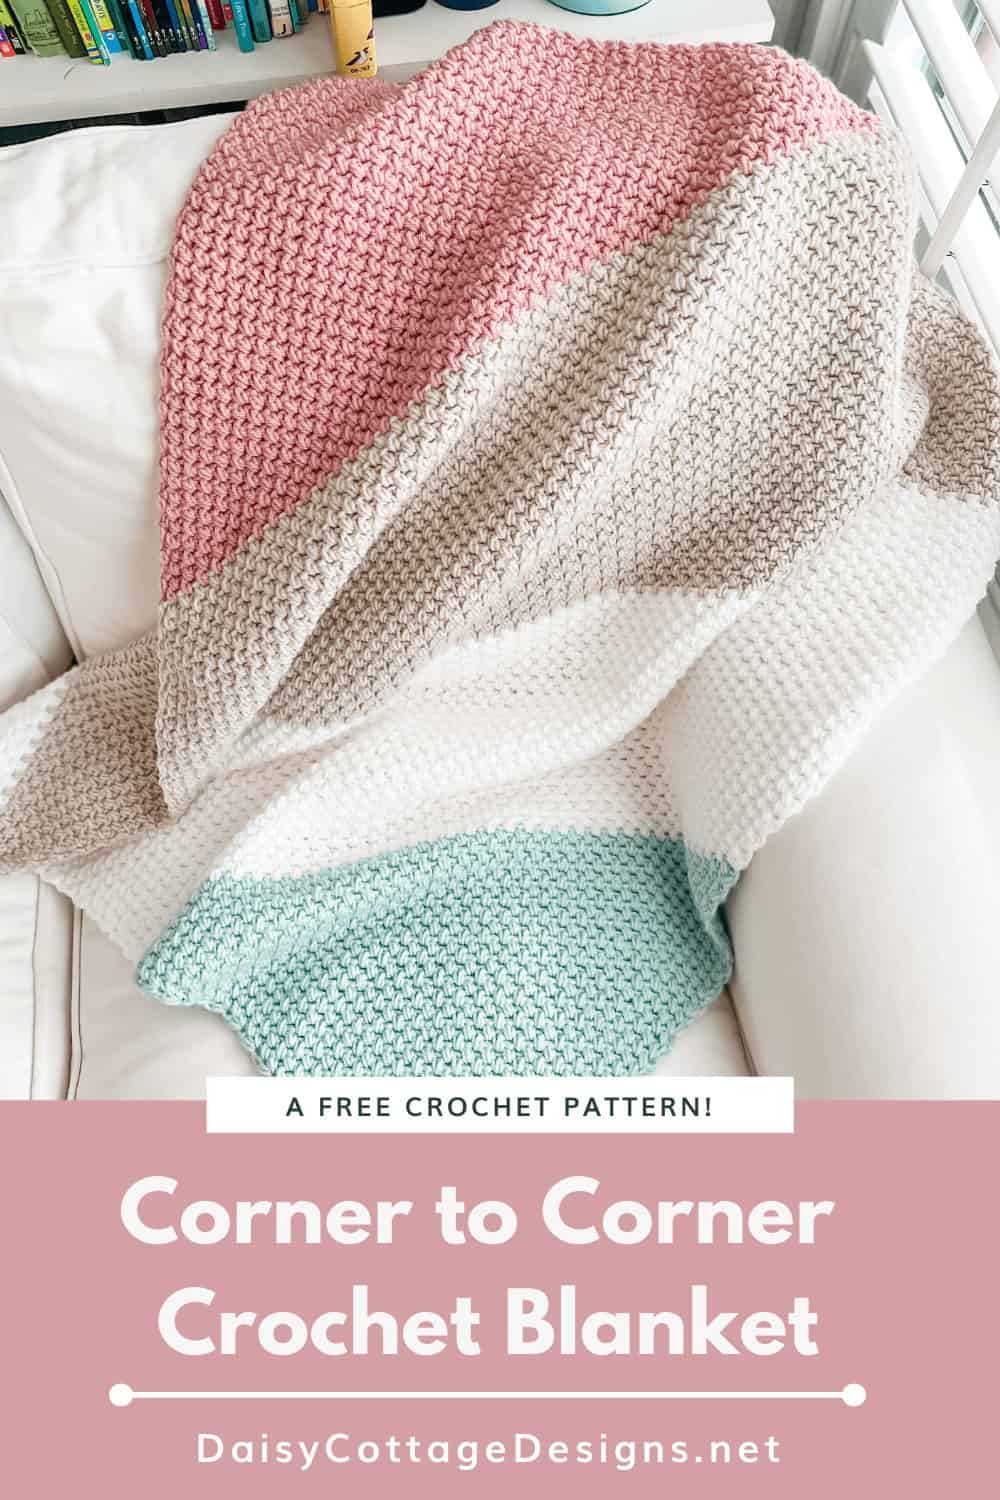
Instead of using little squares, this pattern uses a fun stitch pattern worked in diagonal rows to create a beautiful color block, crochet blanket.
There are many fun corner to corner blanket stitches. The C2C Moss stitch blanket is a favorite of mine – this free pattern is great for baby blankets!
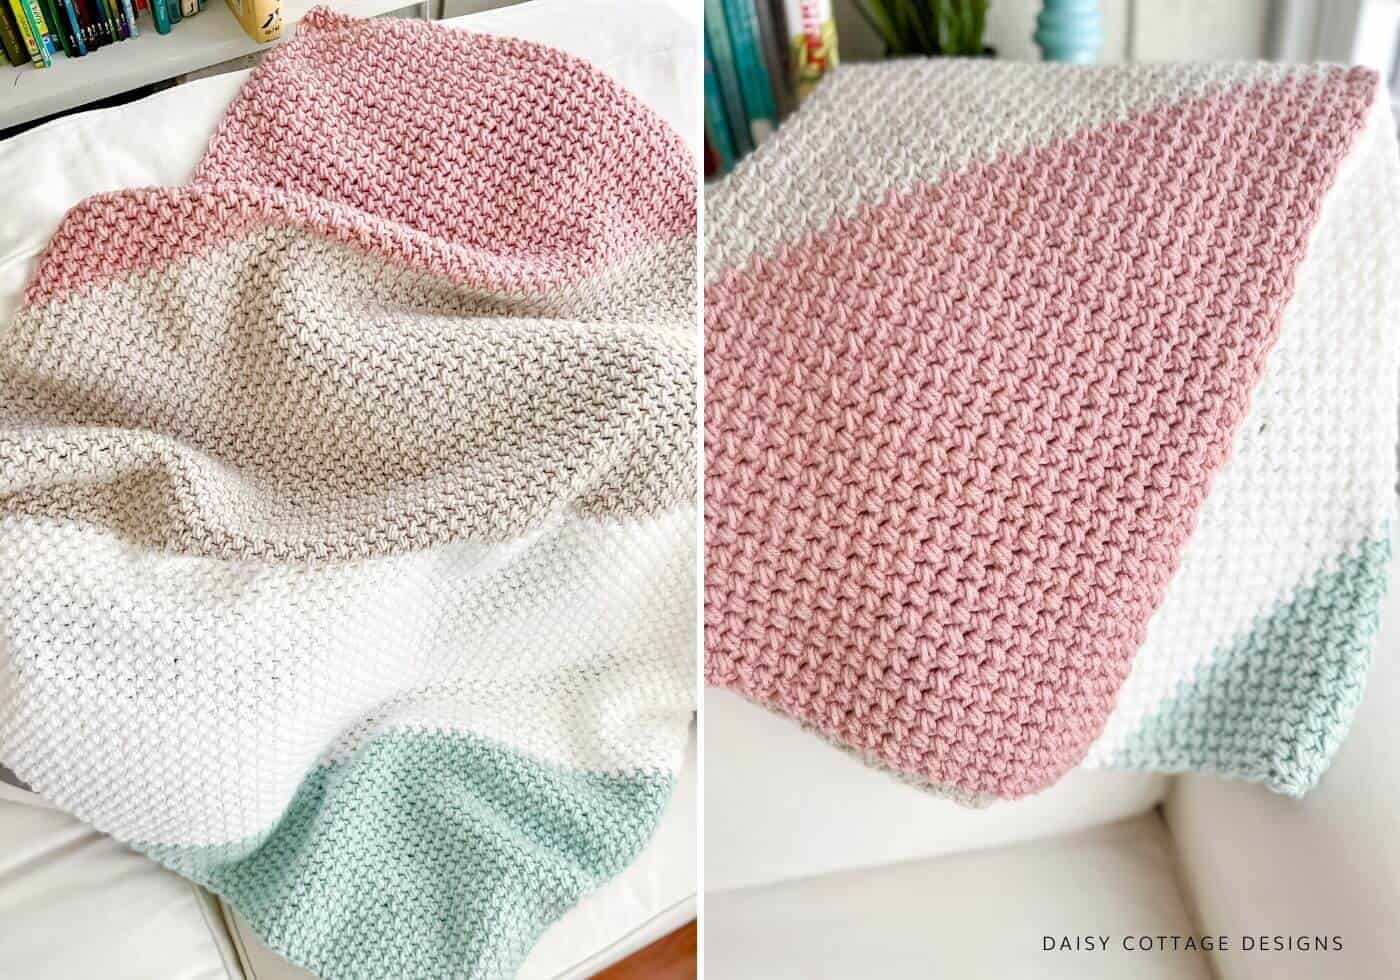
C2C projects can seem a little intimidating at first because we crocheters are used to working in horizontal rows. However, the video tutorial and written instructions included with this pattern will help you master this corner to corner technique in no time.
As long as you’re comfortable with the basic stitches, you will not have a problem with this blanket!
Thankfully, this particular blanket is worked in large blocks of colors which means there won’t be many color changes. If you’re like me, you’ll be happy that there won’t be many yarn ends to weave on your finished crochet piece.
Corner to Corner Crochet Blanket Pattern (The Sunrise Sorbet Blanket)
- Click here to purchase the ad-free PDF version of this pattern.
- Pin this Blanket for Later.
- Text the link to a friend who likes to crochet!
Prefer ad-free, print-friendly crochet patterns?
Materials:
- K/10.5/6.5 mm Crochet Hook (or a J/10/6.00 mm hook if you know you crochet loosely)
- Approximately 1500 yards of worsted weight yarn.
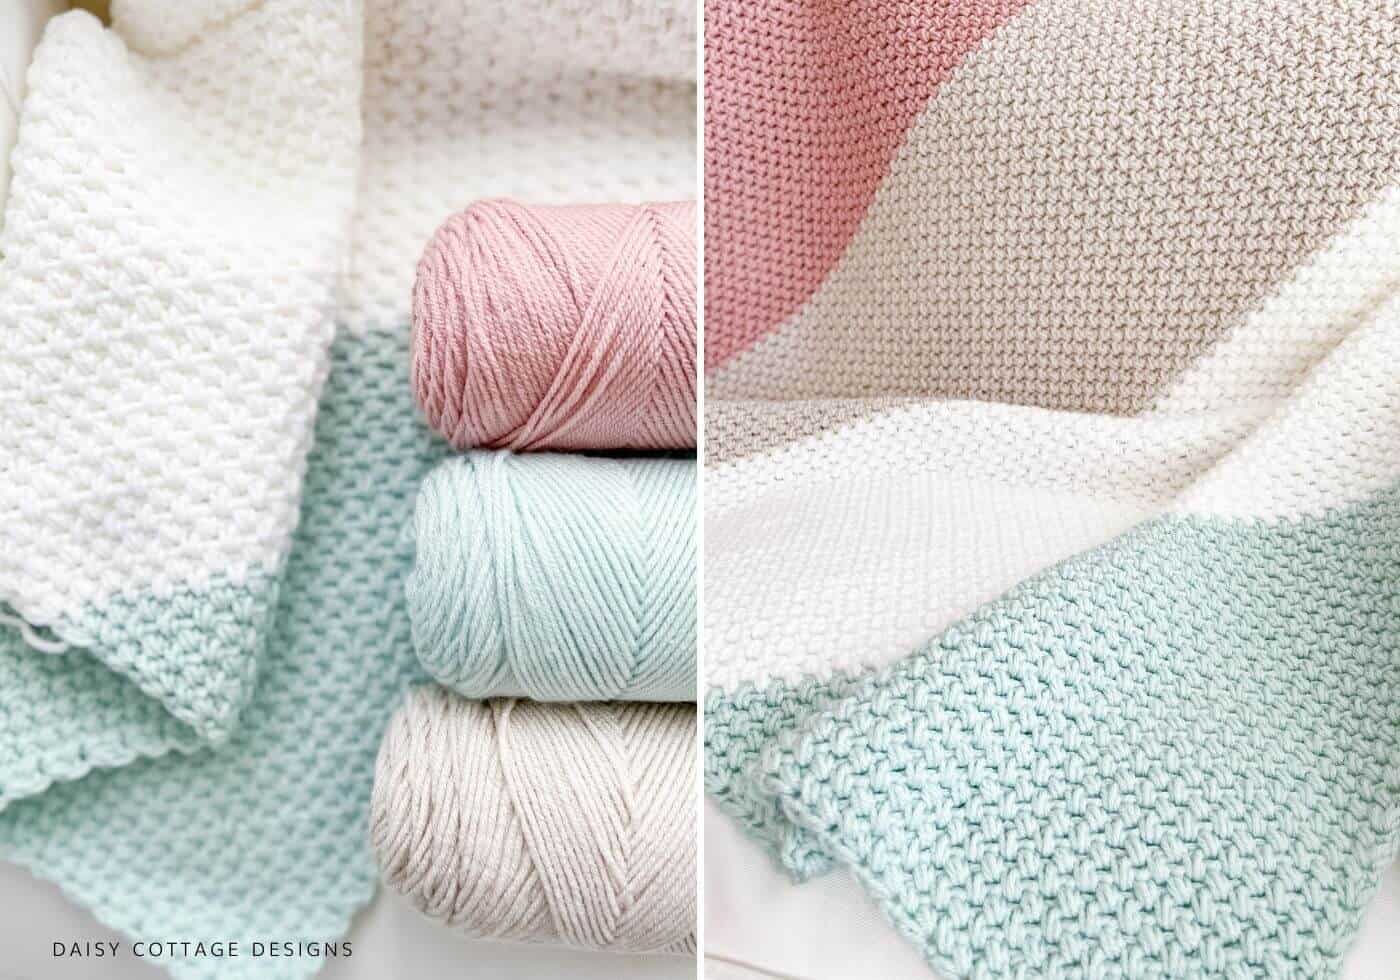
- I used Hobby Lobby I Love This Yarn! in the following shades:
- Glacier (250 yds)
- White (500 yds)
- Linen (500 yds)
- Rosey Cheeks (250 yds)
- 2 Stitch Markers
- Tapestry Needle & Scissors
Pattern Notes:
- This pattern creates a Square Blanket measures approximately 38 inches on each side. Row counts for two other sizes are given at the end of this pattern.
- This diagonally striped blanket is worked from corner to corner in two sections.
- Section 1: this is the increase row section of the blanket. . The blanket will grow in width and in length. When you finish this section, you’ll have a triangle.
- Section 2: you’ll take your triangle and turn it into a square. This is the decrease row section.
- Your work may fan out some on the sides and you will probably think your blanket won’t be square. Keep going. It’ll be square when it’s finished.
- This video tutorial will walk you through how to make this blanket. It is especially helpful if you find the first couple rows a little tricky.
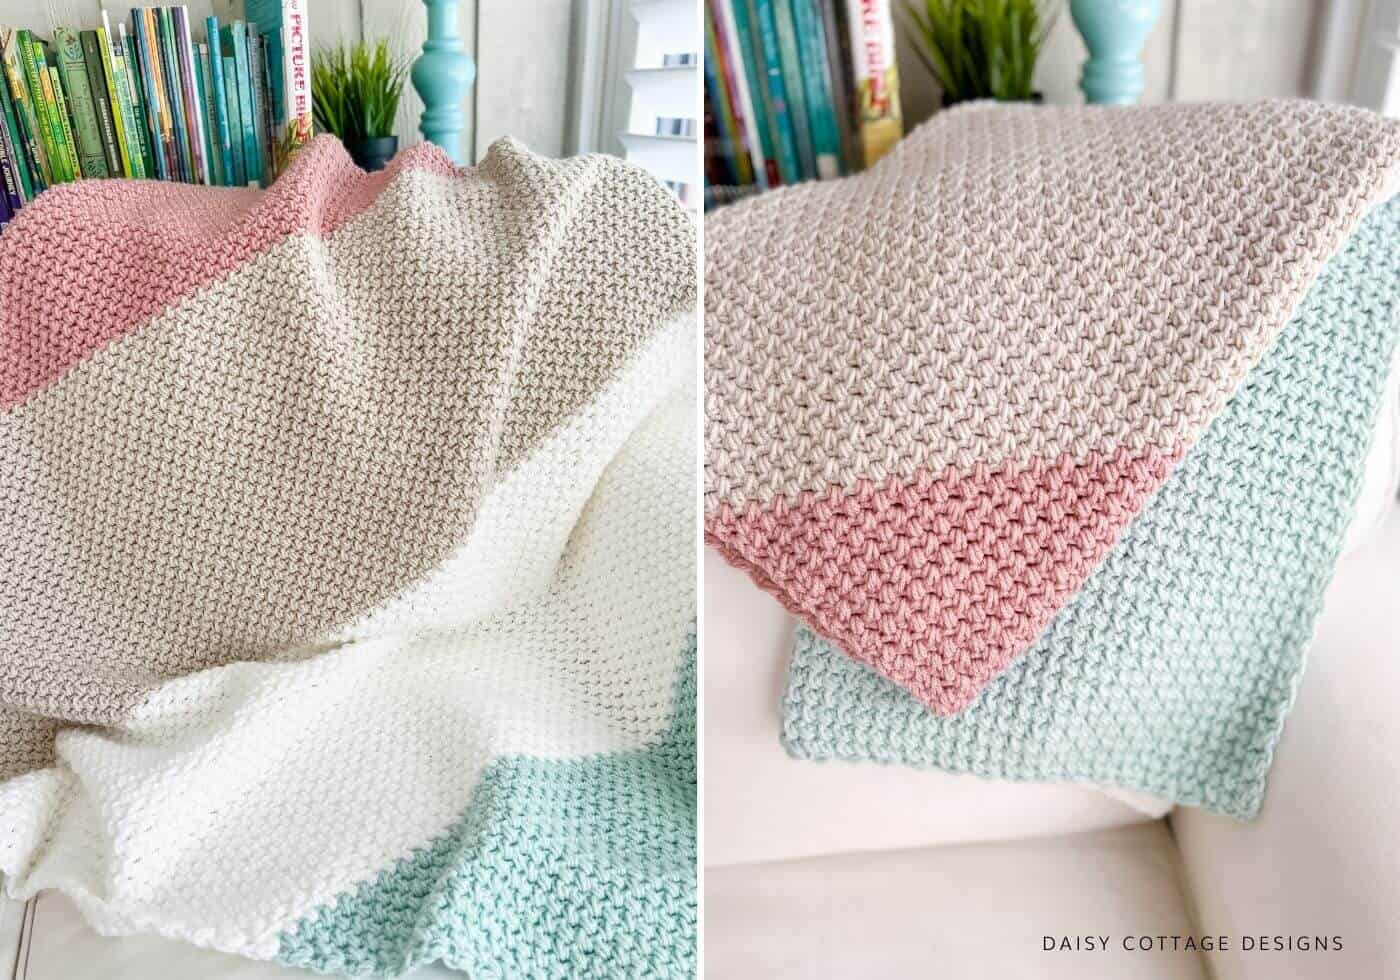
Special Stitch – don’t worry… it’s an easy stitch.
- Mini Bean: Insert your hook into the st, pull up a loop. Yarn over, insert your hook into same st, pull up a loop. There will be four loops on your hook. Yarn over, pull through all 4 loops.
Abbreviations:
- Ch – Chain
- St – stitch
- Sl st – slip stitch
SECTION 1:
Using Glacier, ch 3.
Place a stitch marker around the ch 3 and push it toward your hook.
Row 1: Mini bean in the third ch from the hook. Ch 2, turn.
Note: After you finish this row you will have a mini bean stitch and a ch 2 space. The ch 2 space will be marked with the stitch marker you placed around your starting chain.
Placing a stitch marker around the turning chains will help you be sure you’re inserting your hook into the right place at the end of each row.
Row 2: *mini bean, ch 1, mini bean* in the ch 2 space (this is where your first stitch marker was placed). Ch 2, turn.
Row 3: *mini bean, ch1* in the ch 1 space. *mini bean, ch 1, mini bean * in the ch 2 space at the end of the row. Ch 2, turn.
Row 4: *mini bean, ch 1* in the first ch 1 space and in each ch 1 space across. *mini bean, ch 1, mini bean* in the ch 2 space at the end of the row. Ch 2, turn.
Rows 5-42: Repeat row 4.
Switch to white yarn for the next block of color.
To Change Colors: On the last stitch of the row, yarn over, insert hook into the ch 1 space, pull up a loop. Yarn over, insert hook into the same ch 1 space, pull up a loop. There will be four loops on your hook. Pull the new color yarn through all 4 loops on your hook. Continue working with the new color.
This video tutorial will show you how to change colors.
Rows 43-84: Repeat row 4 using white yarn.
After row 84 you are at the halfway point. It’s time to switch to section 2!
SECTION 2:
Switch to Linen yarn.
Row 85: Skip the first ch 1 space, *mini bean, ch 1* in the second ch 1 space and in each ch 1 space across. At the end of the row, work just 1 mini bean into the ch 2 space. Ch 2, turn.
Row 86-126: repeat row 85.
Switch to Rosy Cheeks.
Rows 127-167: Repeat row 85.
Row 168: Skip the first ch 1 space, work 1 mini bean stitch into the ch 2 space. ch 2 and sl st into the same ch 2 space.
Cut yarn and weave ends.
Adjusting the Size of this blanket:
When adjusting the size of most crochet blankets, you change the length of the starting chain and the number of rows.
Corner to corner blankets increase differently. You’ll start using the same technique regardless of the size, but you’ll work a different number of rows in Section 1 and Section 2
Remember, to keep the color block pattern I’ve used, half of the rows in each section will be worked in a second color.
Let’s take a look at the 24” size.
The total number of rows in Section 1 is 52. 26 of them will be worked in the color Glacier and 26 of them will be worked in White. Regardless of the color, you’ll be working the rows following the instructions given in section 1.
Similarly, Section 2 will have 52 rows. 26 will be in the color Linen and 26 will be in the color Rosy Cheeks. Regardless of the color, you’ll be working the rows following the instructions given in section 2.
When you’re finished, you’ll have a total of 104 rows.
| Blanket Size | Rows Per Color Block | Rows in Sections 1 & 2 | Total Number of Rows | Yarn Yardage |
| 24 in2 | 26 | 52 | 104 | 950 yd |
| *38 in2 | 42 | 84 | 168 | 1500 yd |
| 45 in2 | 50 | 100 | 200 | 1800 yd |
If the size you want is now shown on the chart, work Section 1 until you get to the length and width you want. Then, switch to Section 2 to complete your blanket.
If you enjoyed this C2C crochet pattern, I hope you’ll share a picture of it on Instagram and tag me (@daisycottagedesigns) and use #daisycottagedesigns so I can see your work!
Be sure to check out my other free crochet patterns and my crochet videos!

You said there was a free pattern for the C2C moss stitch blanket but you have not shown how so do the stitches in the pattern all that’s there is a discreption of section 1 & 2 not much of a pattern I love the concept but I need a full pattern Thanks
Hello Lauren,
Thank you for this tutorial, it really made it much easier than just reading the pattern. I have always want to make C2C project but didn’t know how to begin with it. I have seen videos but it did not explain it the way you did. I will give it a try once I complete the project that I’m currently working on. I’m one of those people who can’t start another project until I complete the one I’m working on.
Thank you and have a great day.
Tina
i would like the pattern for c2c moss pattern
What kind of border would you add if you wanted one? I think it would be so cool with a border with 4 colors. I love making your patterns.