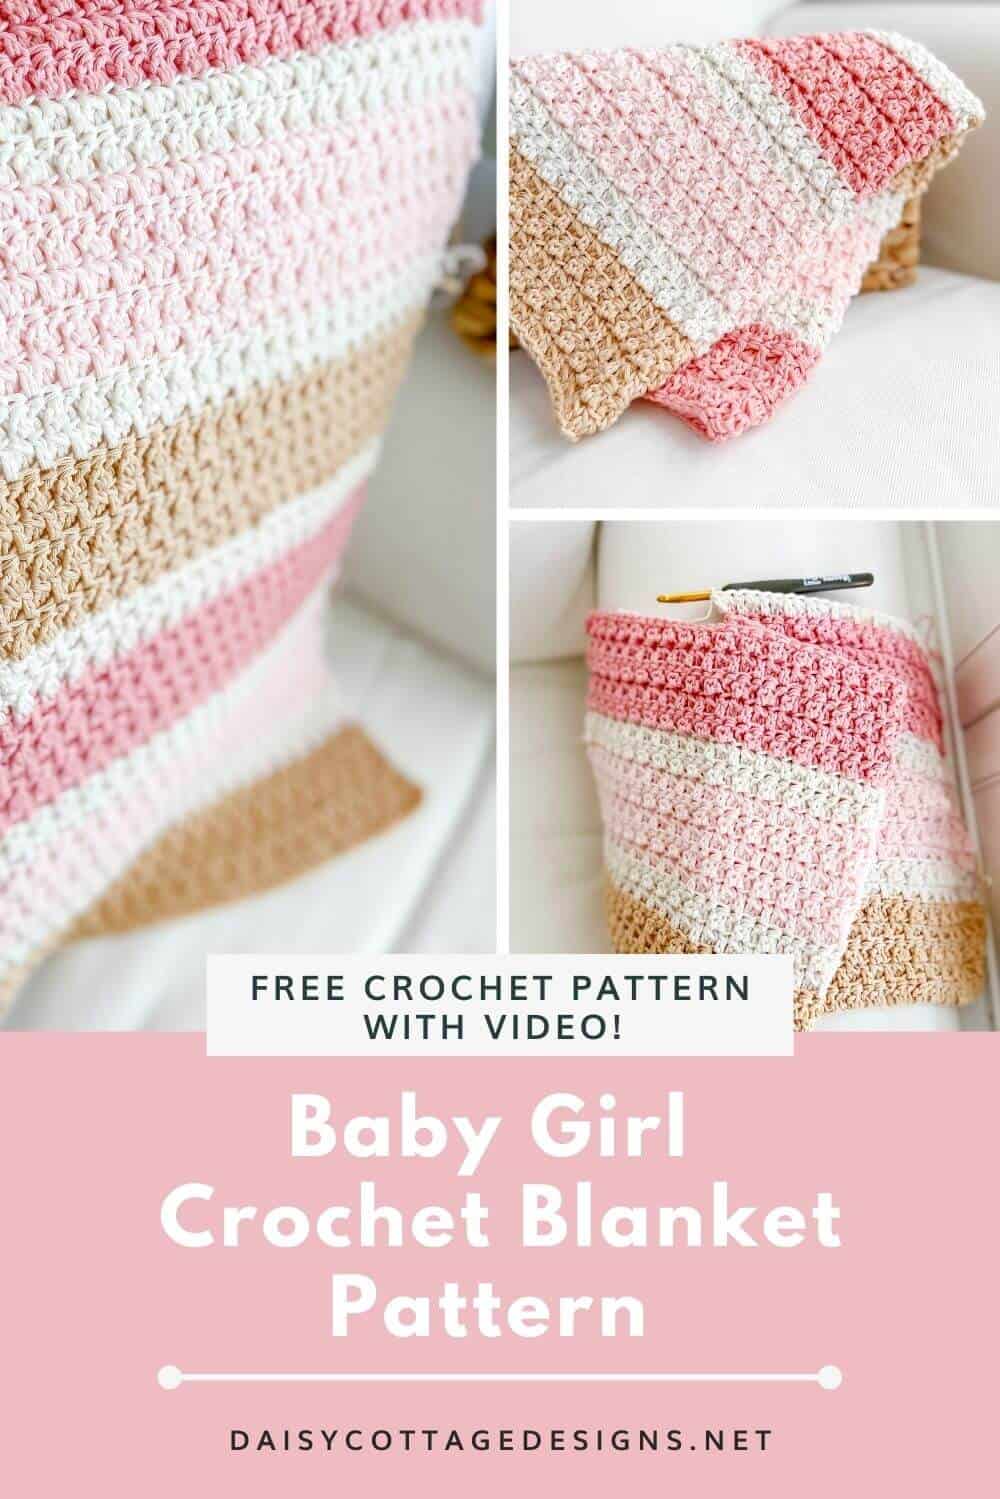
Strawberry Cone Baby Blanket, A Baby Girl Blanket Crochet Pattern
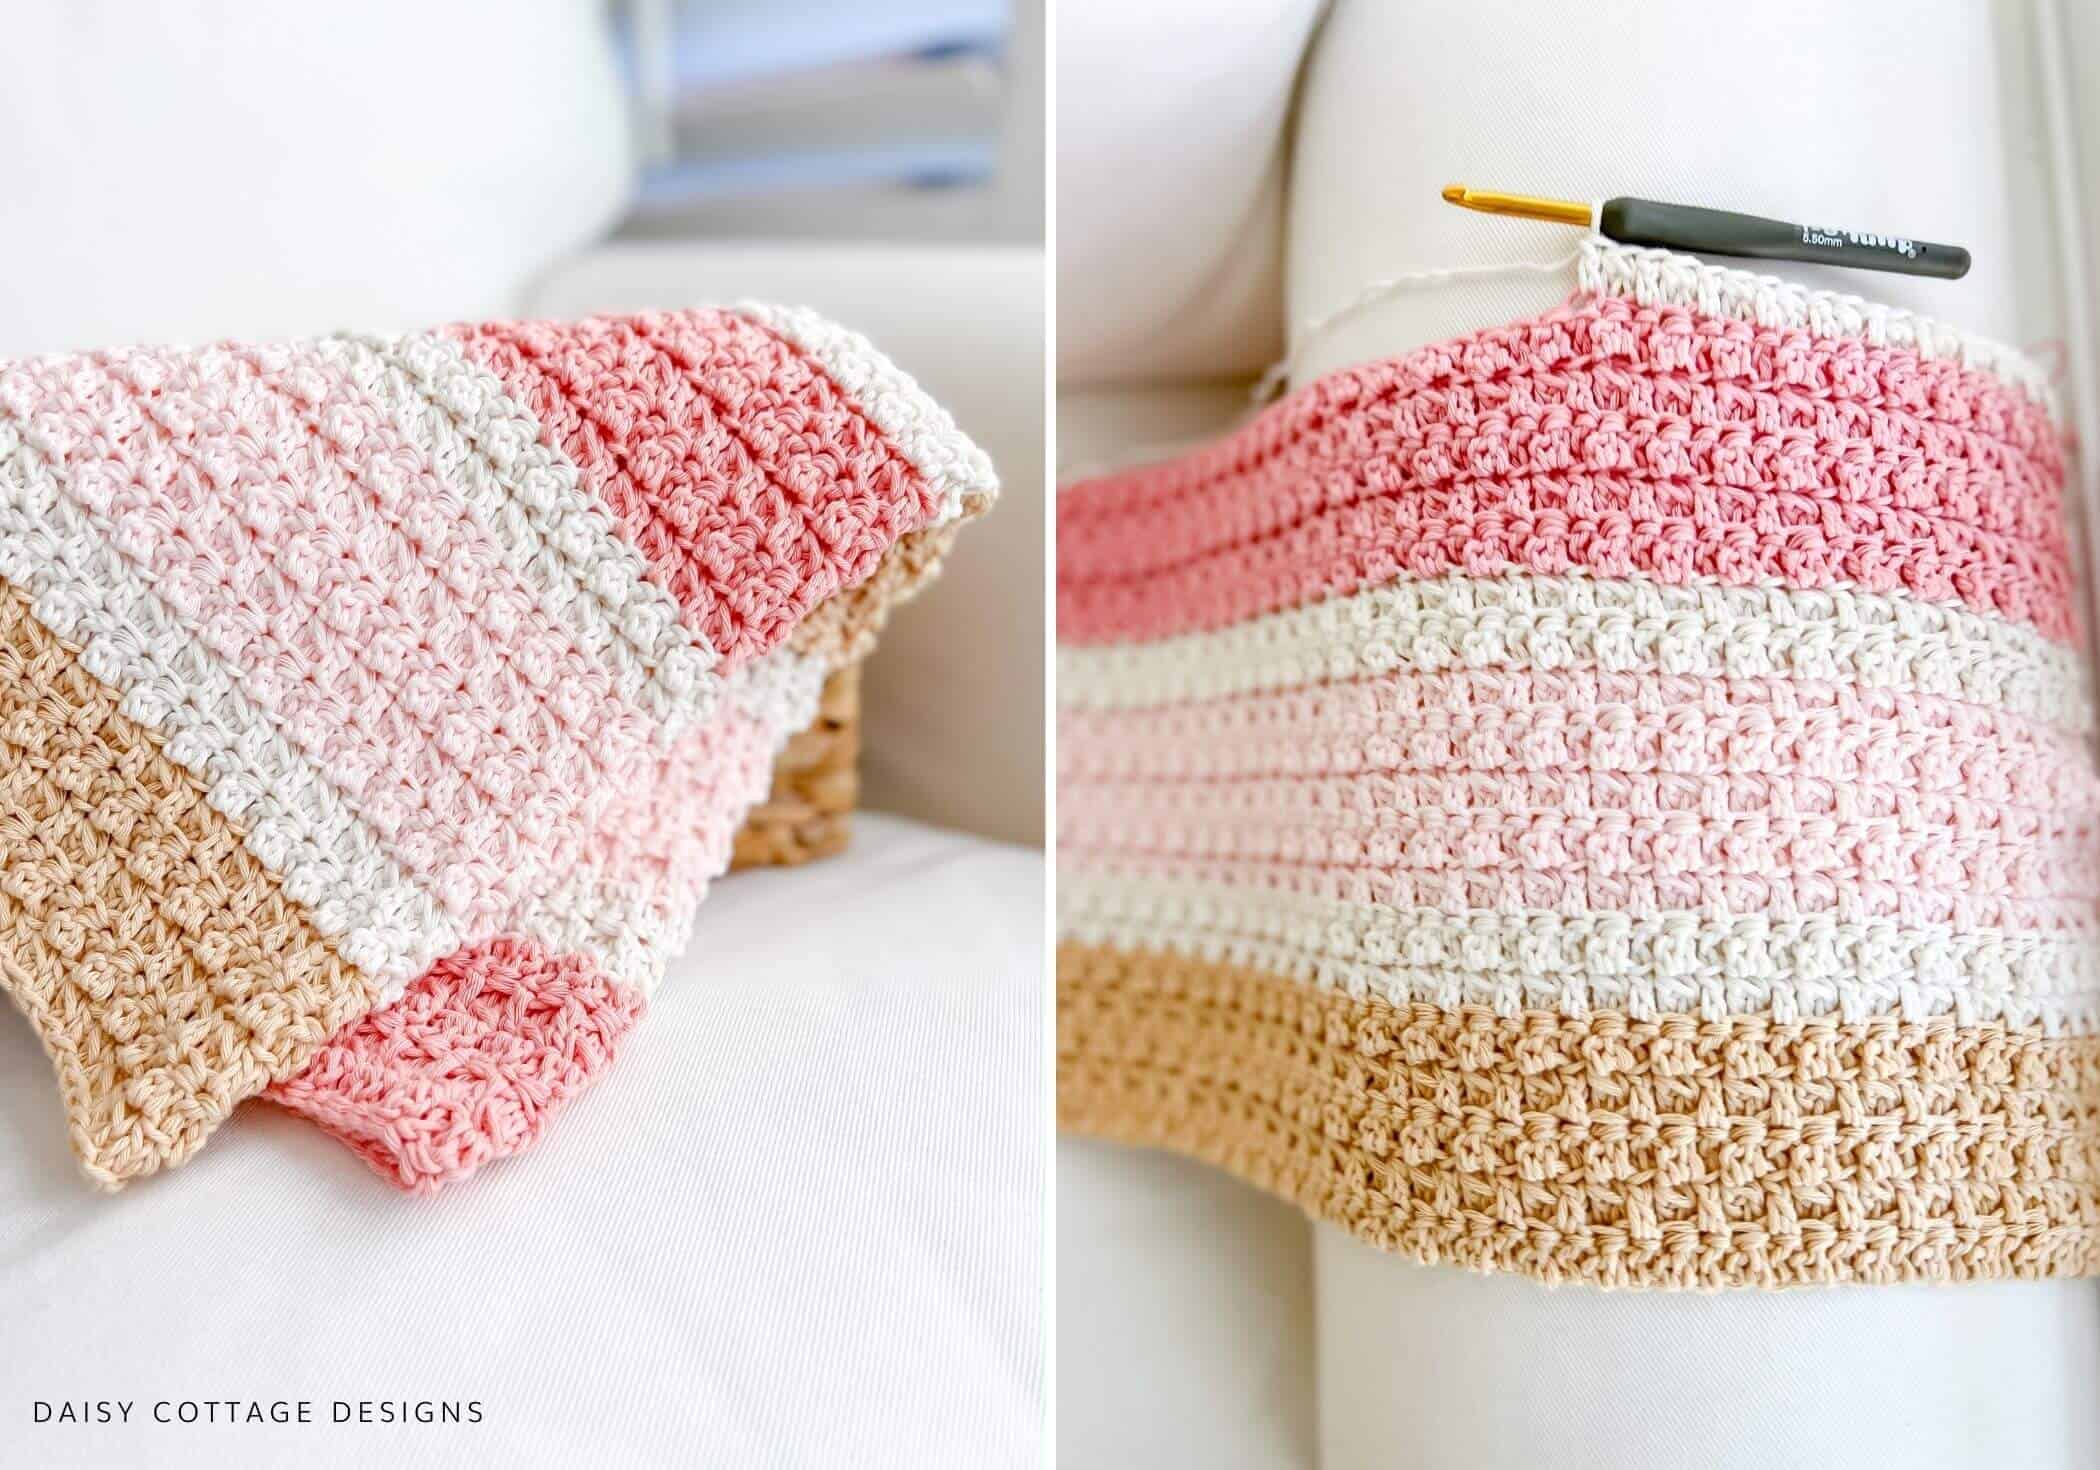
After making one dishcloth using this beautifully textured crochet stitch, I knew that I was going to have to make a whole blanket using the same stitch. The texture and drape of this crochet baby blanket are incredible – especially when you use cotton yarn.
I had the perfect yarn in my stash already. These shades came together to make the perfect crochet blanket for a baby girl.
When I posted this photo on Instagram, people started leaving comments and sending messages asking for the pattern right away.
Can I really use cotton yarn to crochet a baby blanket?
The answer is YES! Cotton yarn is a great option, but you can also replace the cotton yarn with a soft, acrylic or cotton blend yarn. Be sure to avoid wool as some babies’ sensitive skin can’t tolerate that fiber.
Is this pattern beginner-friendly?
While this pattern isn’t as simple as this easy crochet pattern, it is definitely suitable for those who are new to crochet. If you’ve mastered the double crochet stitch, you should be able to pick up on this pattern without any issue.
The video tutorial will help make sure you’re on the right track! Also, feel free to reach out to me if you have any questions.
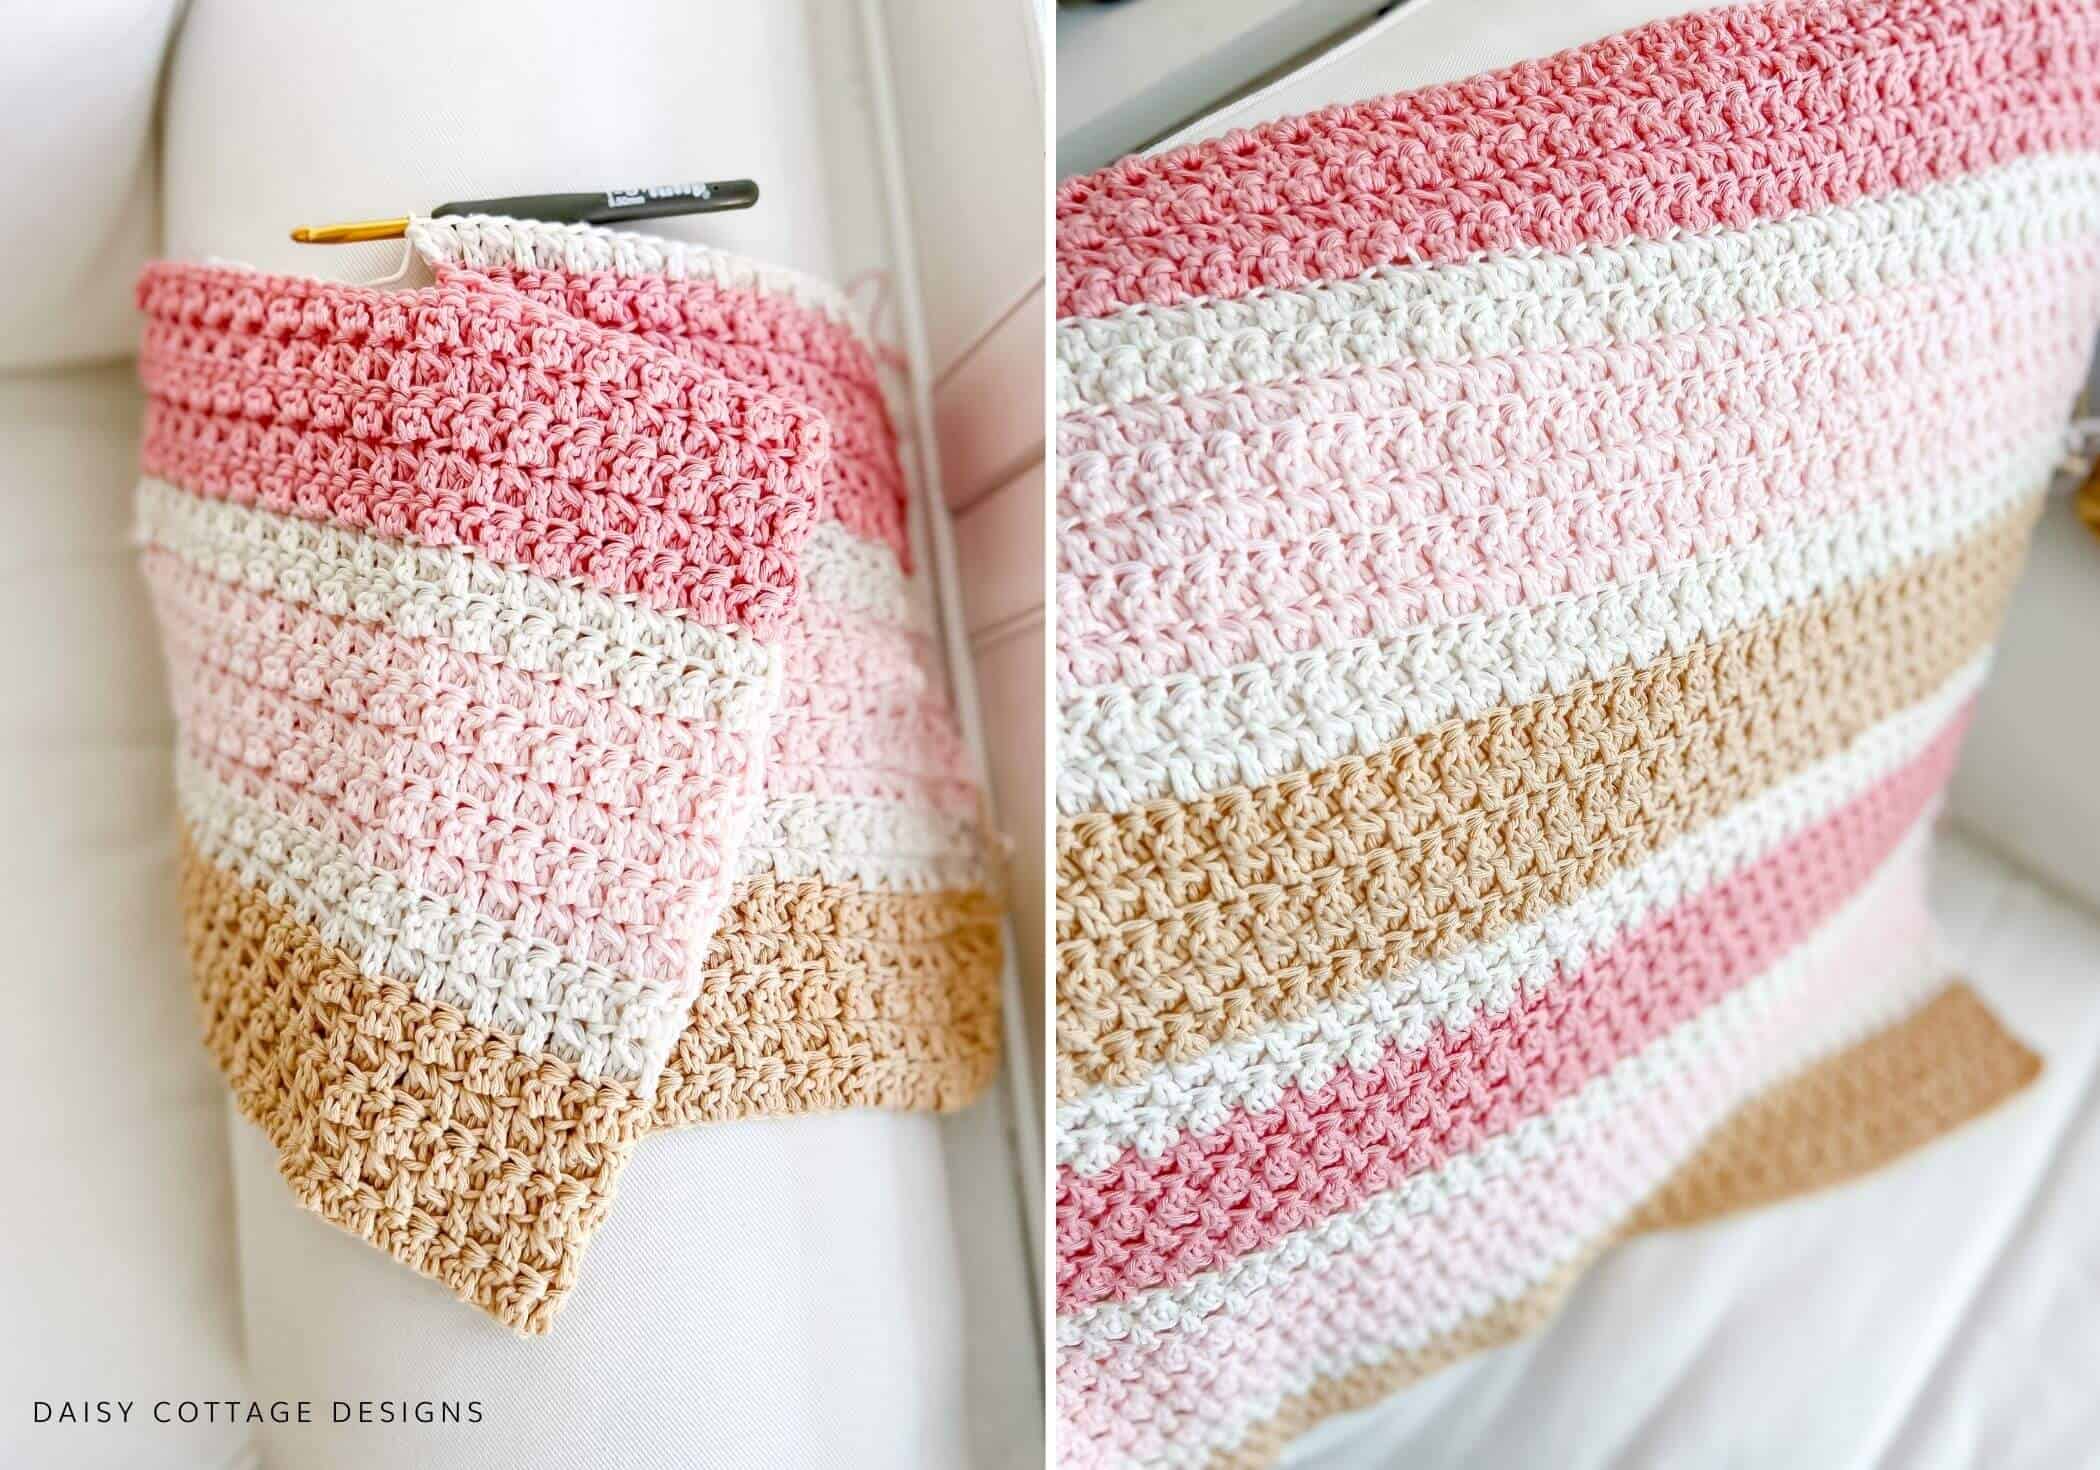
Don’t have time to crochet this baby girl blanket pattern right now?
- Buy the inexpensive, ad-free PDF in my Etsy shop
- Pin it for later!
- Share it with a friend who crochets.
Let’s get started!
Materials:
- I/9 (5.5) Crochet Hook – if you crochet loosely, consider going down to an H hook.
- 13 or 15 Skeins fo Paintbox Cotton Aran (depending on which size you make)
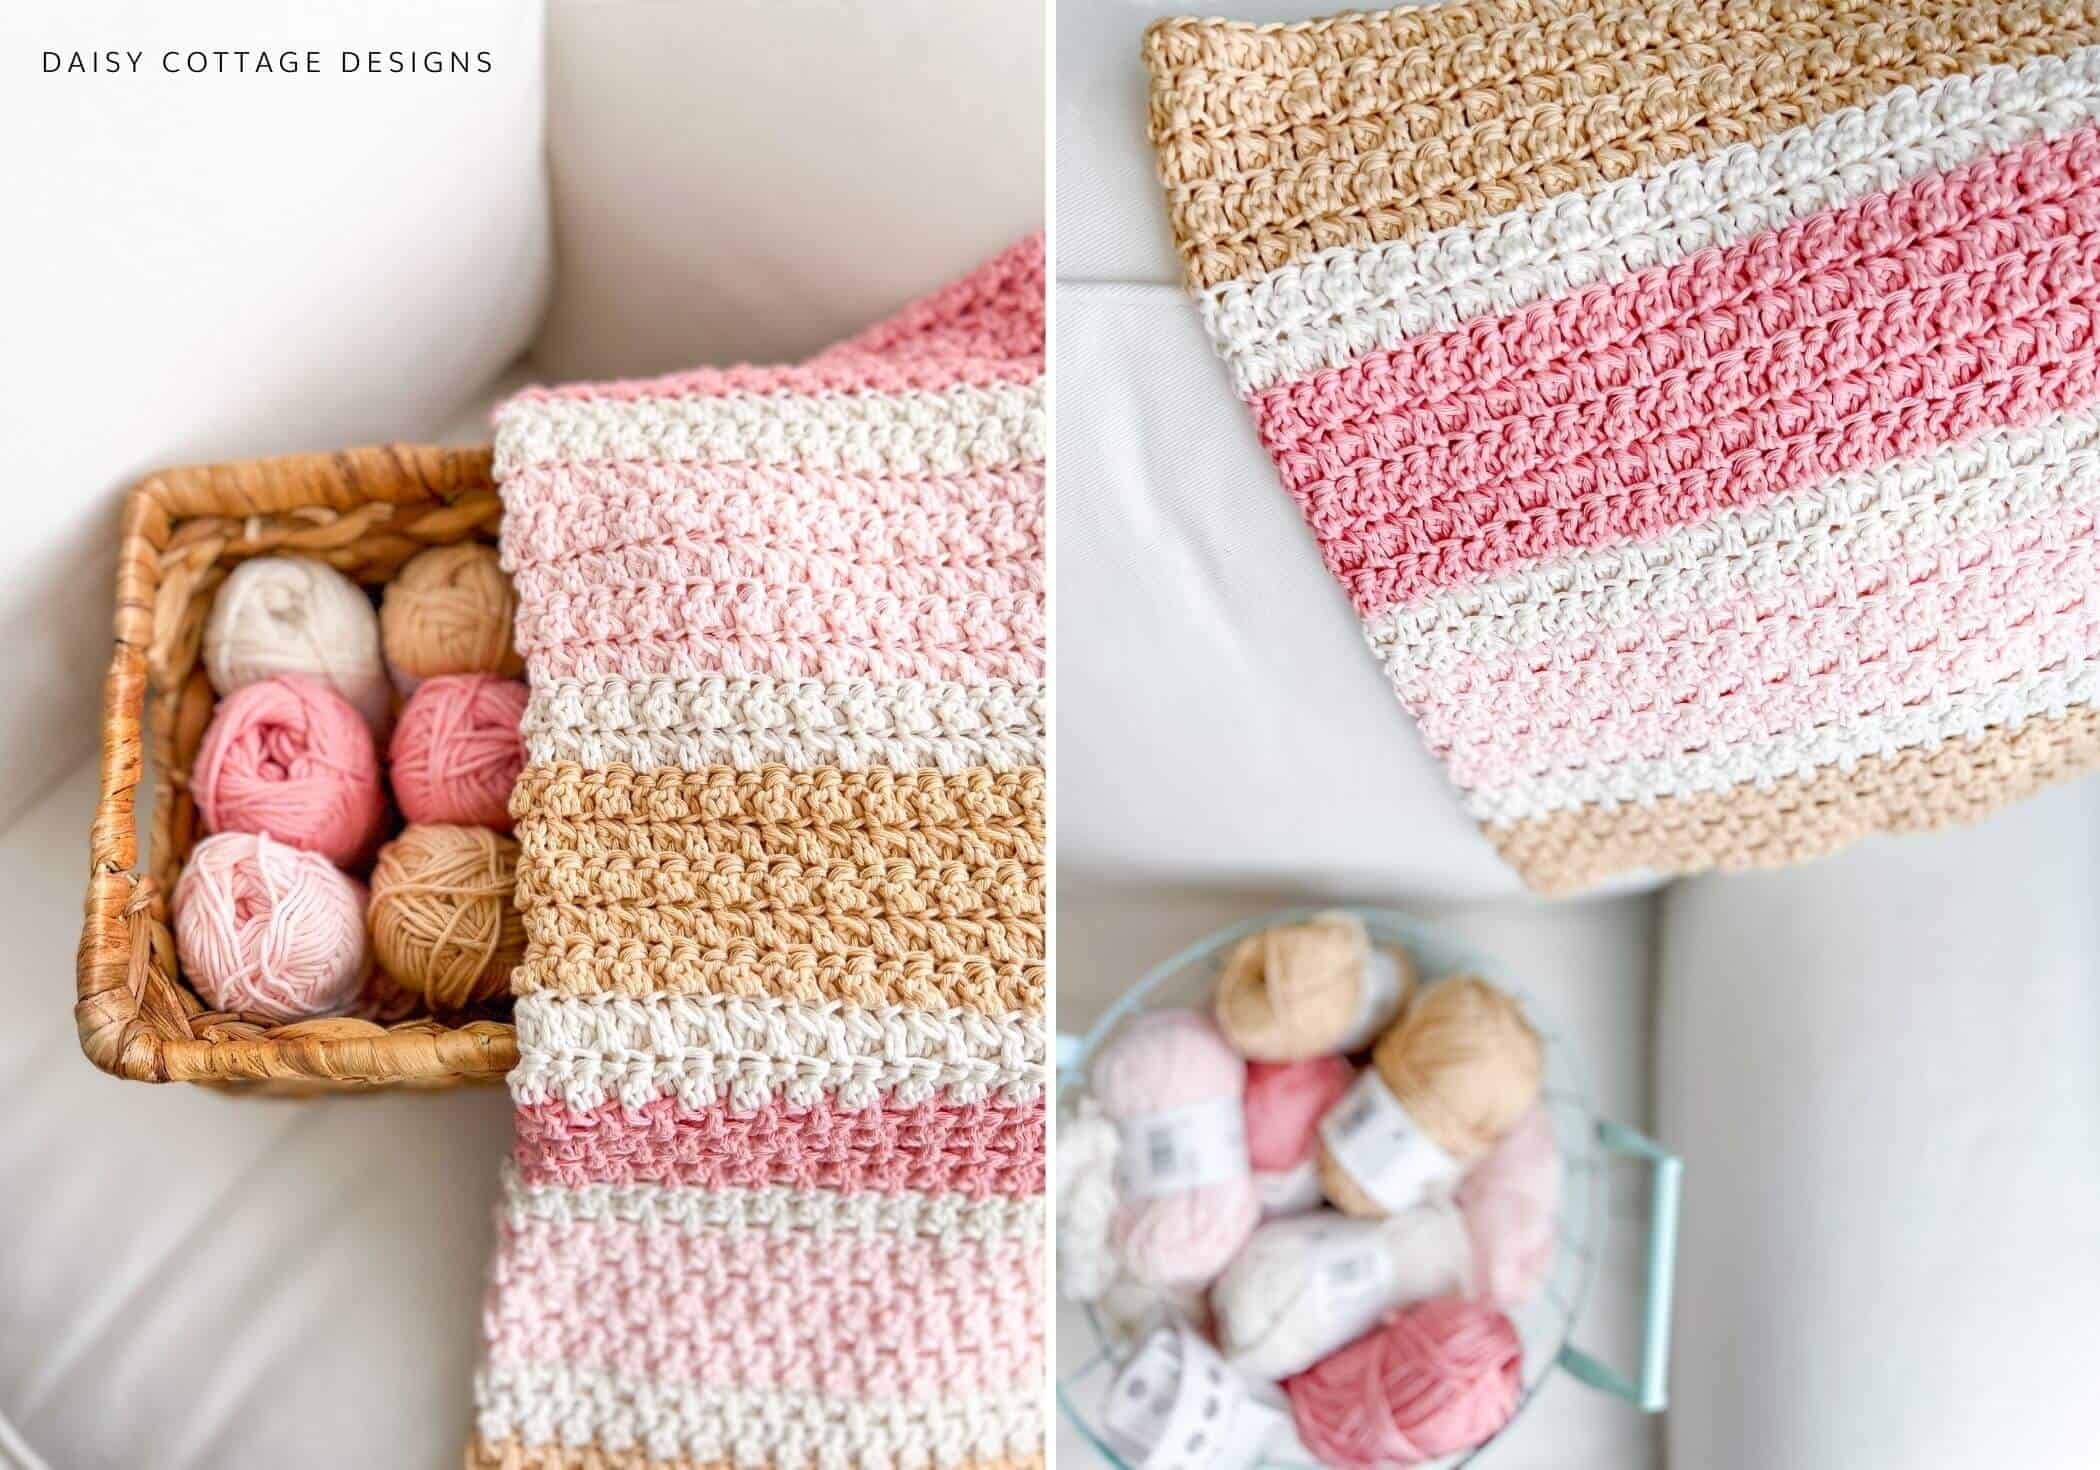
- I’m using the following shades in the photos:
- Light Caramel (3 or 4 skeins)
- Light Champagne (4 or 5 skeins)
- Ballet Pink (3 skeins)
- Blush Pink (3 skeins)
- If you’d like to use a different brand of yarn, you’ll need approximately 820 or 1160 yards of worsted weight yarn depending on which size you make.
- Tapestry Needle & Scissors
Pattern Notes:
- Finished blanket measures approximately 24”x33” or 30”x38” as written. Instructions for adjusting the size are given at the end of the pattern.
- Pattern is worked through back and front loops. See the video linked below if you are unfamiliar with this.
- You will not be working into the turning chain.
- For detailed instructions on how to create the stitch used throughout this blanket, please watch this YouTube video. As you can tell in the video, this stitch was originally used for a dishcloth, but the instructions are exactly the same.
Special Stitches:
- Cluster Stitch: Yarn over, insert hook into stitch, pull up a loop. Pull through two loops. Yarn over, insert hook into the same stitch, pull up a loop. Pull through 2 loops. Pull through 3 loops.
Chain 83 for the smaller size or 103 for the larger size.
Row 1: cluster in the third chain, *dc in the next stitch, cluster in the next stitch* across to the last stitch. Remember, you will not be working into the top of the chain. Ch 2, turn.
Row 2: cluster in the back loop of the first stitch, *dc in the front loop of the next stitch, cluster in the back loop of the next stitch* across to the last stitch. Remember, you will not be working into the top of the turning chain. Ch 2, turn.
Continue repeating row 2 for a total of 61 rows (smaller) or 68 (larger).
To Change Colors:
On the last stitch of the row, yarn over, insert your hook into the back loop of the final stitch, pull up a loop. Pull through two loops. Yarn over, insert hook into the same stitch, pull up a loop. Pull through 2 loops. There will now be three loops left on your hook. Instead of pulling the yarn you’ve been working with through those 3 loops, place the new yarn on your hook and pull it through those finals 3 loops. Be sure to leave a long tail when you cut the last color and when you join the new color.
Stripe Patterns
The stripe patterns for this blanket are as follows. Use the order on the left for the smaller blanket and the stripes on the right for the larger blanket.
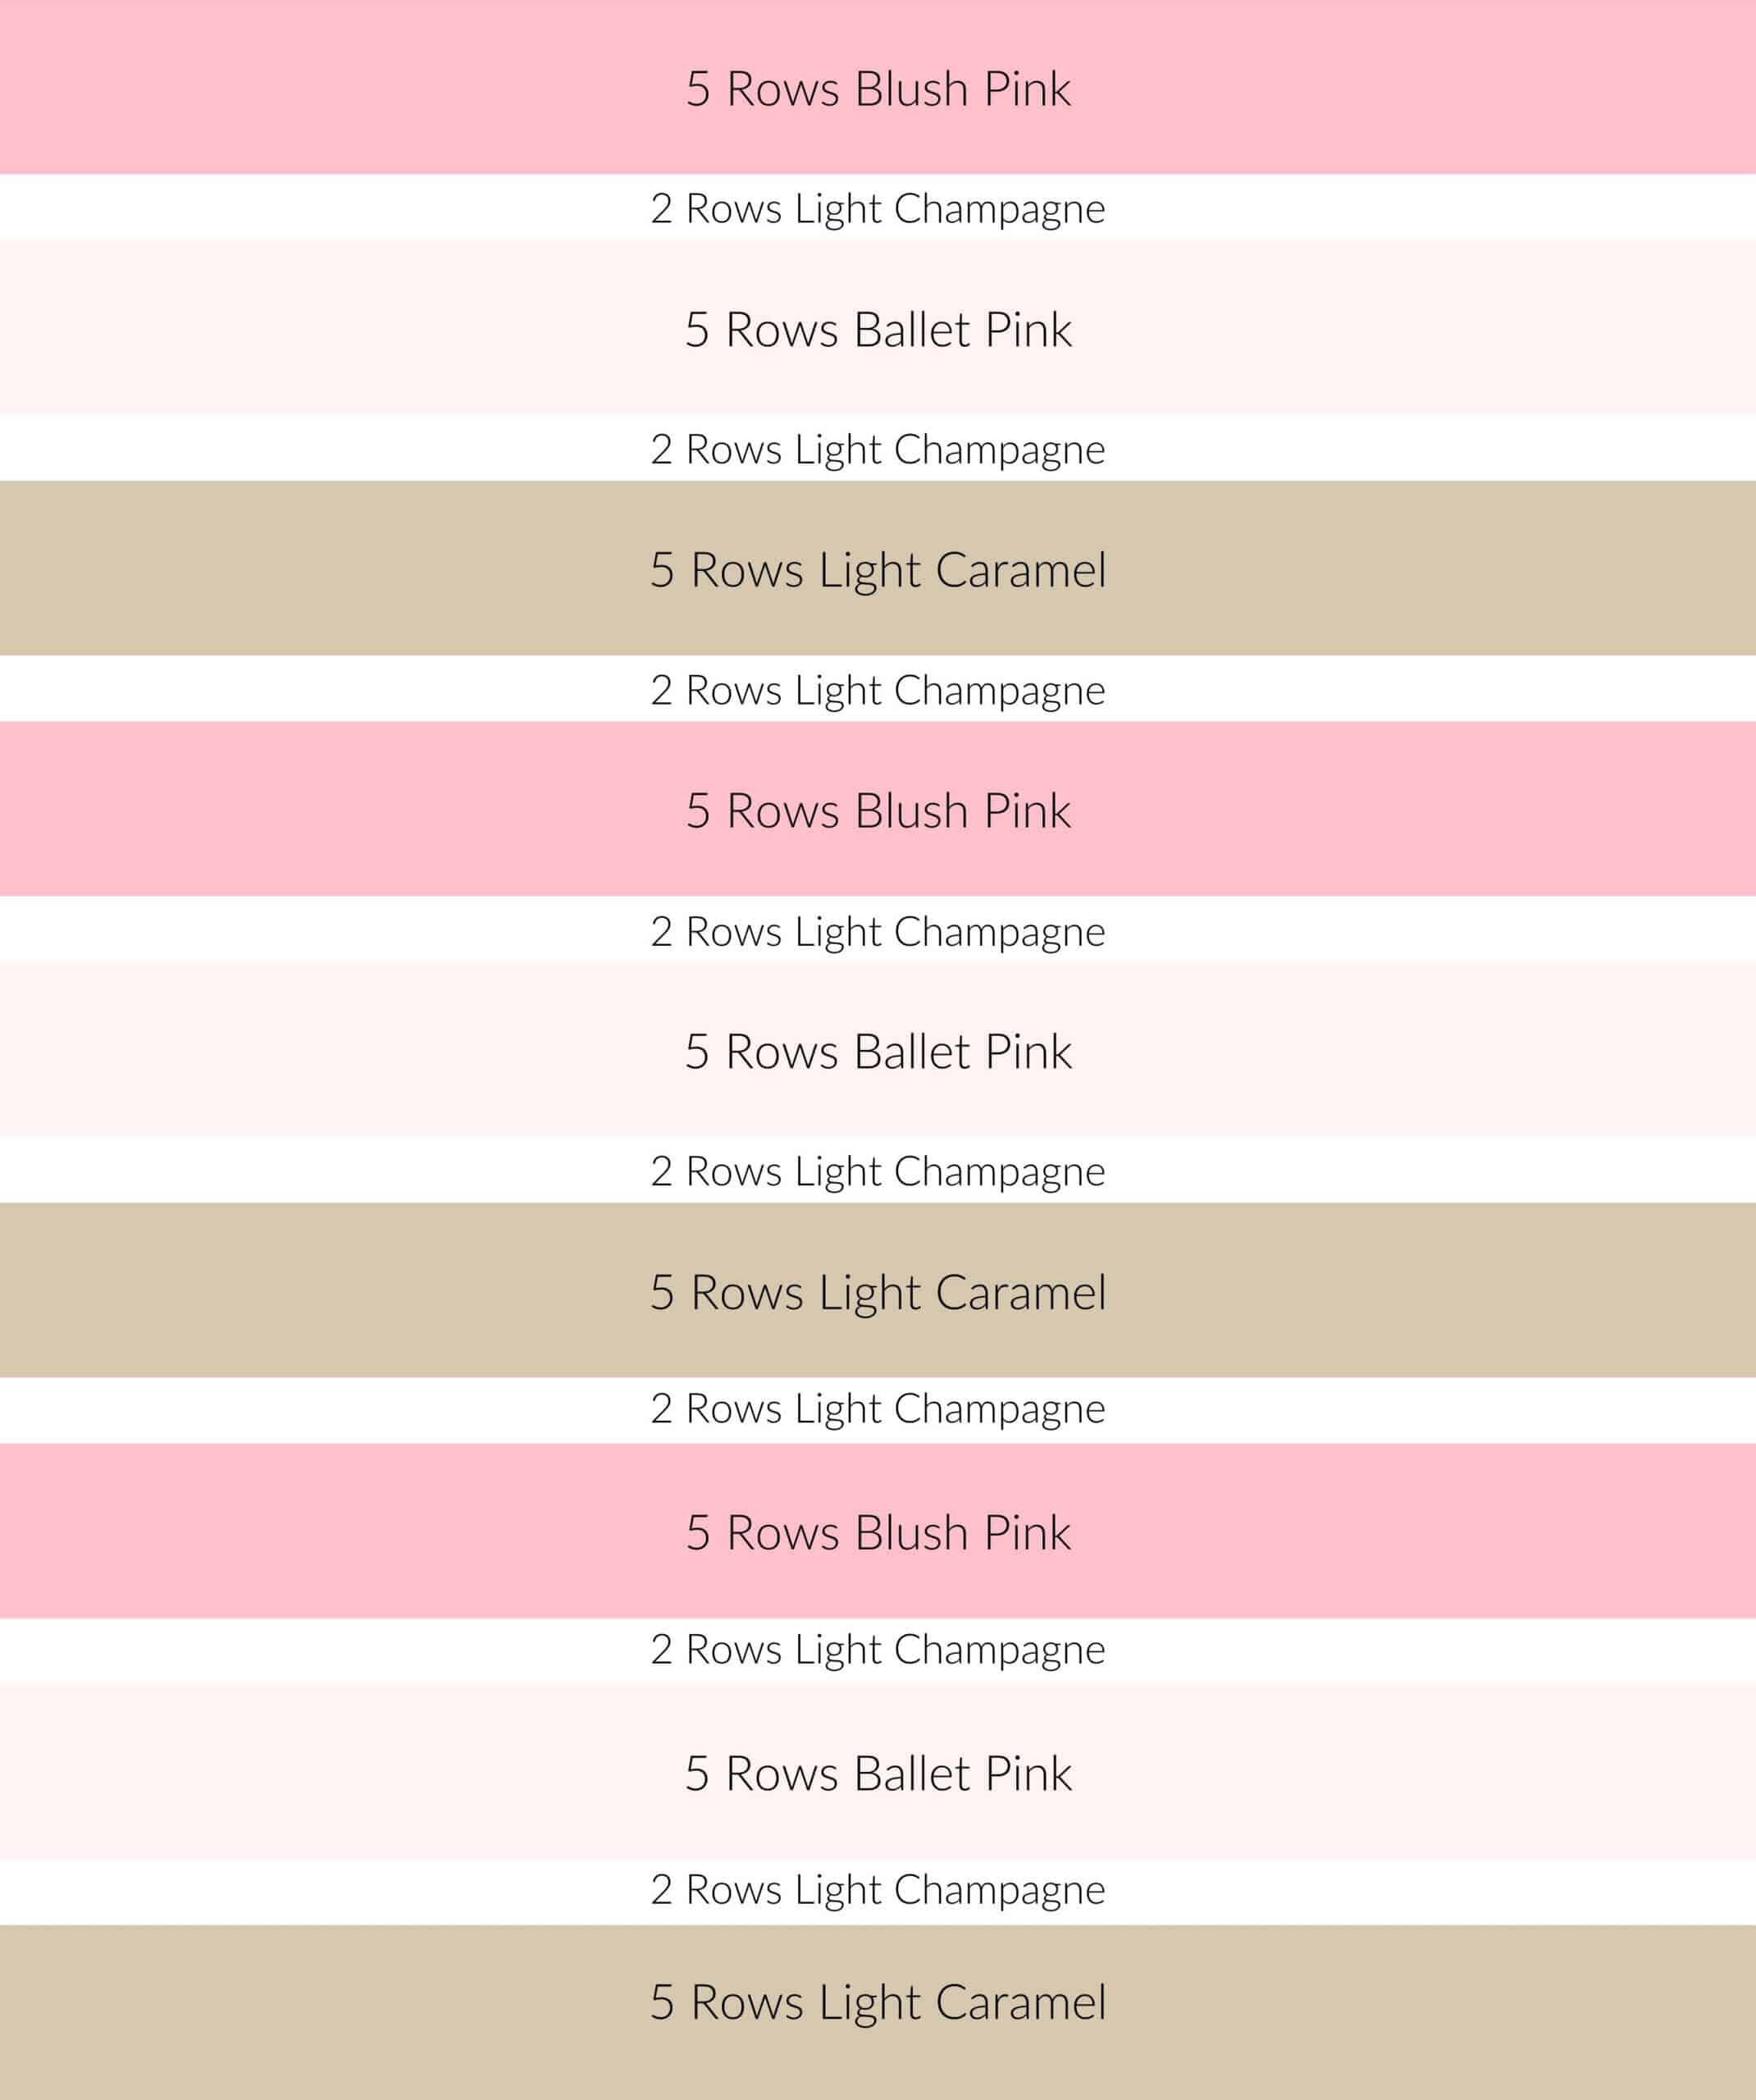
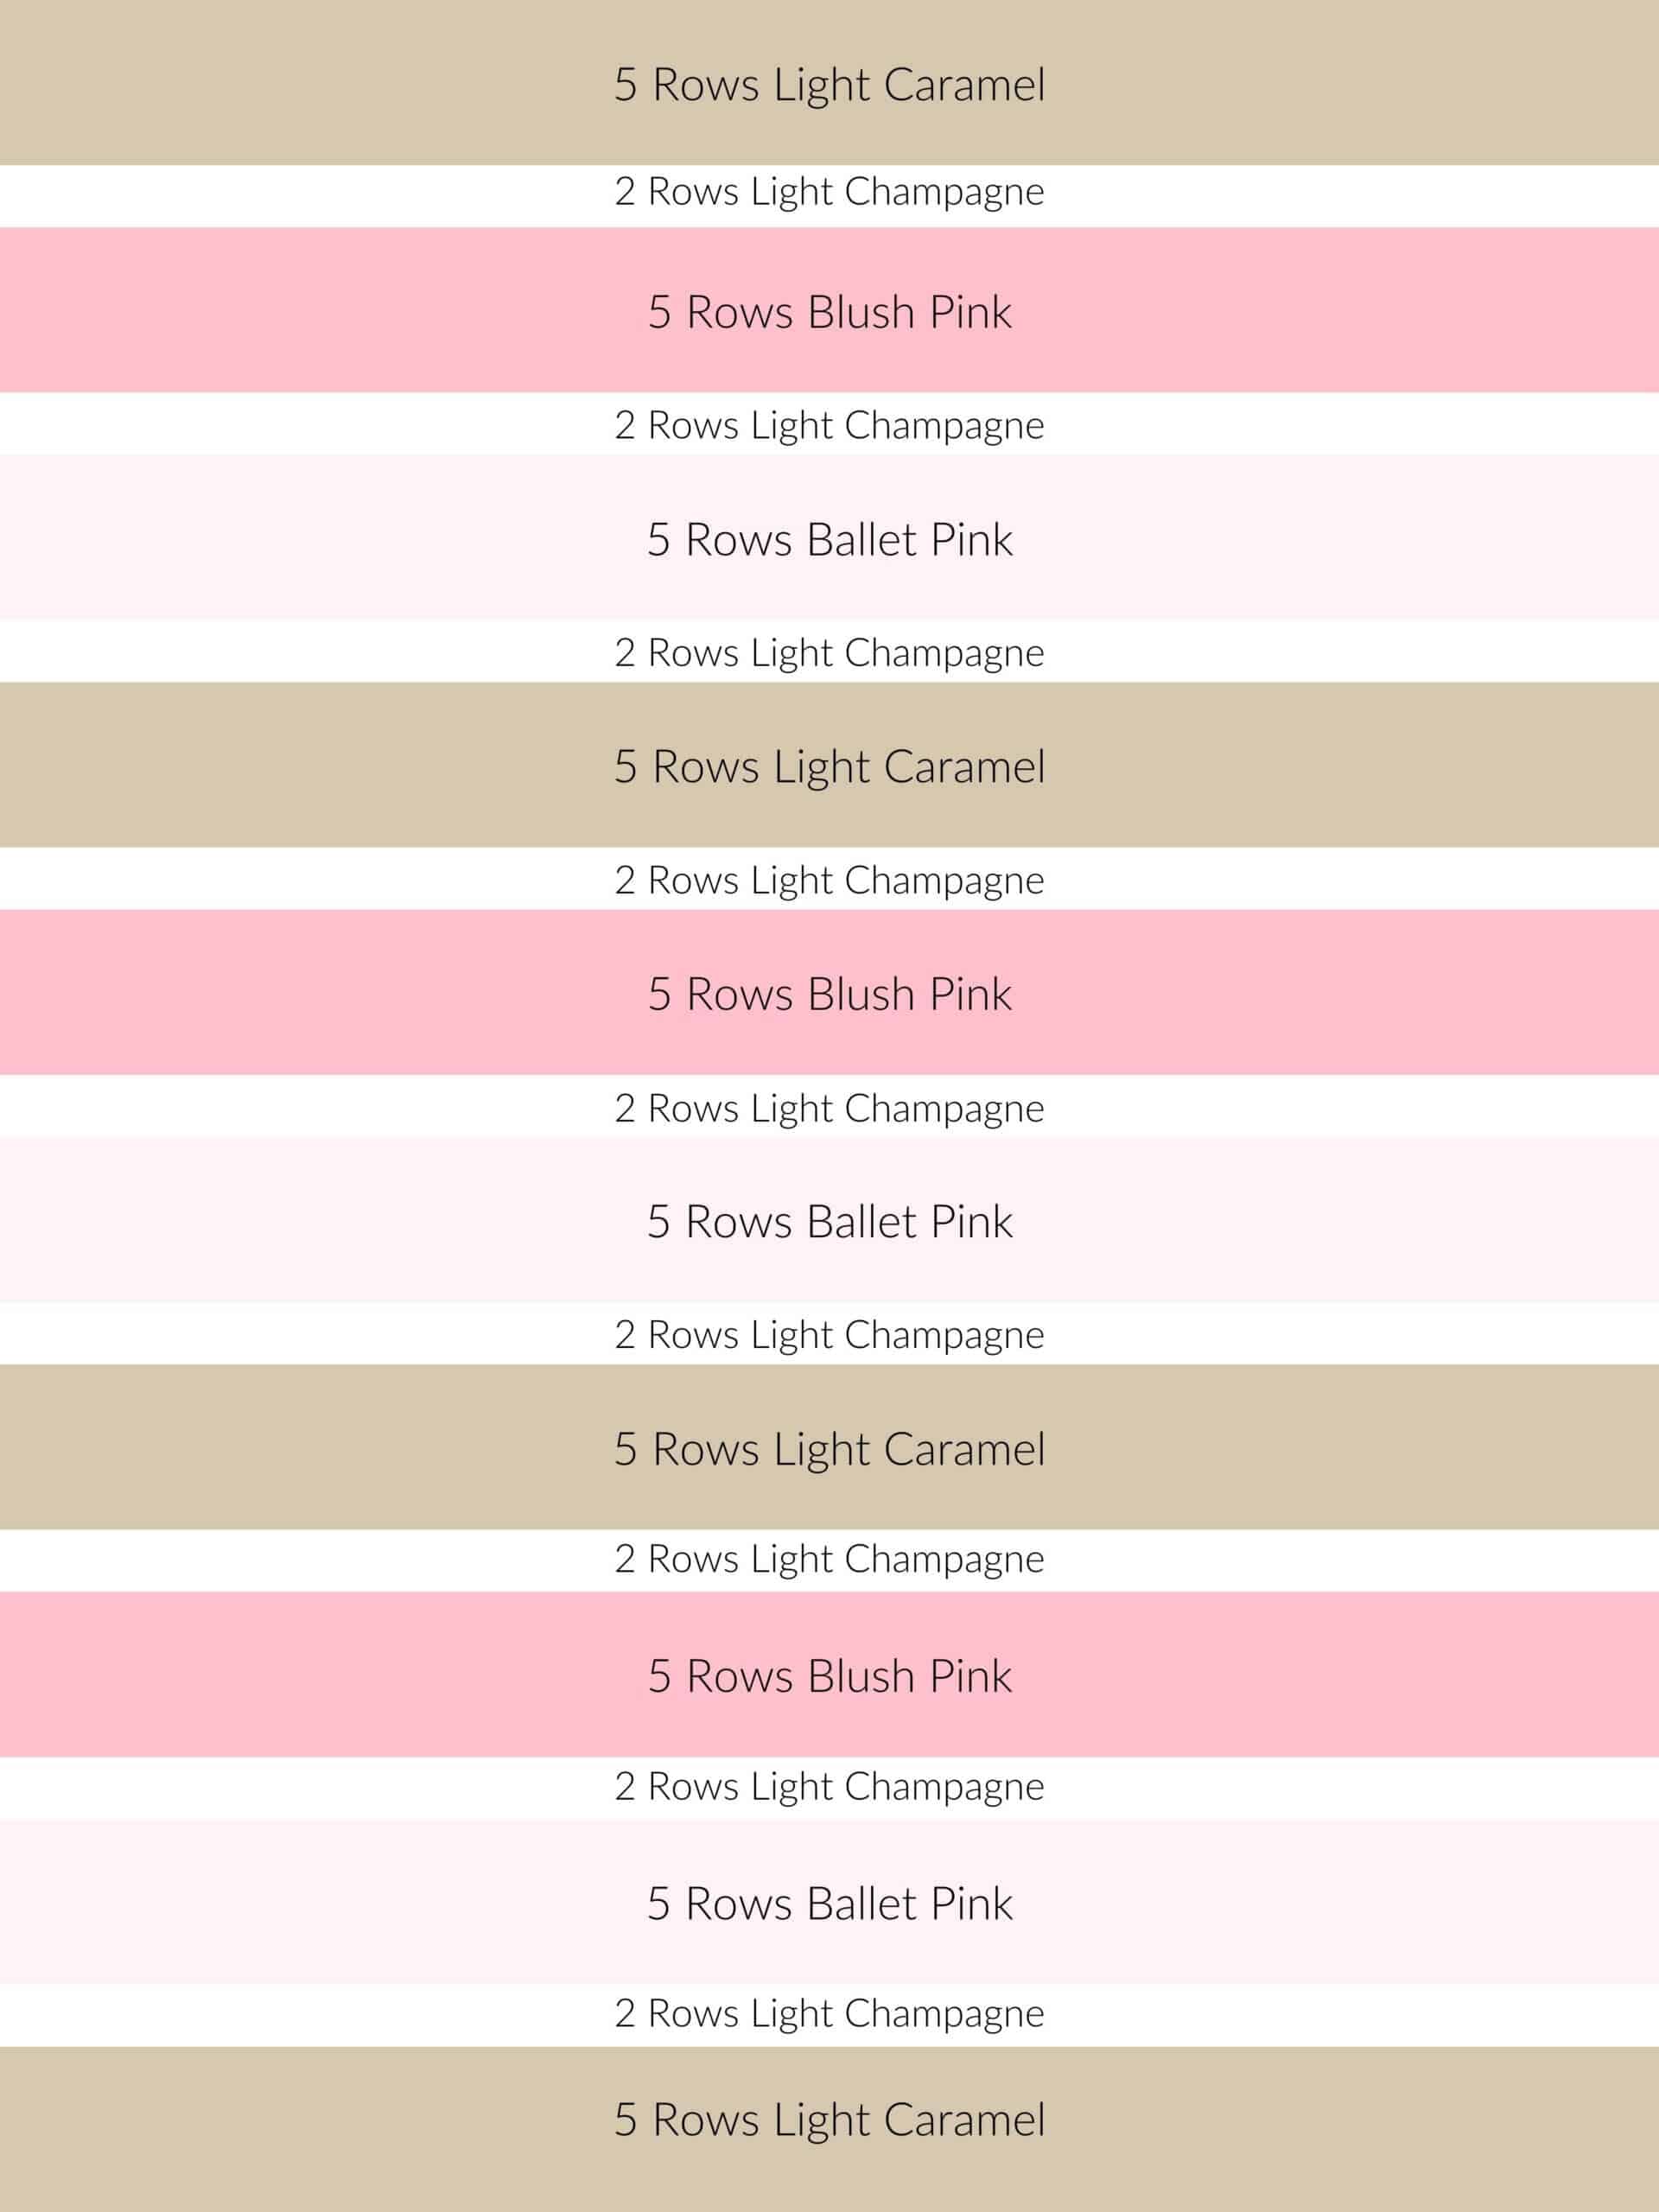
Optional Border:
Round 1:
Using Light caramel, single crochet evenly around the entire blanket. Work 3 sc stitches into each corner. Sl st to the top of the first stitch to join. Cut yarn and weave ends.
Round 2:
Using Blush Pink, double crochet evenly around the entire blanket. Work dc, ch 2, dc into each corner.
Adjusting the Size of this Baby Girl Blanket Crochet Pattern:
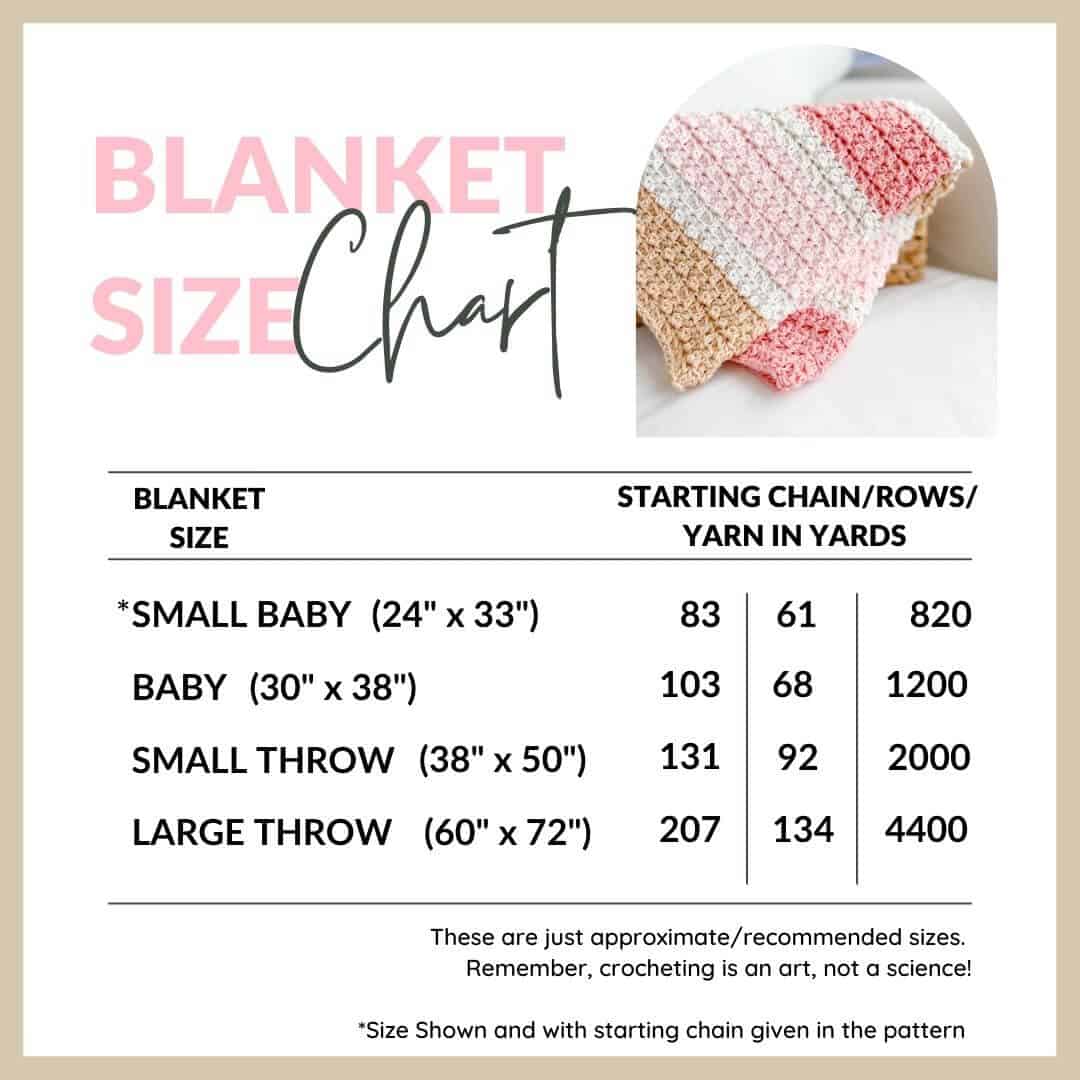
In order to change the size of this blanket, chain any odd number. Then, you’ll need to figure out how many rows you want. See the chart below to get you started.
Each row measures a little over one half inch. So, if you want your blanket to be 48 inches long, you’ll need 90 rows or so. Obviously, this is approximately since everyone crochets differently, but it’s a good starting place.
Thank you so much for using Daisy Cottage Designs crochet patterns! I’d be thrilled if you’d tag me (@daisycottagedesigns) on Instagram so I can see your beautiful creations. Also, feel free to use #daisycottagedesigns.

