Crochet Baby Blanket Pattern: The Polka Dot Puff
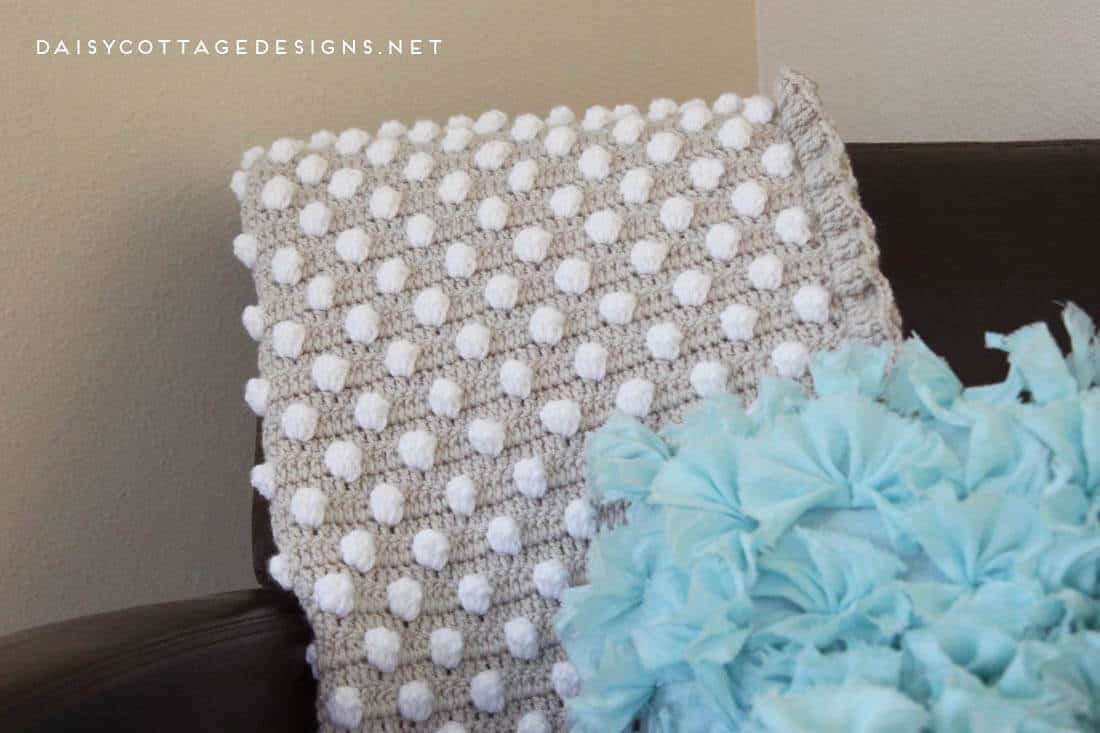
If you haven’t noticed, I’m a huge fan of patterns – I’m not talking about crochet patterns at them moment. I’m talking about things like polka dots and stripes. If you were to step into my closet, you wouldn’t find very many solid tops. I’ve got more striped shirts than I care to admit, and I’ve got a nice collection of polka dots, too.
I love polka dots! They’re funky and cute, and put a smile on my face. With that in mind, I’m going to be sharing a fun collection of polka dot crochet patterns in 2017. The first in the series is this adorable crochet baby blanket pattern. While it’s sized for a baby, I’m going to give you instructions to make this blanket in whatever size you want. If you love polka dots, too, you’re definitely going to want to follow me on Facebook and sign up for my newsletter in the sidebar so you don’t miss any of the free crochet patterns that are coming up.
If you can’t make this pattern now:
There’s a video tutorial and some written instructions before you actually get to the crochet baby blanket pattern. If you already know how to crochet bobbles in different colors, jump on down to the pattern!
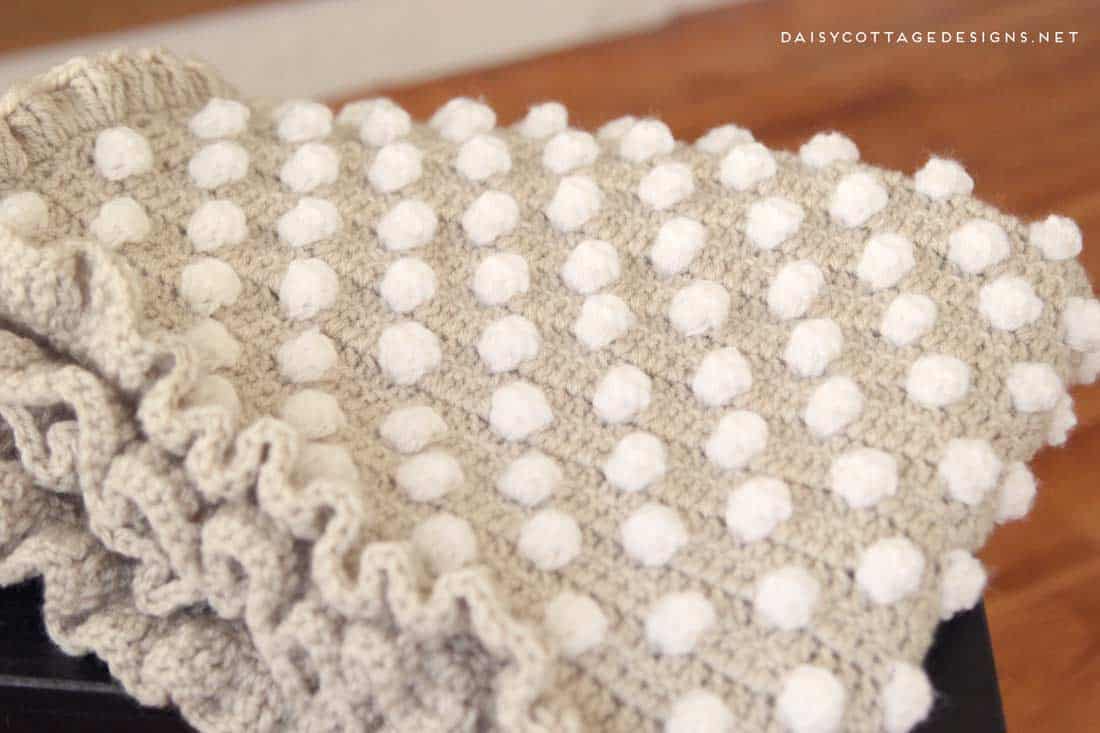
If you don’t know how to make bobbles in contrasting colors, here’s a quick video explaining how to do that.
Here’s the pattern for the swatch in the video.
I’m using a 7.5 crochet hook (4.5 mm), but any will do while you practice.
Ch 26.
Row 1: dc in third chain and in each stitch across. ch 2, turn. (25)
Row 2: dc in the second stitch and in the next 5 stitches. Bobble in the next stitch. *dc in the next 5 stitches. Bobble in the next stitch* two times. dc in the next 5 stitches and in the top of the turning chain. ch 2, turn.
Row 3: dc in the second stitch and in each stitch across. Ch 2, turn. (25)
Row 4: dc in the second stitch, and in the next 2 stitches. bobble. *dc in the next 5 stitches, bobble in the next stitch* three times. dc in the last 2 stitches and in the top of the turning chain. Ch 2, turn.
Repeat rows 1-4 until you’re comfortable with making bobbles in contrasting colors.
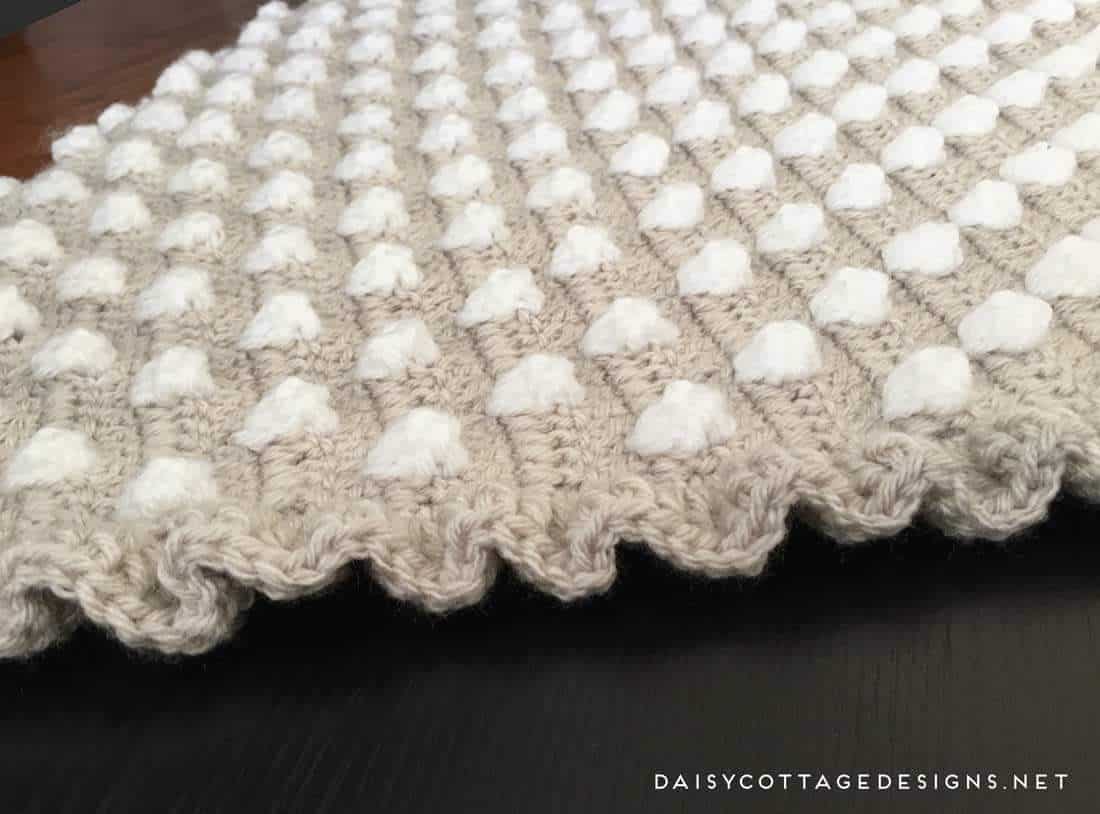
Crochet Baby Blanket Pattern
You can purchase an ad-free PDF of this pattern in my Etsy shop. Click here to purchase.
This blanket measures approximately 27″ by 30.5″.
Materials:
- About 1200 yards of worsted weight yarn. Because of the way the color breaks down, I would make sure you have about 700 yards of the main color and about 550 yards of the second color.
- I purchased 4 skeins of Vanna’s Choice Yarn in Linen and 3 in White (affiliate links)
- J crochet hook
- Tapestry Needle
- Scissors
Pattern Notes:
- This pattern is worked through both loops.
- Gauge is not important for this pattern.
- To carry your yarn, place the cut end to the right of your work and line up the yarn along the stitches of the previous row so you’re able to work over the yarn and encase it in the stitches. This is shown in the video linked above.
- You need to change color in the middle of the stitch before each bobble. This sounds more difficult than it is. Here are the steps you need to follow in the stitch just before each bobble.
- Yarn over, insert hook into the next stitch.
- Pull up a loop.
- Yarn over, pull through two loops.
- Lay your main color yarn along the stitches
- Yarn over with your contrasting yarn color
- Pull through the last two loops with your contrasting color.
- Begin bobble stitch in the contrasting color.
- After the bobble stitch, lay your contrasting yarn color along the stitches, and work your next stitch in the main color.
- If this seems confusing, I encourage you to watch the video above. I walk you through this step by step!
Special Stitch:
Bobble Stitch: For the experienced crocheter, you’re going to tr4tog (treble crochet 4 together ) in the same stitch.
If you have no idea what that means, watch the video above and/or follow these steps – it’s easier than it sounds!
- Yarn over twice, insert hook into the next stitch. Pull up a loop.
- Yarn over, pull through two loops on your hook. Yarn over, pull through two loops again. (there should be 2 loops left on your hook at this point)
- Yarn over twice, insert hook into the same stitch, pull up a loop.
- Yarn over, pull through two loops on your hook. Yarn over, pull through two loops again. (at this point, there should be 3 loops on your hook).
- Yarn over twice, insert hook into the same stitch, pull up a loop.
- Yarn over, pull through two loops on your hook. Yarn over, pull through two loops again. (at this point there should be 4 loops on your hook).
- Yarn over twice, insert hook into the same stitch, pull up a loop.
- Yarn over, pull through two loops on your hook. Yarn over, pull through two loops again. (at this point there should be 5 loops on your hook).
- Yarn over, pull through all 5 loops on your hook.
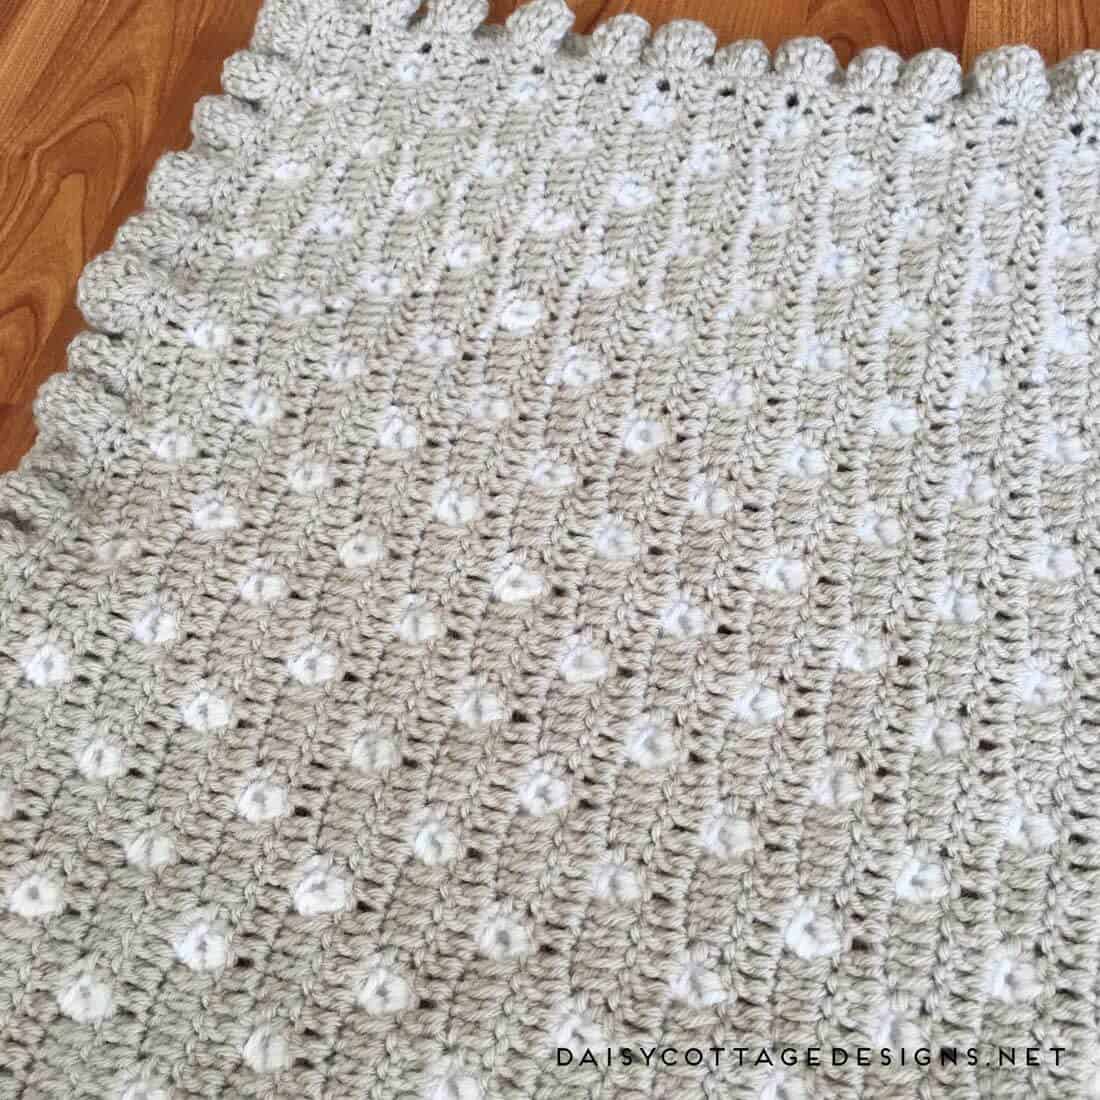
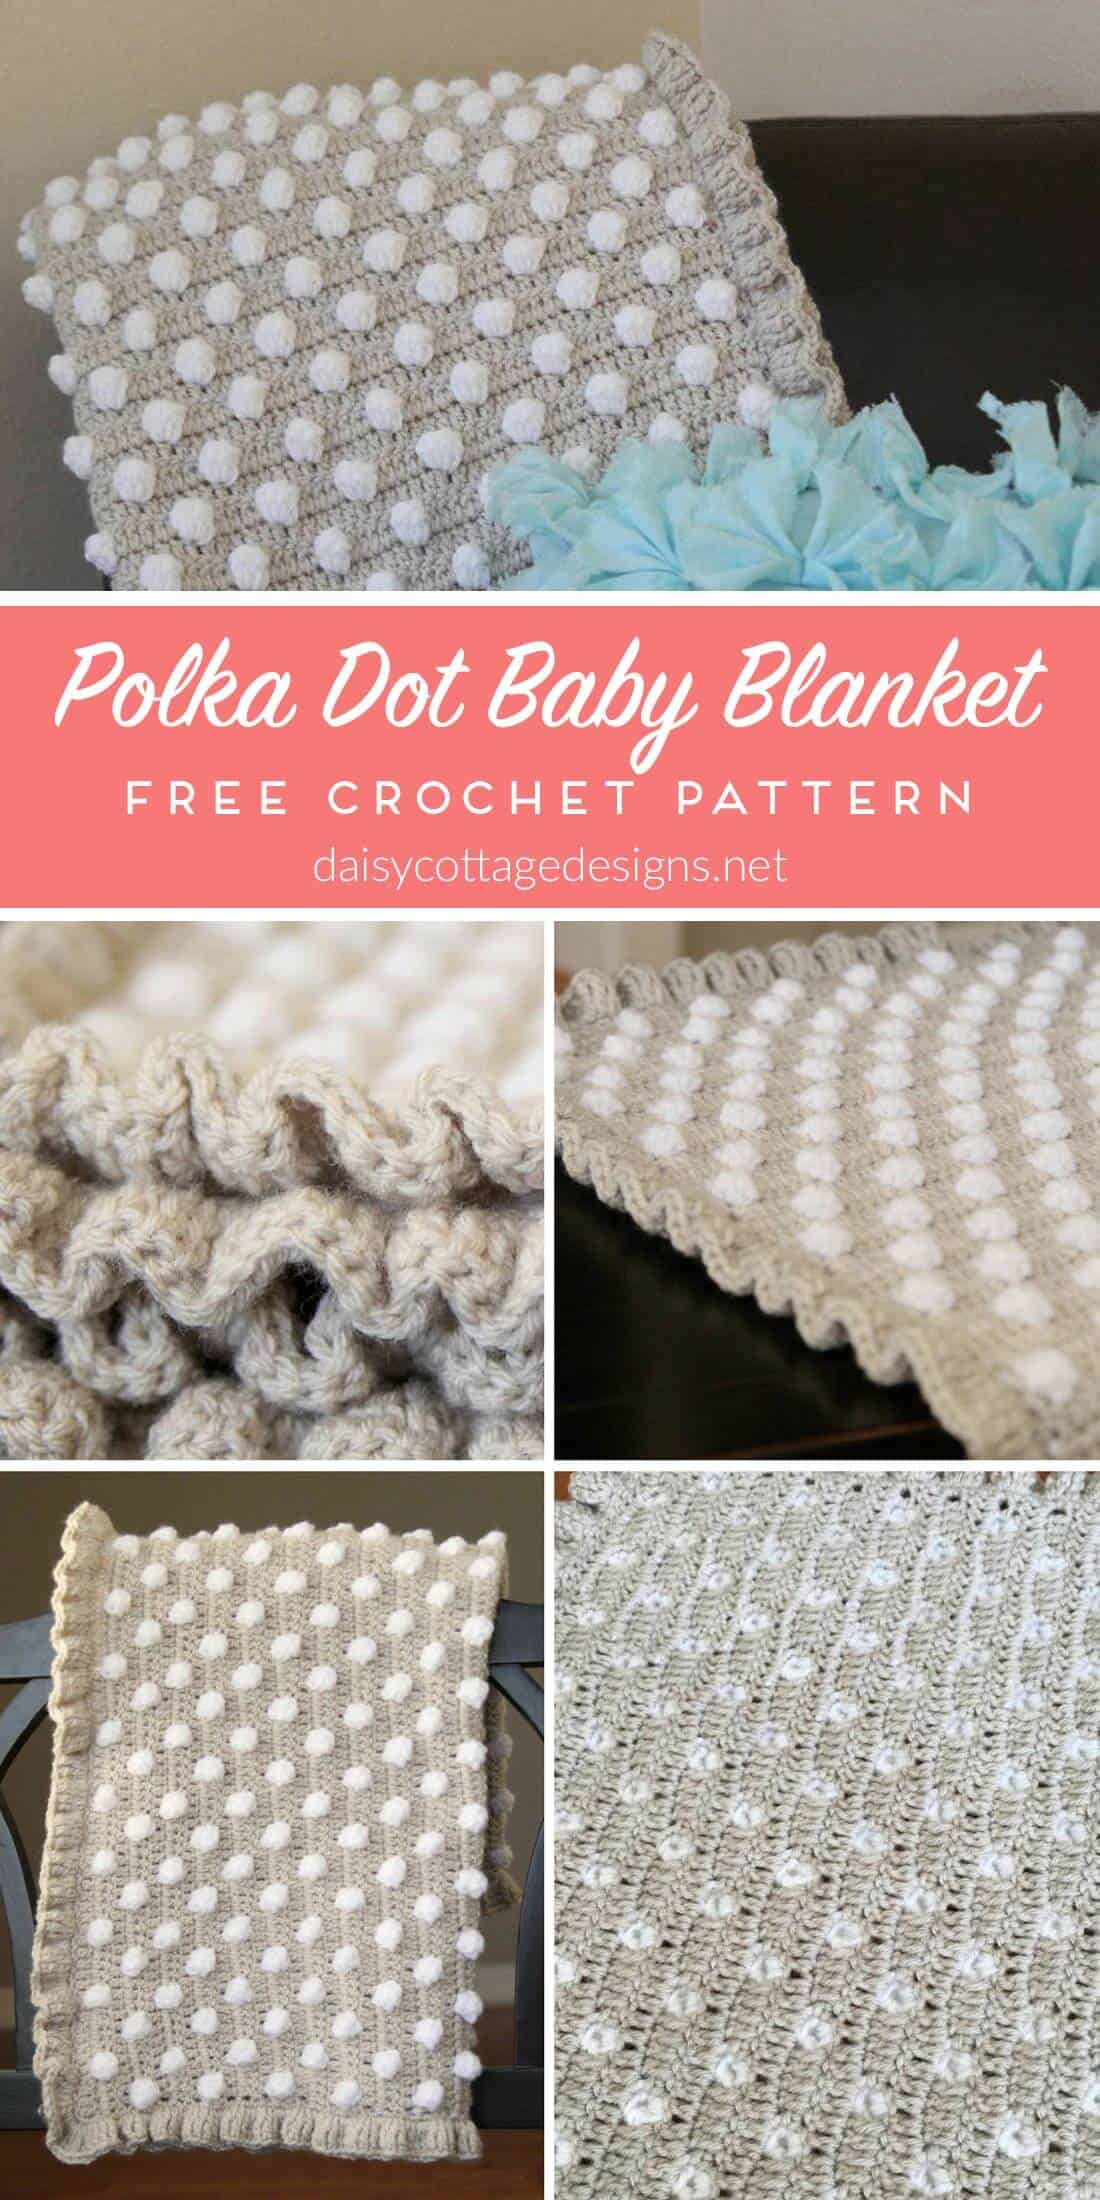
In case you were wondering, this is what the reverse side of the bobbles looks like. While it isn’t as flashy as the other side, it’s still lovely!
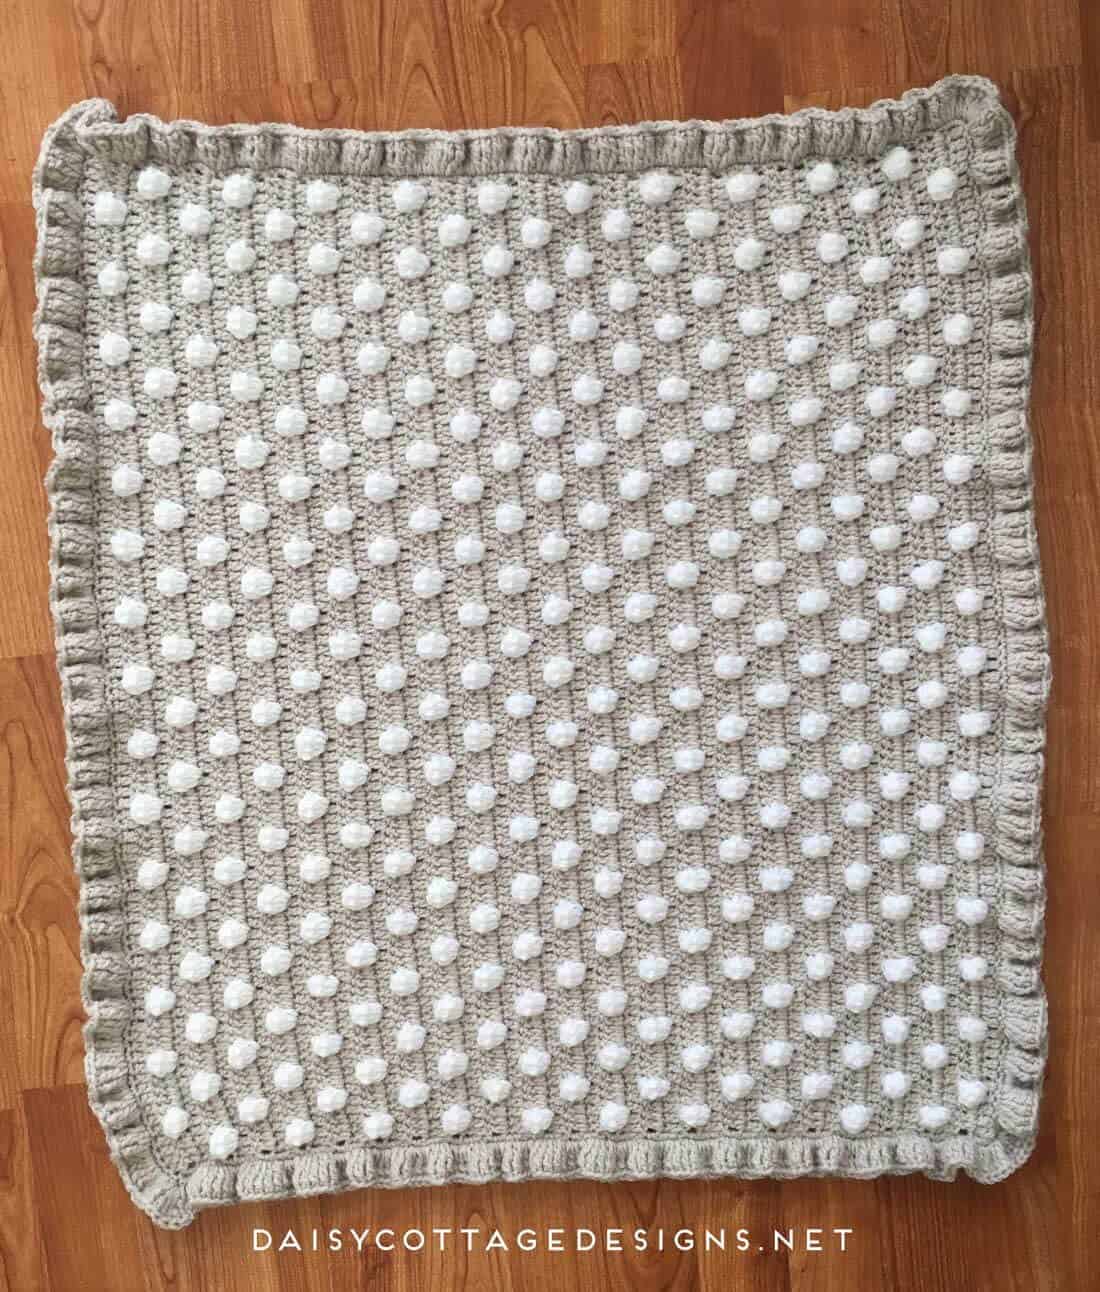
And here is a picture of the entire blanket.
Now you’re ready to begin!
Ch 96 (or for a larger blanket, chain 126 or 156 – any multiple of 6 will work!).
Row 1: dc in the third chain and in each stitch across. Ch 2, turn. (95, 125, 155)
Row 2 (carry yarn on this row): dc in the second stitch and in the next 3 stitches (remember, on that last double crochet, you’re going to need to change colors by pulling your contrasting yarn through the last two loops – see detailed instructions in the pattern notes). Bobble in the next stitch. *dc in the next 5 stitches, bobble in the next* across. dc in the last 5 stitches, being sure you dc in the starting chain. Cut contrasting yarn, weave ends. Ch 2, turn. (You should have 15 bobbles in this row).
Row 3: dc in each stitch across. Ch 2, turn.
Row 4 (carry yarn on this row): dc in the next stitch (so you have 2 stitches including the ch 2), bobble in the next stitch. *dc in the next 5 stitches, bobble in the next* across. dc in the last 2 stitches. Ch 2, turn. (You should have 16 bobbles in this row).
Row 5: dc in each stitch across. Ch 2, turn.
Rows 6-desired length: Repeat rows 2-5.
My blanket has 43 rows.
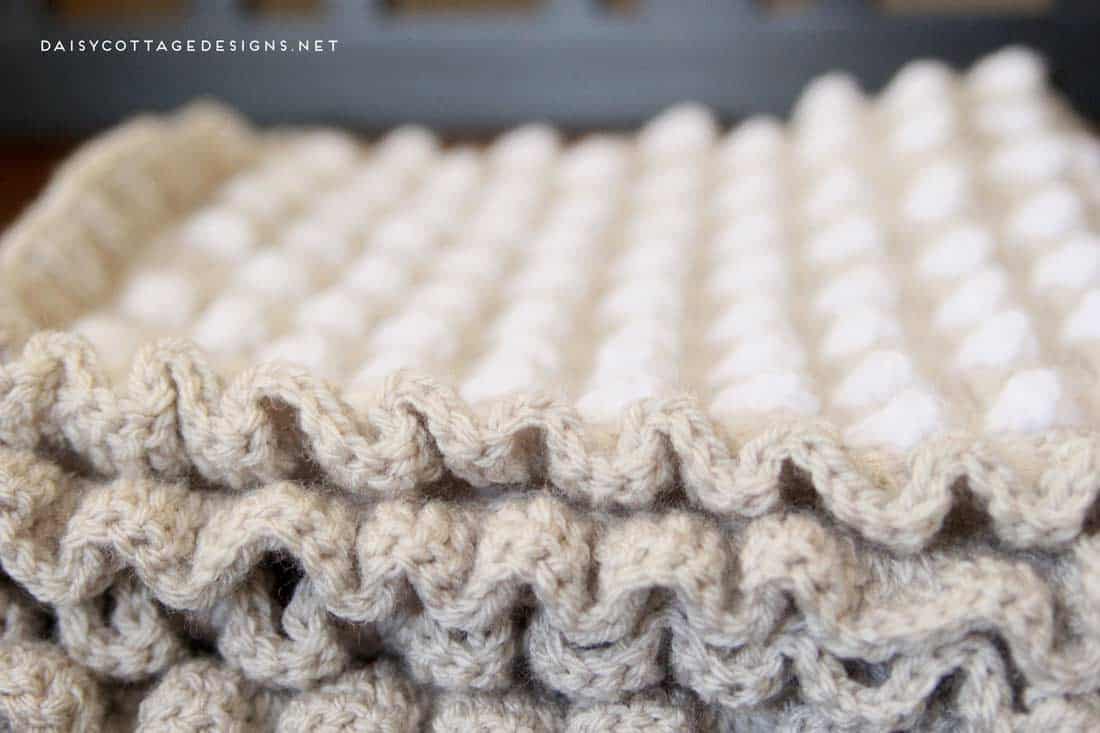
Now it’s time to work the border – this great fluffy ruffle!
Round 1: sc evenly around all 4 sides of your blanket. Work 3 sc in each corner. When you reach the first stitch, sl st to join. If you prefer not to have the ruffle, you can end here.
Round 2: ch 3. 2 tr in the same stitch, 2 tr in the next stitch. *3 tr in the next stitch, 2 tr in the next* around working 6 tr in each corner.
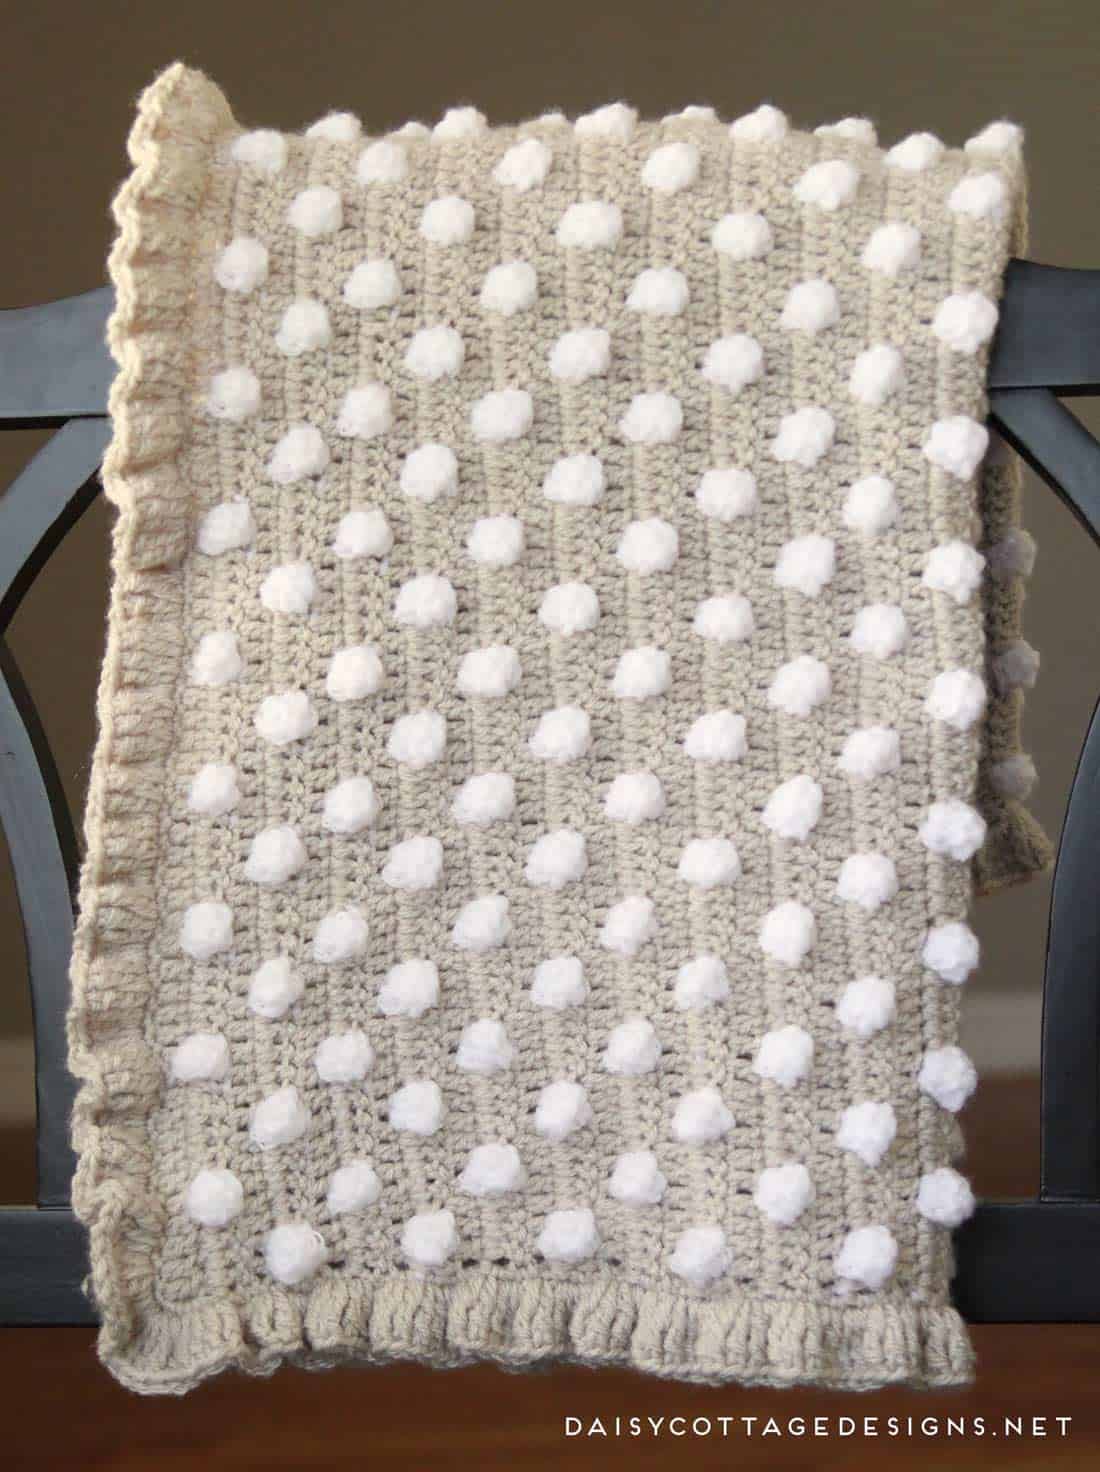
This project is probably the one I like the most of all my crochet patterns. I love the polka dot look, the ruffly border, and the beautiful, neutral colors. While it might take a little while to get the hang of the bobble stitches in a second color, it really is a simple blanket to make.

I love it!! My daughter requested one as soon as she saw me looking at it! ?
It’s SO cute in person, too! I had a hard time getting the pictures to do the blanket justice. 🙂
Did i miss what to do with the white tails on each end?
Just cut the yarn on those rows and weave the ends 🙂
Hi Lauren,
Is this the same pattern as the polka dots and frills Blanket? Would the polka Dots and frills blanket be a multiple of 6 also? I’d like to make that one 24″ but couldn’t figure out the multiple. Thanks!
Shirley
Yes. It is 🙂
Also, when you sc around for the first row of the border are you putting 2 sc in each dc along the side Rows? Thanks again,
Shirley
Hi there. Yes, usually 2 sc in each of the dc stitches along the side 🙂
Is just beautiful ❤❤ and after the video I am ready. Do you also have a video fir the ruffle. I have a hard time reading the patters but one I see the video all makes sense.
Thank guy for sharing your beautiful work with us.
I don’t, but I can work on that when I get home from my trip!
Lovely pattern ! i can’t wait to make one.
Thanks