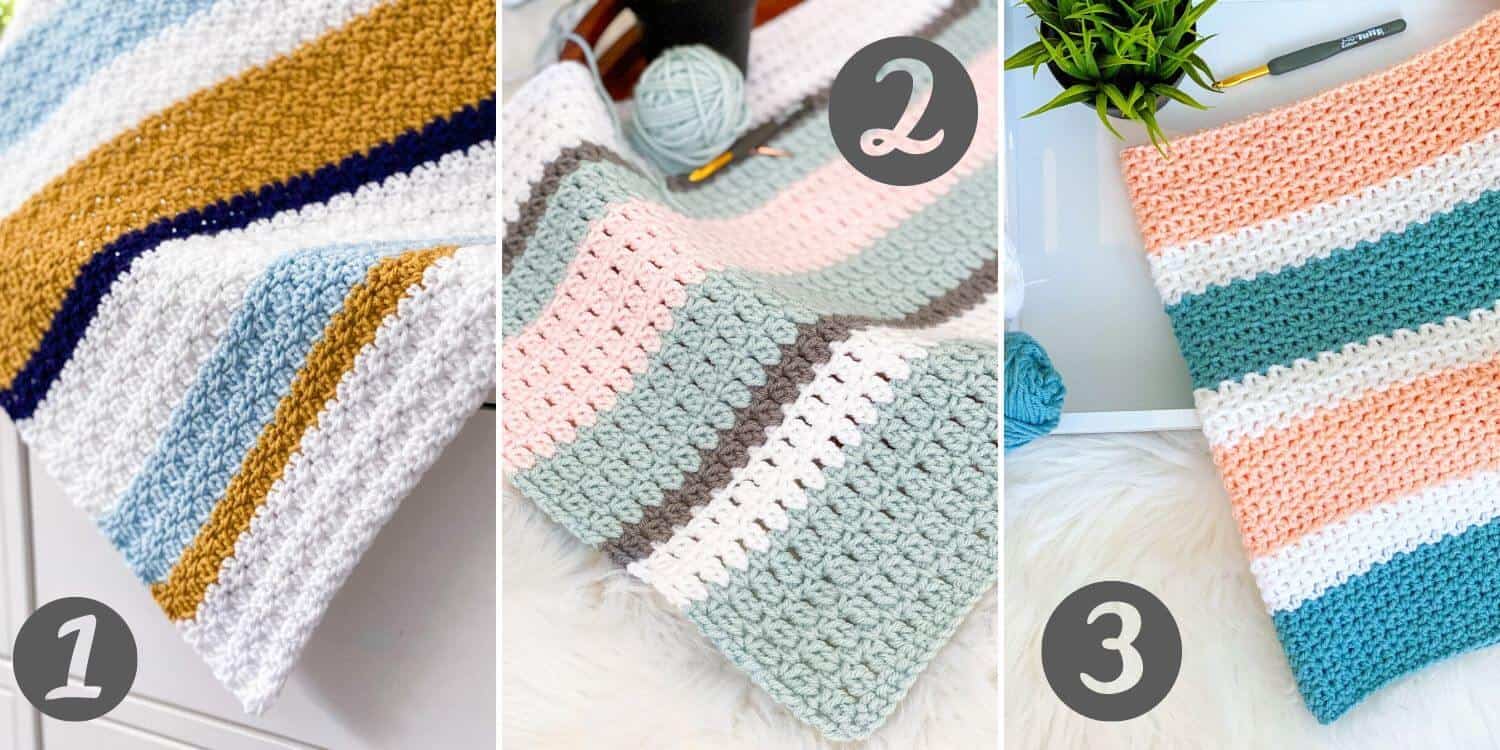
Textured Crochet Stitch Blanket: The Oceanside Throw
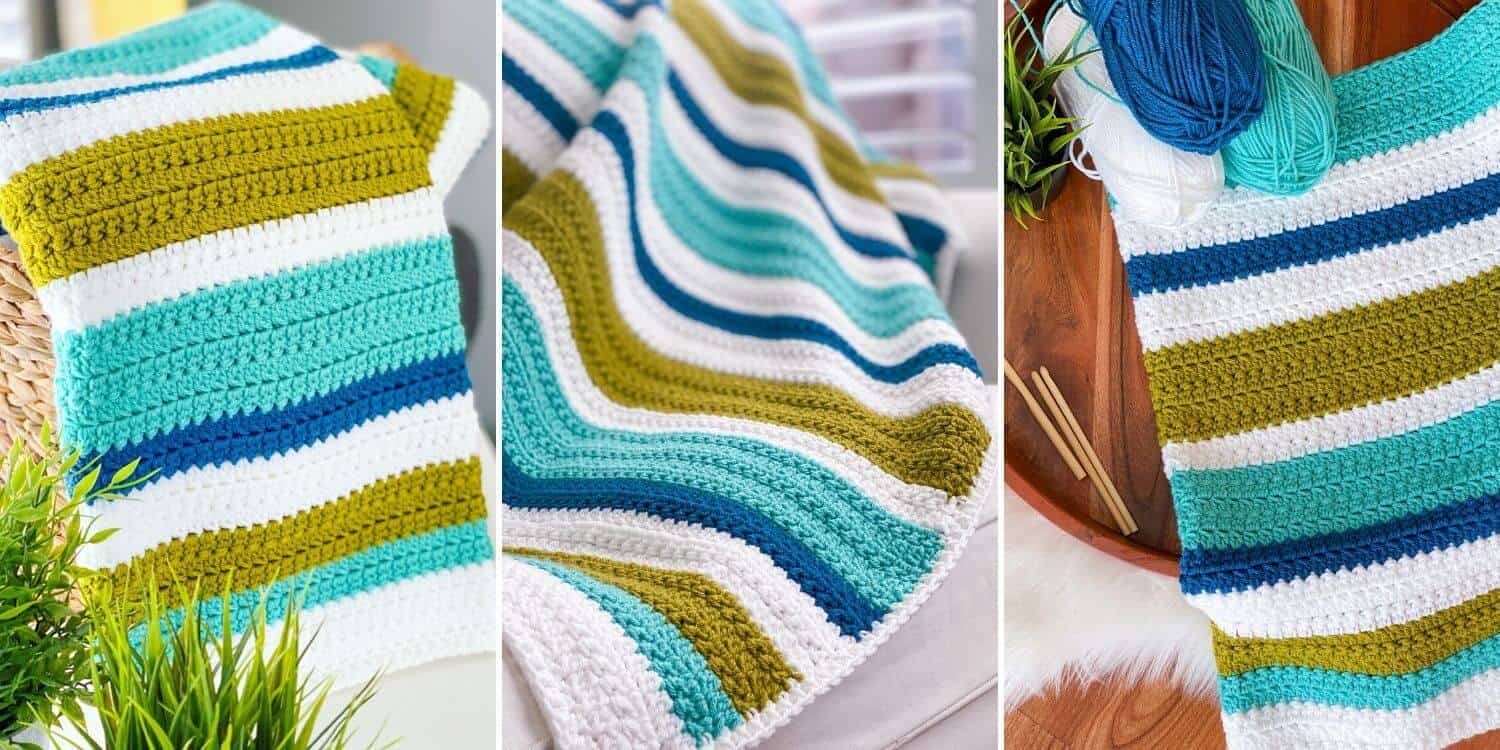
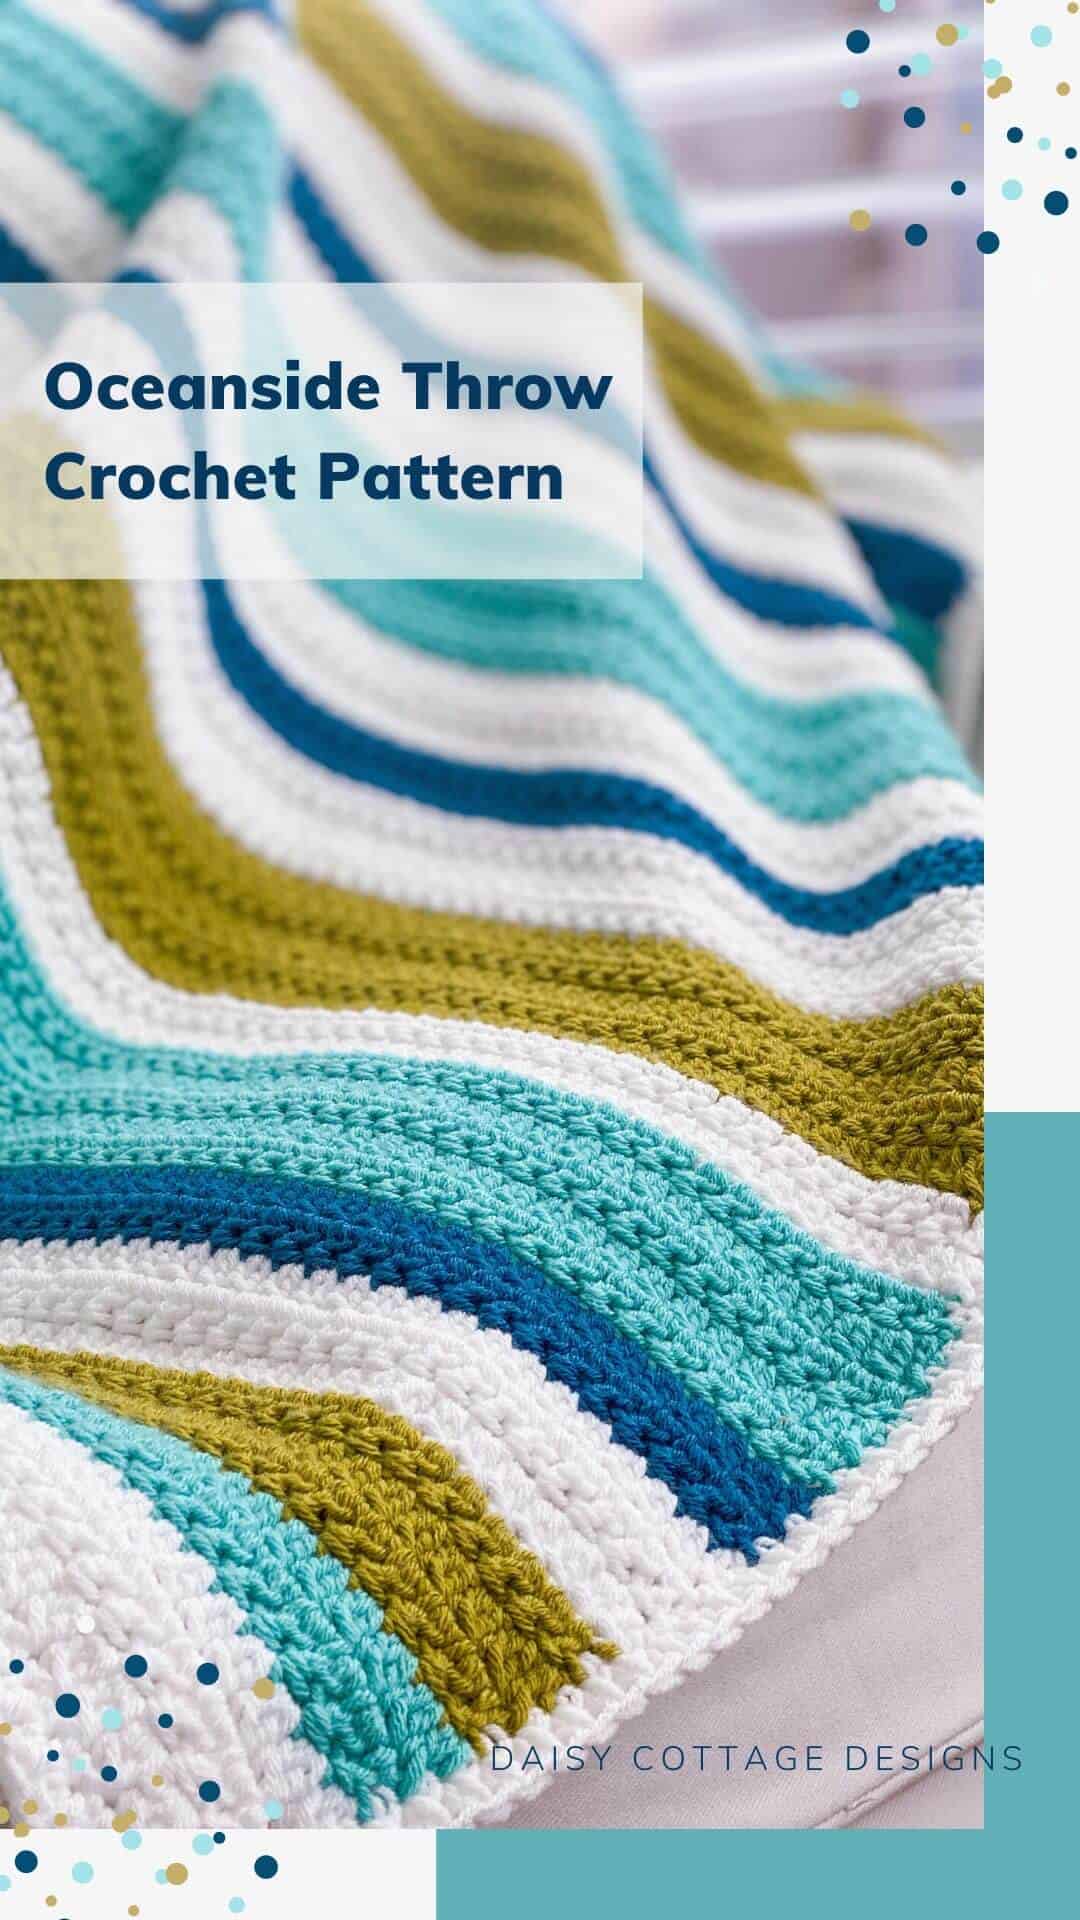
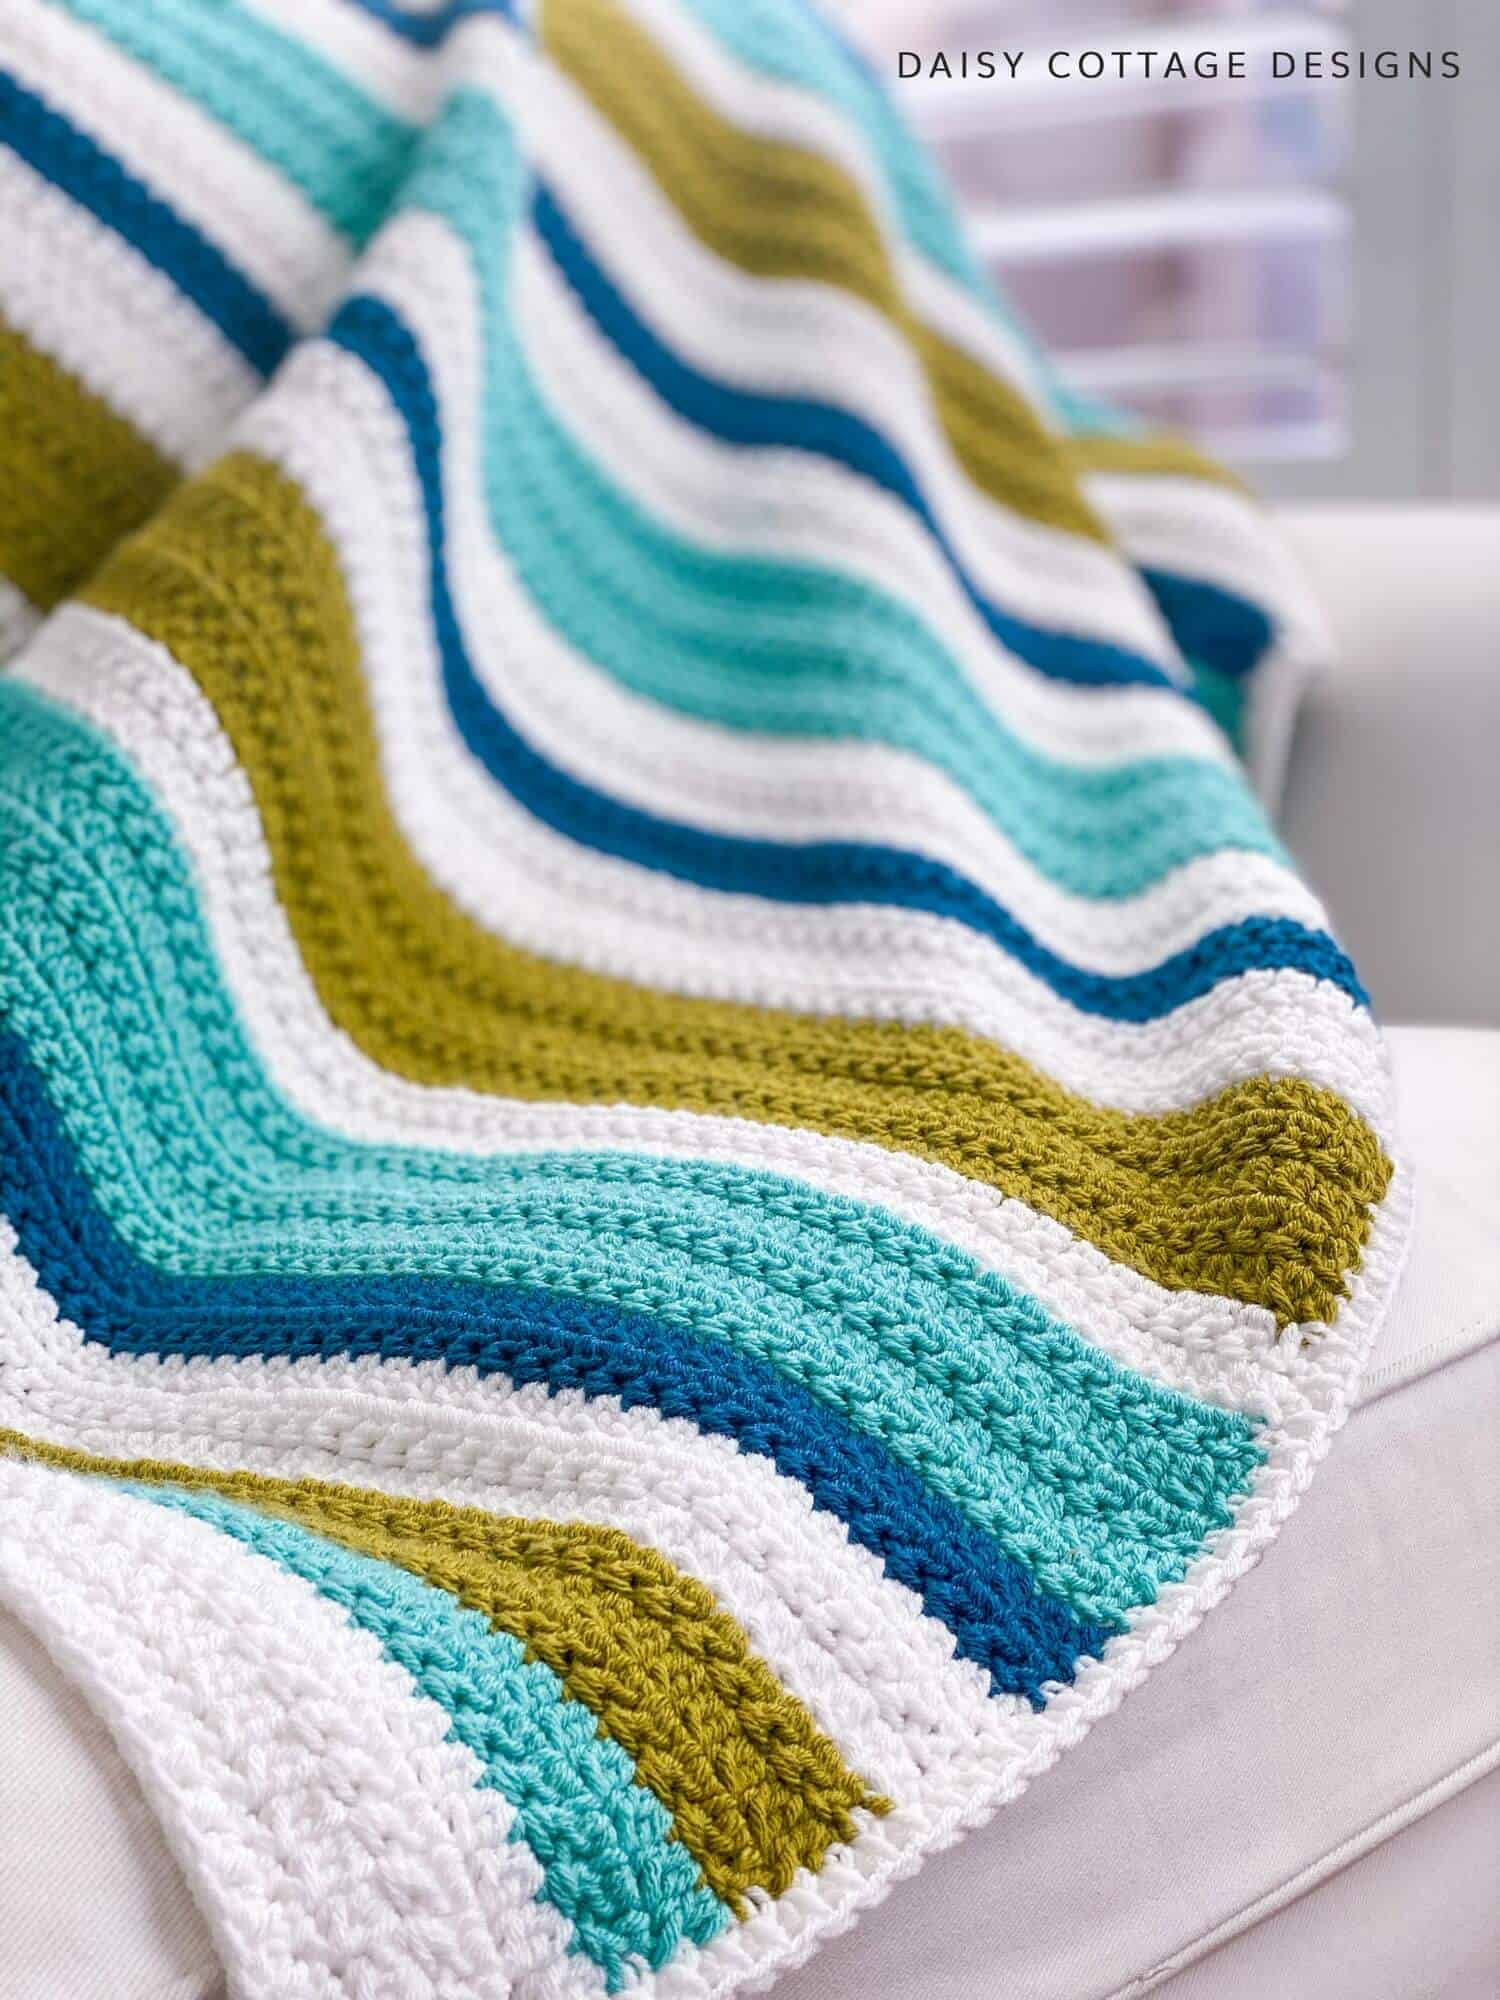
My Oceanside Throw Pattern – a textured crochet stitch blanket – is one you’re going to love making! It’s a free pattern here on the blog. You can read my thoughts or scroll past my ramblings to the crochet pattern.
This color palette might just be my favorite combination ever. I flew through this blanket because I couldn’t wait to see the colors come together. If you want more color inspiration, check out the Daisy Cottage Color Palette Series.
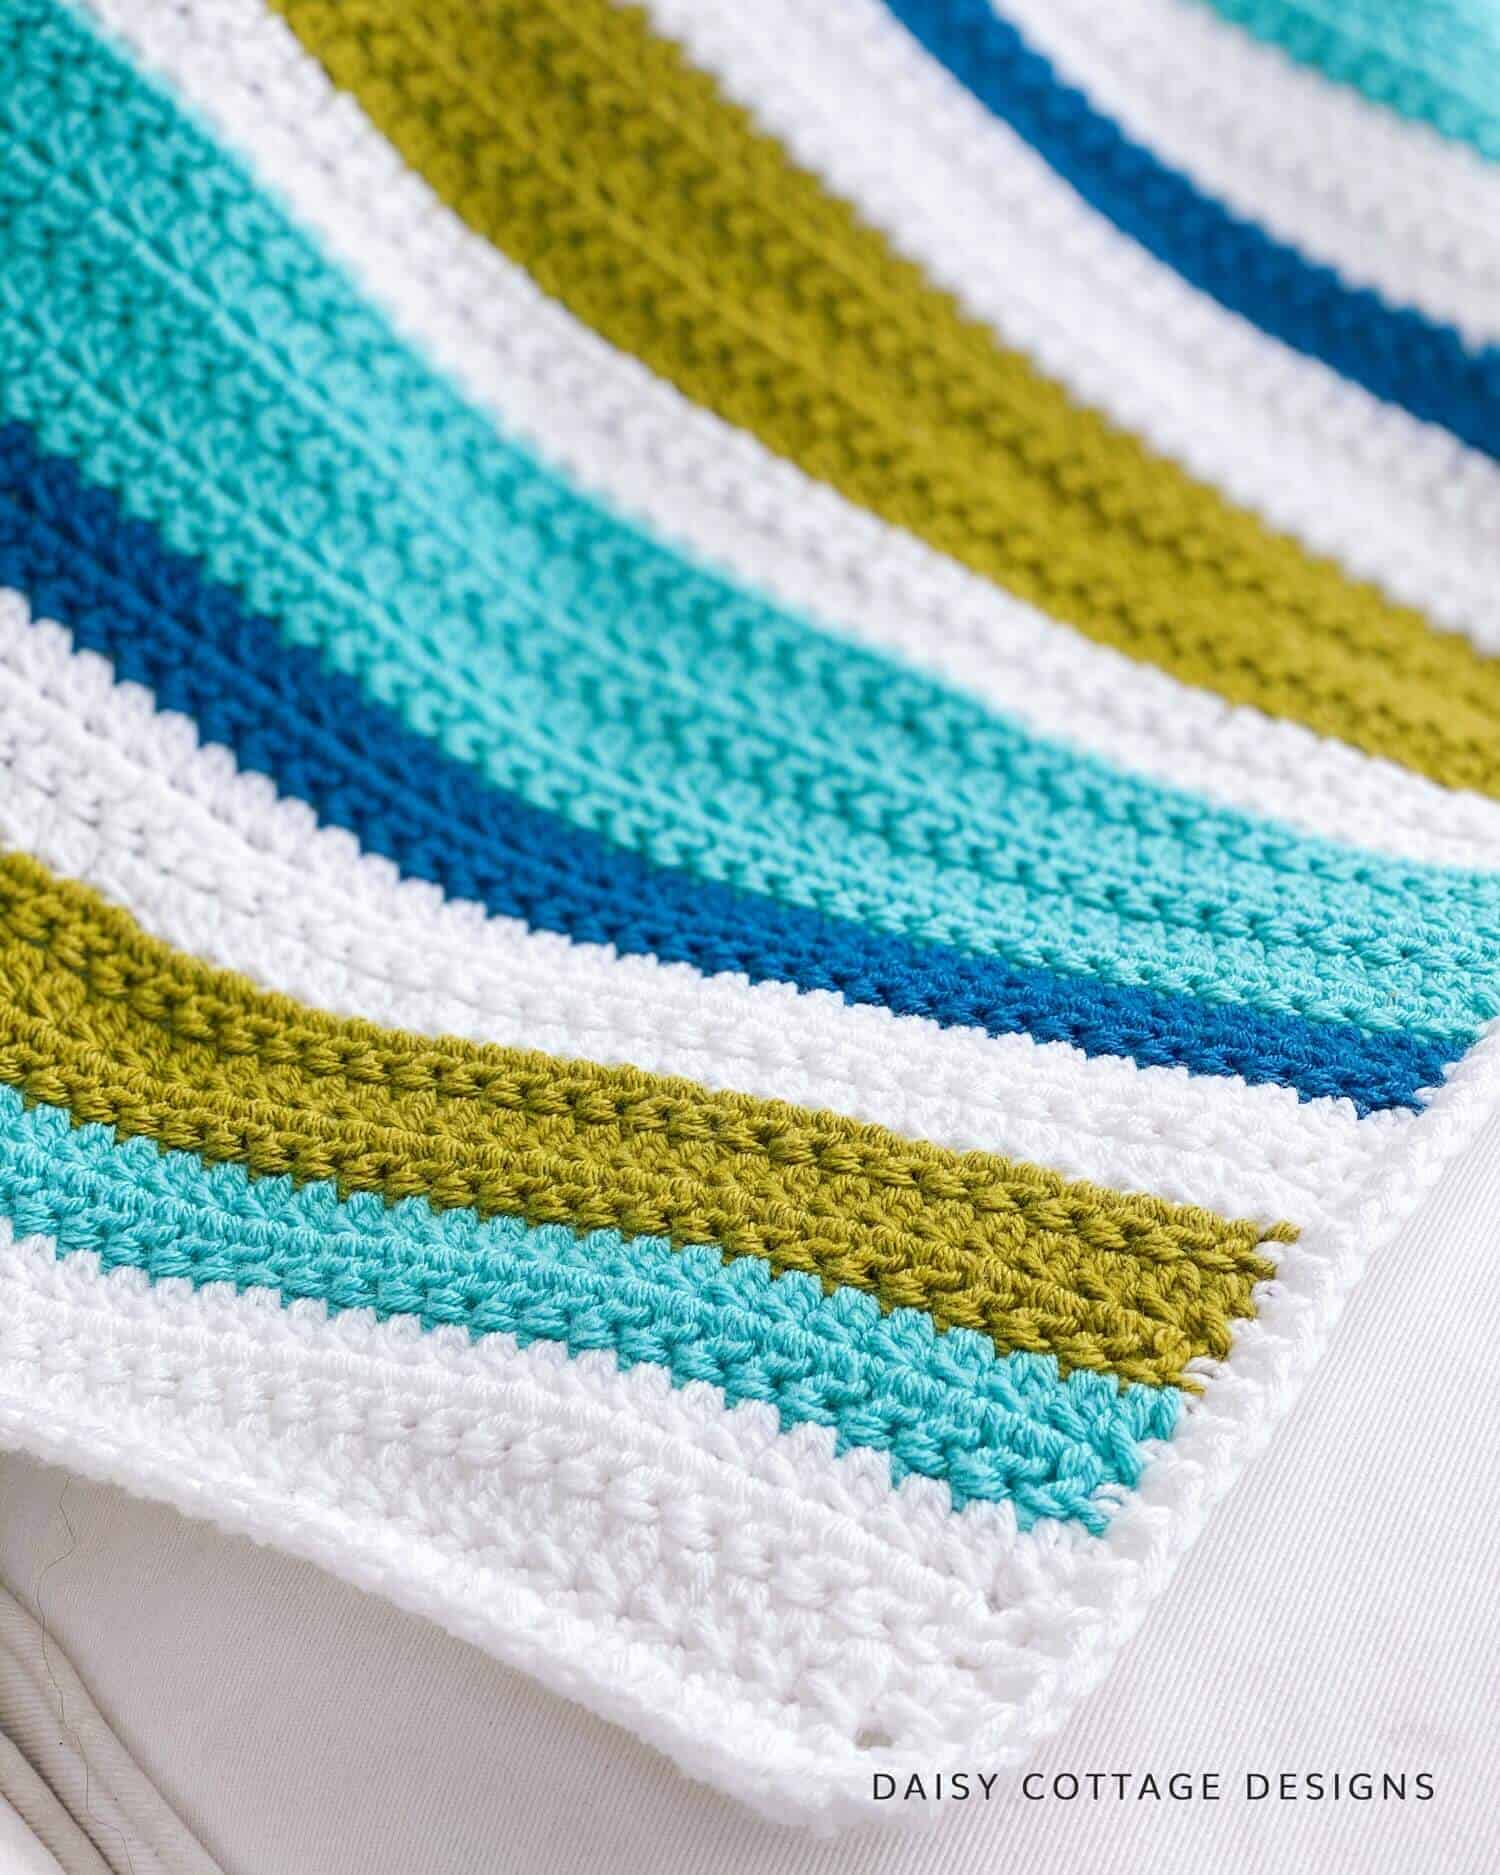
I recently asked my Instagram followers what catches their eyes when it comes to crochet patterns and projects. Almost 100% of them mentioned color and texture. I’d have to agree with them – when I’m scrolling, sometimes I see a crochet project that makes me wish I could run my hand over it. This blanket knocks it out of the park with color and texture.
Can a beginner really make this textured crochet stitch blanket?
The answer is definitely yes! While the textured crochet stitch and striping make this blanket look like a seasoned crocheter made this, it is definitely suitable for someone who hasn’t been crocheting for very long.
Does that mean someone who’s been crocheting for ages won’t enjoy making it? Definitely not the case. Anyone at any skill level will enjoy the pattern!
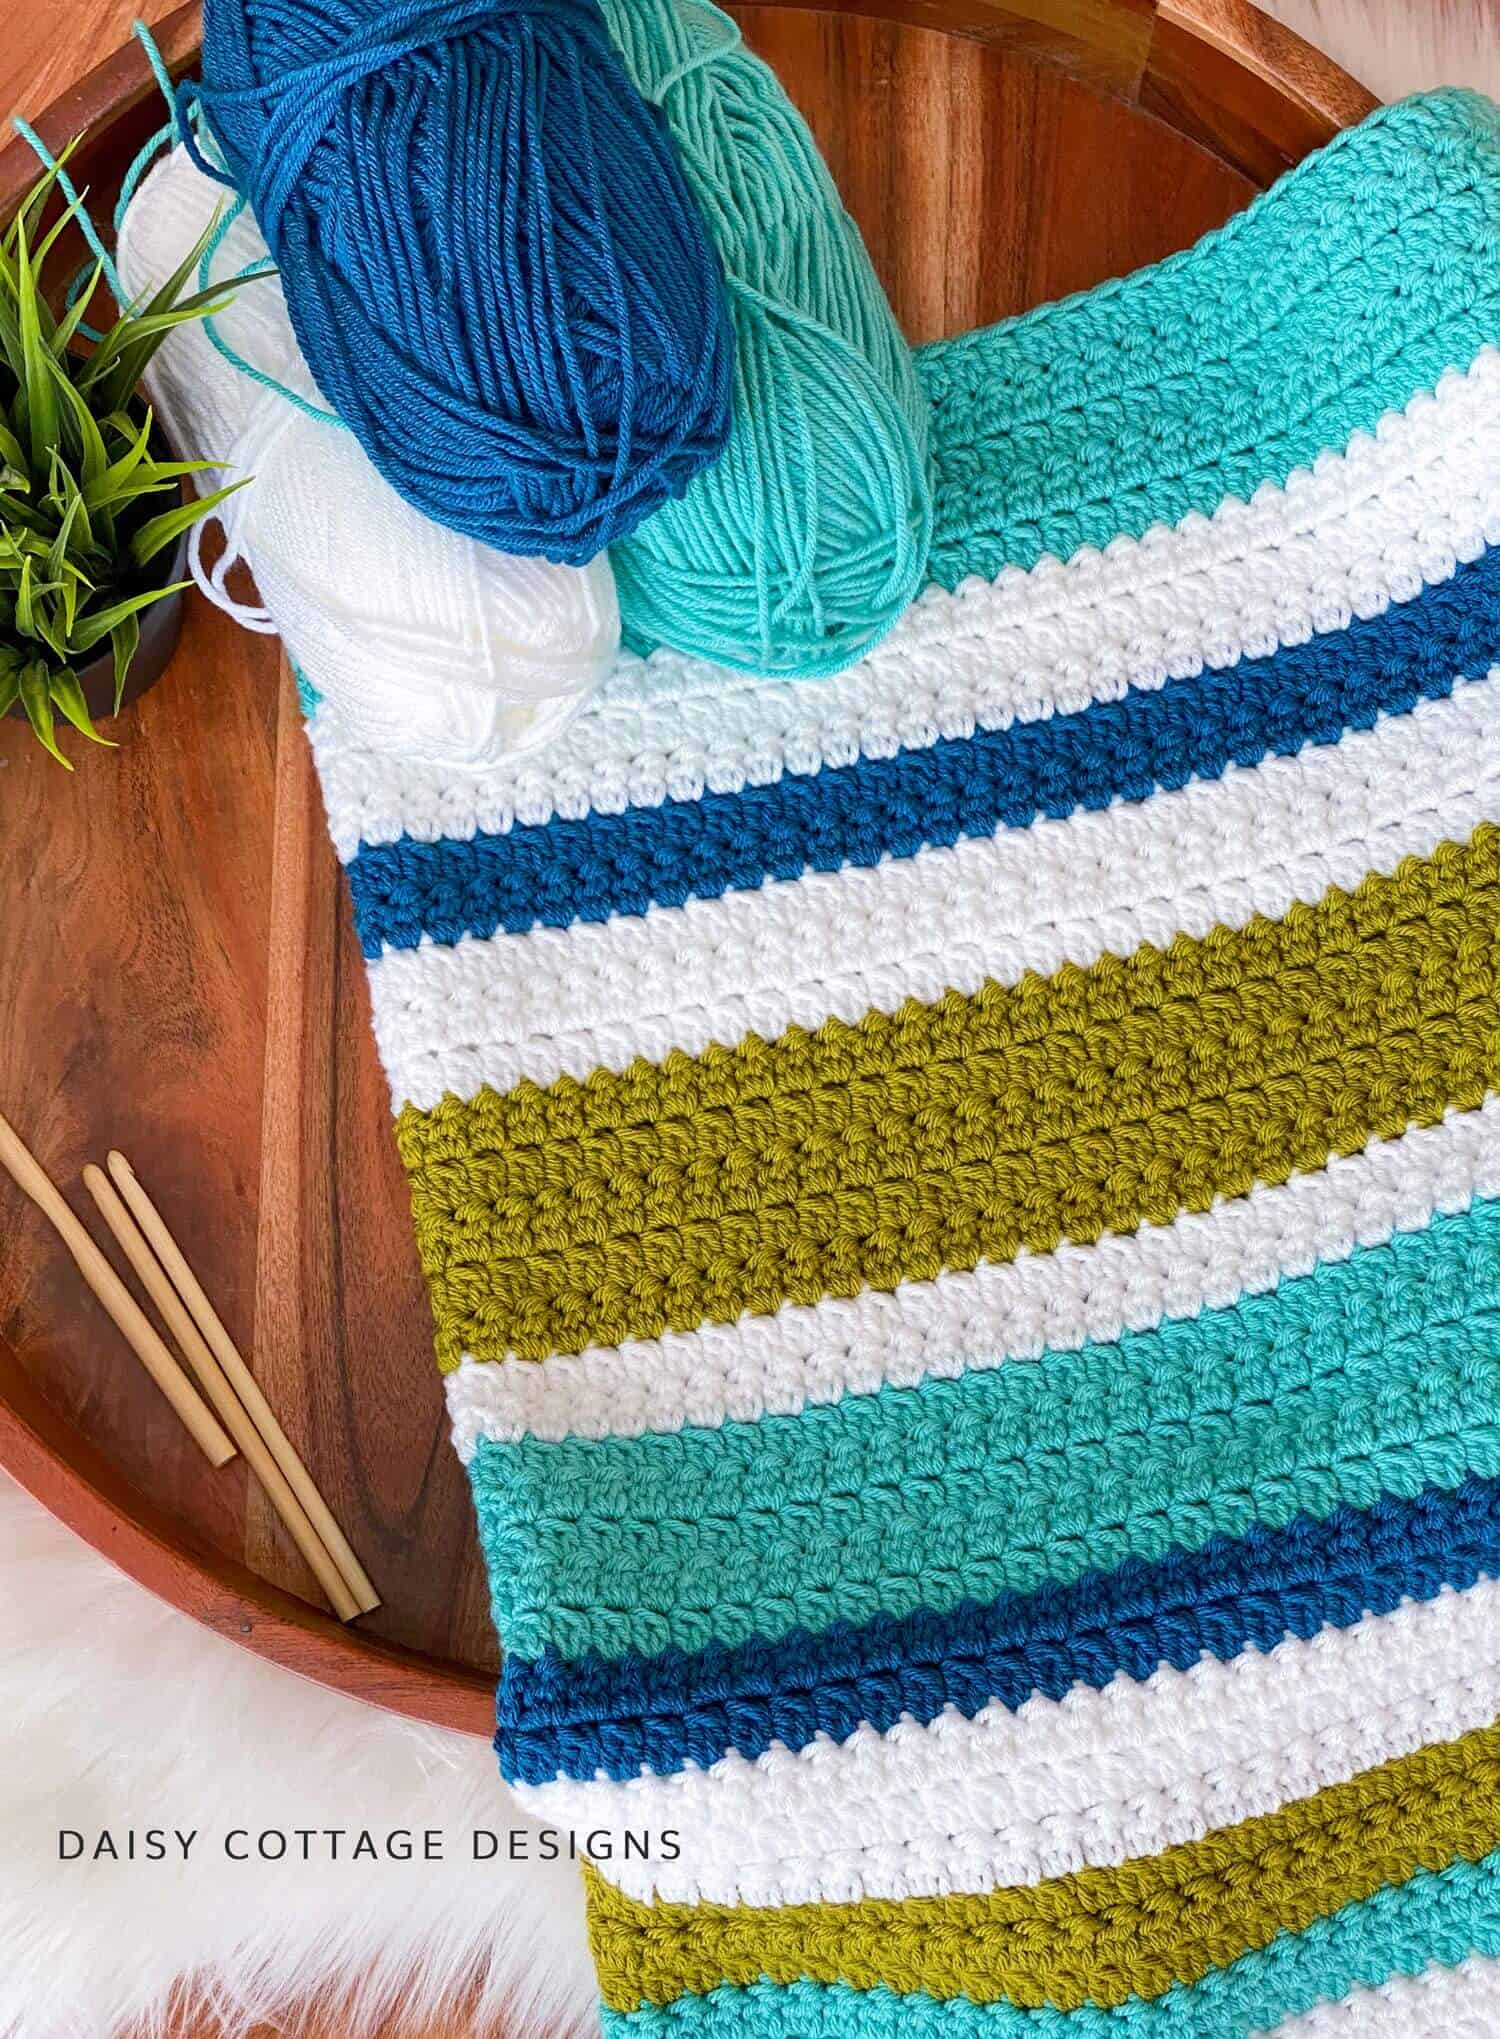
What about the yarn?
I used Yarn Bee Soft & Sleek and, I must say, I loved it. This yarn is soft, squishy, and glides so nicely on your hook. It’s definitely on the thicker side for a worsted weight yarn, but the finished look definitely isn’t chunky. This yarn is more of a matte yarn so there’s not much sheen to it.
Ready to get started?
Textured Crochet Stitch Blanket Pattern
- Get the ad-free, print-friendly PDF pattern HERE.
- PIN this pattern to your Pinterest boards for later HERE.
- Add to your Ravelry queue HERE.
Materials:
- J-10 (6.0 mm) Crochet Hook – these are my favorite hooks
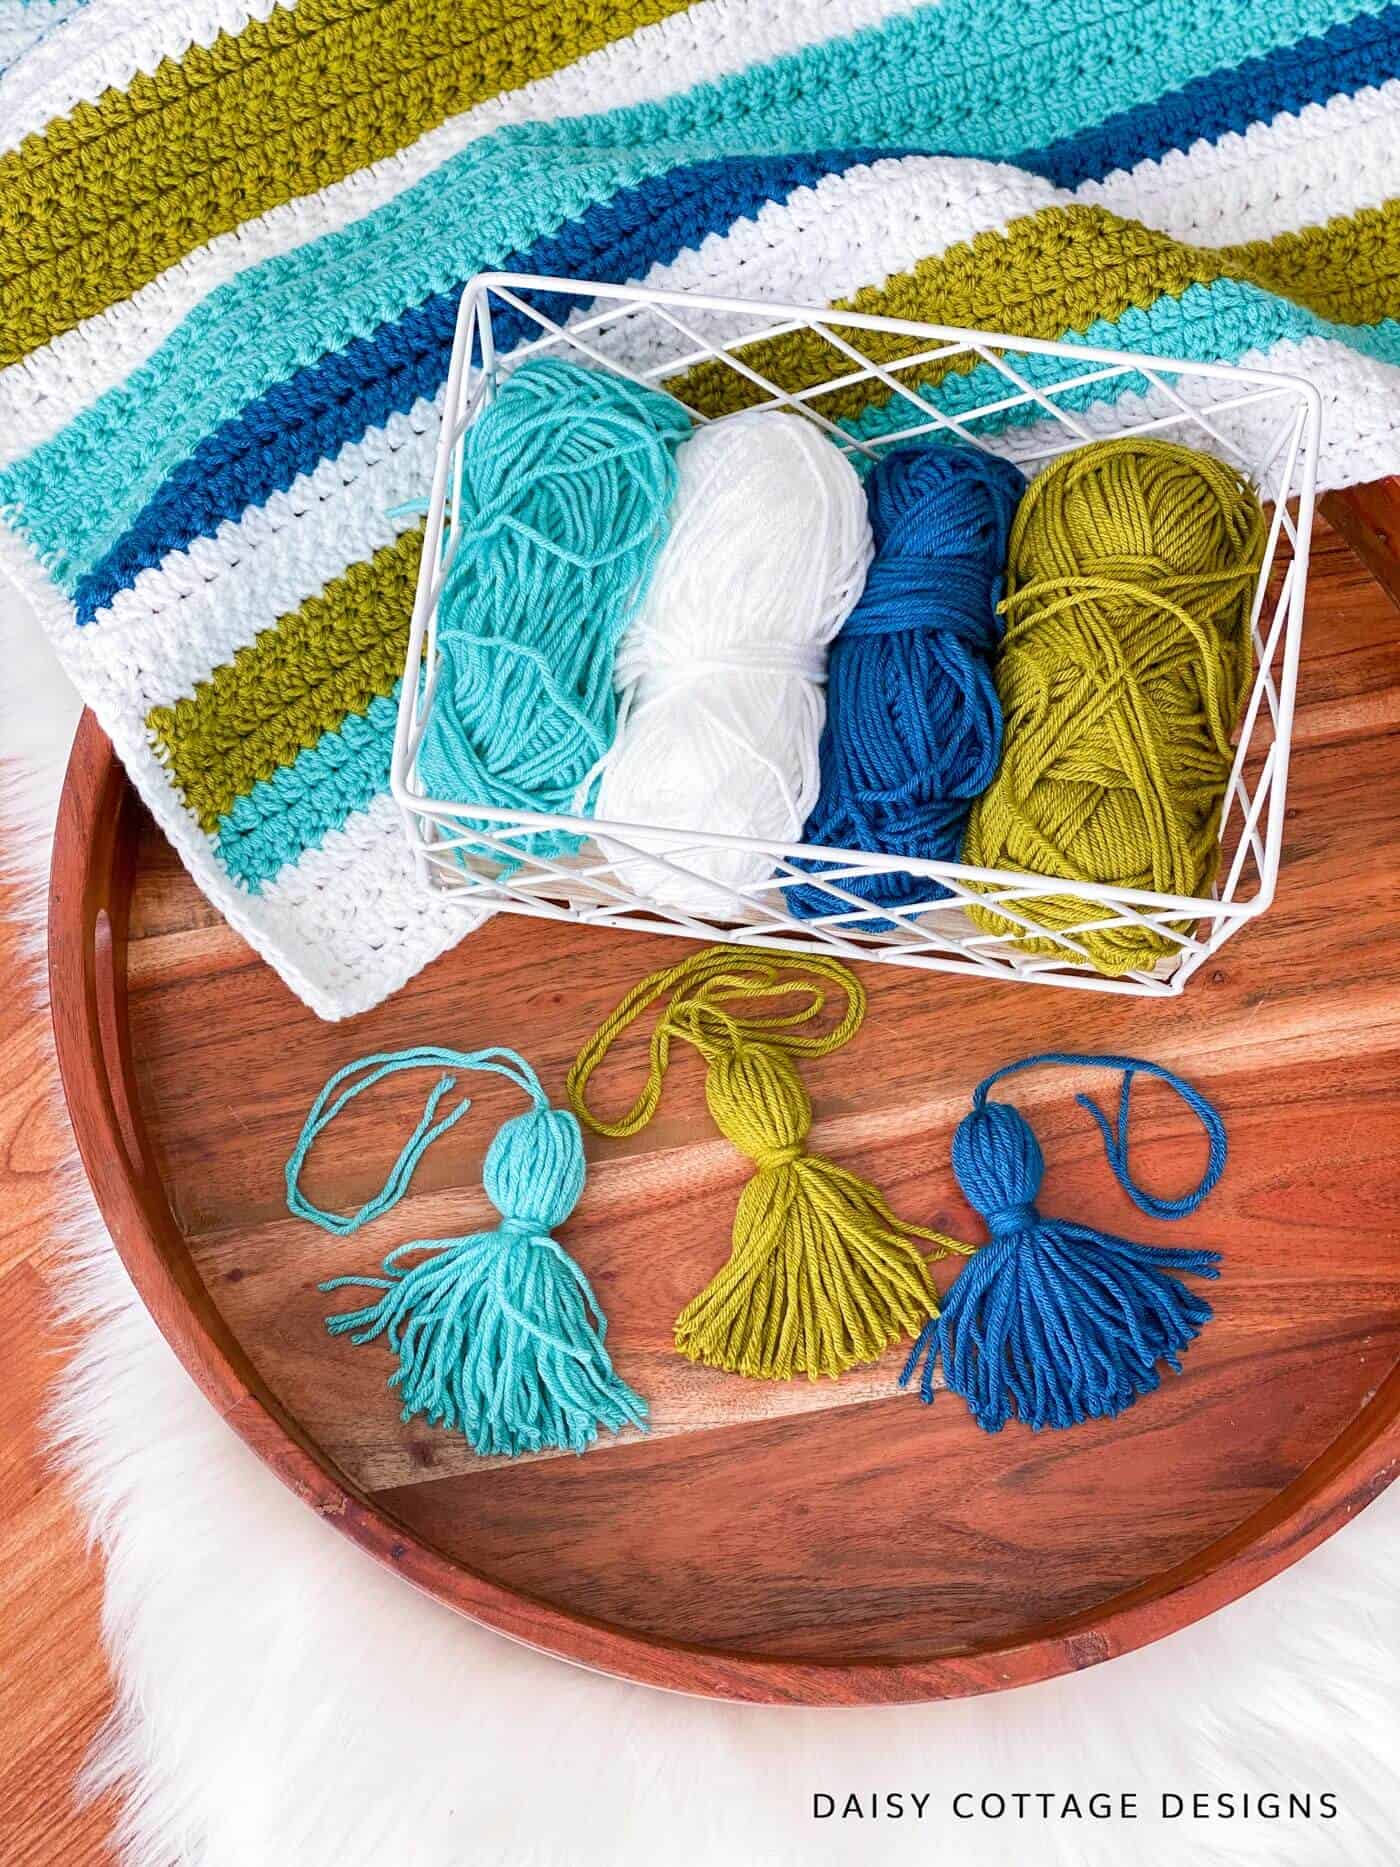
- 3 Skeins Yarn Bee Soft & Sleek in White
- 2 Skeins Yarn Bee Soft & Sleek in in Aqua (lighter blue shade)
- 2 Skein Yarn Bee Soft & Sleek in Kale
- 1 Skein Yarn Bee Soft & Sleek in Teal Green (darker blue shade)
- If you’re using a different yarn, you need approximately 1300-1600 yards of worsted weight yarn. Approximately 550 in White, 400 in Aqua, 320 in Kale, and 160 in Teal Blue. This is a thicker worsted weight yarn. If you’re using a regular worsted, you could use an I-9 Hook.
Special Stitches:
- DC2Tog (double crochet 2 together): yarn over, insert hook into stitch, pull up a loop. Pull through two loops. Yarn over, insert hook into same stitch, pull up a loop. Pull through 2 loops. Pull through 3 loops.
- Still sound a little confusing? Watch the video above.
- HDC2Tog (half double crochet 2 together): yarn over, pul up a loop. Yarn over, pull up a loop in the same stitch. Yarn over, pull through all 5 loops on your hook.
Pattern Notes:
- Finished blanket measures approximately 45 in x 35 in.
- You do NOT work into the turning chain at the end of this row.
- To make this blanket larger, simply increase your starting chain. This stitch works for any size starting chain.
- Please use #daisycottagedesigns on social media so I can see your projects!
- Here is how I change colors: When coming to the end of a row, dc2tog as usual, but when you get to the last step (pull through three loops on your hook), pull through with the new color to finish the stitch. Chain 1, and continue with the pattern as written. There are other ways to change colors, but this is my preferred method. This video will explain the method I use: https://youtu.be/To94LjguPfA
Loosely chain 82 with white.
Note: If you know you crochet tightly, go up one hook size for the chain and then switch back on row 1.
Row 1: dc in the third chain fro hook, dc2tog the next chain and in each chain across. Ch 2, turn. (You should have 1 dc and 79 dc2tog)
NOTE: You might notice that your first row is curling some. This will even out after the next couple rows.
Row 2-3: dc in the first stitch, dc2tog in the next stitch and in each stitch across. Do NOT work into the turning chain in this row or any other.
At the end of row 3, cut yarn and weave ends.
Row 4: Join Aqua yarn using your preferred method Ch 2. dc in the first stitch, dc2tog in the next stitch and in each stitch across. Ch 2, turn.
Row 5: dc in the first stitch, dc2tog in the next stitch and in each stitch across.
At the end of row 5, cut yarn and weave ends.
Row 6: Join Kale yarn using your preferred method. Ch 2. dc in the first stitch, dc2tog in each stitch across. Ch 2, turn.
Rows 7-8: dc in the first stitch, dc2tog in the next stitch and in each stitch across.
Follow the stripe pattern below to complete the blanket.
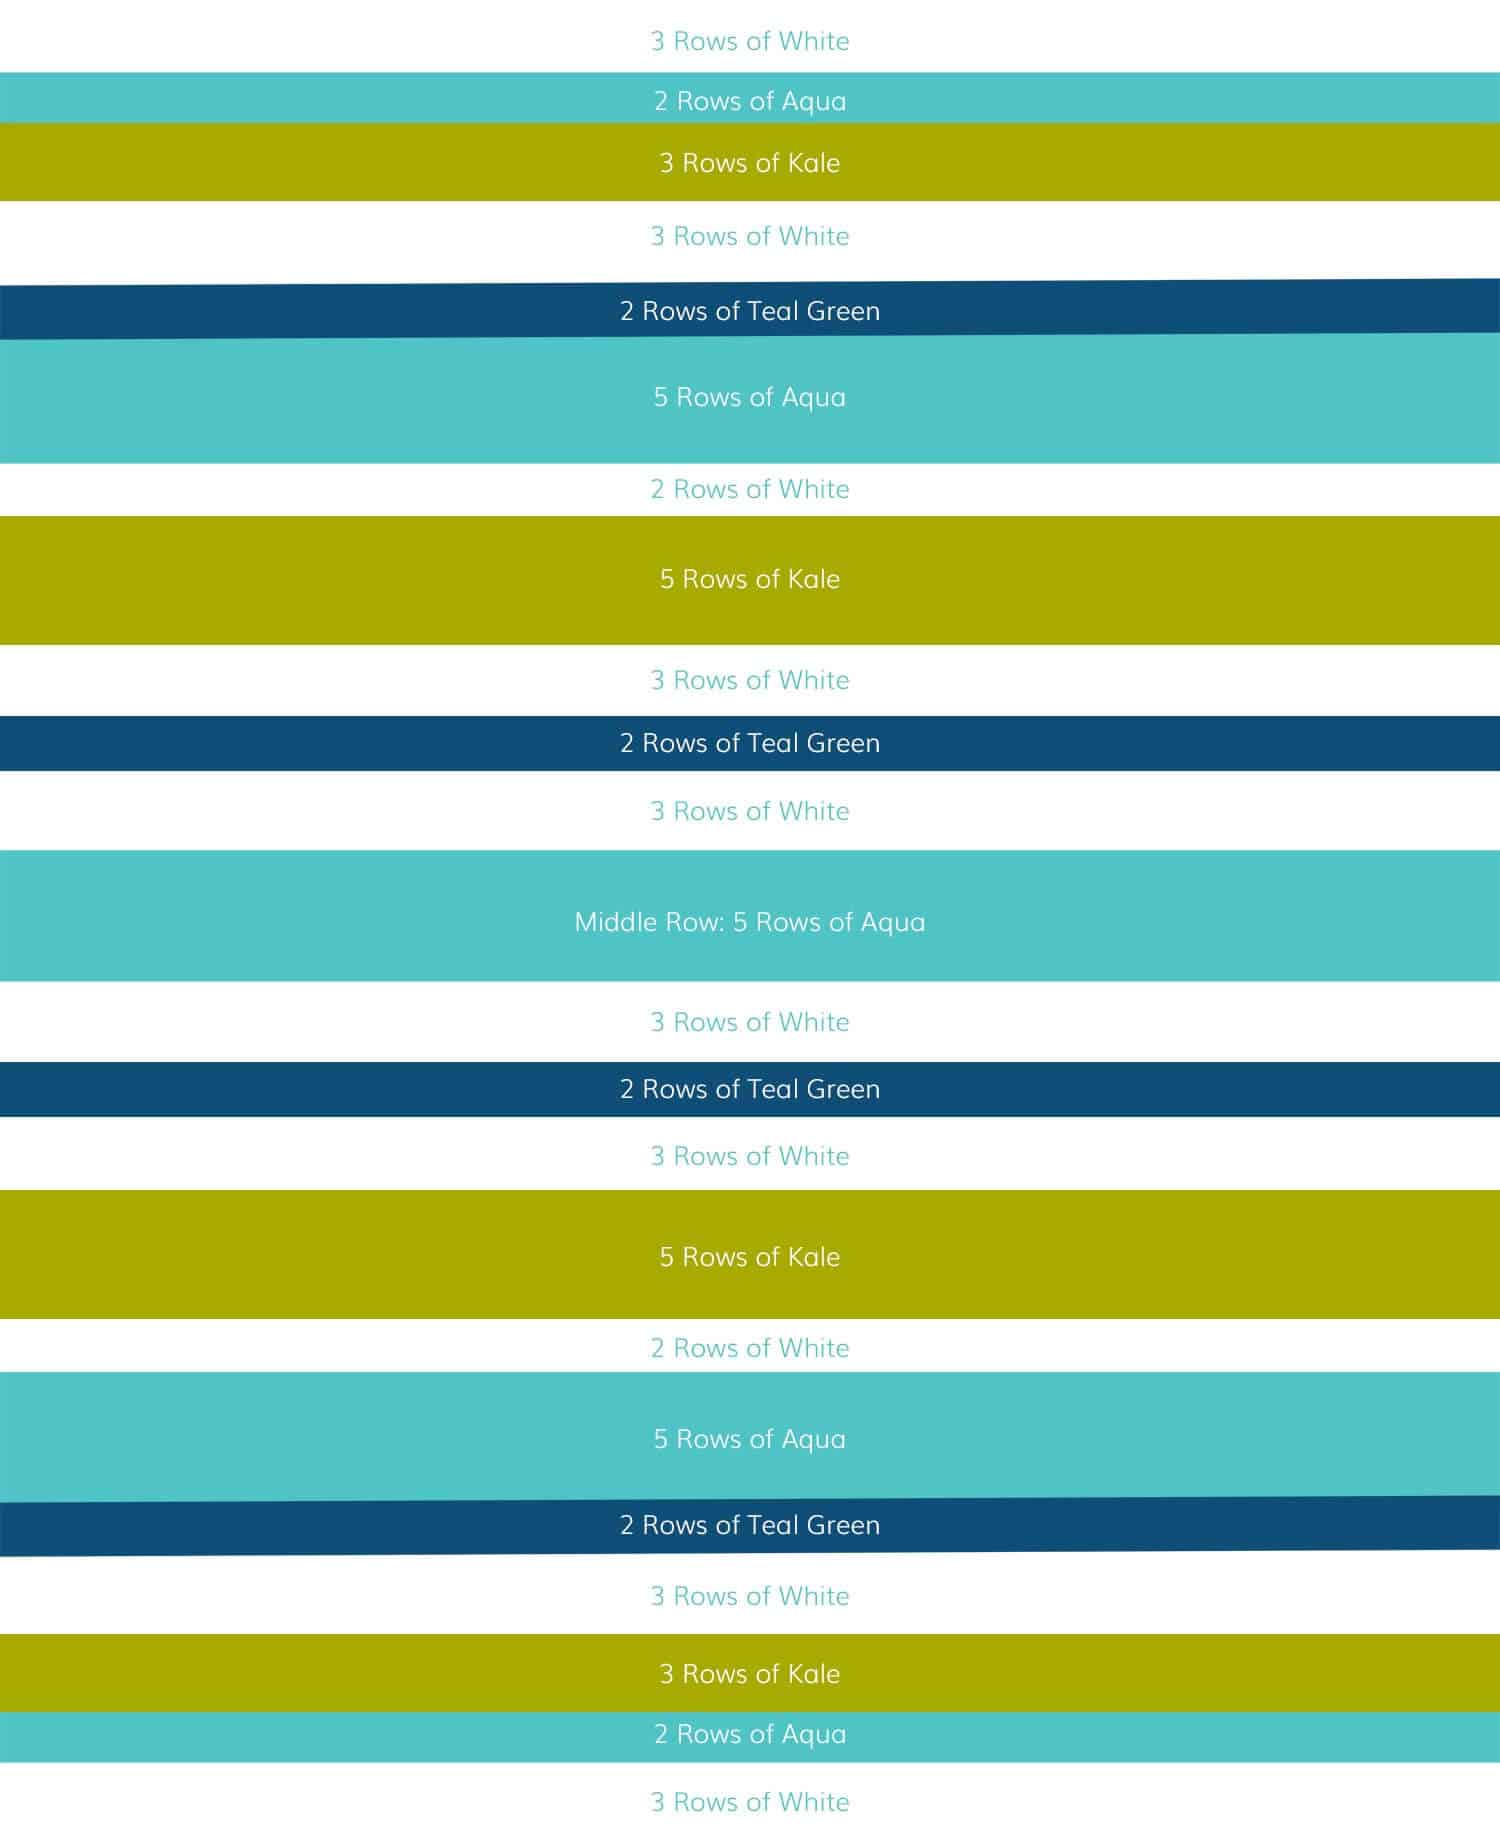
- *already completed* 3 rows of White
- *already completed* 2 Rows of Aqua
- *already completed* 3 Rows of Kale
- 3 Rows of White
- 2 Rows of Teal Green
- 5 Rows of Aqua
- 2 Rows of White
- 5 Rows of Kale
- 3 Rows of White
- 2 rows of Teal Green
- 3 Rows of White
- 5 Rows of Aqua***
- 3 Rows of White
- 2 Rows of Teal Green
- 3 Rows of White
- 5 Rows of Kale
- 2 Rows of White
- 5 Rows of Aqua
- 2 Rows of Teal Green
- 3 Rows of White
- 3 Rows of Kale
- 2 Rows of Aqua
- 3 Rows of White
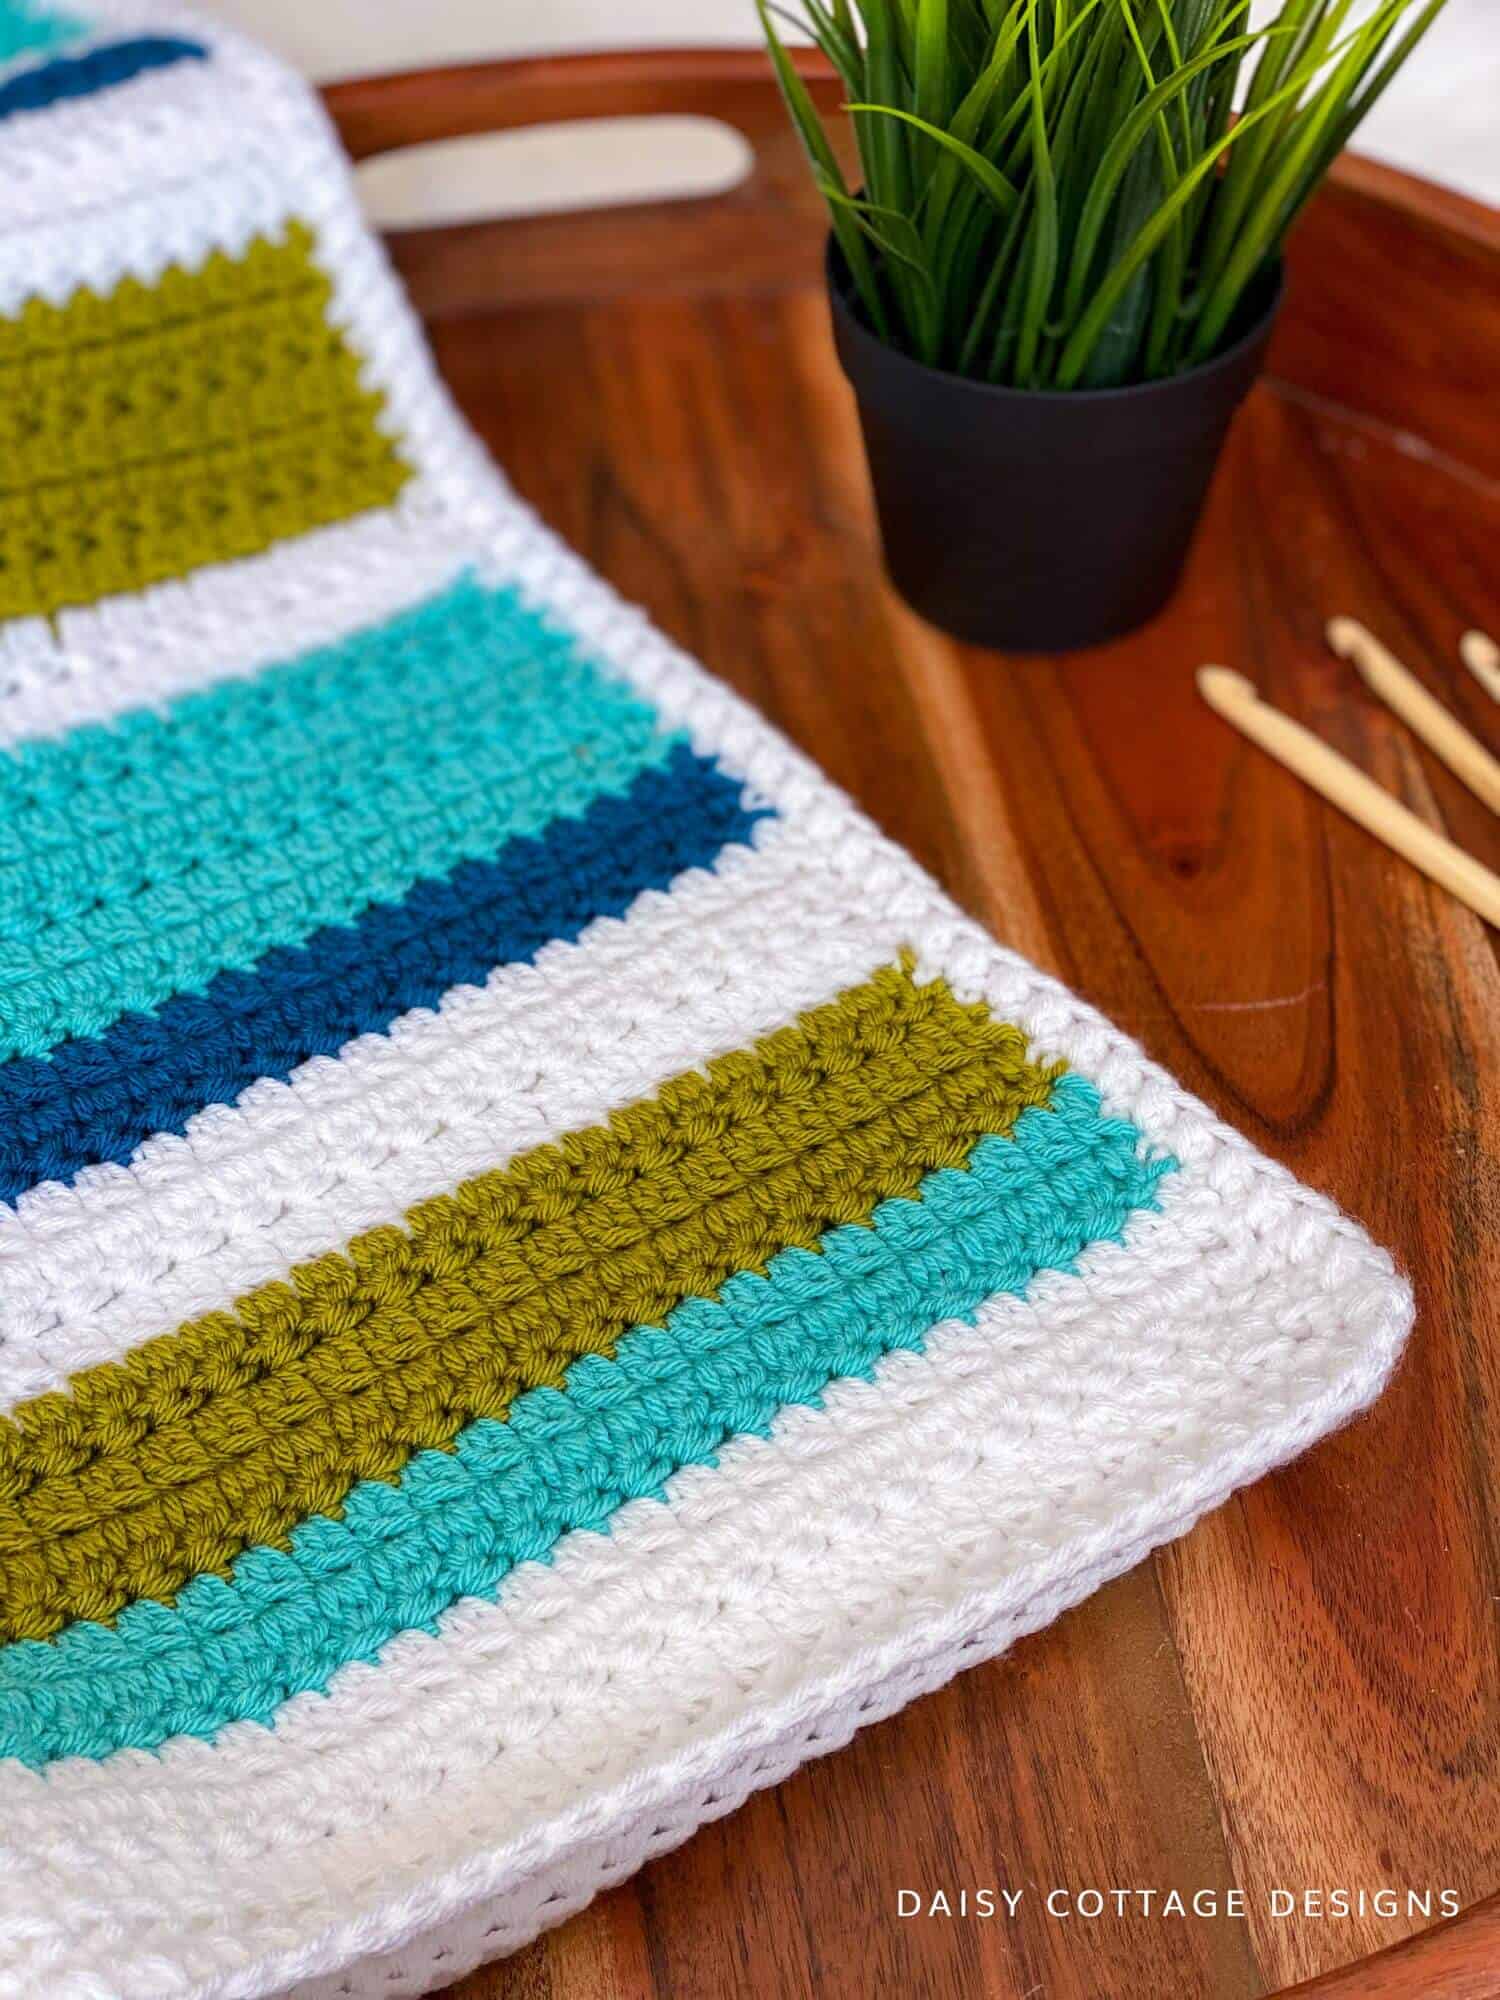
Border Instructions
Once you’ve made sure all of you ends are woven in, pull up a loop in any corner.
Round 1: sc around the entire blanket, working 3 sc in each corner. Sl st to the first sc to finish the round. Ch 2.
Note: I worked 105 stitches on my “unfinished edges.”
Round 2: hdc2tog in each stitch around. Work *hdc2tog, hdc, hdc2tog* in each corner stitch. Join to the top of the first stitch to finish the round.
Cut yarn and weave ends.
Other Free Blanket Patterns
