Sierra Sunset Throw Blanket – Beginner-Friendly!
Learn how to crochet a cozy and stylish blanket using just one simple stitch. Perfect for beginners or anyone looking for a quick and easy project. The full pattern is available below, or you can buy the ad-free pattern here.
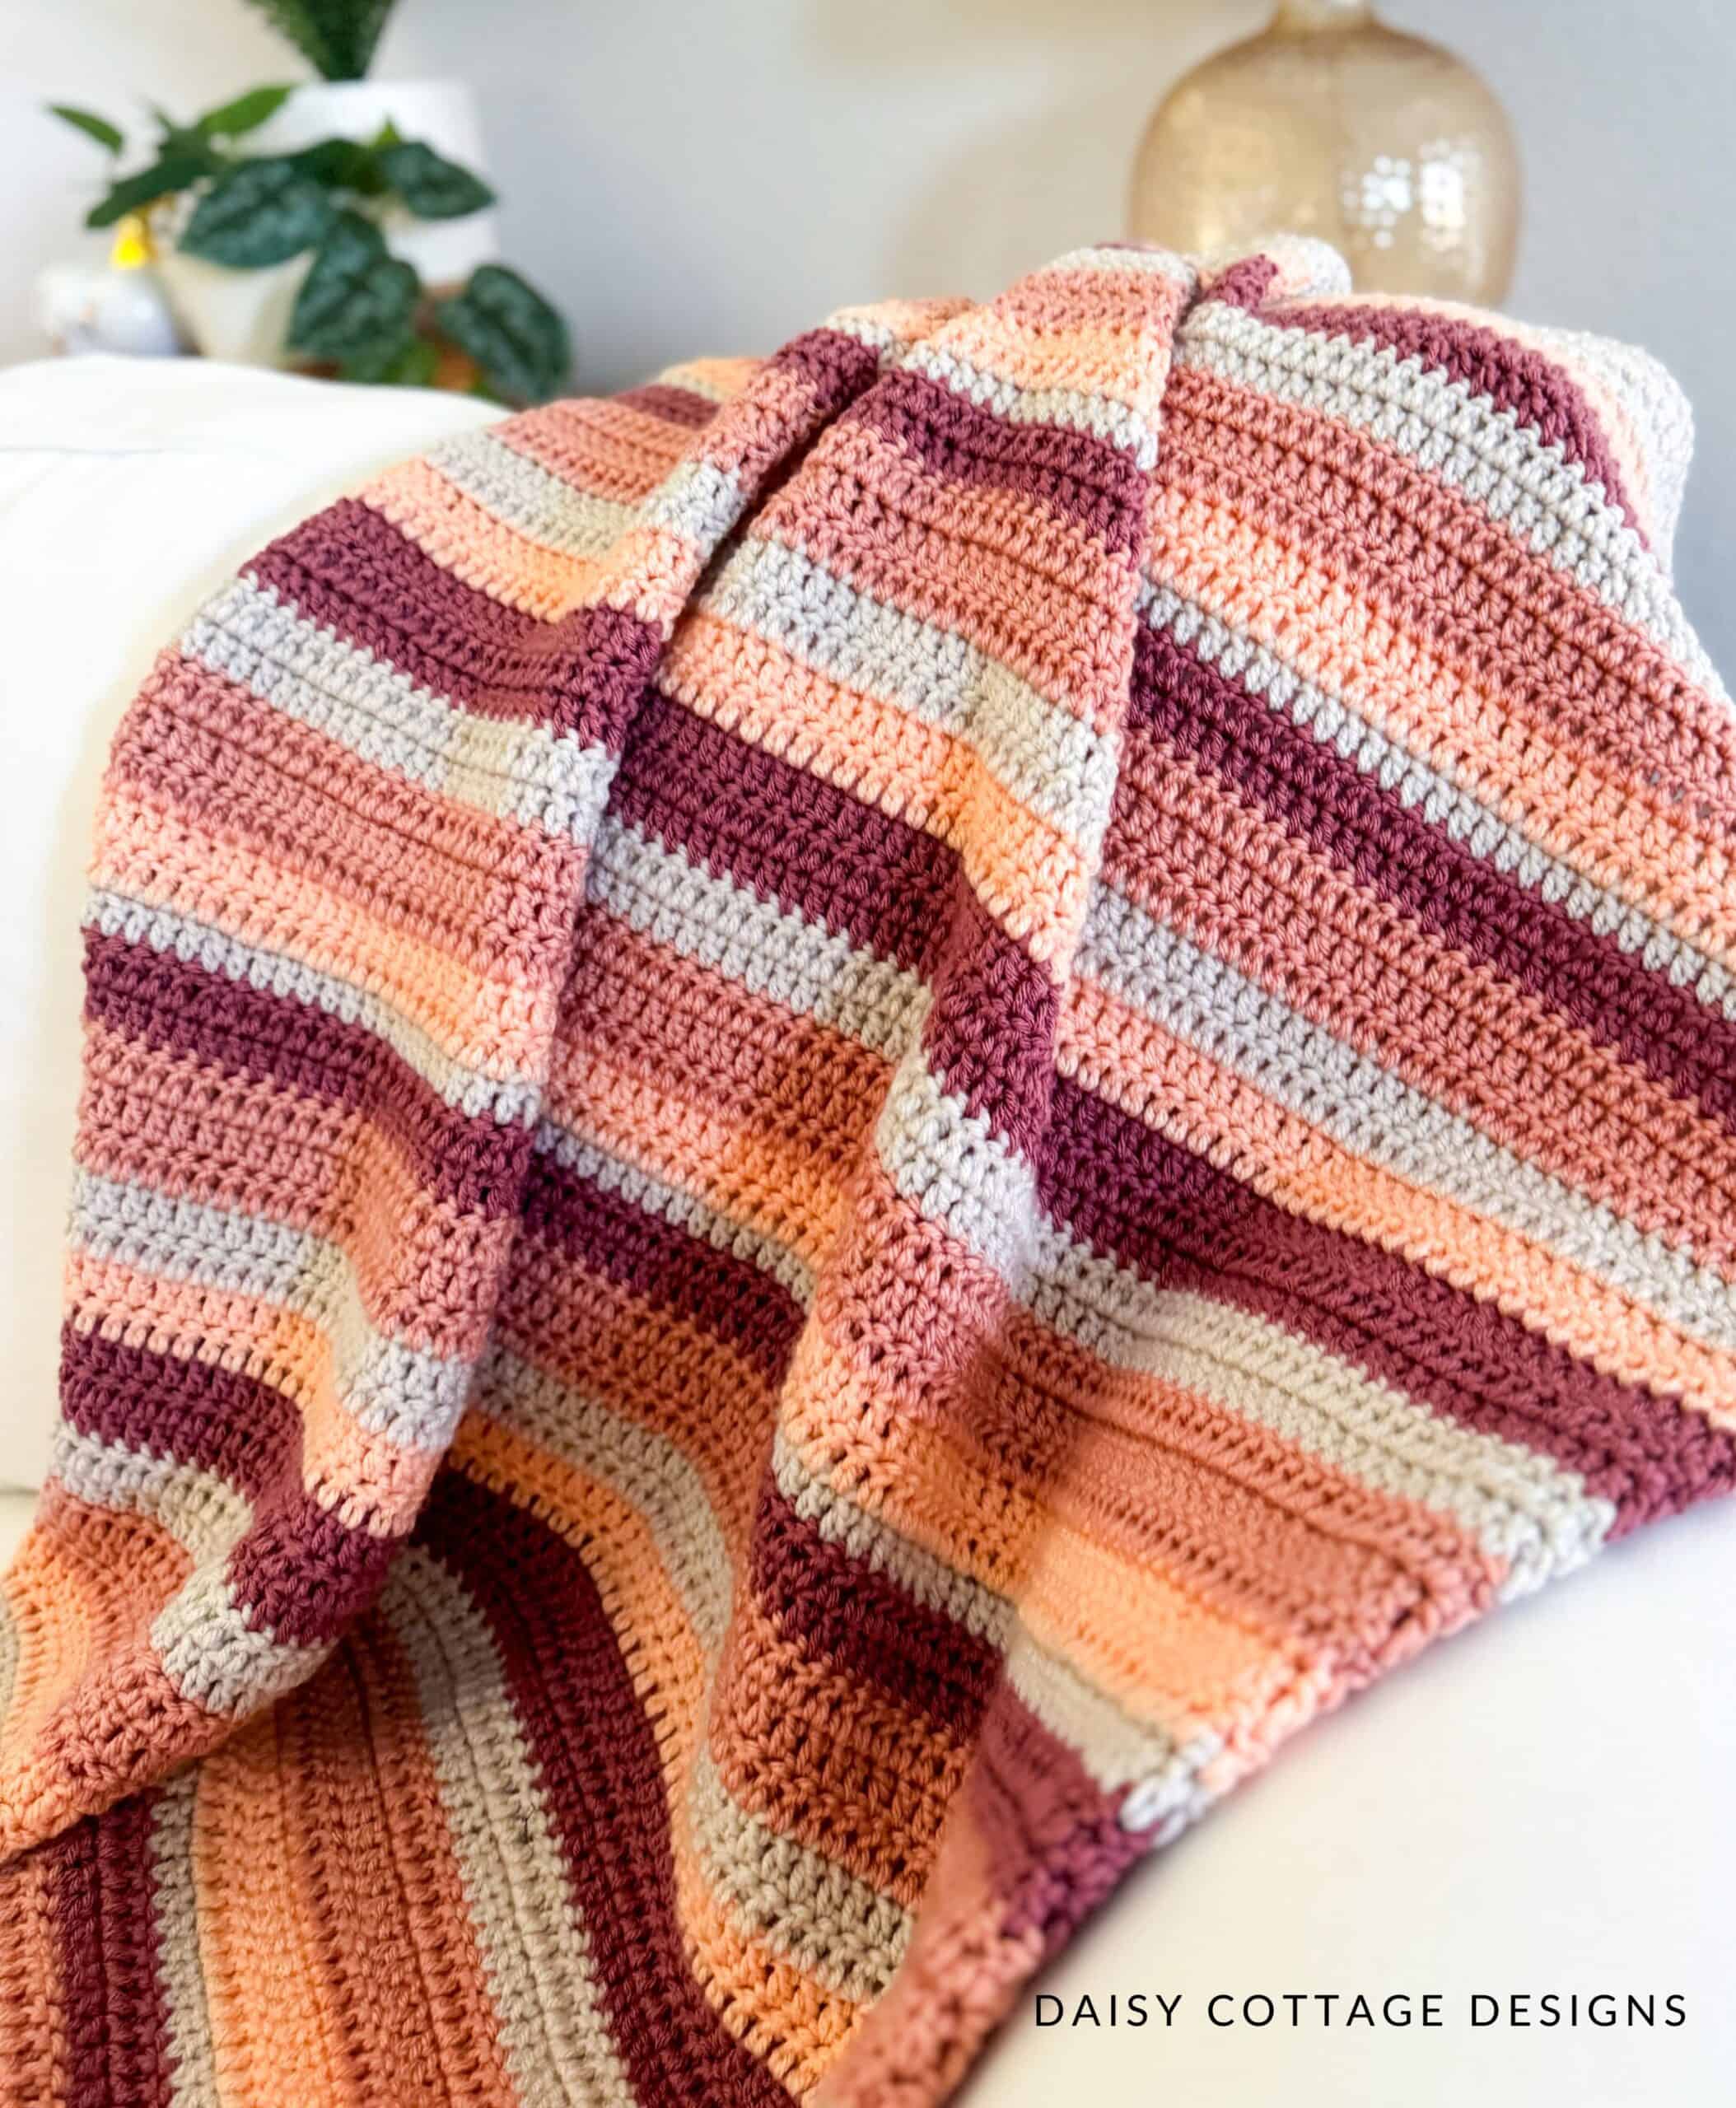
Even if you are new to crochet, it is 100% possible to make a beautiful blanket. This free pattern is the perfect crochet pattern for beginners. It’s easy, beautiful, and quick!
While this blanket uses basic crochet stitches and is perfect for a beginner crocheter, it has beautiful texture and drape. It doesn’t take complicated stitch patterns to make a stunning blanket (although those are fun, too… once you master the basics!).
Whether you’re looking to make a throw blanket for the back of your couch or a baby blanket for that upcoming baby shower, this easy blanket pattern is the perfect crochet project! I’ve included 6 sizes, and I’ll even teach you how to make this blanket any size you want.
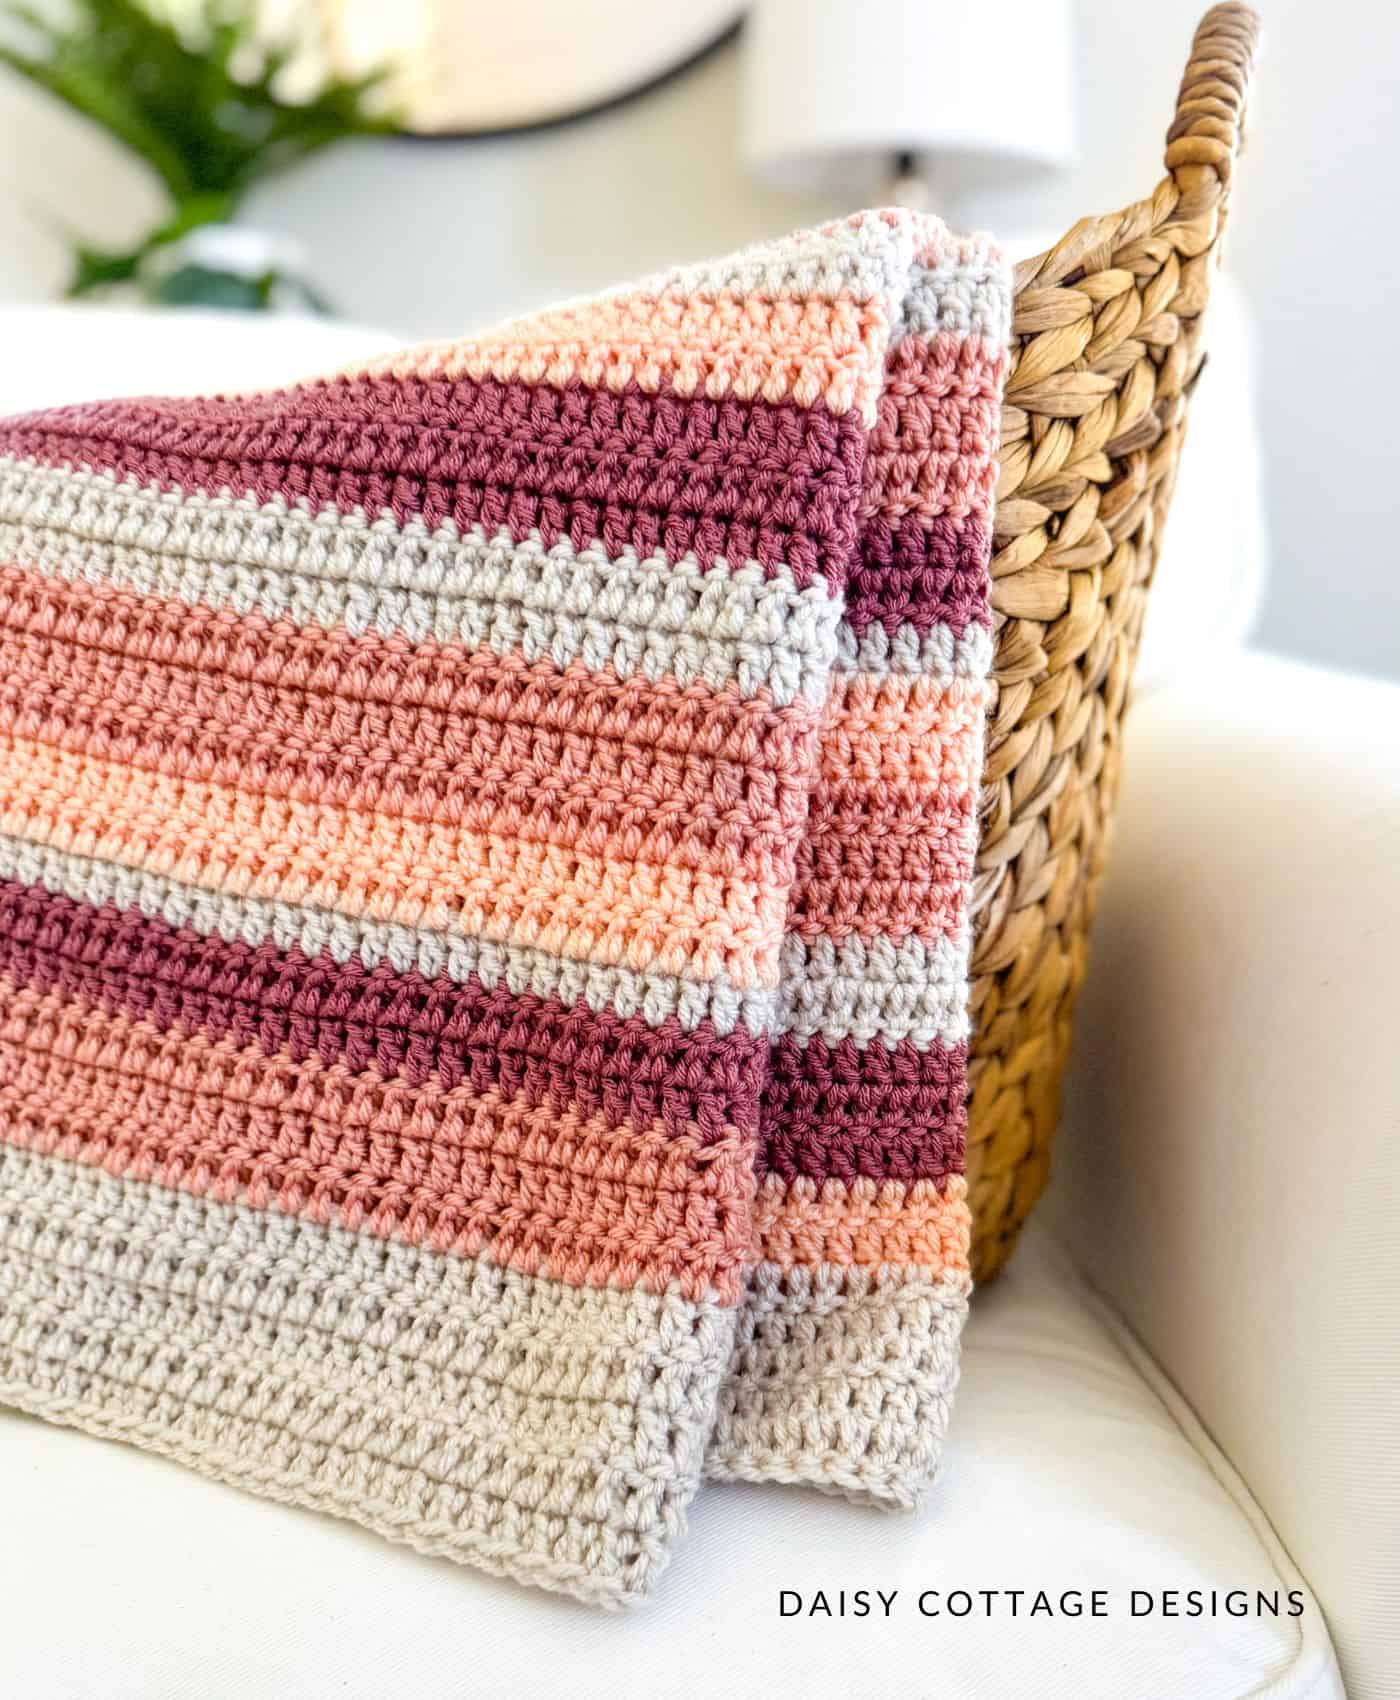
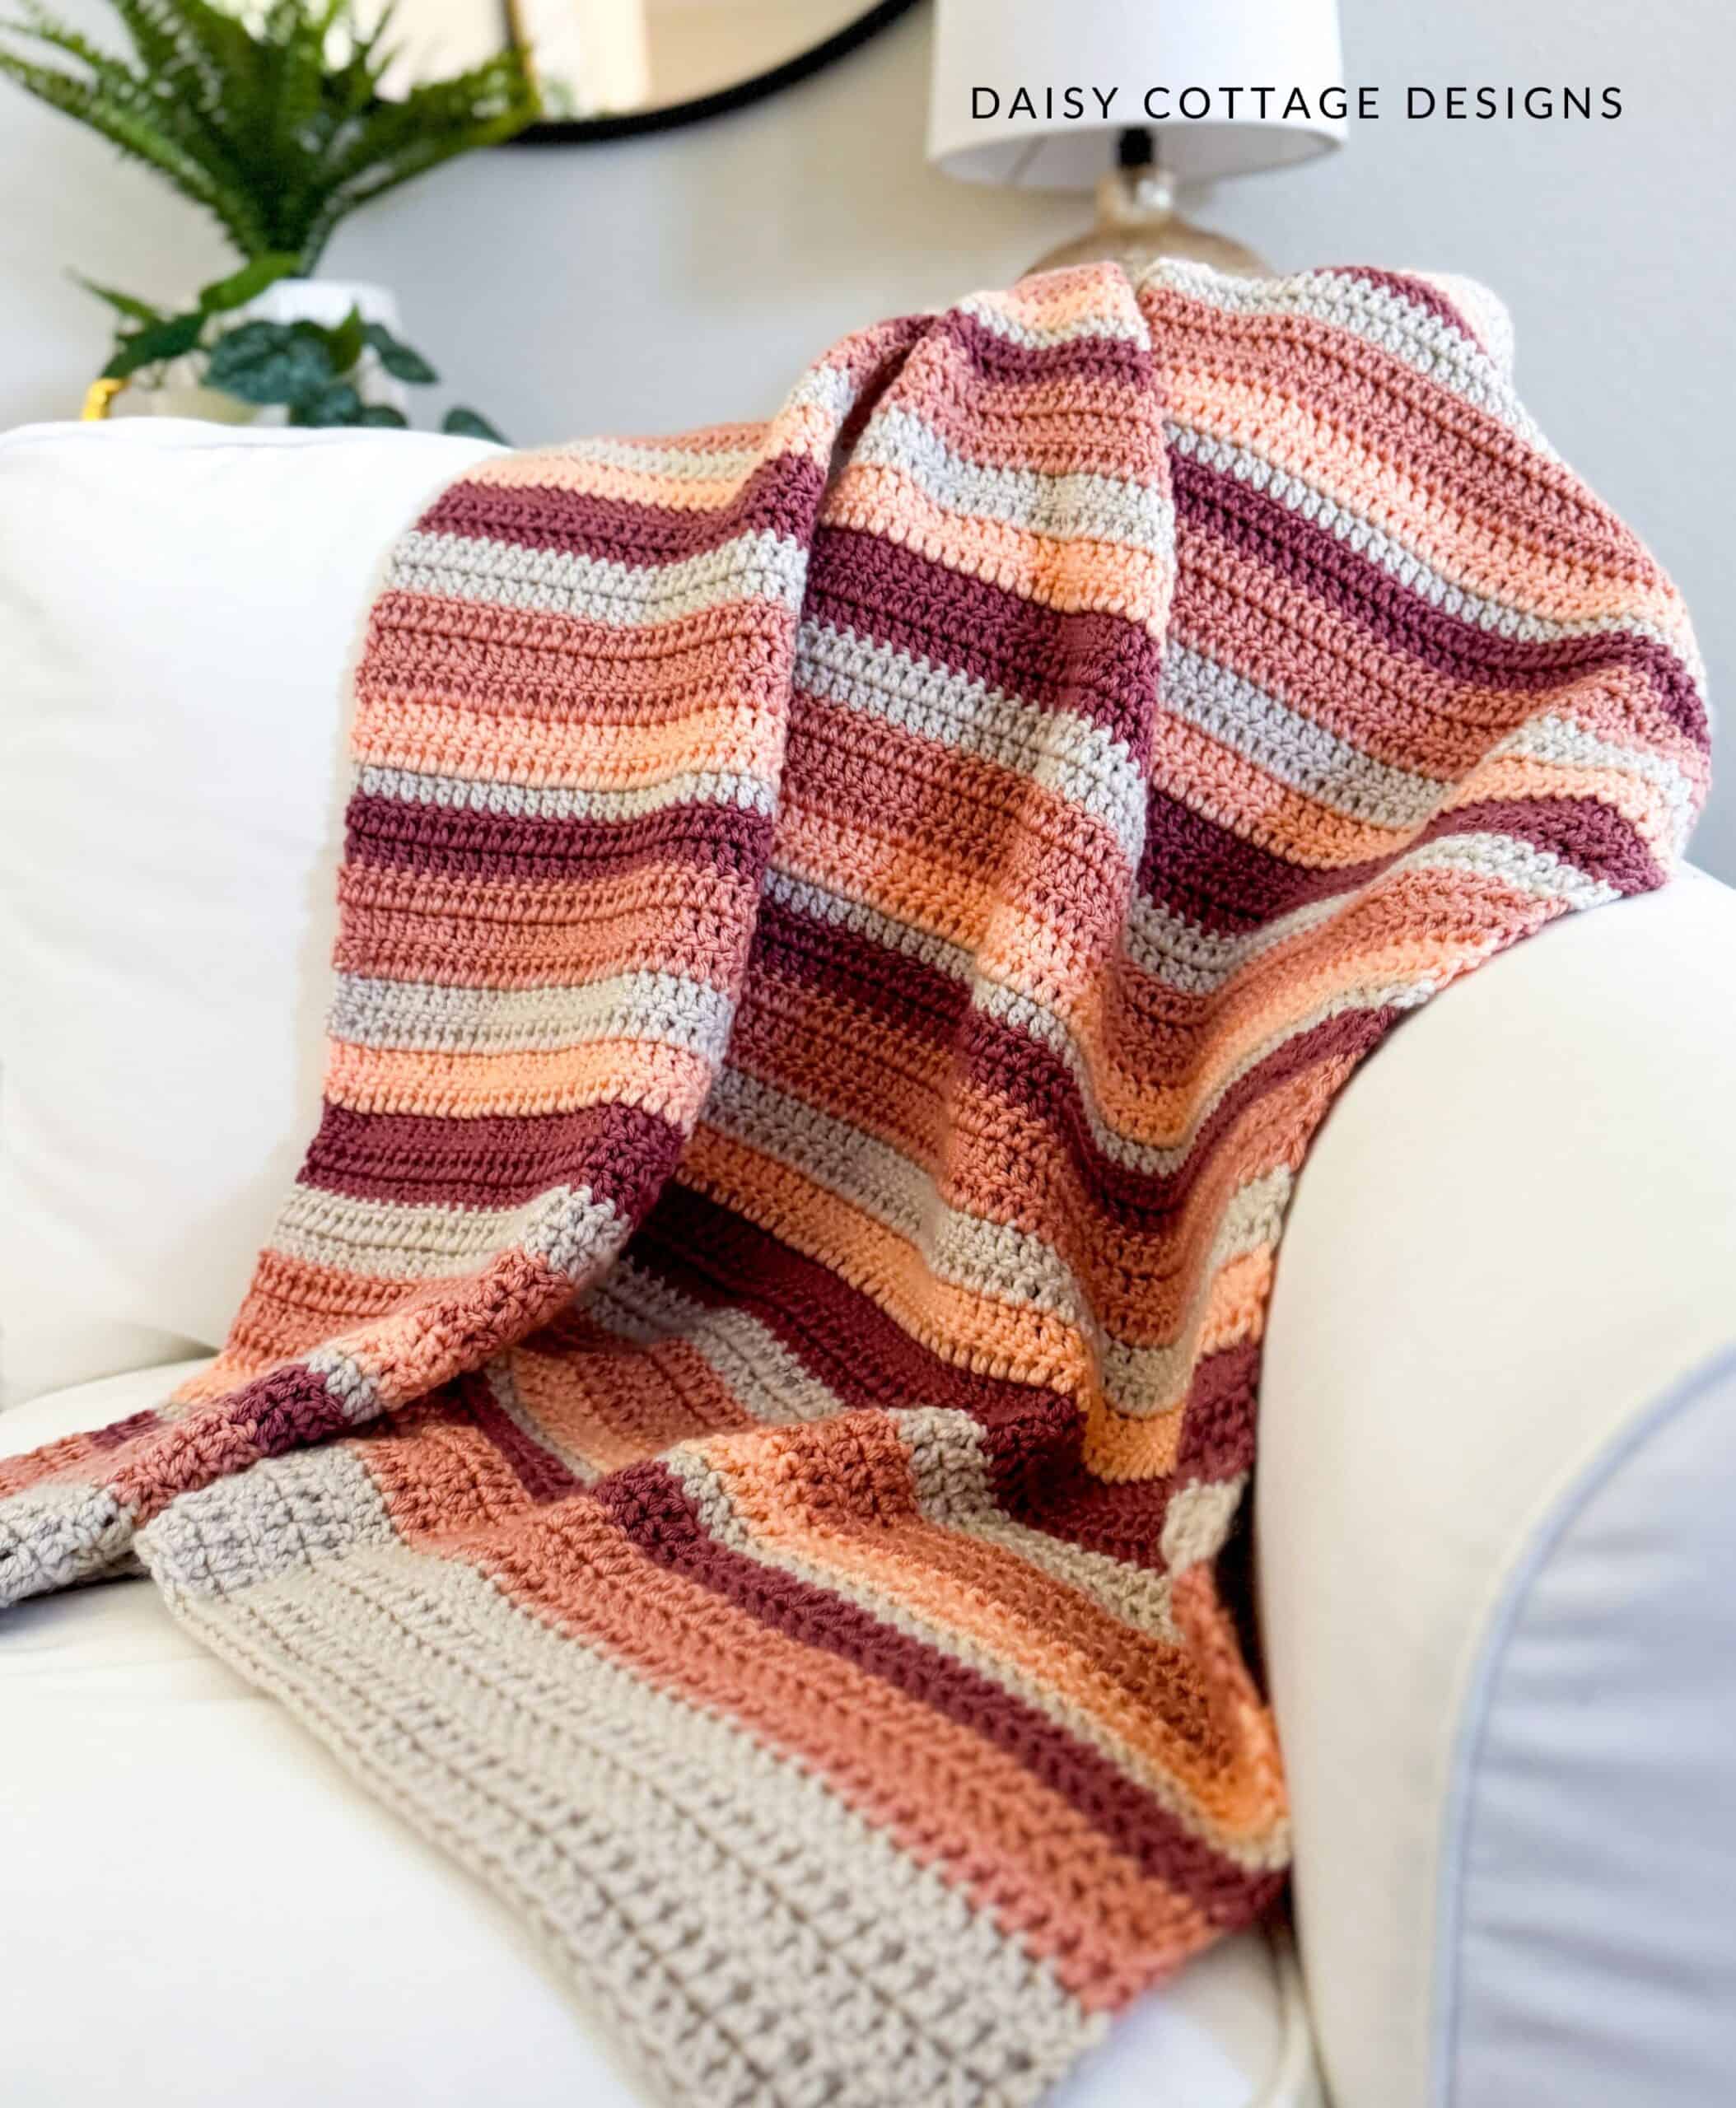
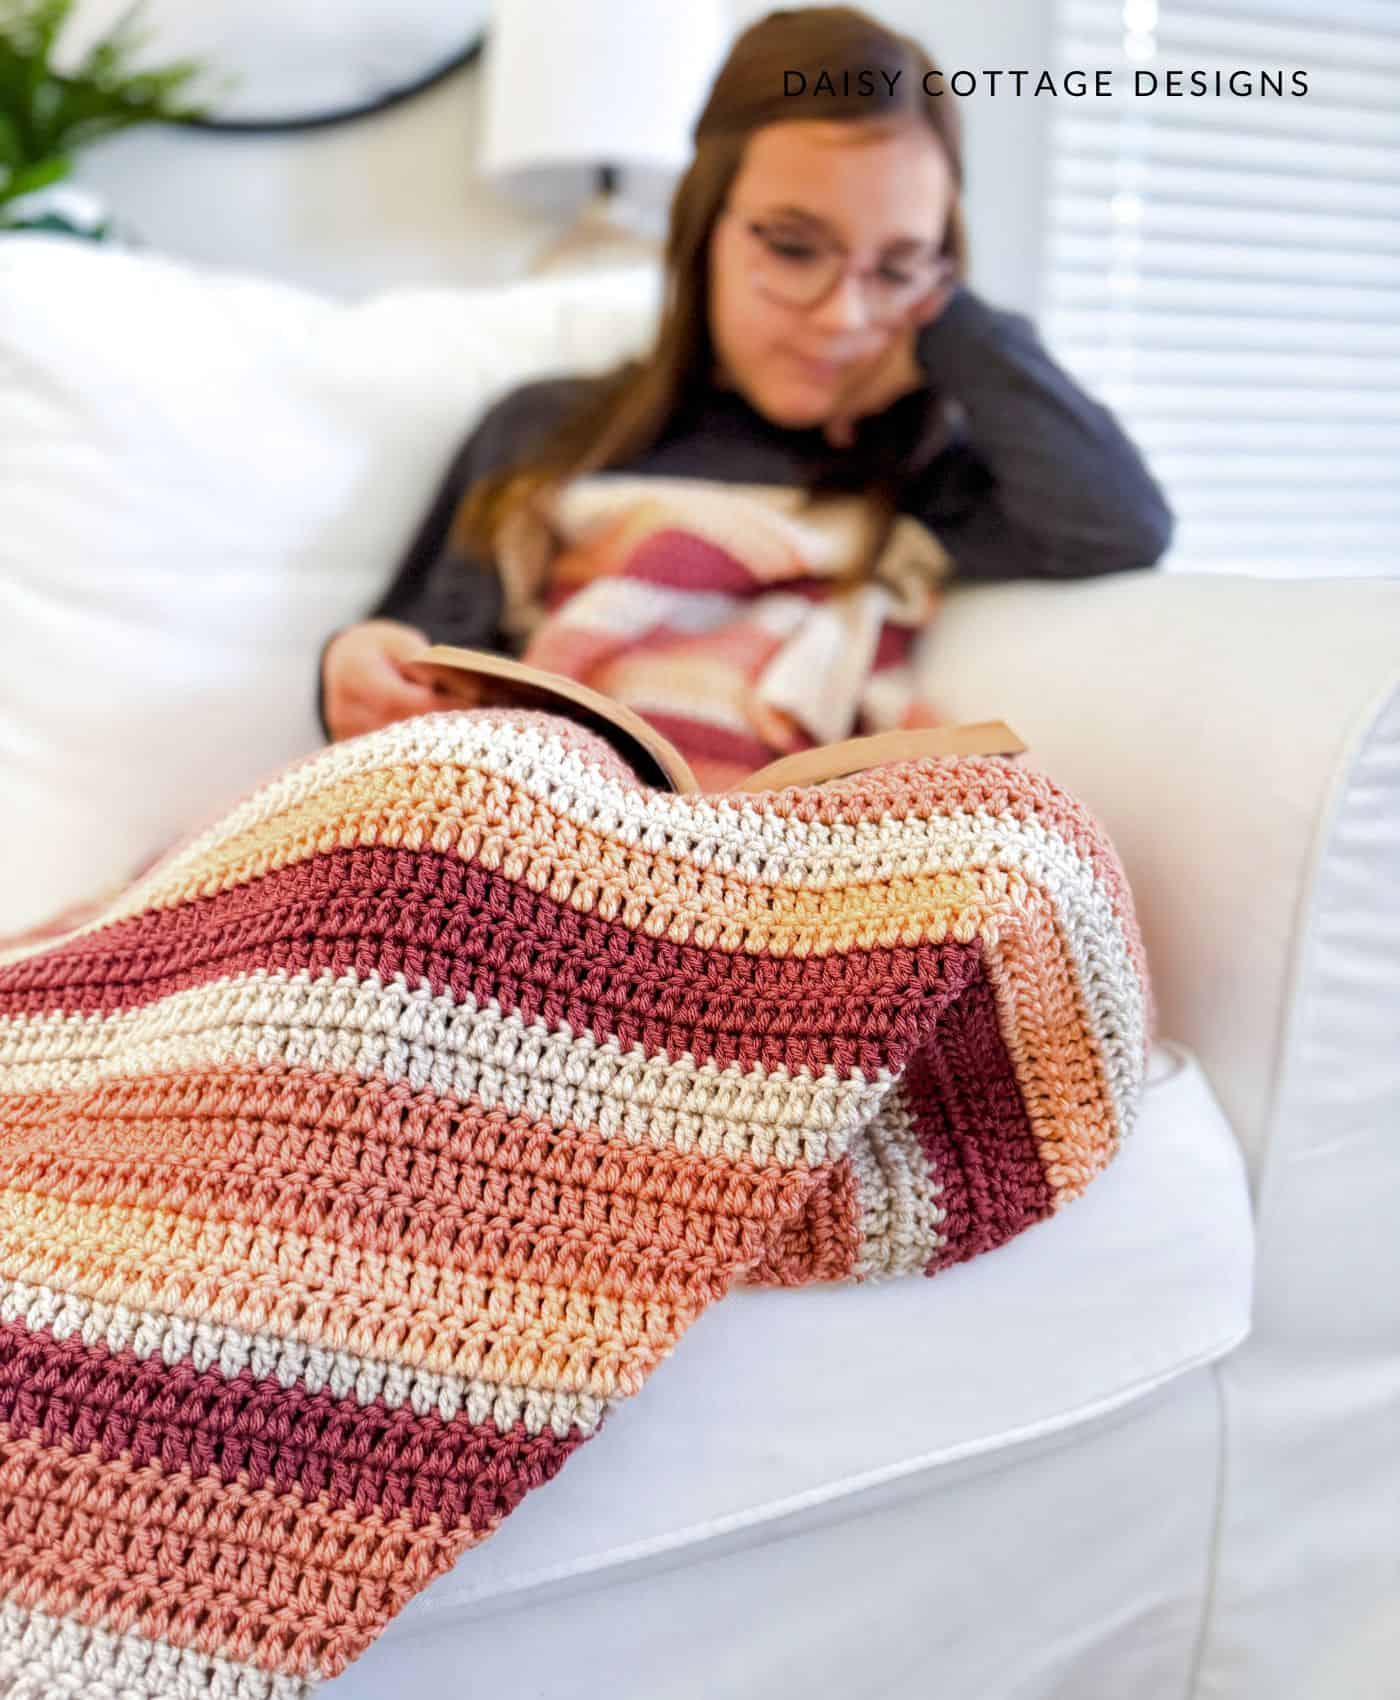
For this blanket, I chose colors that are outside my “comfort zone.” I tend to gravitate towards blues and greens – probably because they match my decor. But these colors were grouped on a shelf in my office, and I had to try them together.
I made this blanket on a weekend road trip and as I was working, I kept telling my husband that I felt like I was crocheting a sunset. That’s why I named this pattern The Sierra Sunset Throw.
Are you ready to make your own easy crochet blanket? Grab your K/10.5 crochet hook and some worsted weight yarn and let’s get started!
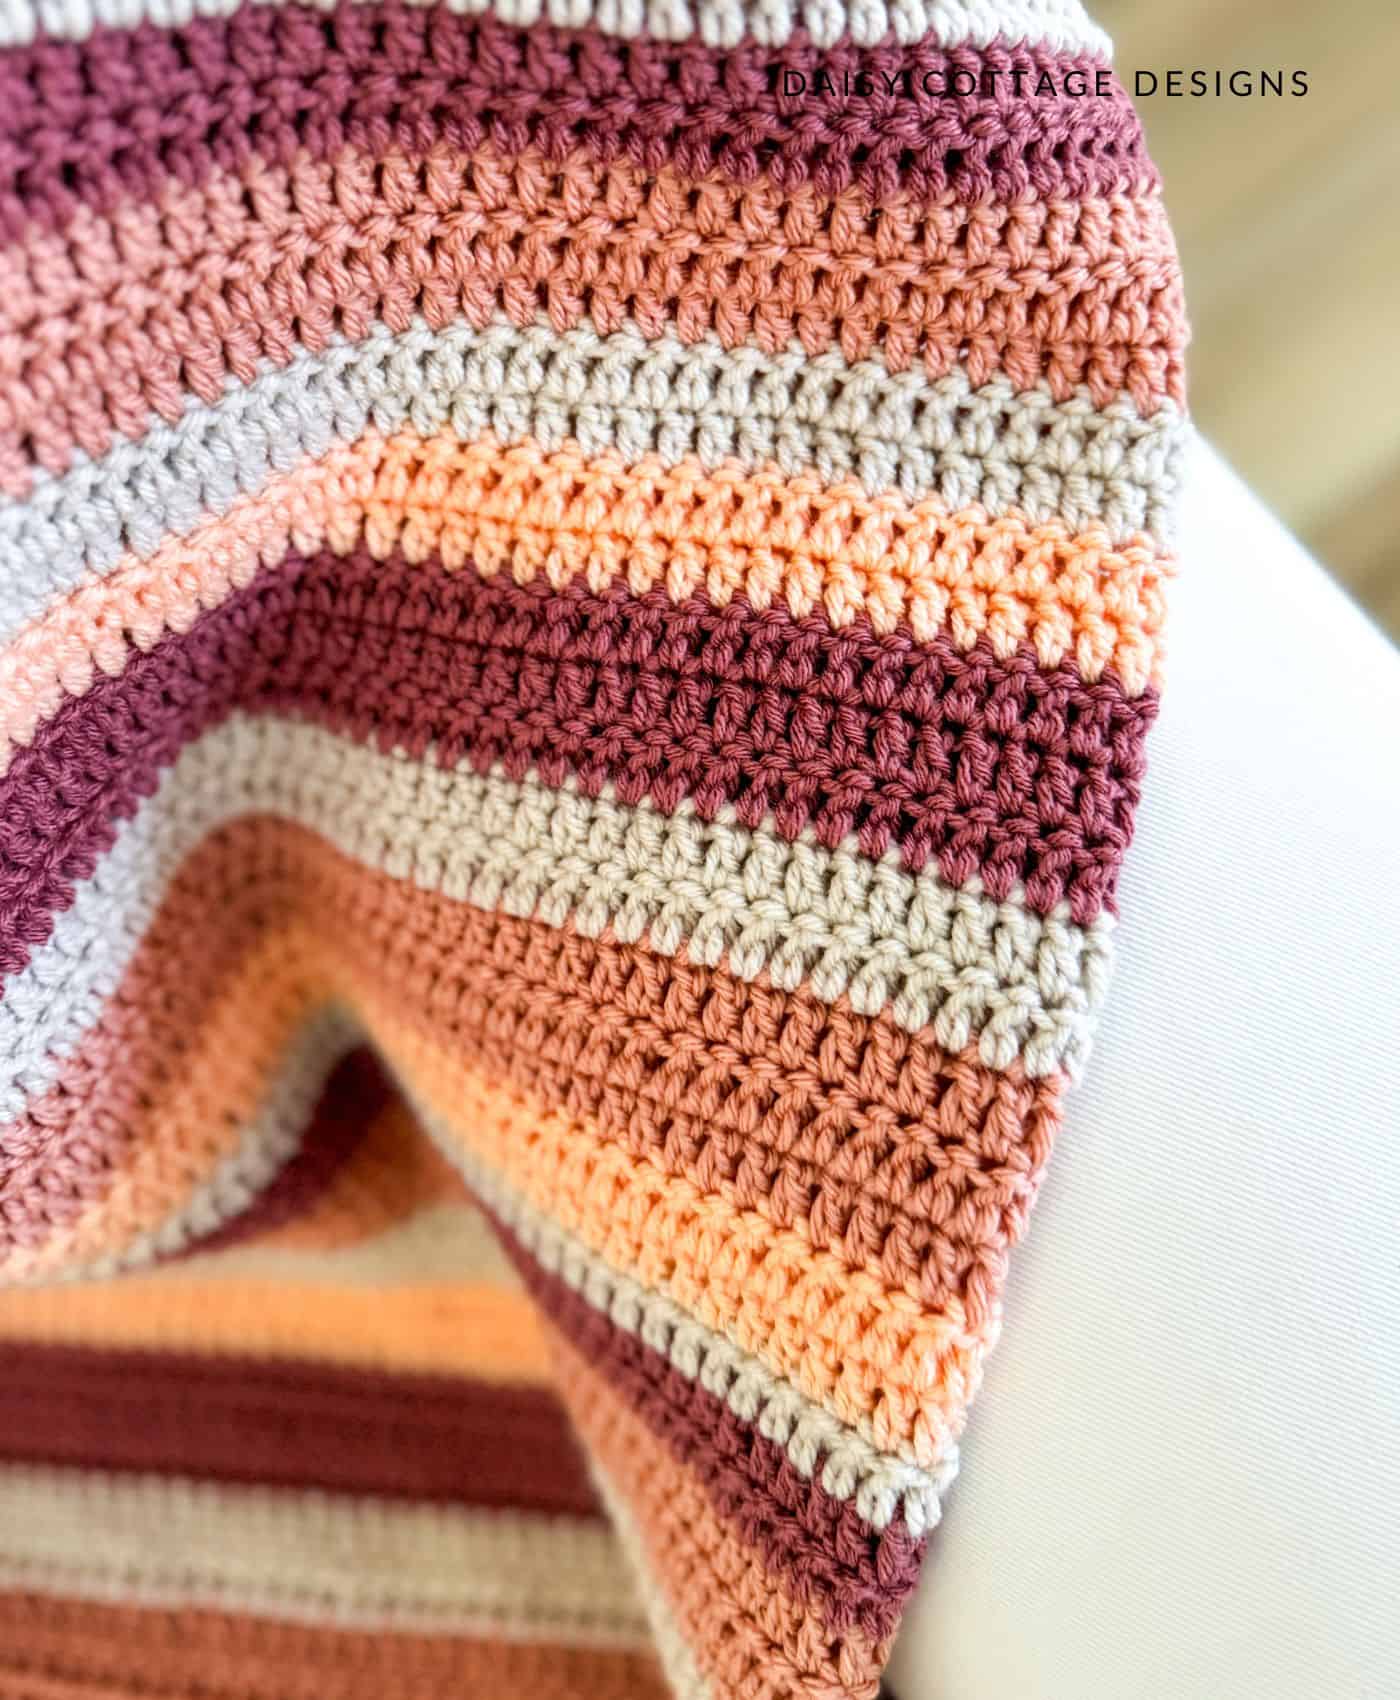
Not ready to crochet this blanket right now? Pin it for later!
Simple Crochet Blanket Pattern
Materials
- K/10.5 (6.50 mm) Crochet Hook
- Approximately 870 yards of worsted-weight yarn.
- I used Hobby Lobby I Love This Yarn!in the following shades:
- 1 Skein Light peach
- 1 Skein of Linen
- 1 Skein of Rosy Cheeks
- For the mauve, I used 1 skein of Yarn Bee Soft & Sleek in Mauve.
- Tapestry needle and scissors for weaving ends.
- The ad-free PDF is available on Etsy.
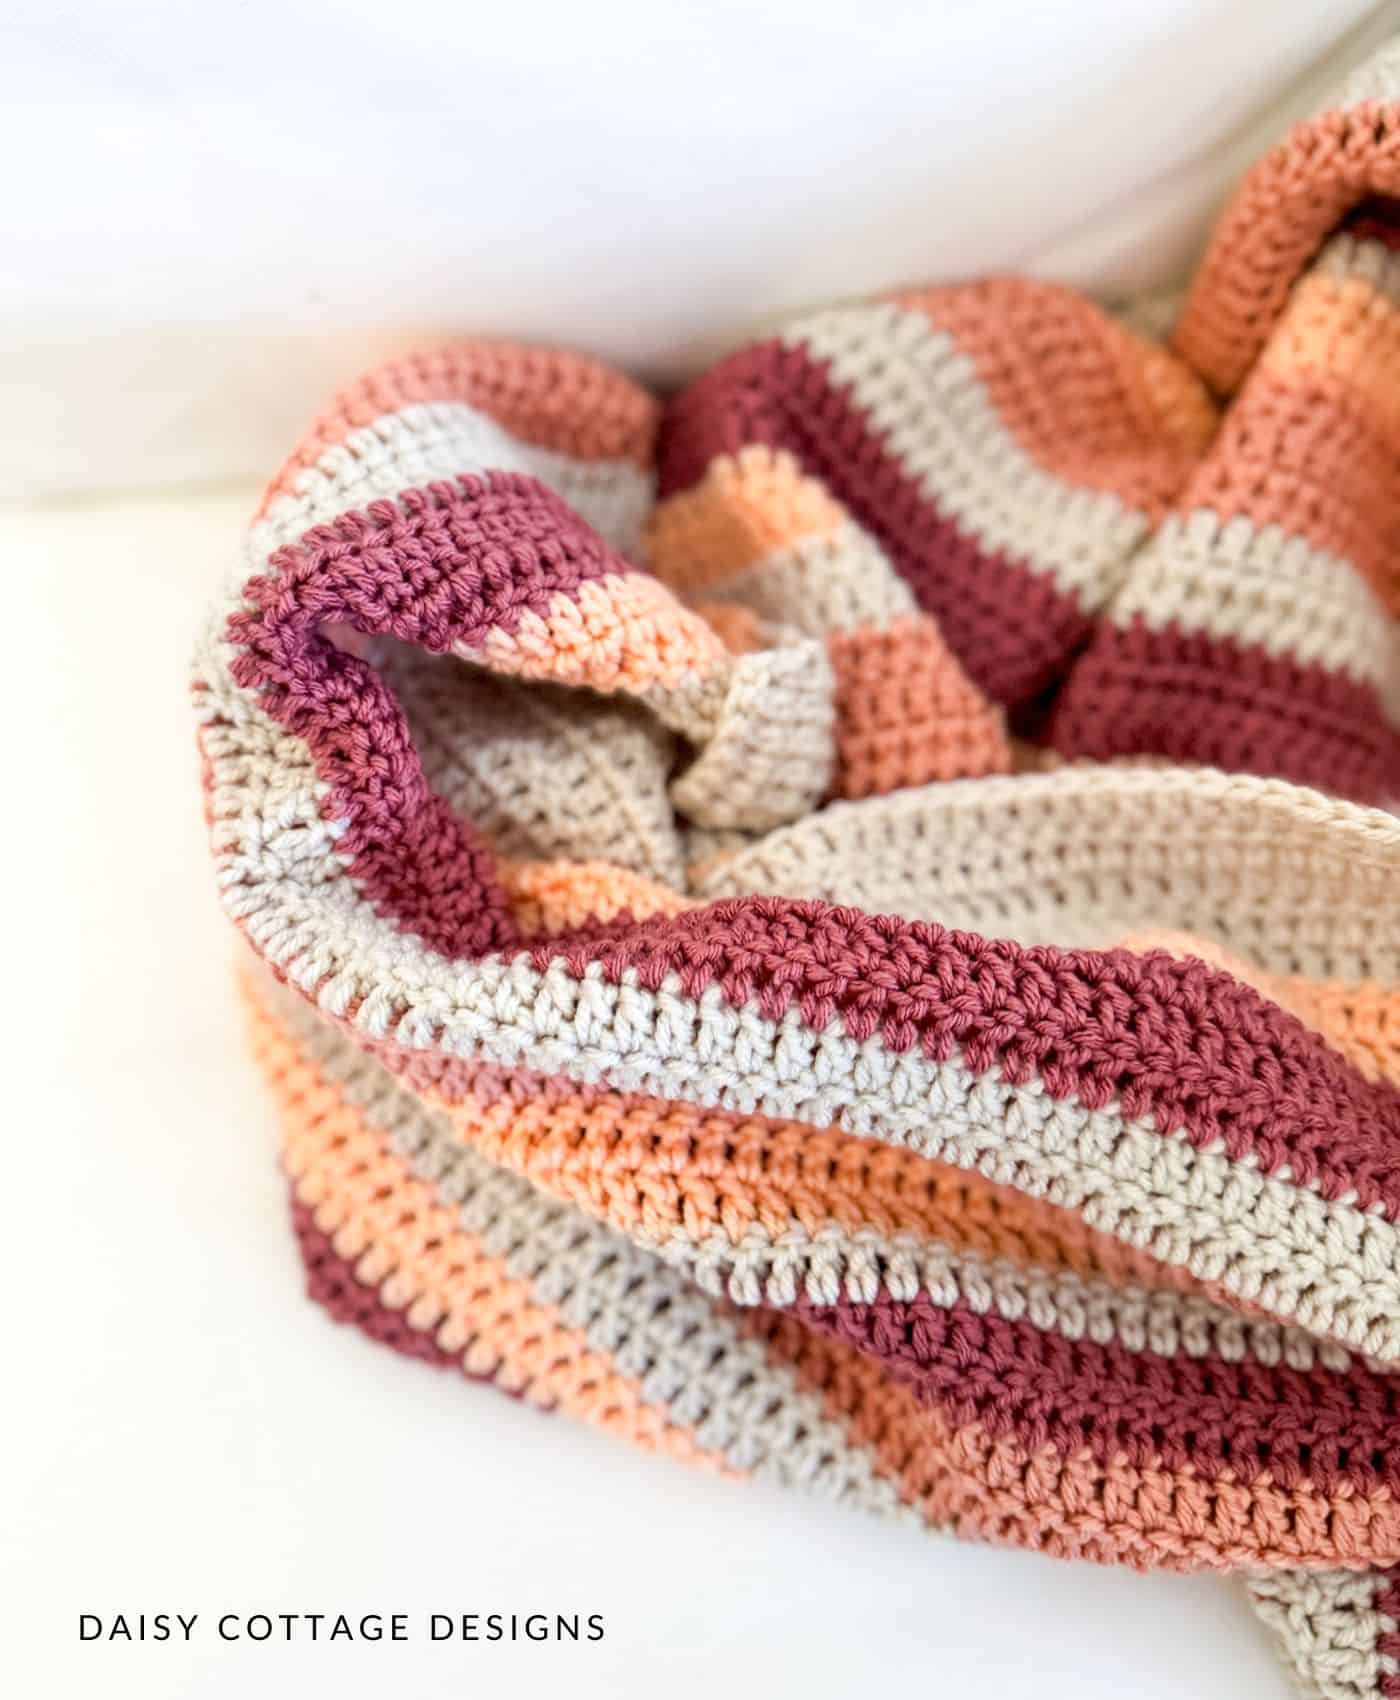
Pattern Notes
- The blanket size is approximately 32×36 in, but other sizes are provided at the end of the pattern.
- If you crochet loosely, go down a hook size.
- Gauge is not important for this project.
- There is a video tutorial for this pattern. You can find it here.
Stitches Used
- Chain Stitch (ch): Make a slip knot on your hook. Yarn over. Pull the yarn through the loop on your hook. Repeat this process until you’ve made the desired number of chains.
- Double Crochet (dc): yarn over, insert hook into stitch. Pull up a loop. Yarn over, pull through the first two loops. Yarn over, pull through remaining two loops.
Instructions
The ad-free PDF is available here.
Instructions:
Using linen, Chain 102.
Row 1: dc in the third chain from the hook and in each stitch across. Ch 2, turn.
(You should have 100 double crochets and a ch 2 at the end of this row. Remember, the ch 2 does not count as a stitch)
Row 2: dc in the first stitch and in each stitch across. You will not work into the turning chain at the end of the row. Ch 2, turn. (You should have 100 double crochet stitches at the end of this row).
Repeat row 2 for a total of 68 rows
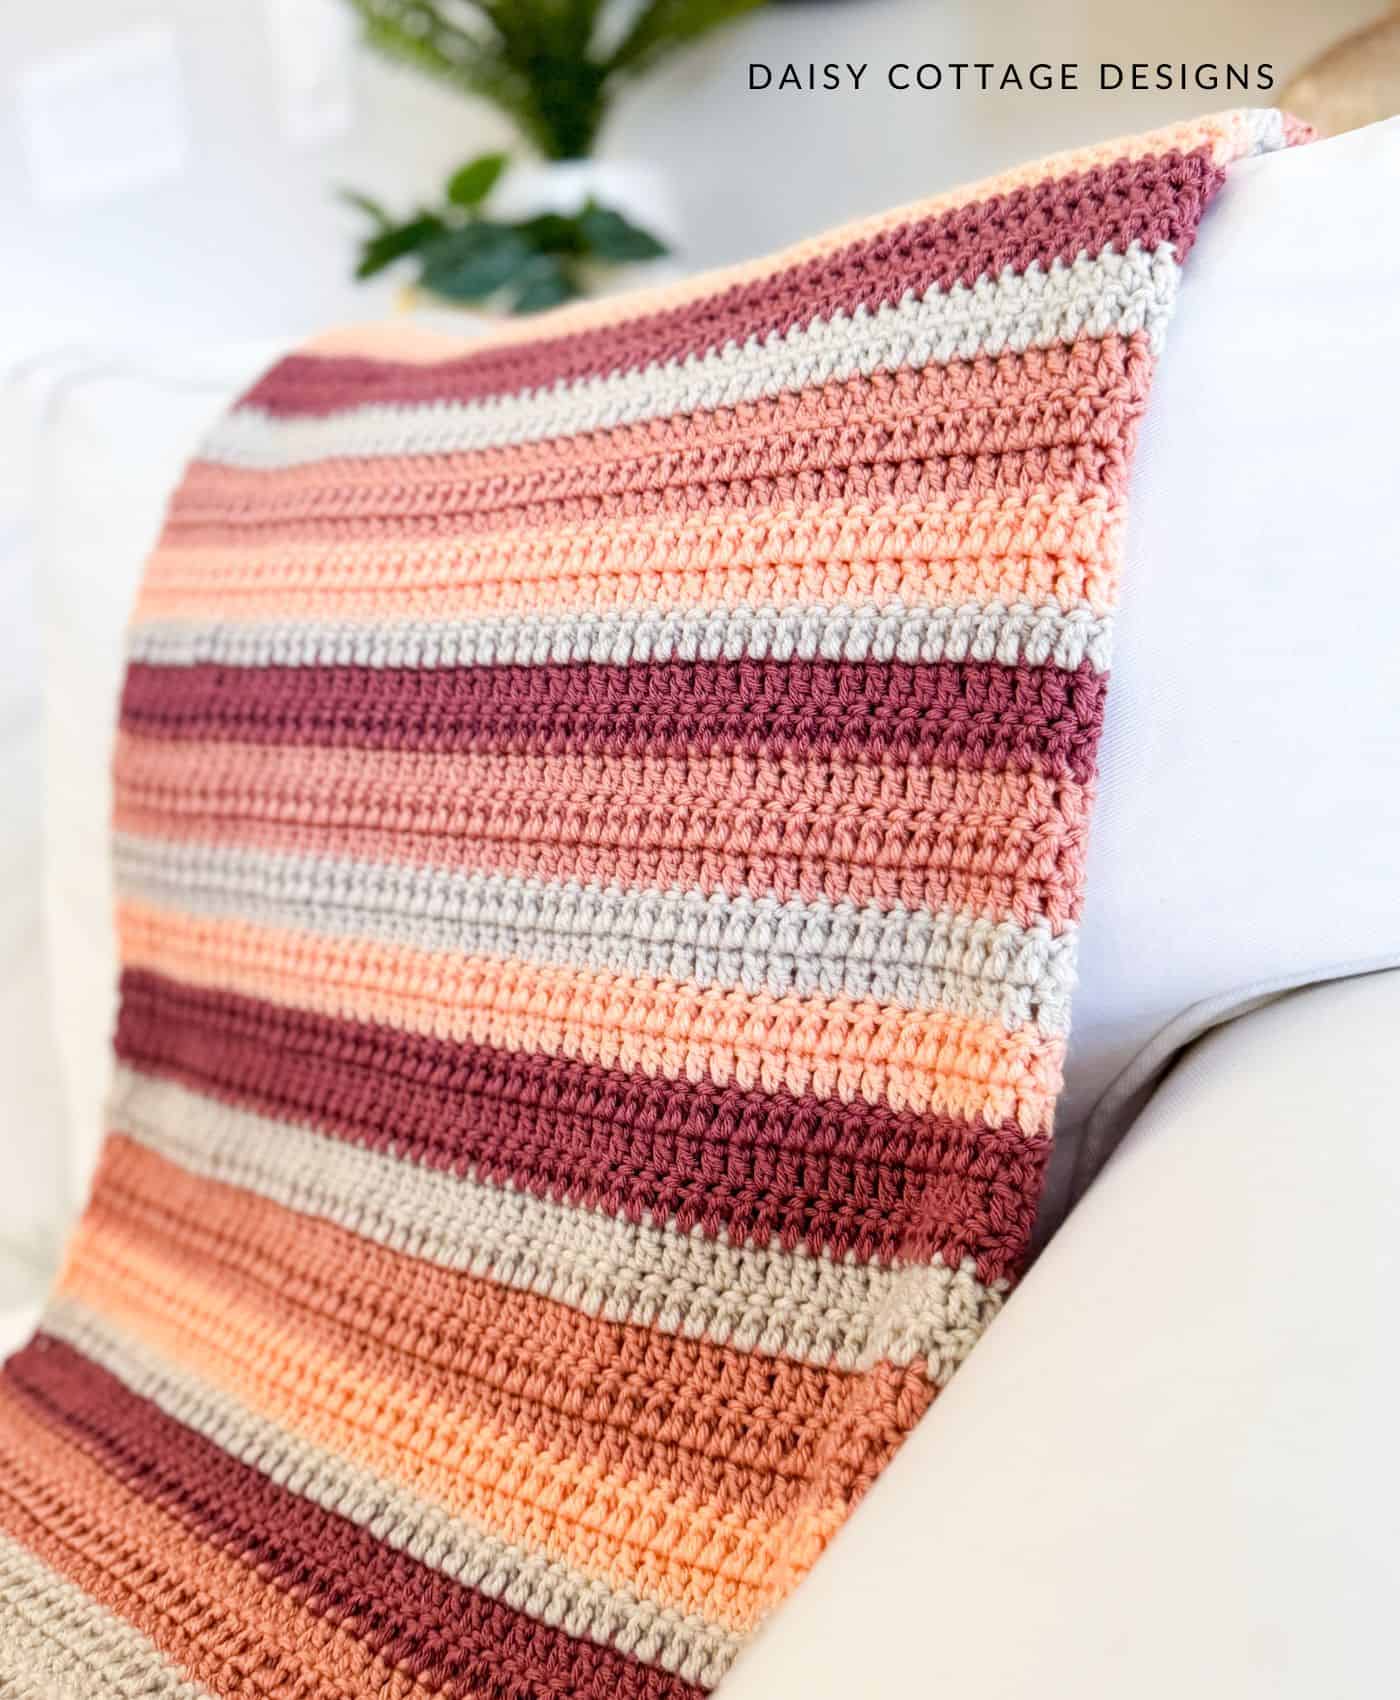
The Stripe Pattern is as Follows:
- 5 Rows of Linen
- 3 Rows of Rosy Cheeks
- 2 Rows of Mauve
- 1 Row of Linen
- 2 Rows of Light Peach
- 3 Rows of Rosy Cheeks
- 2 Rows of Linen
- 3 Rows of Mauve
- 2 Rows of Light Peach
- 2 Rows of Linen
- 3 Rows of Rosy Cheeks
- 2 Rows of Mauve
- 1 Row of Linen
- 2 Rows of Light Peach
- 3 Rows of Rosy Cheeks
- 2 Rows of Linen
- 3 Rows of Mauve
- 2 Rows of Light Peach
- 2 Rows of Linen
- 3 Rows of Rosy Cheeks
- 2 Rows of Mauve
- 1 Row of Linen
- 2 Rows of Light Peach
- 3 Rows of Rosy Cheeks
- 2 Rows of Linen
- 3 Rows of Mauve
- 2 Rows of Light Peach
- 5 Rows of Linen
To Change Colors
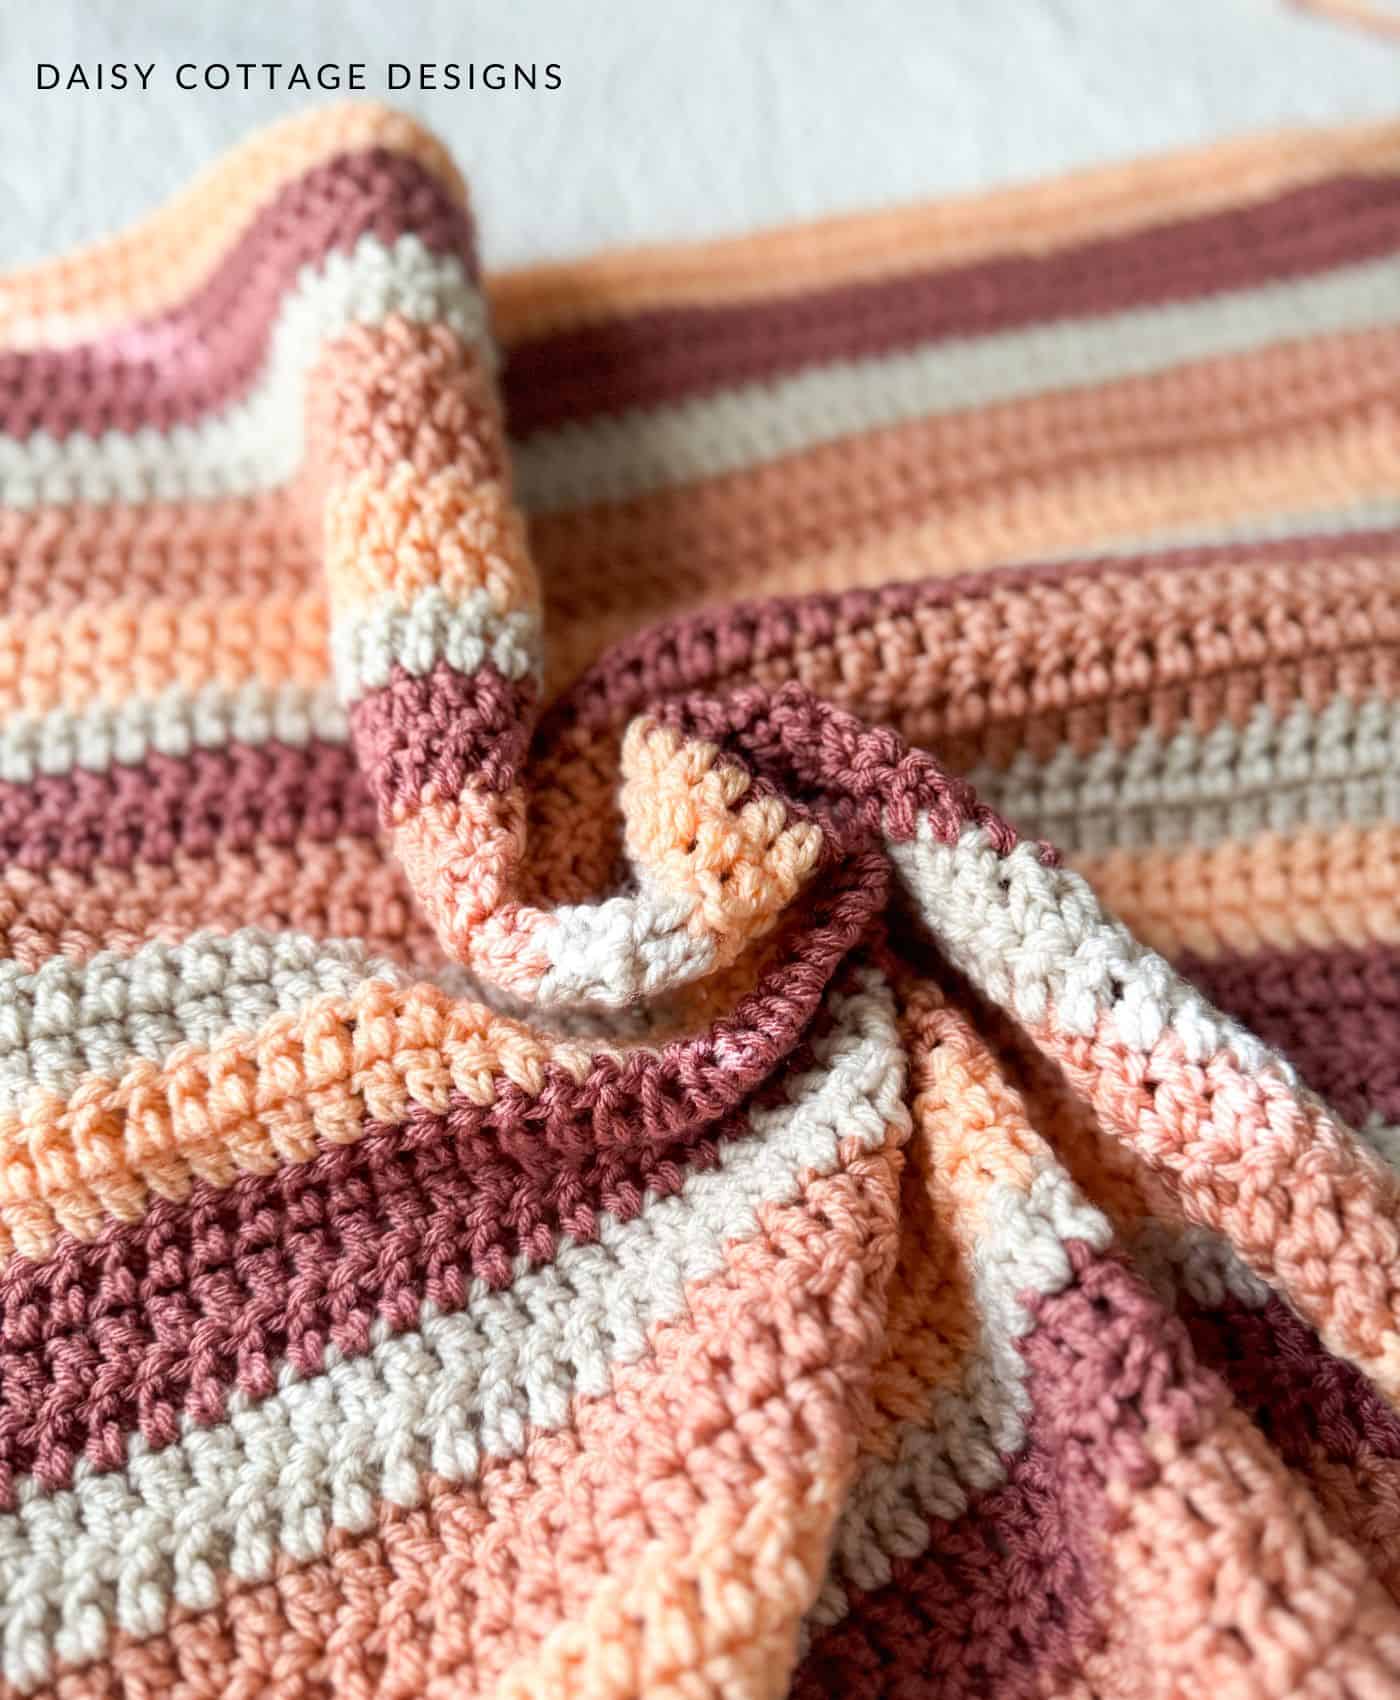
Changing colors may seem a little bit scary, but I promise it’s not as hard as it may seem.
On the last stitch of the row, do not pull your working yarn through the final 2 loops to complete the last stitch. Instead of pulling the yarn you’ve been working with through those final loops, place the new yarn around your hook and pull it through the last 2 loops. Be sure to leave a long tail on both colors so you can weave your ends later.
If you prefer video instructions, click here for a video tutorial on changing colors and weaving your ends here.
Let me make a public service announcement here.
Weave your ends as you go.
You’ll thank me later.
Adjusting the Size of the Blanket
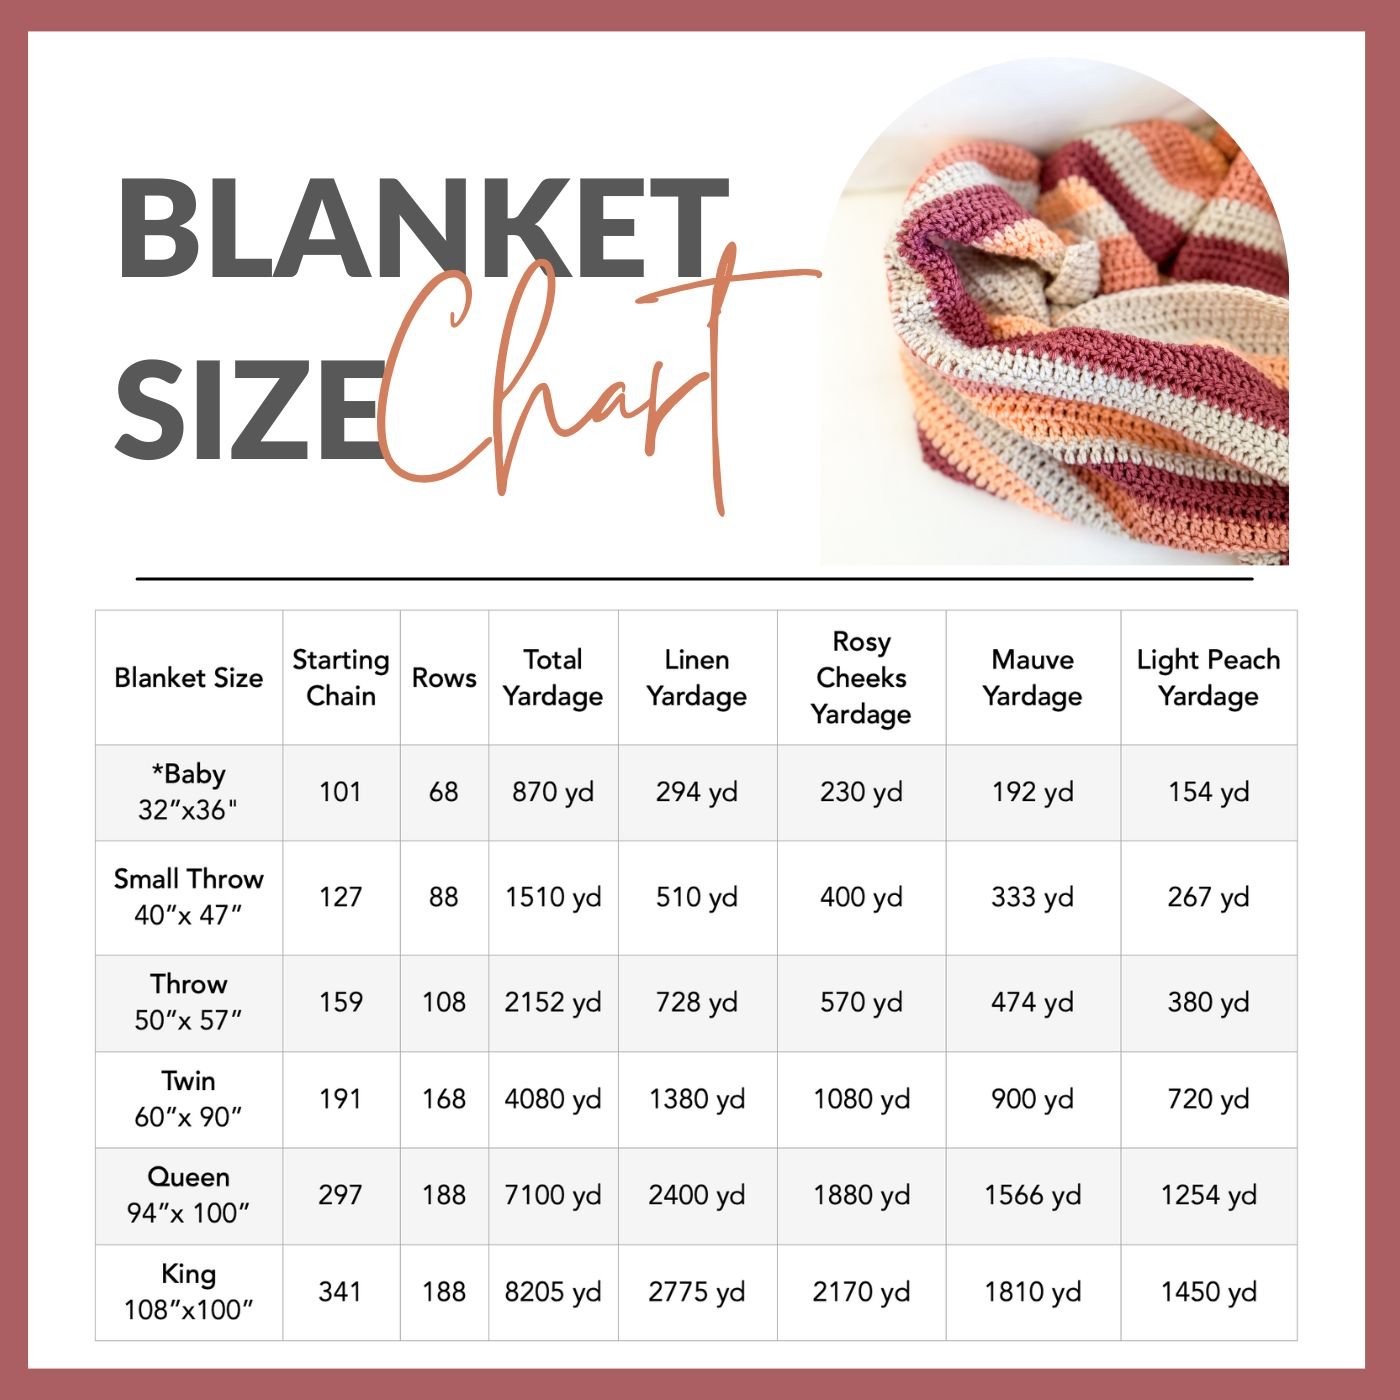
Any starting chain length will work for this pattern. To make a custom size, simply chain any number of stitches until you reach the length you want. Then you’ll repeat row 2 until you reach the lenght you want.
The chart shows 6 common sizes.
Stripe Pattern Notes
To keep the same stripe pattern, start with 5 rows of linen. Then repeat the following stripes over and over until you reach the length you want:
- 3 Rows of Rosy Cheeks
- 2 Rows of Mauve
- 1 Row of Linen
- 2 Rows of Light Peach
- 3 Rows of Rosy Cheeks
- 2 Rows of Linen
- 3 Rows of Mauve
- 2 Rows of Light Peach
- 2 Rows of Linen
On your final repeat of the stripe pattern, end with 5 rows of linen rather than 2.
Optional Border
I typically think blankets look more sleek and modern without a border. Some worry that blankets won’t last long without a border, but I have never had problems… and some of my blankets have been washed over and over again.
If you decide to add a border, I’d keep it simple.
Round 1: single crochet evenly around the entire blanket, working (sc, ch 2, sc) in each corner. Sl st to the top of the first stitch to join. Ch 1, but don’t turn.
Round 2: hdc evenly around the entire blanket, working (hdc, ch 2, hdc) in each corner. Sl st to the top of the first stitch to join. Cut yarn and weave loose ends.
Please Share Your Work!
Once you’ve completed this free crochet pattern, I’d love for you to share a photo with me on social media! Feel free to tag me on Facebook or Instagram.
You can find more free crochet blanket patterns and other easy crochet patterns like dishcloths on the Daisy Cottage Designs blog.

This email popped up on my phone just as I was making a run to the poppy, I just had to open it up to see it. I loved the colors and decided I needed to make a couple for my great grandchildren. Will definitely send pictures when I am done. Our sunsets in Texas have a lot of yellow & orange so mine will have a slight change. Thanks so much for the inspiration! Have a Blesssed new Year. You are a blessing to me!
If I want to make it bigger can I simply just add more rows but keep the number of stitches across at 102 ?
If you want to make the blanket longer but not wider, that would work. If you want it bigger both ways, you’ll need a longer chain and more rows! 🙂