Free Crochet Beanie Pattern, The Cozy Pom Pom Beanie
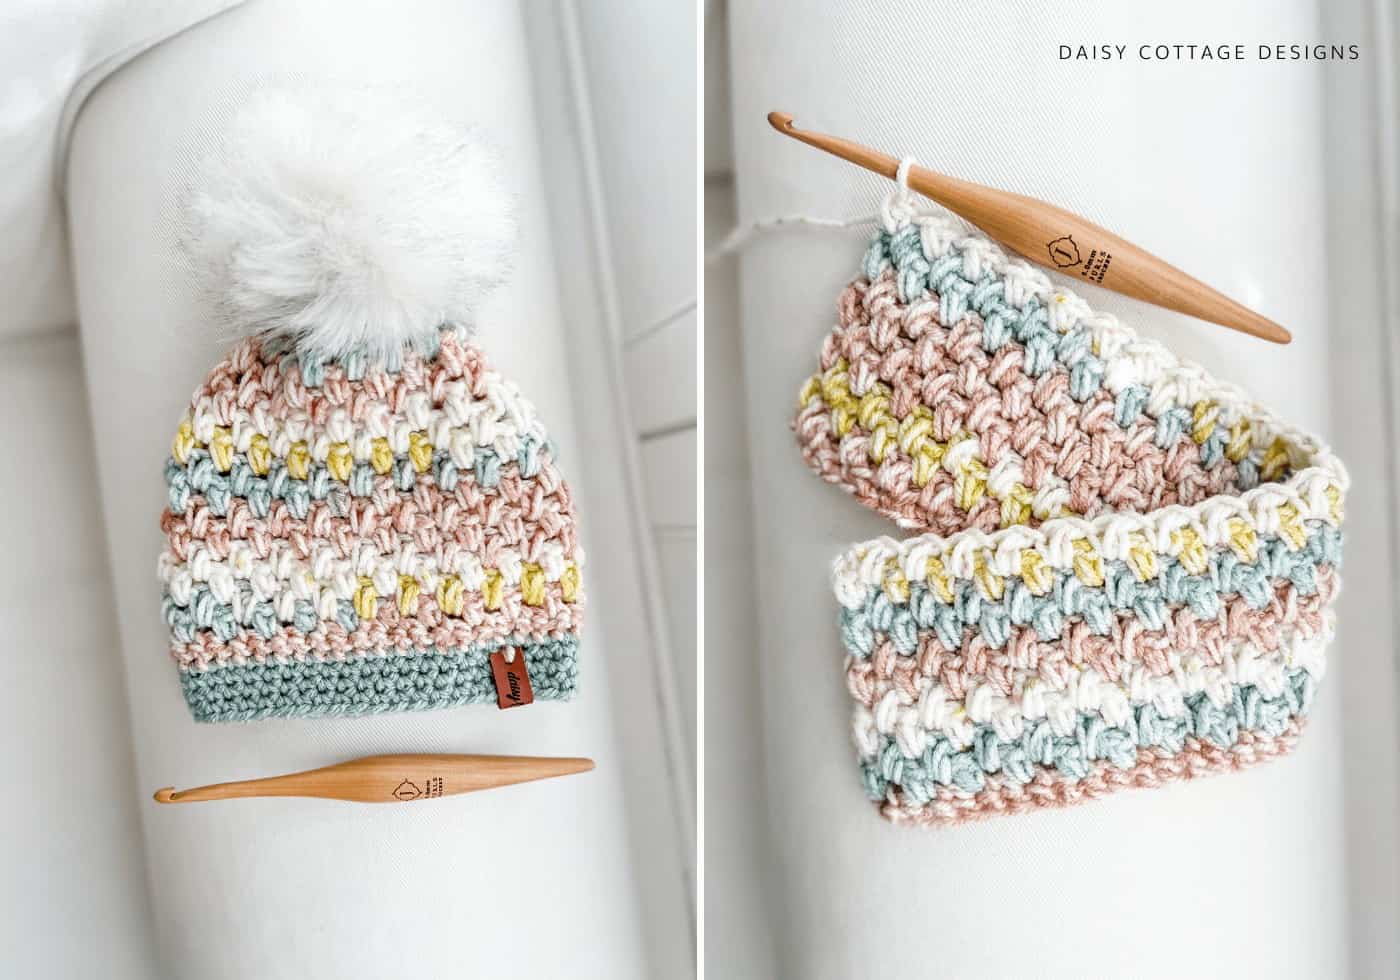
Before this week, it had been a long time since I had written any crochet hat patterns. You’d think that I’d be whipping out crochet beanies all the time since they’re so quick to make.
These days, I gravitate more towards blankets.
Early in my designing days, I wrote a lot of free crochet hat patterns (including some messy bun hats – this one went viral!).
But, I had the idea for this beginner-friendly crochet pattern and I had to write up the pattern. In the process, I think I made at least four of these hats.
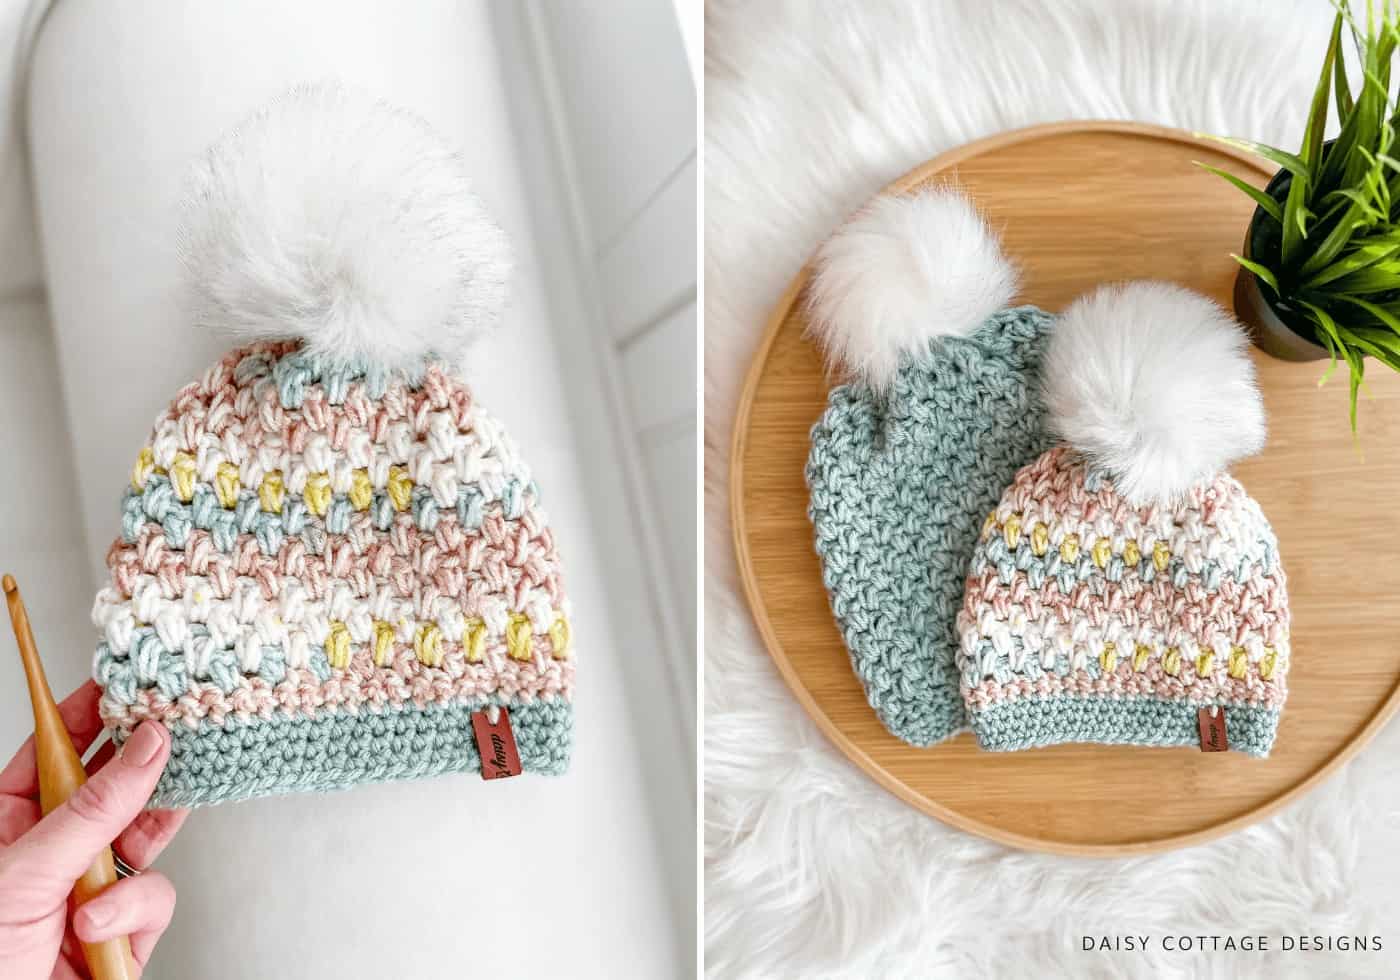
The Cozy Pom Pom Free Crochet Beanie Pattern
If you can’t make this pattern now:
- I’d love it if you’d text the link to a friend who crochets!
- Purchase the ad-free, print-friendly PDF in my Etsy shop.
- Pin it for later!
Materials:
- Yarn of choice and corresponding hook.
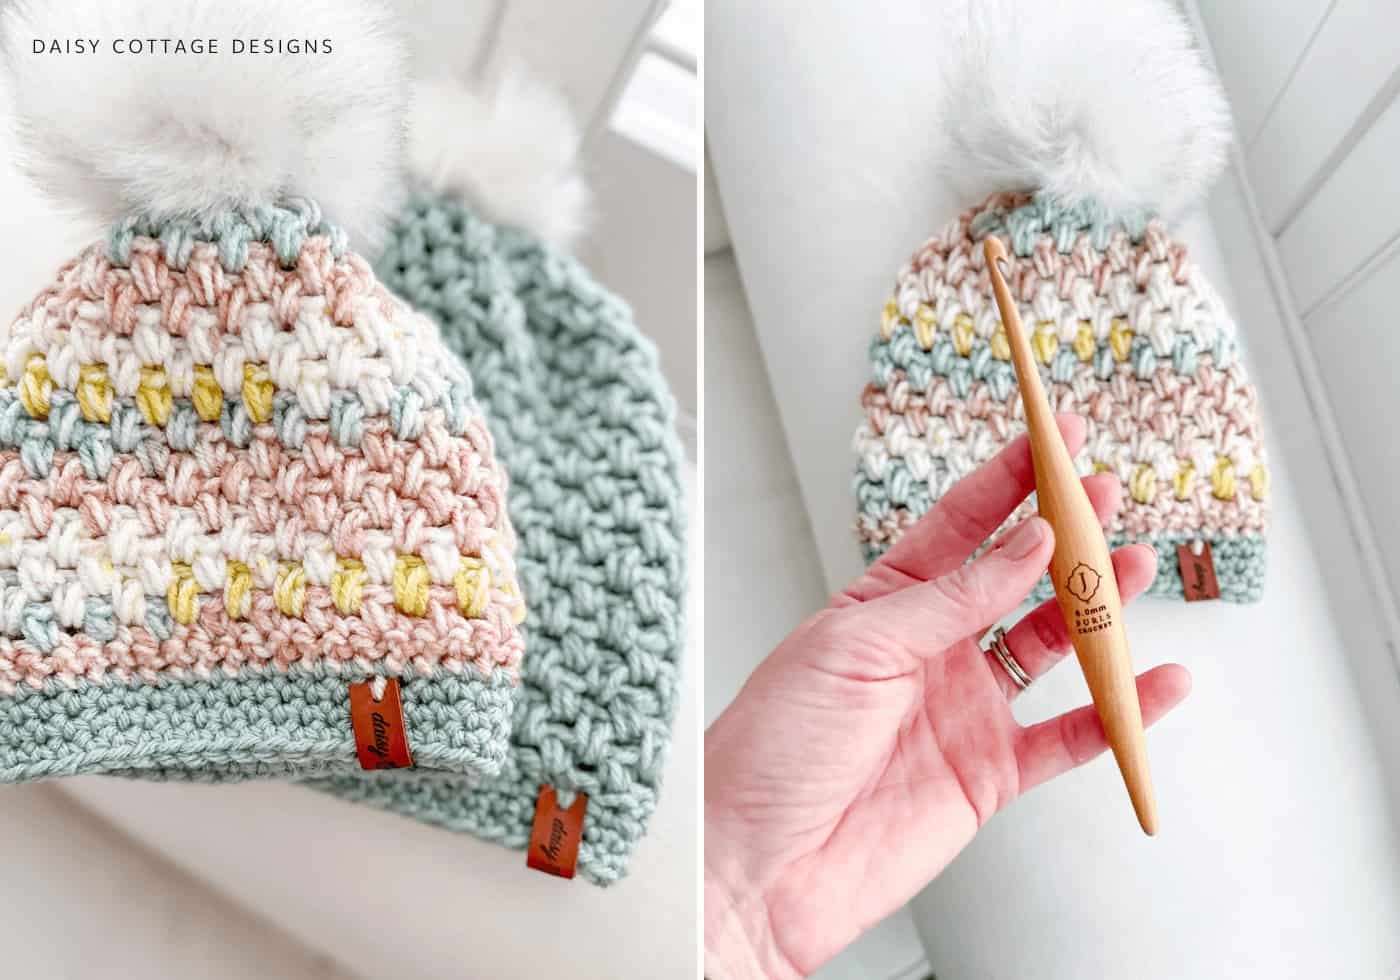
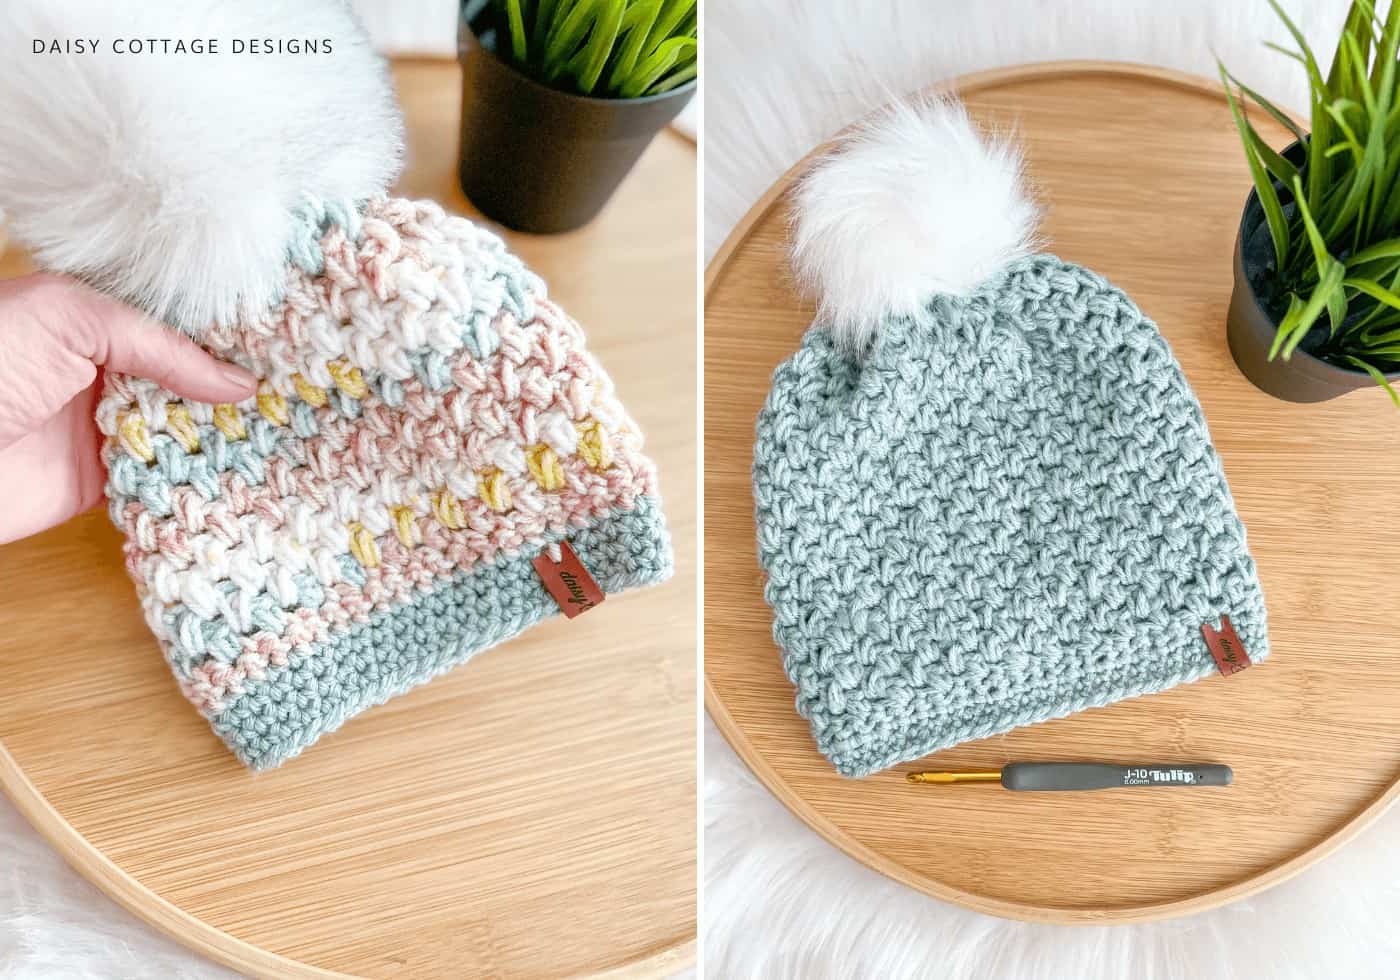
- I used a J/10 (6.00mm) crochet hook & worsted weight yarn.
- Variegated yarn is Hobby Lobby I Love This Yarn! in After Dinner Laughs (the band is in the color Spa)
- The solid hat is made with Yarn Bee Nature’s Nook in the color Sage Gray.
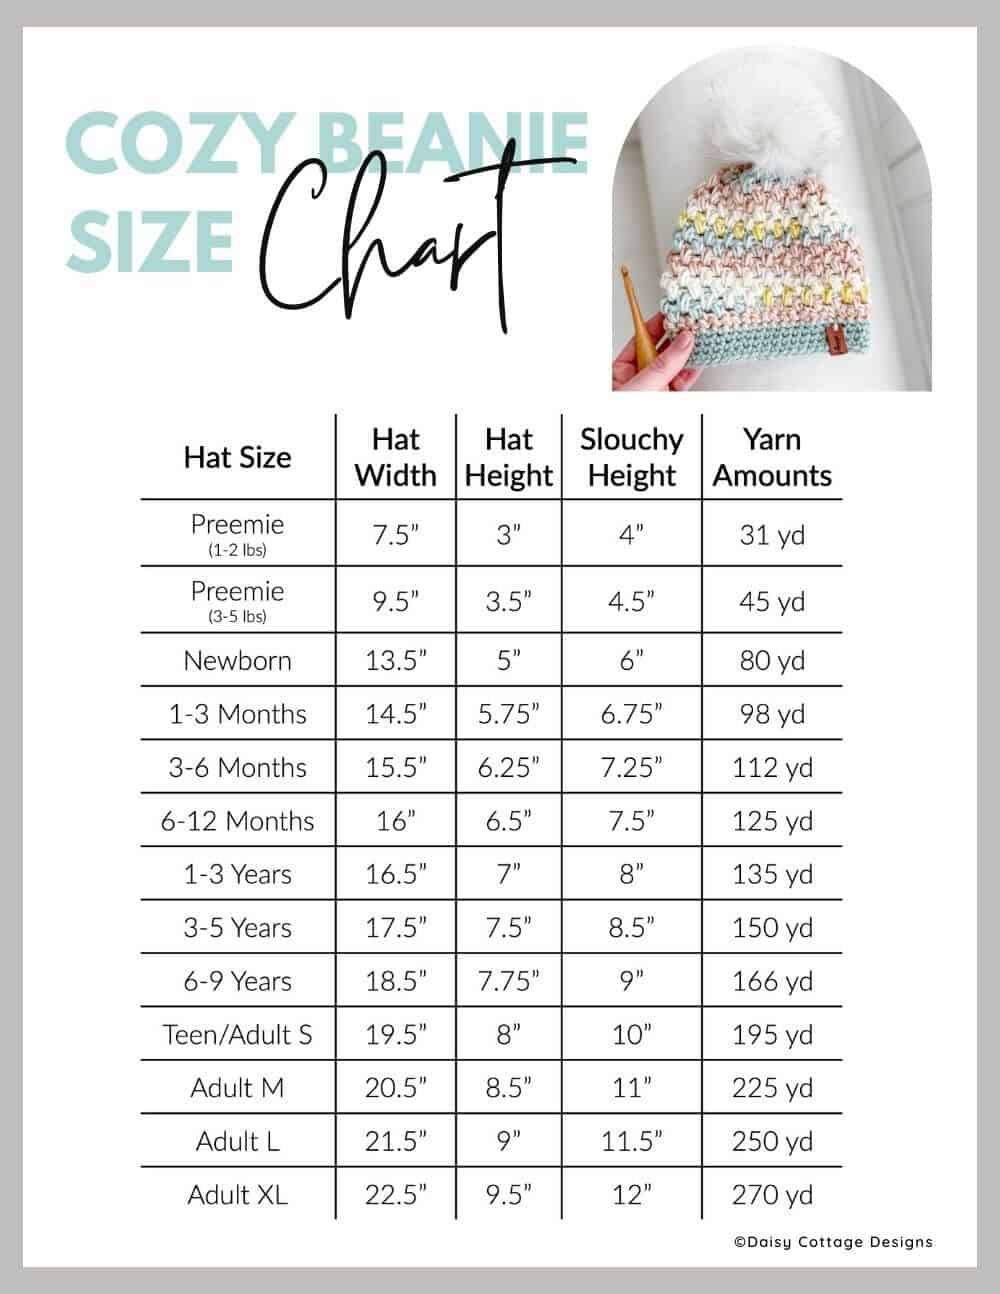
- Sizing Guide (approximate yarn amounts given on the chart)
- Stitch Marker
- Yarn Needle & Scissors
- Faux Fur Pom pom (These are my favorite)
- If you prefer the ad-free, PDF, you can purchase that here.
Pattern Notes:
- This pattern is worked differently than many hats. You’ll start by making a rectangle!
- This pattern is adjustable so various yarn weights and hooks may be used. I used worsted weight yarn, but chunky or bulky weight yarn could also be used.
- For this pattern, you will be working into the ch 1 spaces across and then under the ch 2 at the end of each row.
- For detailed instructions for how to make this hat, please watch this video tutorial.
- Because this pattern is adjustable gauge is not important for this pattern.
Sizing Guide:
- This pattern is completely adjustable. You can work this pattern using any weight yarn and corresponding hook. All you’ll need is the size chart below.
- If you prefer, you can make this hat using custom measurements.
- First, measure around the head right at the eyebrows. Subtract about half an inch from that number. This will give you the length you need for your starting chain. (Example: If the head measurement is 17 inches, you’ll want your starting chain to be 16.5 inches or so).
- Next, measure from the base of the head (where the head meets the neck) to the top of the head. This will give you the height.
Size Chart:
Special Stitch:
- Mini Bean Cluster on Row 2: Insert hook into the stitch, pull up a loop. Yarn over, insert hook into same stitch, pull up a loop. There will be four loops on your hook. Pull through all 4 loops on your hook.
- Mini Bean Cluster on subsequent rows: Insert hook into the ch 1 space, pull up a loop. Yarn over, insert hook into the same ch 1 space, pull up a loop. There will be four loops on your hook. Pull through all 4 loops on your hook.
This video will walk you through this stitch and all the steps in the pattern.
Let’s get started!
Using the yarn and hook of your choice, chain until you reach the width you need (see the Sizing Guide above). Your chain will need to be an odd number.
Foundation Row: sc in the second stitch and in each stitch across. (You will have an even number of single crochet stitches at the end of this row). Ch 2, turn.
Row 2: mini bean cluster in the second stitch. *ch 1, skip a stitch, mini bean cluster in the next stitch* across ending with a mini bean cluster in the last sc. Ch 2, turn.
Row 3: *mini bean cluster, ch 1* in each ch 1 space across. Work your final mini bean cluster around the ch 2 at the end of the row (insert your hook under the ch 2). Ch 2, turn.
Repeat Row 3 until you’ve reached your desired hat height. DO NOT cut yarn.
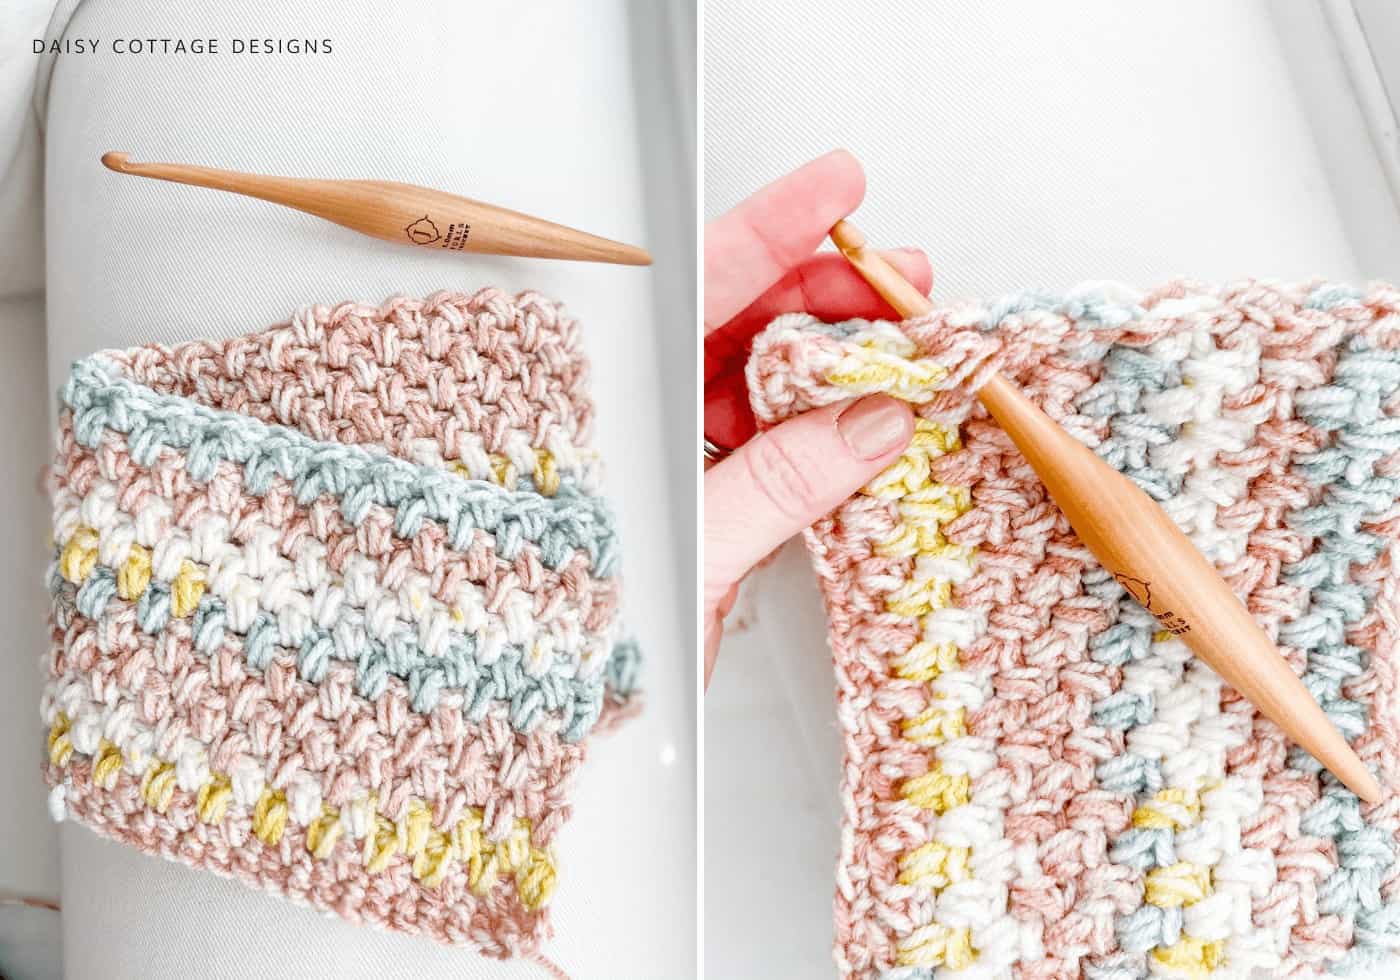
When you have finished creating this portion of the pattern, you should have a rectangular piece of “fabric.”
Fold your rectangle in half so that the short ends match up. Single crochet to join so that you have a tube. Do this by inserting your hook under both of the short ends as shown above.
You could also whip stitch this together, but I prefer using a single crochet join.
Once you finish this, do not cut yarn unless you want your band in a contrasting color. Turn your work so you can work the band at the bottom of the hat.
Don’t forget, this video tutorial will walk you through the steps to finish your crochet beanie.
If you want your band in a contrasting color, cut yarn and weave ends. Join new yarn in any stitch around the bottom of the hat, ch 1, and proceed to the border.
Round 1: work 1 sc into each stitch around the bottom of your hat. Place a stitch marker into the first stitch.
Round 2: sc into the first st (where the stitch marker was placed) and in each stitch around.
Repeat row 2 until you have the band width you like. Depending on the look I’m going for, I use 2-6 rounds.
Cut yarn and weave ends.
Now it’s time to cinch the top of the crochet beanie.
Step 1: Turn hat inside out.
Step 2: Thread a long piece of yarn (10-15 inches)
Step 3: Working from the inside to the outside, stitch underneath every other ch 1 space around the top of the hat. Be sure you’re always working in the same direction.
Step 4: Pull on both ends of the yarn to cinch the top of the hat.
Note: If you’re having a difficult time closing the hole all the way, space your stitches out a little bit more.
Step 5: Tie a knot at the top of your hat and weave your ends.
Step 6: Turn your hat right-side out, attach a pom pom, add a leather tag, and enjoy!
If you are unsure how to attach a pom pom to a hat, do a quick search on YouTube to find your preferred method.
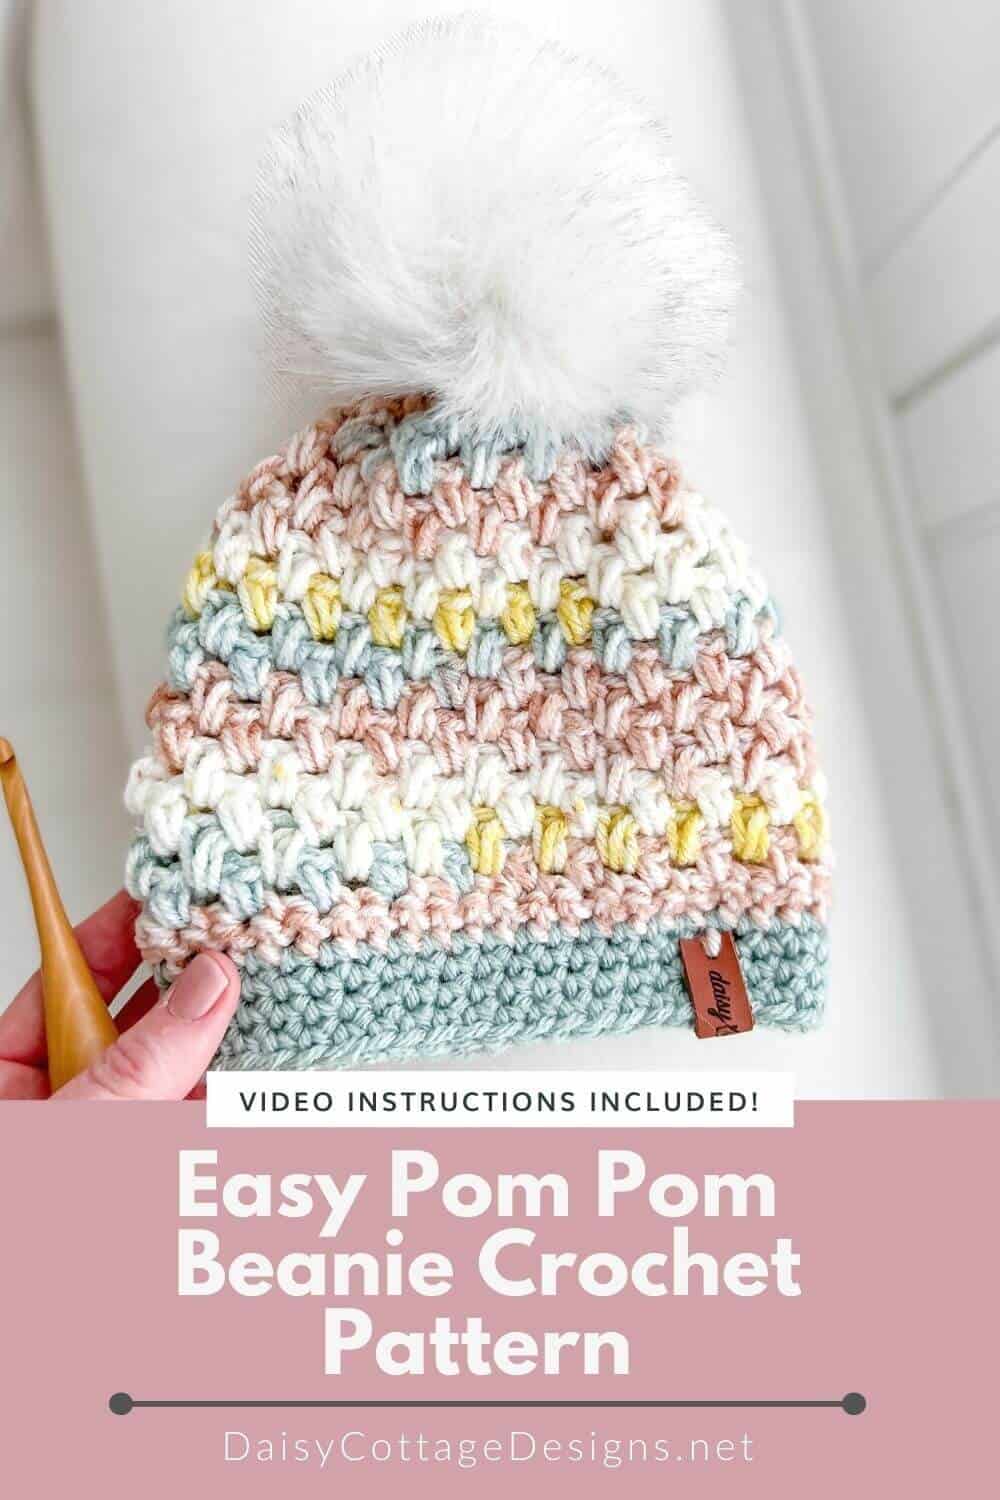
If you enjoyed this easy free crochet beanie pattern, I’d love it if you’d share it with your crocheting friends. Post it on Instagram or text the link to a friend. Be sure to tag me (@daisycottagedesigns) or use #daisycottagedesigns.

I love this hat pattern. Thank you for the video showing the closure and final touches. Thanks to your chart too.
How do I print the SIZING CHART?
Hi
What yarn exactly yiu used?
Thank you!
Sarits