Easy Crochet Tote Bag Pattern (For All Skill Levels)
Are you looking for an easy tote bag crochet pattern that’s simple to make and great for beginners? Look no further! This pattern is easy to follow and just right for your next crochet project.
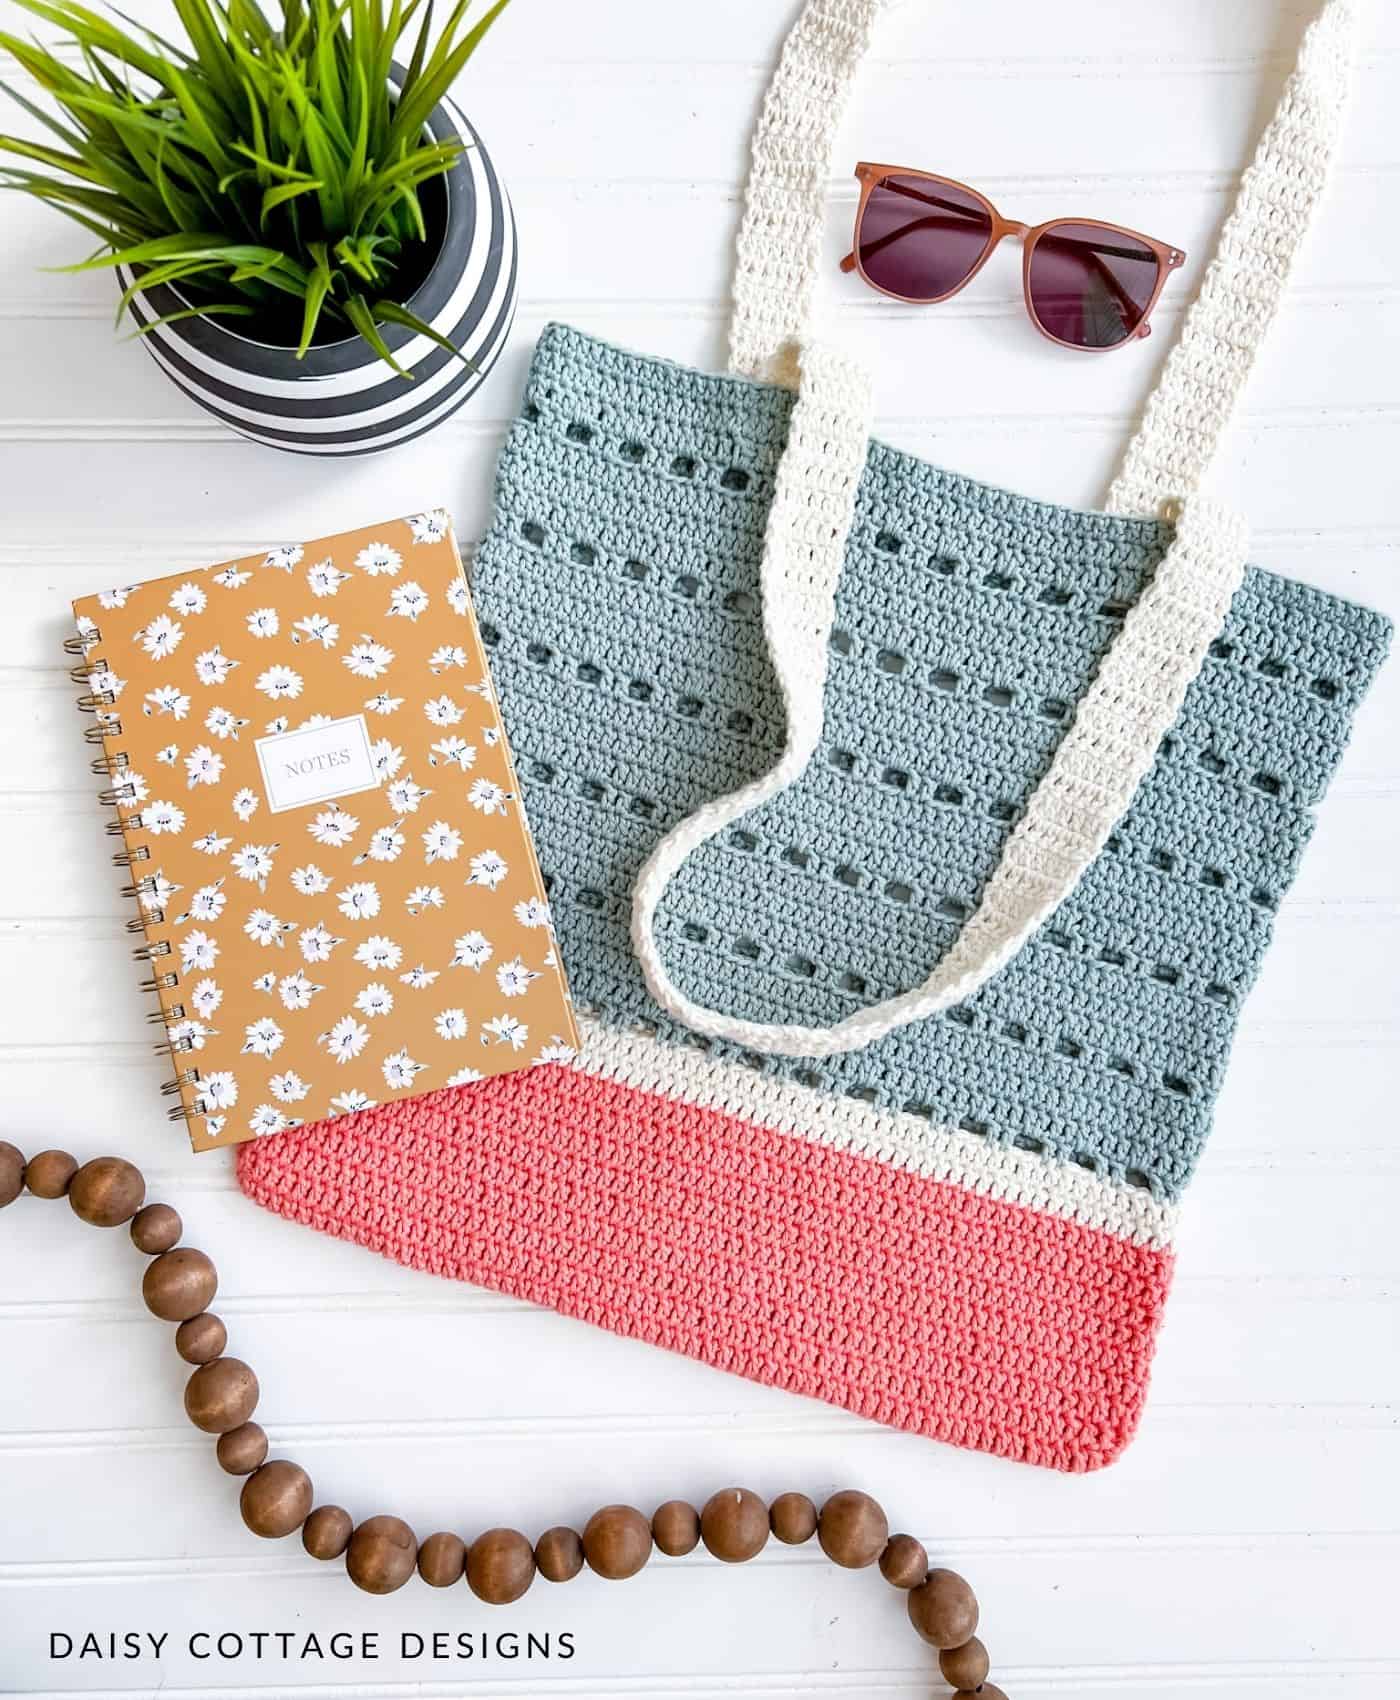
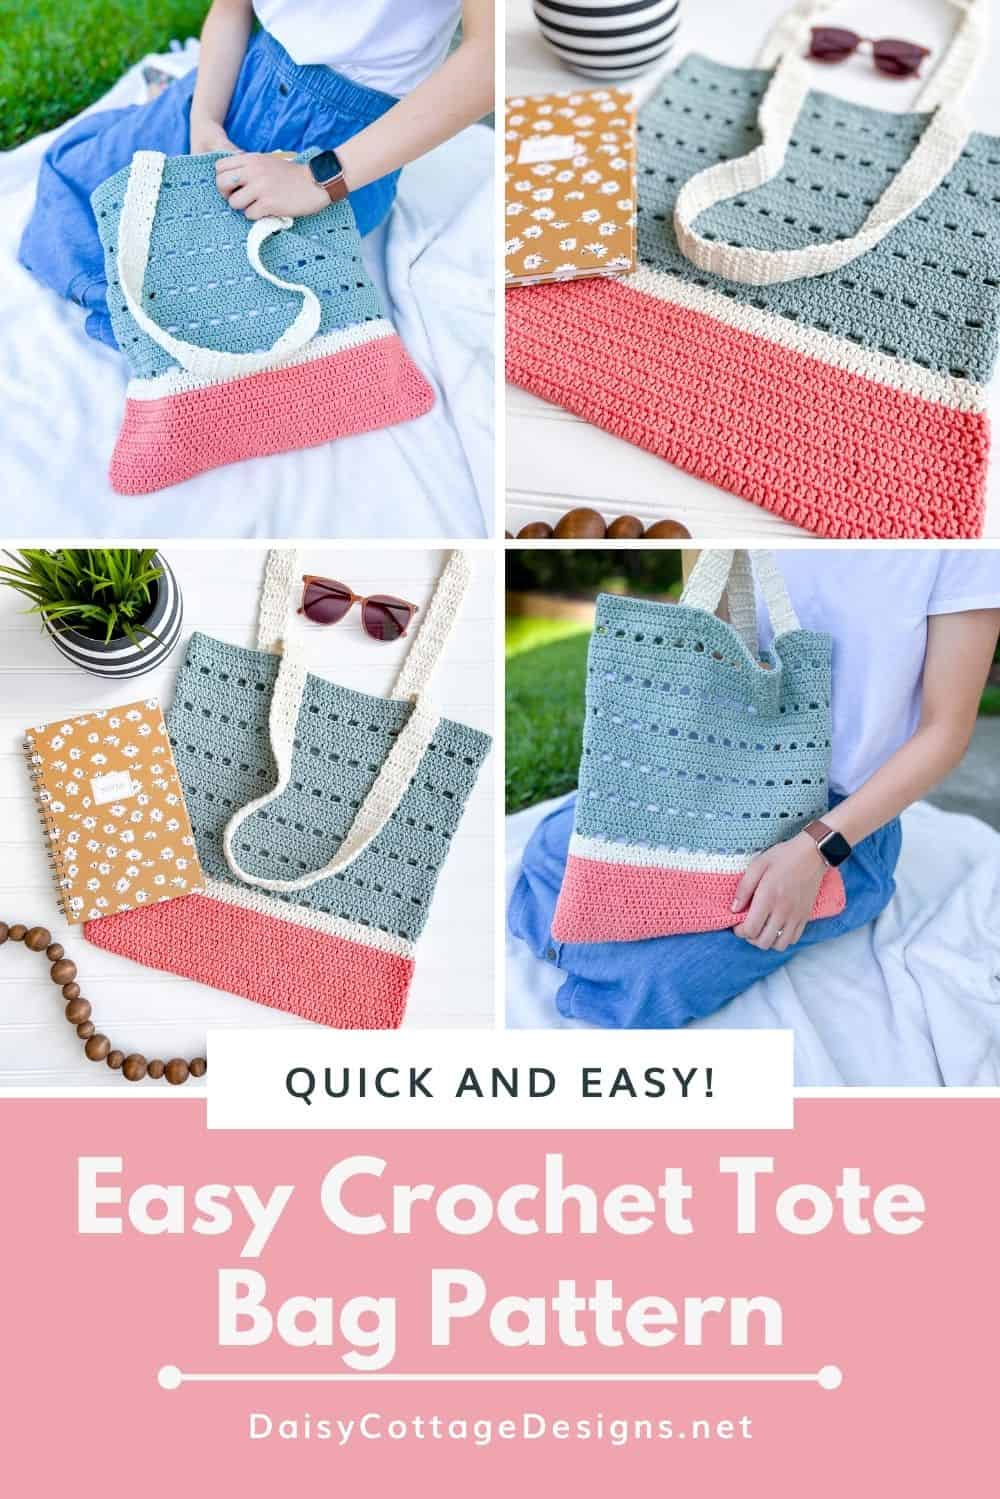
I have been so excited to see this crochet bag come together. From the color palette to the stitches, everything about this cute tote bag turned out exactly how I had imagined it.
(Spoiler alert: that doesn’t always happen in the crochet world!)
It’s been fun to see that crochet purses and other crochet items are in style right now. Whether you want to make a beach bag or a bag for the farmers market, this tote bag crochet pattern is going to be perfect.
This bag uses simple stitches that are easy for anyone to master!
Do you prefer ad-free PDF patterns? The print-friendly version of this pattern (and almost all my other crochet patterns) is available in my Etsy shop.
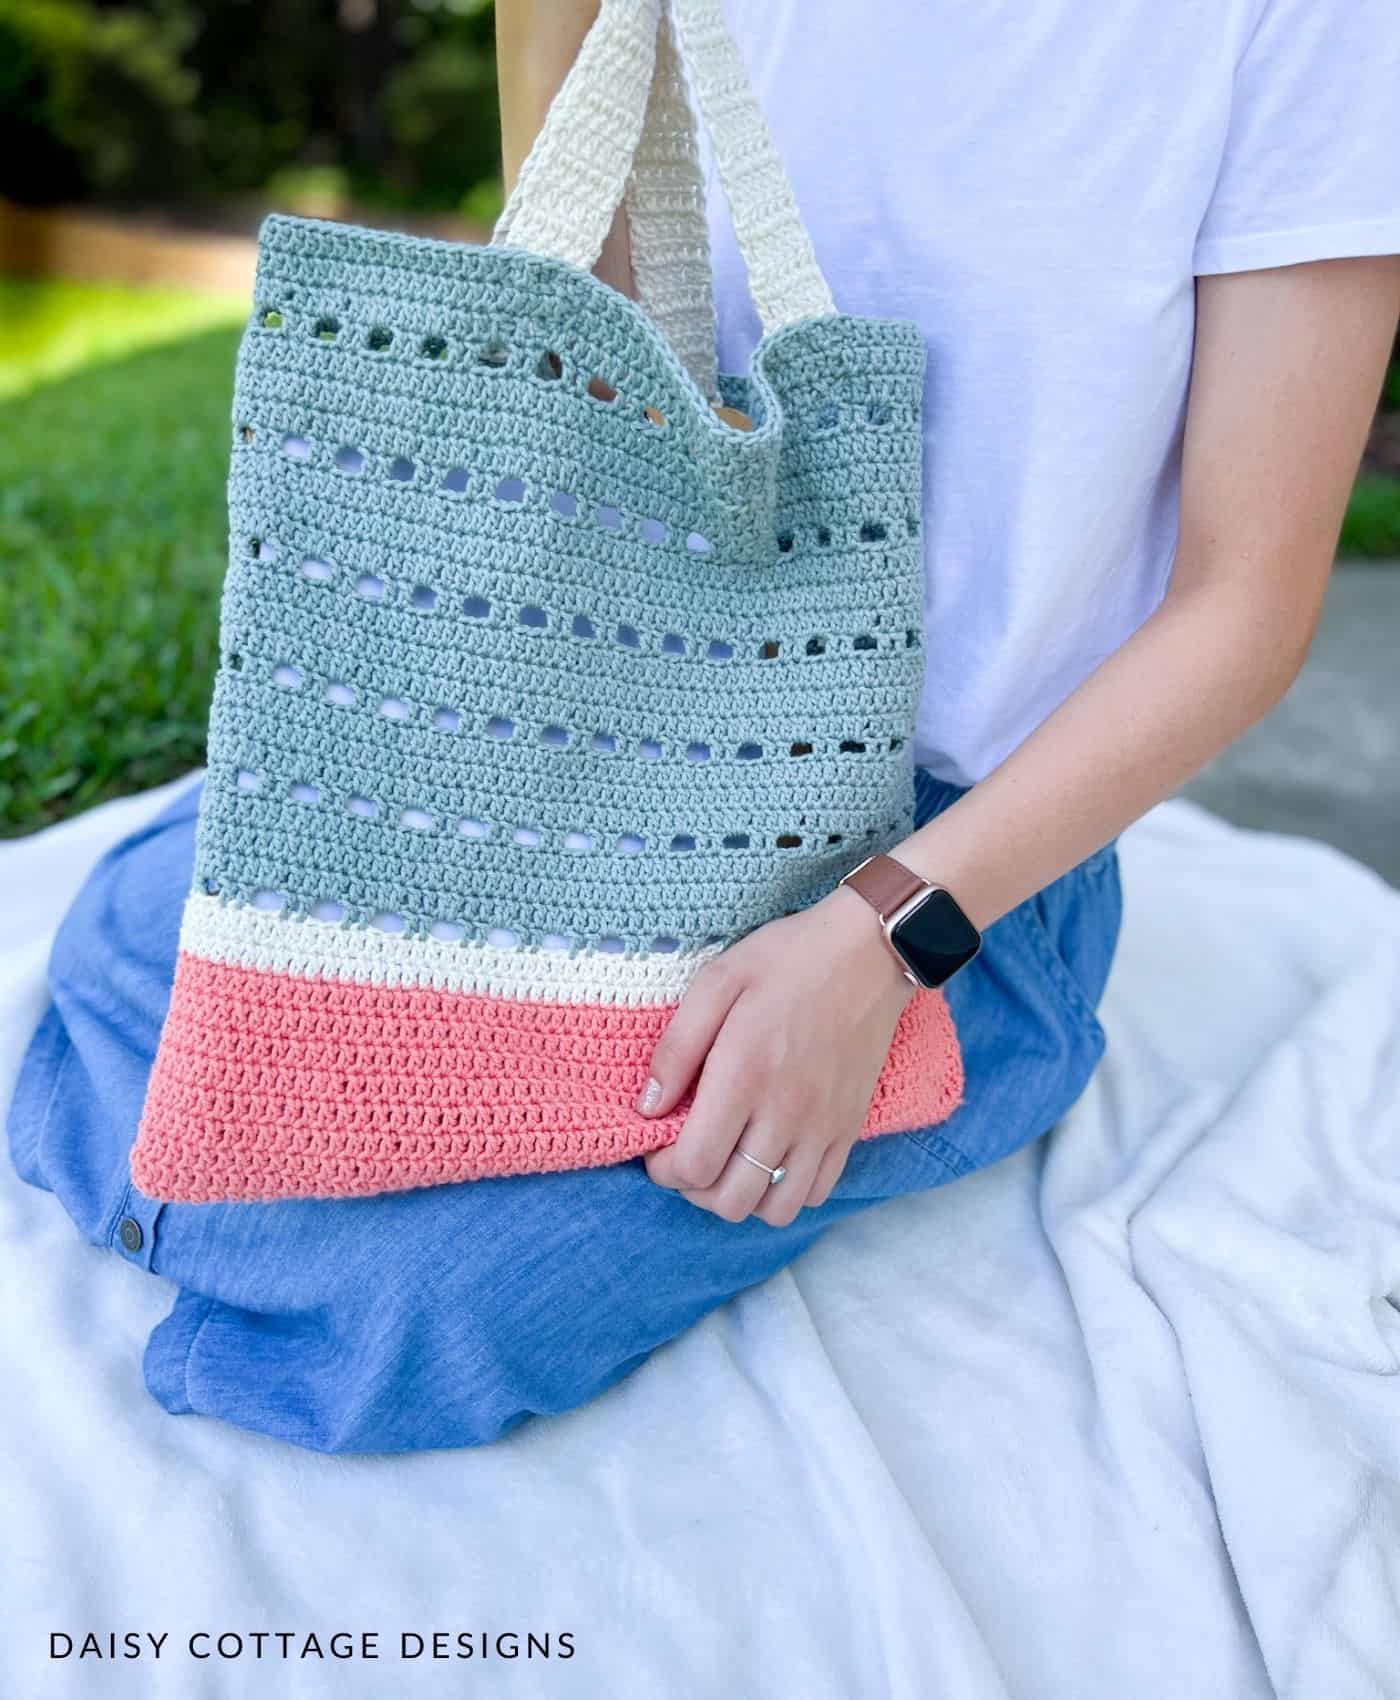
How do you crochet a simple tote?
Making a crocheted bag is easier than you might think! The full pattern is below and you’ll just need to know two basic crochet stitches – the double crochet and the chain stitch!
So grab your crochet hook and a couple skeins of cotton yarn and let’s get started!
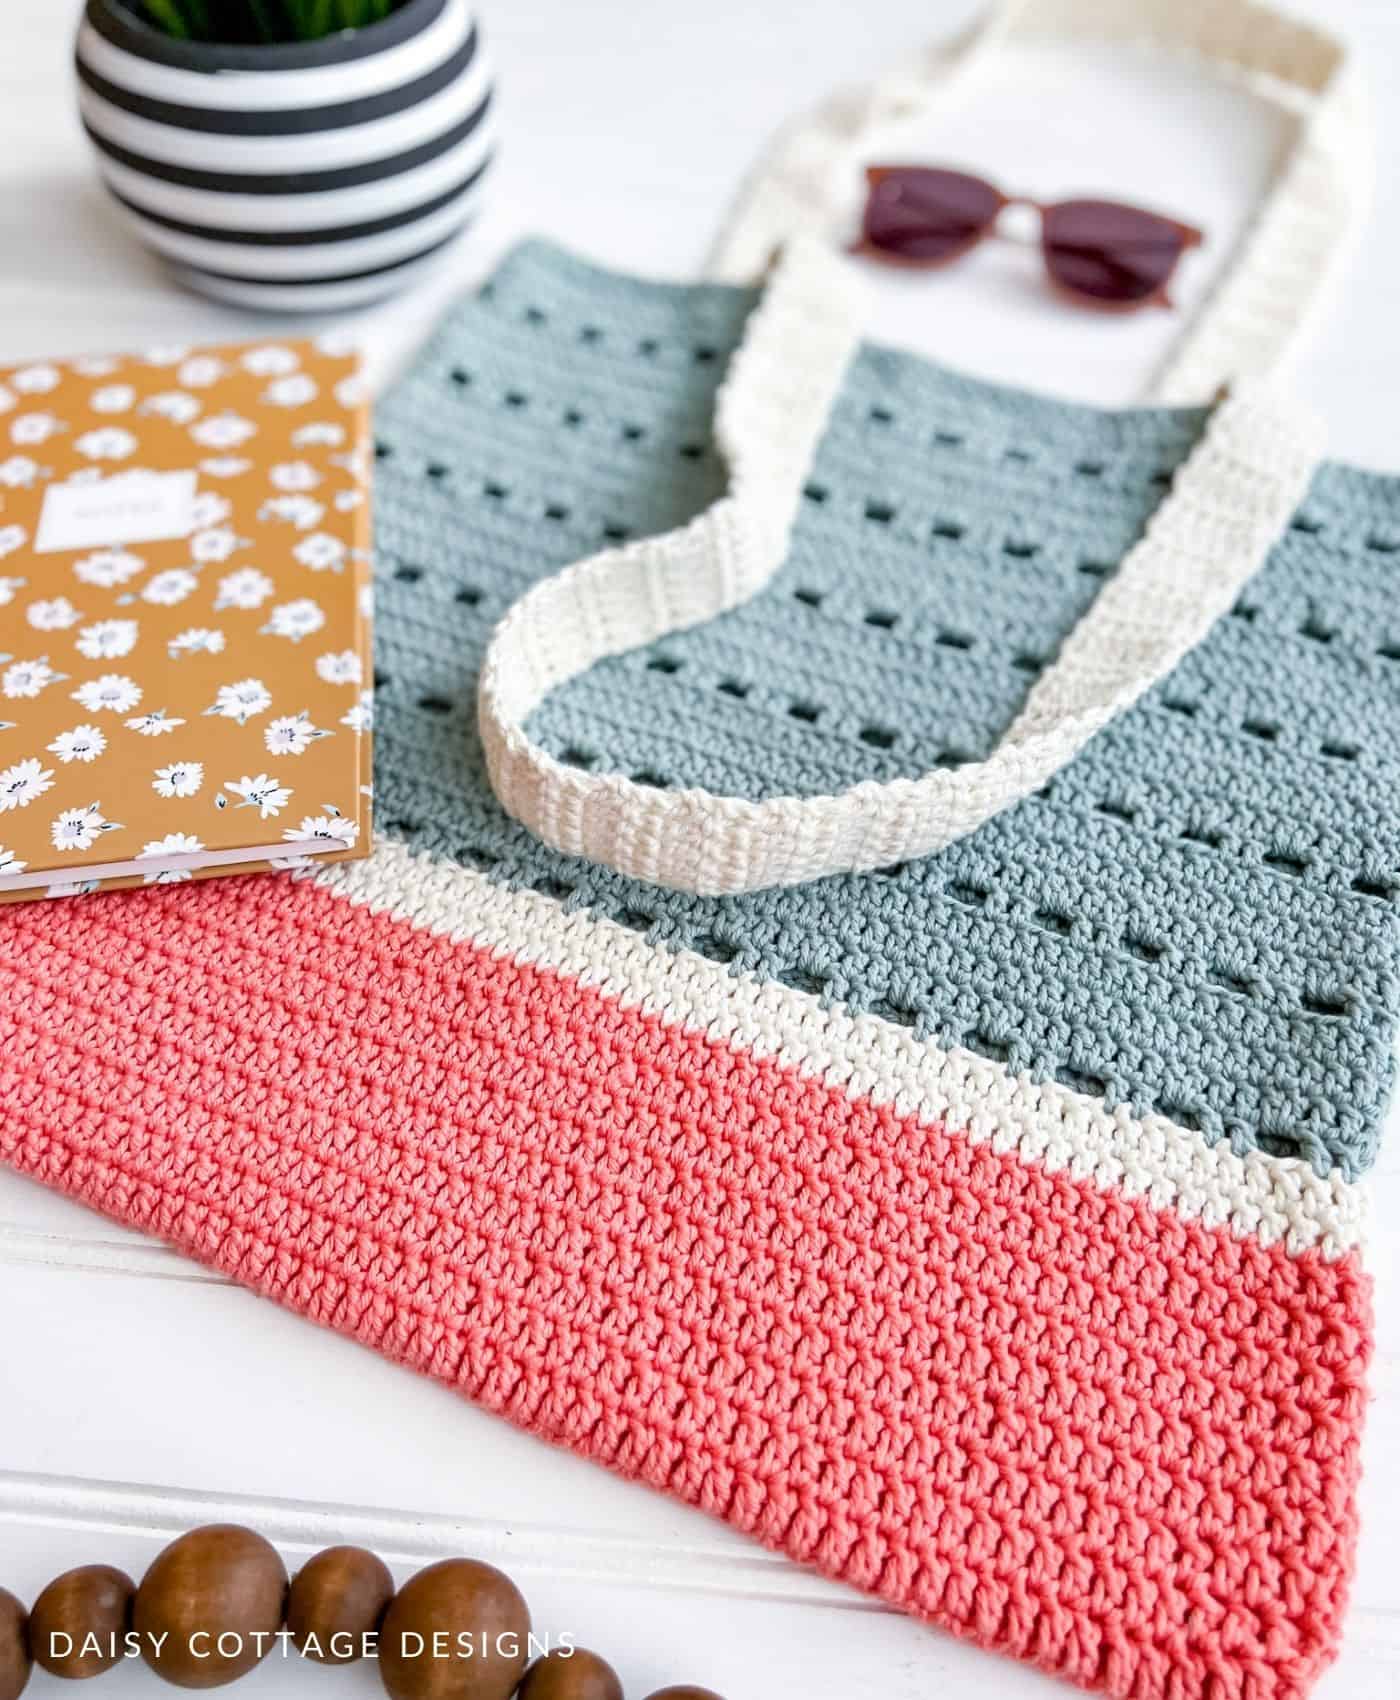
Sunset Shores Crochet Tote Bag Pattern
Materials
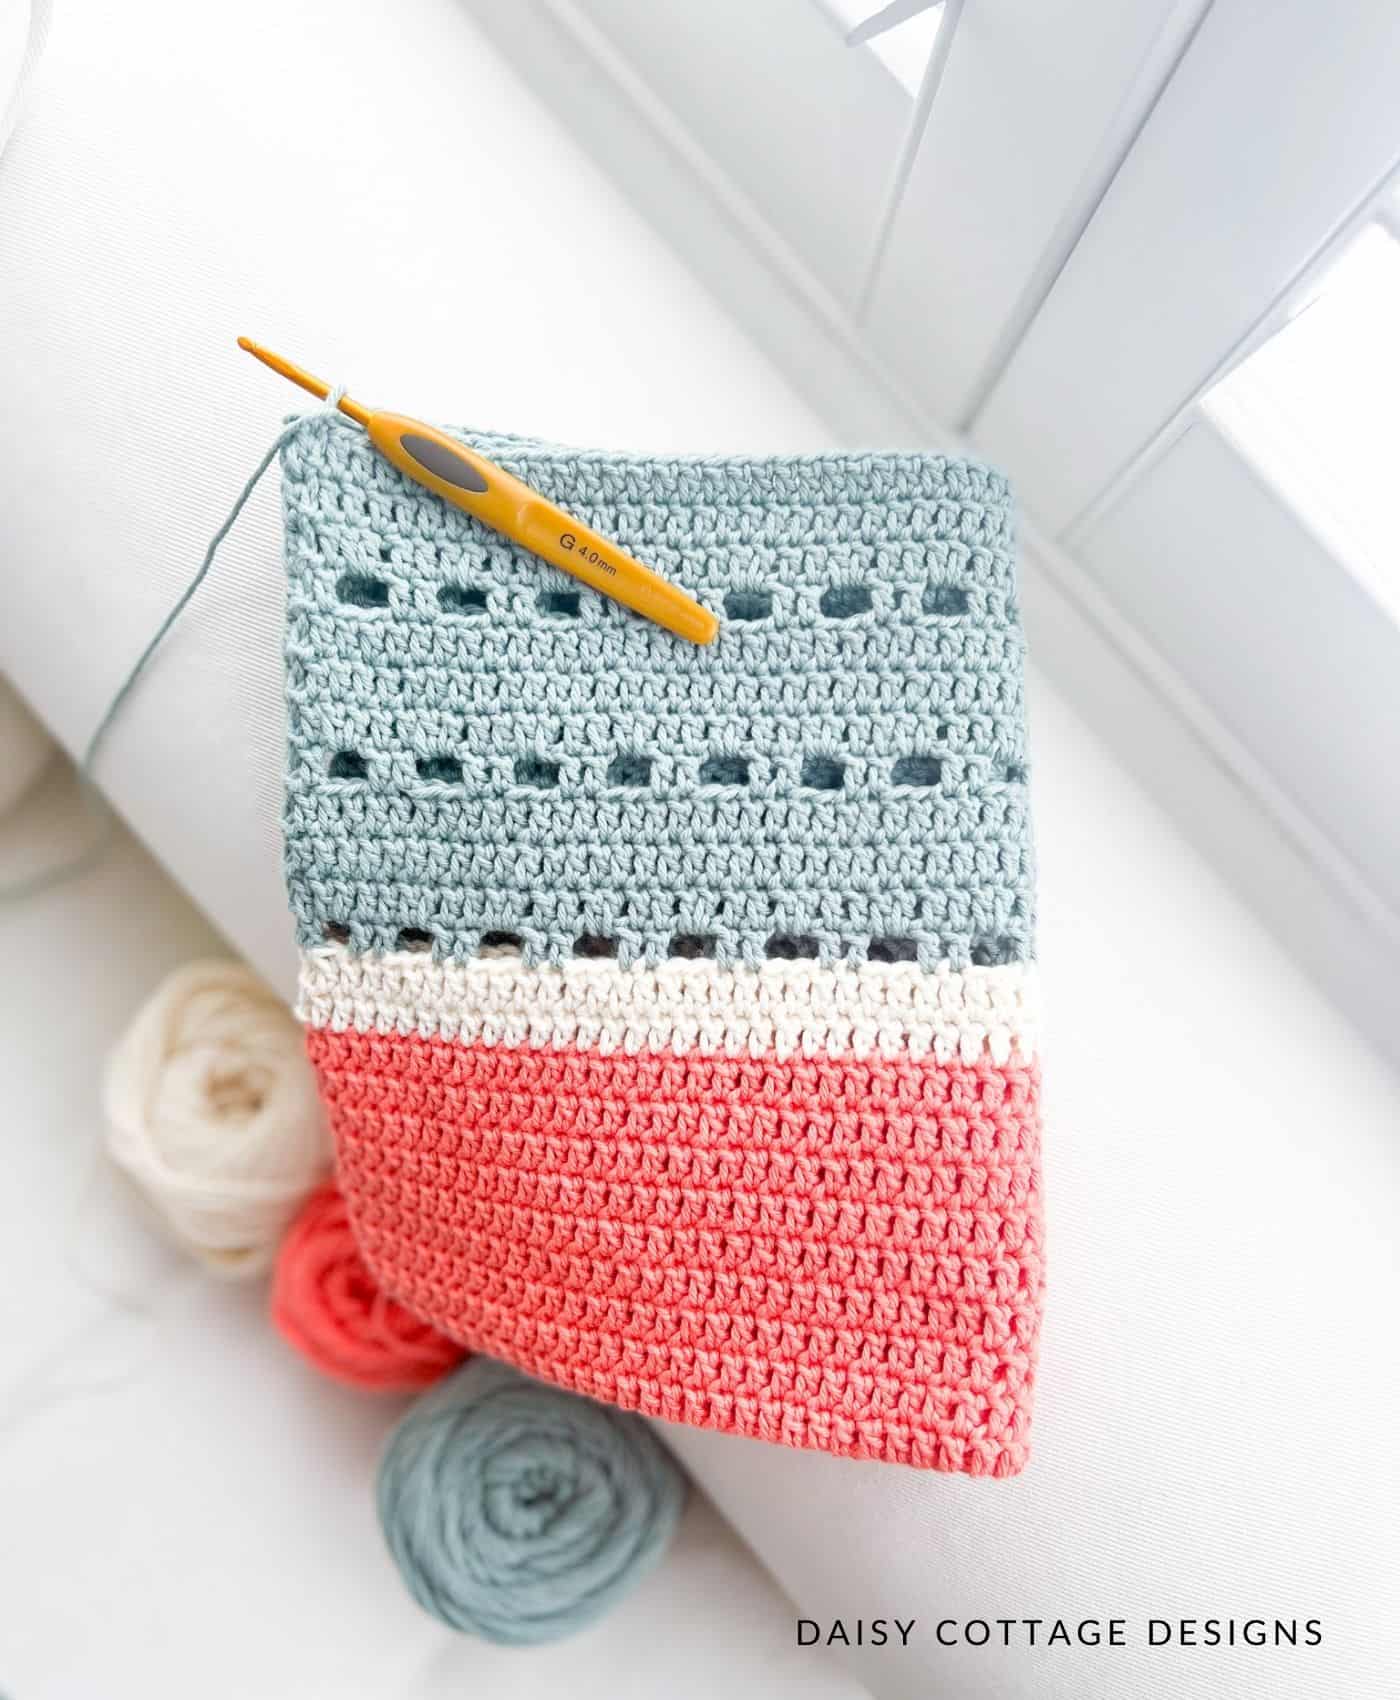
- Hook Size: G/4.0 mm crochet hook
- 4 balls Dishie cotton (Yarn Weight: 4/worsted)
- If you’d like to use a different yarn, you’ll need approximately 700 yards of worsted weight cotton yarn.
- Tapestry needle and scissors
- Stitch markers (optional)
- This video will help walk you through the stitches.
Notes
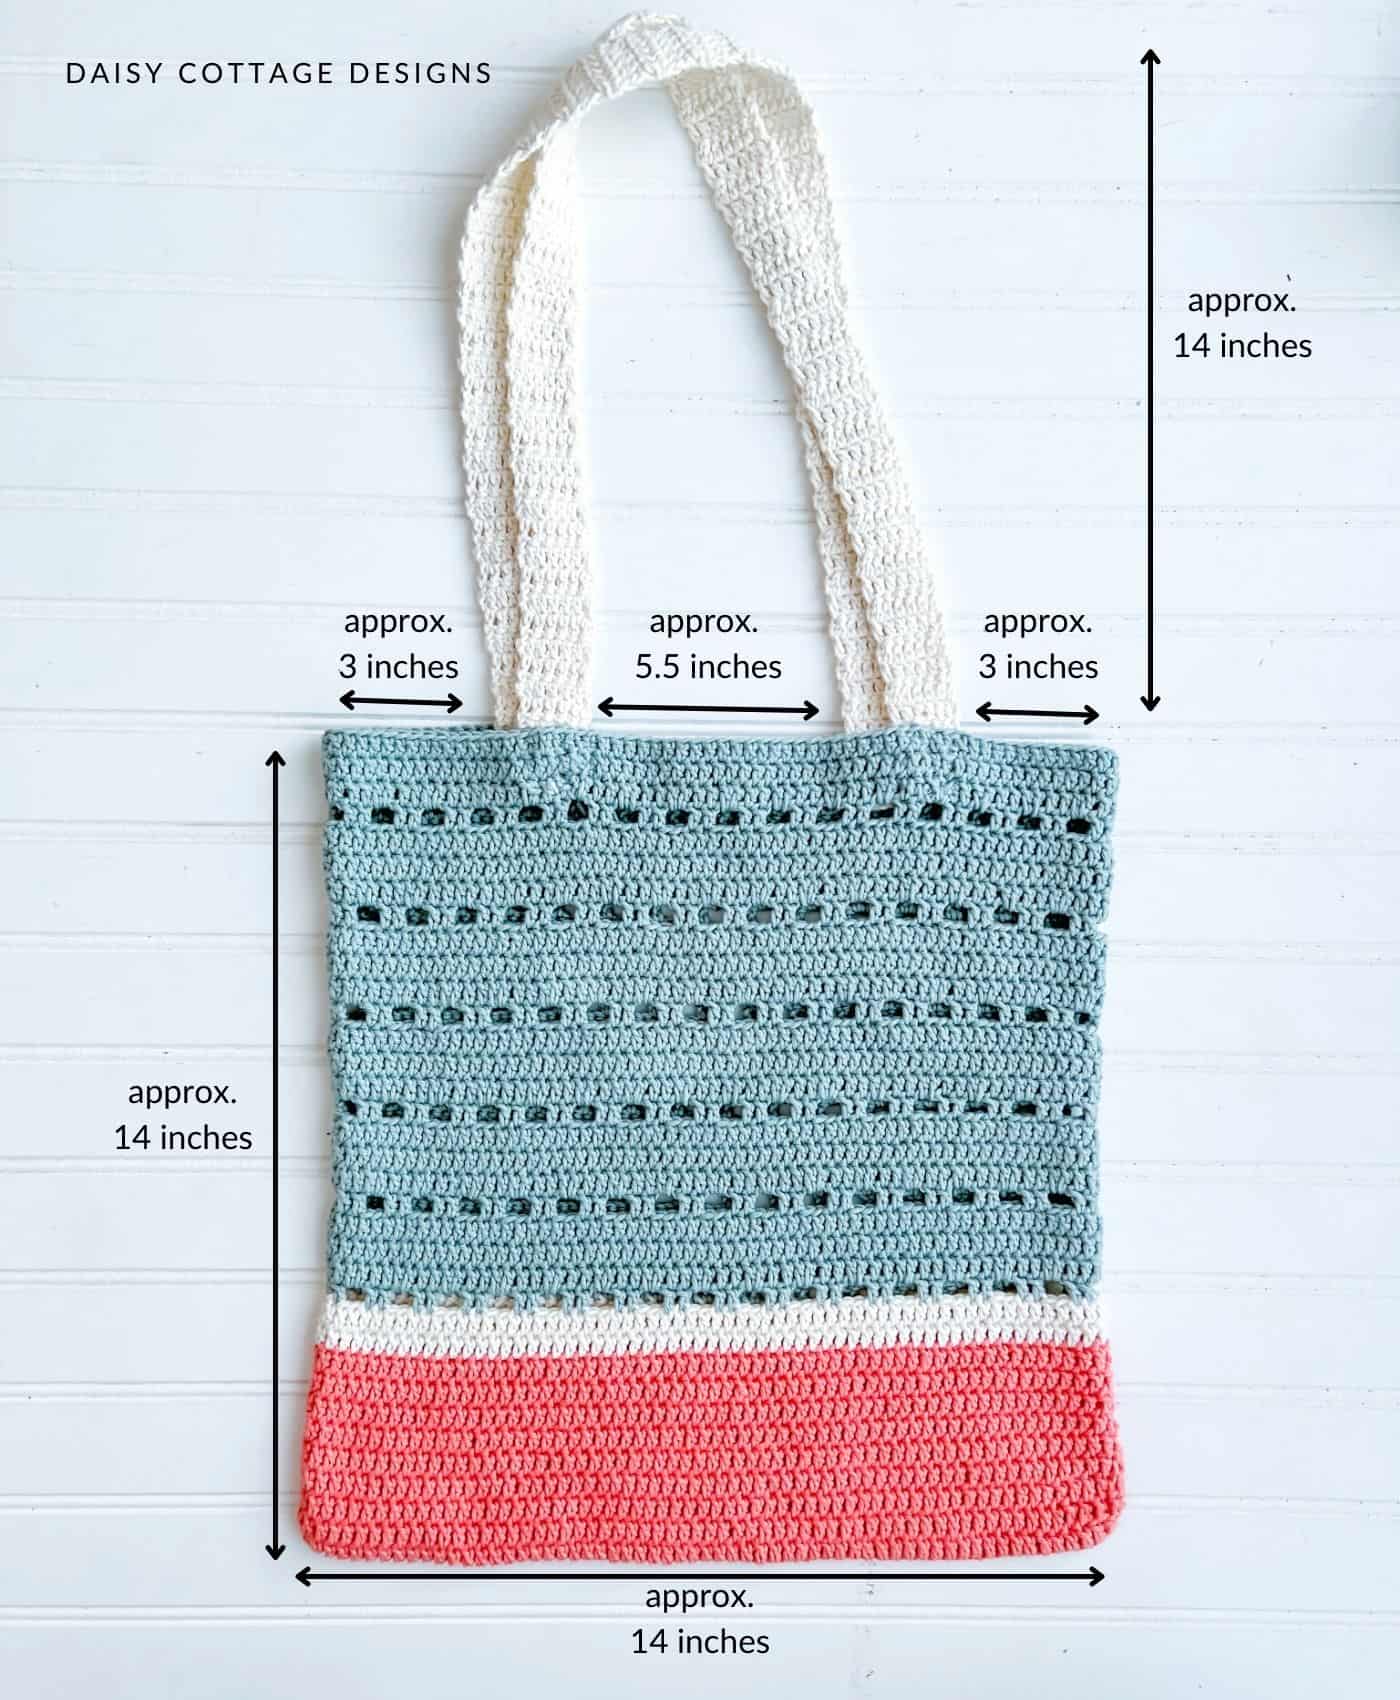
- Bag measures approximately 14” x 14” with a 14” handle height
- This body of this bag is worked in the round. The straps are made one at a time and then attached to the bag.
- Chains do not count as a stitch unless otherwise noted.
- Handles are worked separately and then attached to the bag
- Work into the back bump of the the chain stitches
- This pattern is in US terms.
Gauge:
- 17 stitches and 10 rows in a 4 inch square.
Abbreviations:
- sc – single crochet
- dc – double crochet
- sl st – slip stitch
- ch – chain
- st – stitch
- rep – repeat
- sk – skip
Crochet Tote Tutorial:
Buy the ad-free, print-friendly PDF here.
Using conch, ch 62.
You may find it helpful to mark the first dc of each row with a stitch marker.
Round 1: dc in the third chain and in each ch across to the last ch. Work four dc in the last chain so that you’ll be able to “turn the corner” and work into the bottom of the stitches you just made
Now, working into the base of the stitches you made on the other side, work 1 dc into the base of each stitch until the last stitch. Work 3 dc into the base last st. Sl st to the top of the first stitch (not the ch 2) to join. (64 stitches)
Round 2: Ch 1, dc in the SAME stitch and in each stitch around. (64 Stitches)
Rounds 3-9: rep round 2.
After round 8, cut yarn and join cream yarn.
Rounds 10-11: Repeat row 2 using cream.
Cut Swan yarn and join Inlet.
Round 12: Ch 1, dc in the same stitch. *Ch 2, sk two stitches, dc in the next two stitches.* around to the last 3 stitches. Ch 2, sk two stitches, dc in the last stitch. Sl st to the top of the first st. (16 ch 2 spaces, and 32 dc)
Rounds 13-15:Ch 1, dc in each stitch around. Sl st to the top of the first st to join.
Rep rows 12-15 five more times for a total of 35 rows.
Cut yarn and weave ends.
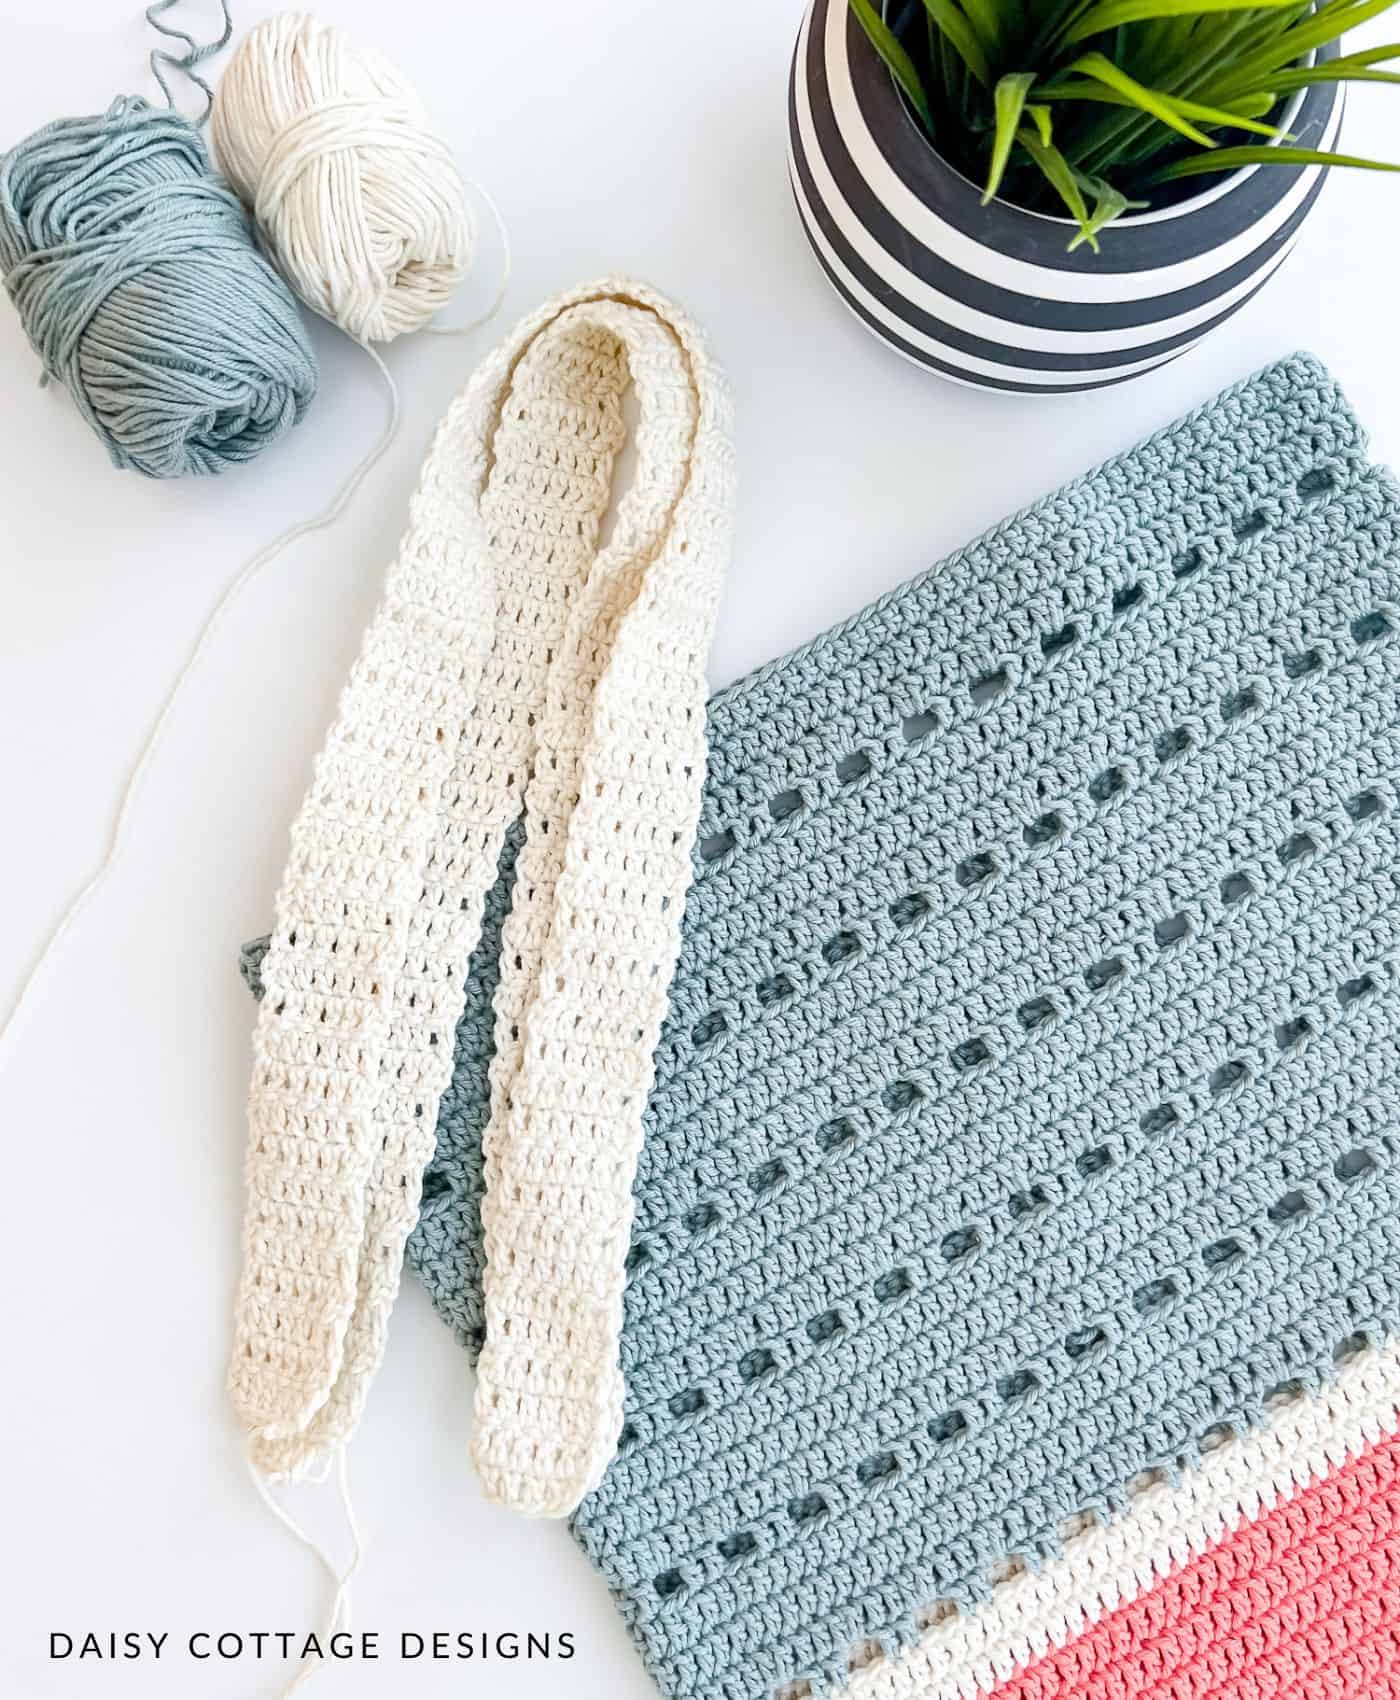
Now it’s time to make the handles:
Make 2 handles using Swan.
Ch 7.
Row 1: dc in the third stitch and in each stitch across. Ch 1, turn (6)
Row 2:dc in the first stitch and in each stitch across. Be sure to work into the top of the chain at the end of the row (only on this row). Ch 1, turn. (6)
Row 3-70: Dc in the first stitch and in each stitch across. Ch 1, turn
Cut yarn and weave ends.
Handles should measure approx. 30 inches long.
Note: if you’d like your handles to be less likely to stretch, you could make them using single crochet stitches rather than double crochets.
How to Attach the Handles to the Easy Crochet Tote Bag:
Attach the handles to the inside of the bag approximately 3 inches from the edge of the bag. I sewed these on using the Inlet shade straight stitches. Using contrasting yarn is also an option.
Modification Options:
Solid Fabric:
If you want to use this bag more like a purse, you probably want a little bit of a denser fabric. If that’s the case, repeat row 2 for all 37 rows of the market tote. If you do this, the entire bag will have the same density of the coral section.
This is a great option if you’re worried that some of your items will “slip through the cracks.”
Other Favorite Colors to Use (all Dishie Cotton):
Embellishment Ideas:
Though this bag is absolutely perfect without any extra bells and whistles, I know some people like to add a little extra something to their crochet makes.
- Add a crochet flower or two
- Throw on some pom-poms
- Attach some tassels
- Add a pocket – crochet a square or rectangle and stitch it to the inside or outside of the bag to create some extra storage.
Answers to Your Crochet Tote Bag Questions
While you can make many free crochet bag patterns using acrylic yarn, most crocheters don’t recommend it. Cotton yarn is more durable and less stretchy than most acrylic yarns.
If you’ don’t want to use a 100% cotton yarn, I’d recommend going with some sort of cotton blend. You’ll find that an acrylic bag is less likely to keep its shape.
If you do feel like you’d definitely like to use acrylic yarn, try to find one that’s not stretchy (Caron Simply Soft comes to mind).
In my opinion, using a 100% cotton yarn like Dishie Cotton is the best way to make the perfect bag. It’s durable and washes well. You can read all about my favorite cotton yarns here.
This varies from bag to bag, but for this free crochet tote bag pattern, you’ll need about 700 yards of worsted weight yarn. This pattern would use more yarn if there weren’t ch 2 spaces throughout so keep that in mind.
Kids Market Tote – this bag has been a fan-favorite on the DCD blog for many years! It’s easy to make and kids LOVE it.
Large Market Tote – the adult-size version of the super popular kids market tote.
Share your Work!
If you make this pattern, please snap a photo and share it with me! I love seeing what you make from my free patterns. You can send it to me via email, tag me on Instagram, or post it to my Facebook page.
Sell Your Makes!
You’re more than welcome to sell items that you make using the Daisy Cottage Designs patterns. Providing a link to the pattern is always appreciated, and please remember to always use your own photos in your Etsy listings, etc.

Good morning. I love all of your projects. I purchased the All Access but am not not sure how it works. I would appreciate any suggestions. I am not tech savvy thank you, Cindy
Hi, Cynthia. If you send me an email, I’d be more than happy to help you!
Lauren
I love this pattern. Is there a way to make it smaller? I really would like to make it.
I’ve started this 3 times and always end up with 62 on each side, not 64. Followed as written. Not sure what I’m doing wrong! Any suggestions?
Thanks
Hmm. I’m not sure. If you send me an email with a photo, I’d be happy to try to help you troubleshoot!!
Lauren
I am having this same problem with ending up with 62 on each side. Any easy fixes for this? Thank you!