The Peony Petals Blanket Pattern – A Quick, Chunky Blanket
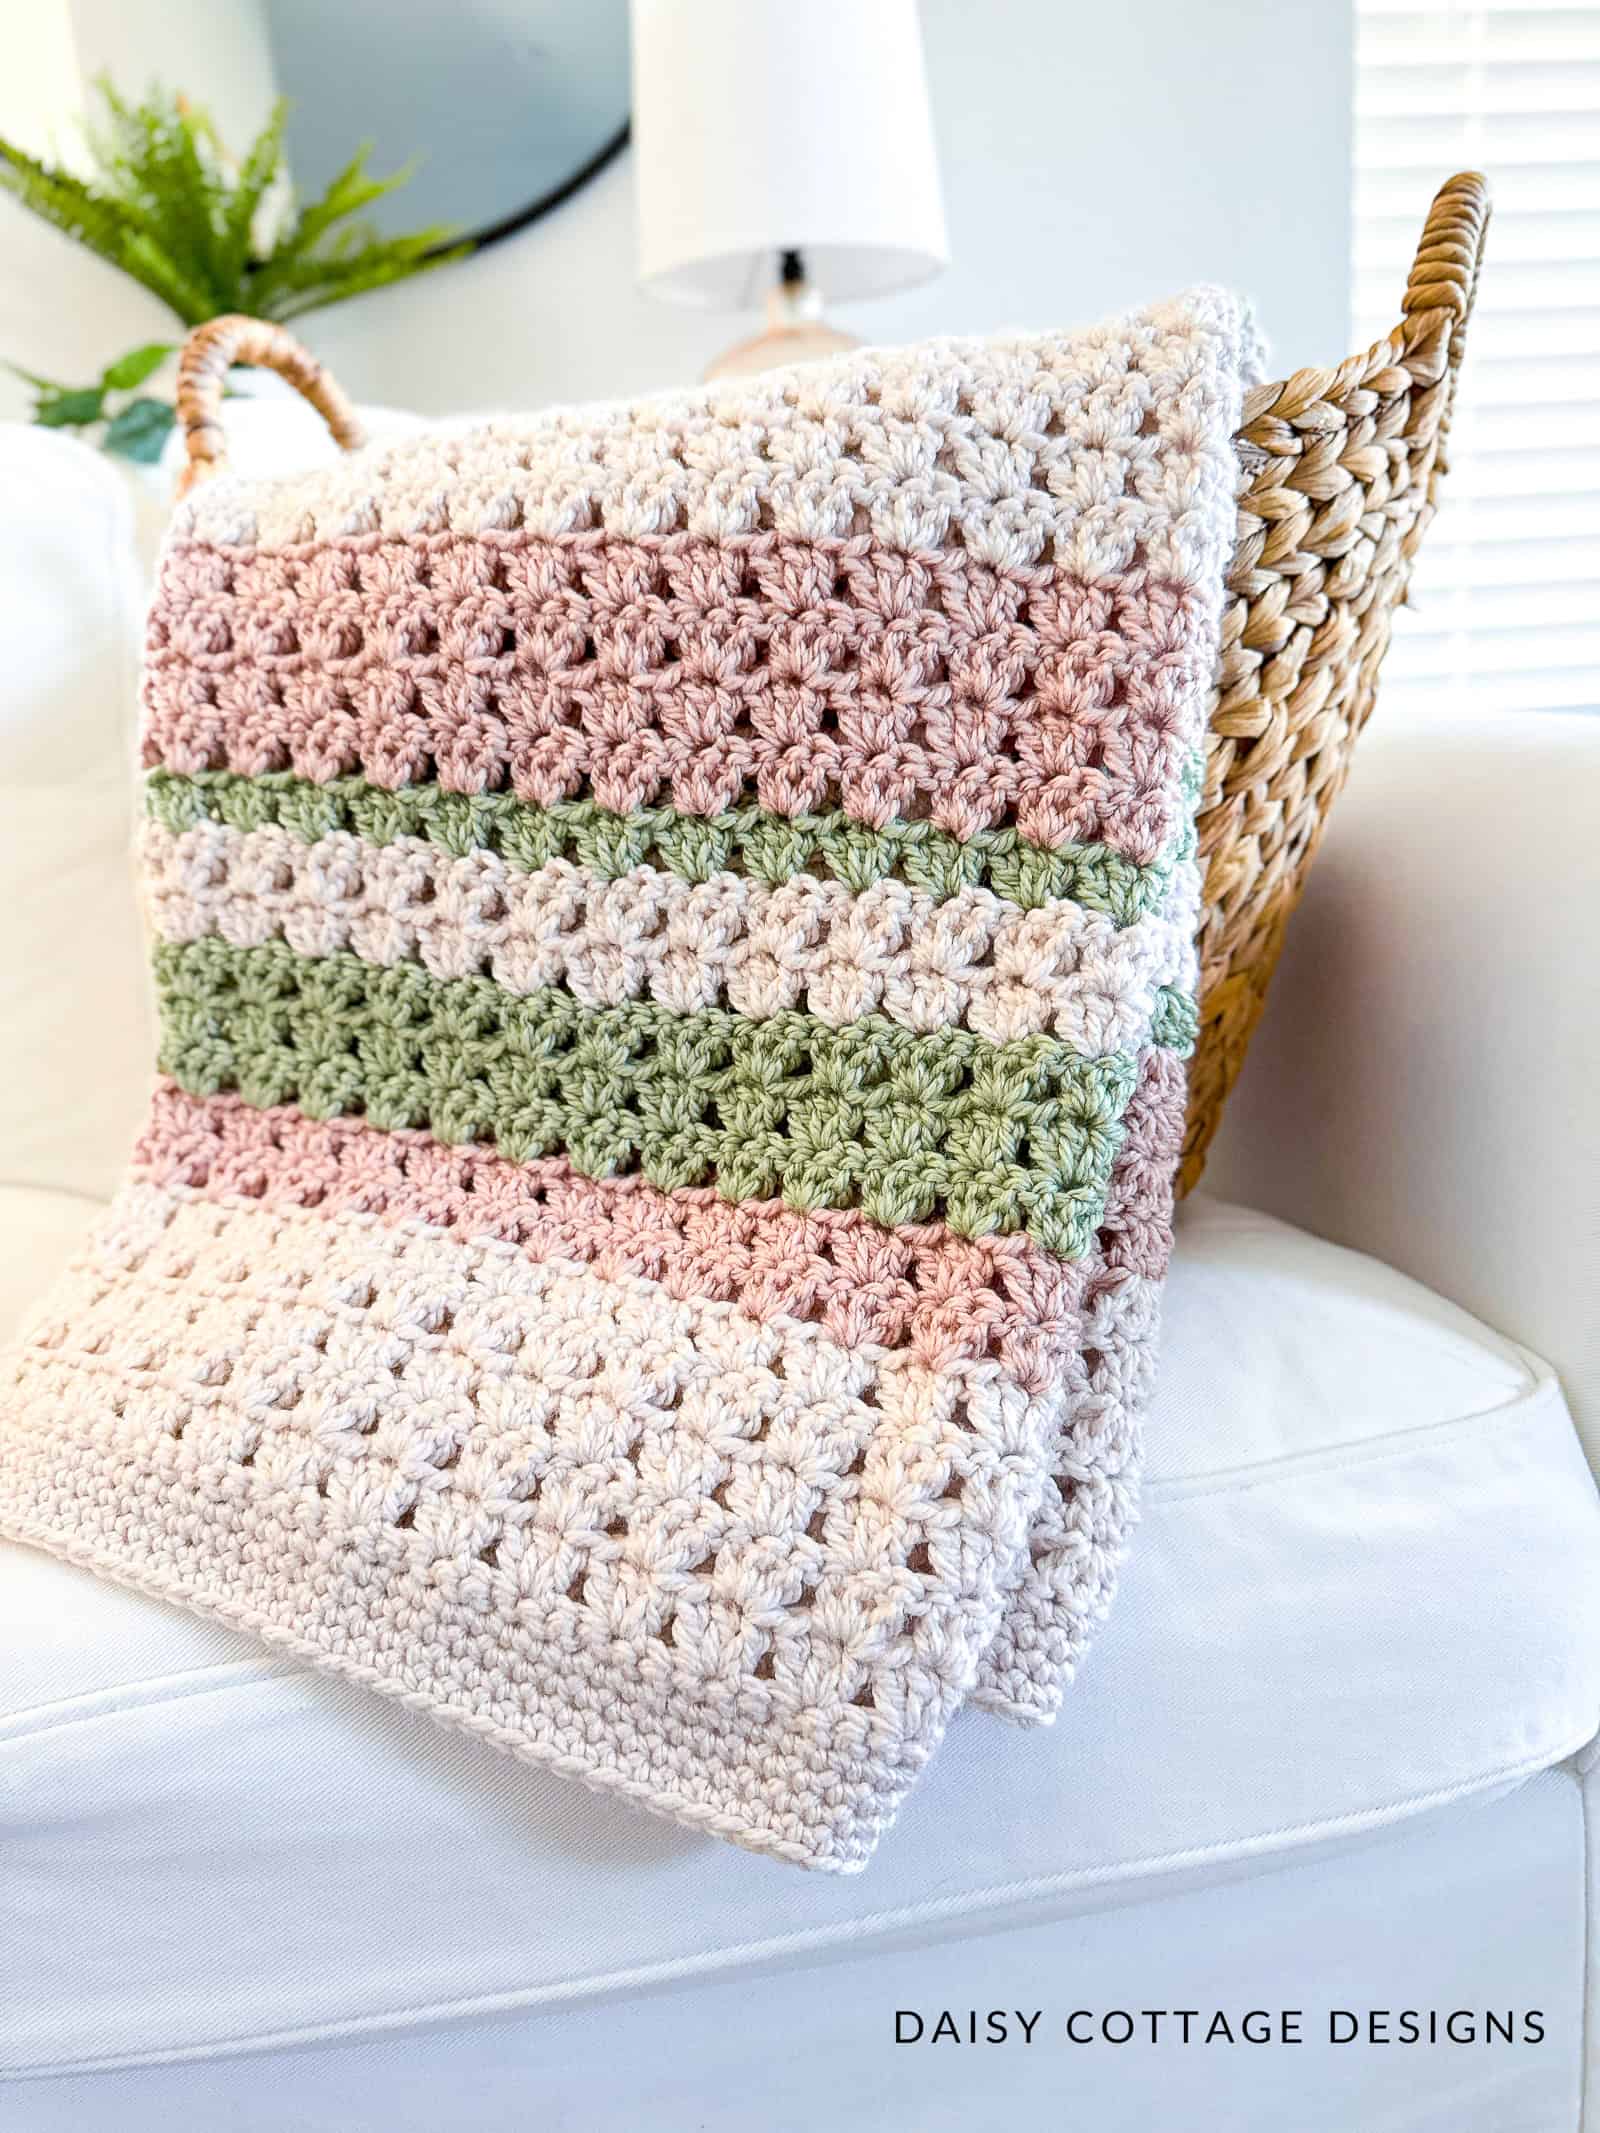
Chunky crochet blankets are fun to make and work up so quickly! If you want to crochet your own throw blanket using this free crochet pattern, the full pattern is available in this post. You can also purchase the ad-free PDF here. Want to save this pattern for later? Pin it now!
Click here to jump right to the pattern!
How to Crochet a Chunky Blanket
Chunky crochet blankets are made using thick yarn and large crochet hook. Because intricate stitches look better in a thinner yarn, chunky blankets usually use simple stitches, which is great for beginners!
This chunky crochet blanket pattern uses mostly double crochet stitches, making it perfect for crocheters at any skill level. While I don’t know an official name for this stitch pattern, I’ve started calling it the Stacked Granny Stitch in my head. Typically, granny stitches are in staggered rows, but these are right on top of each other.
Yarn Information
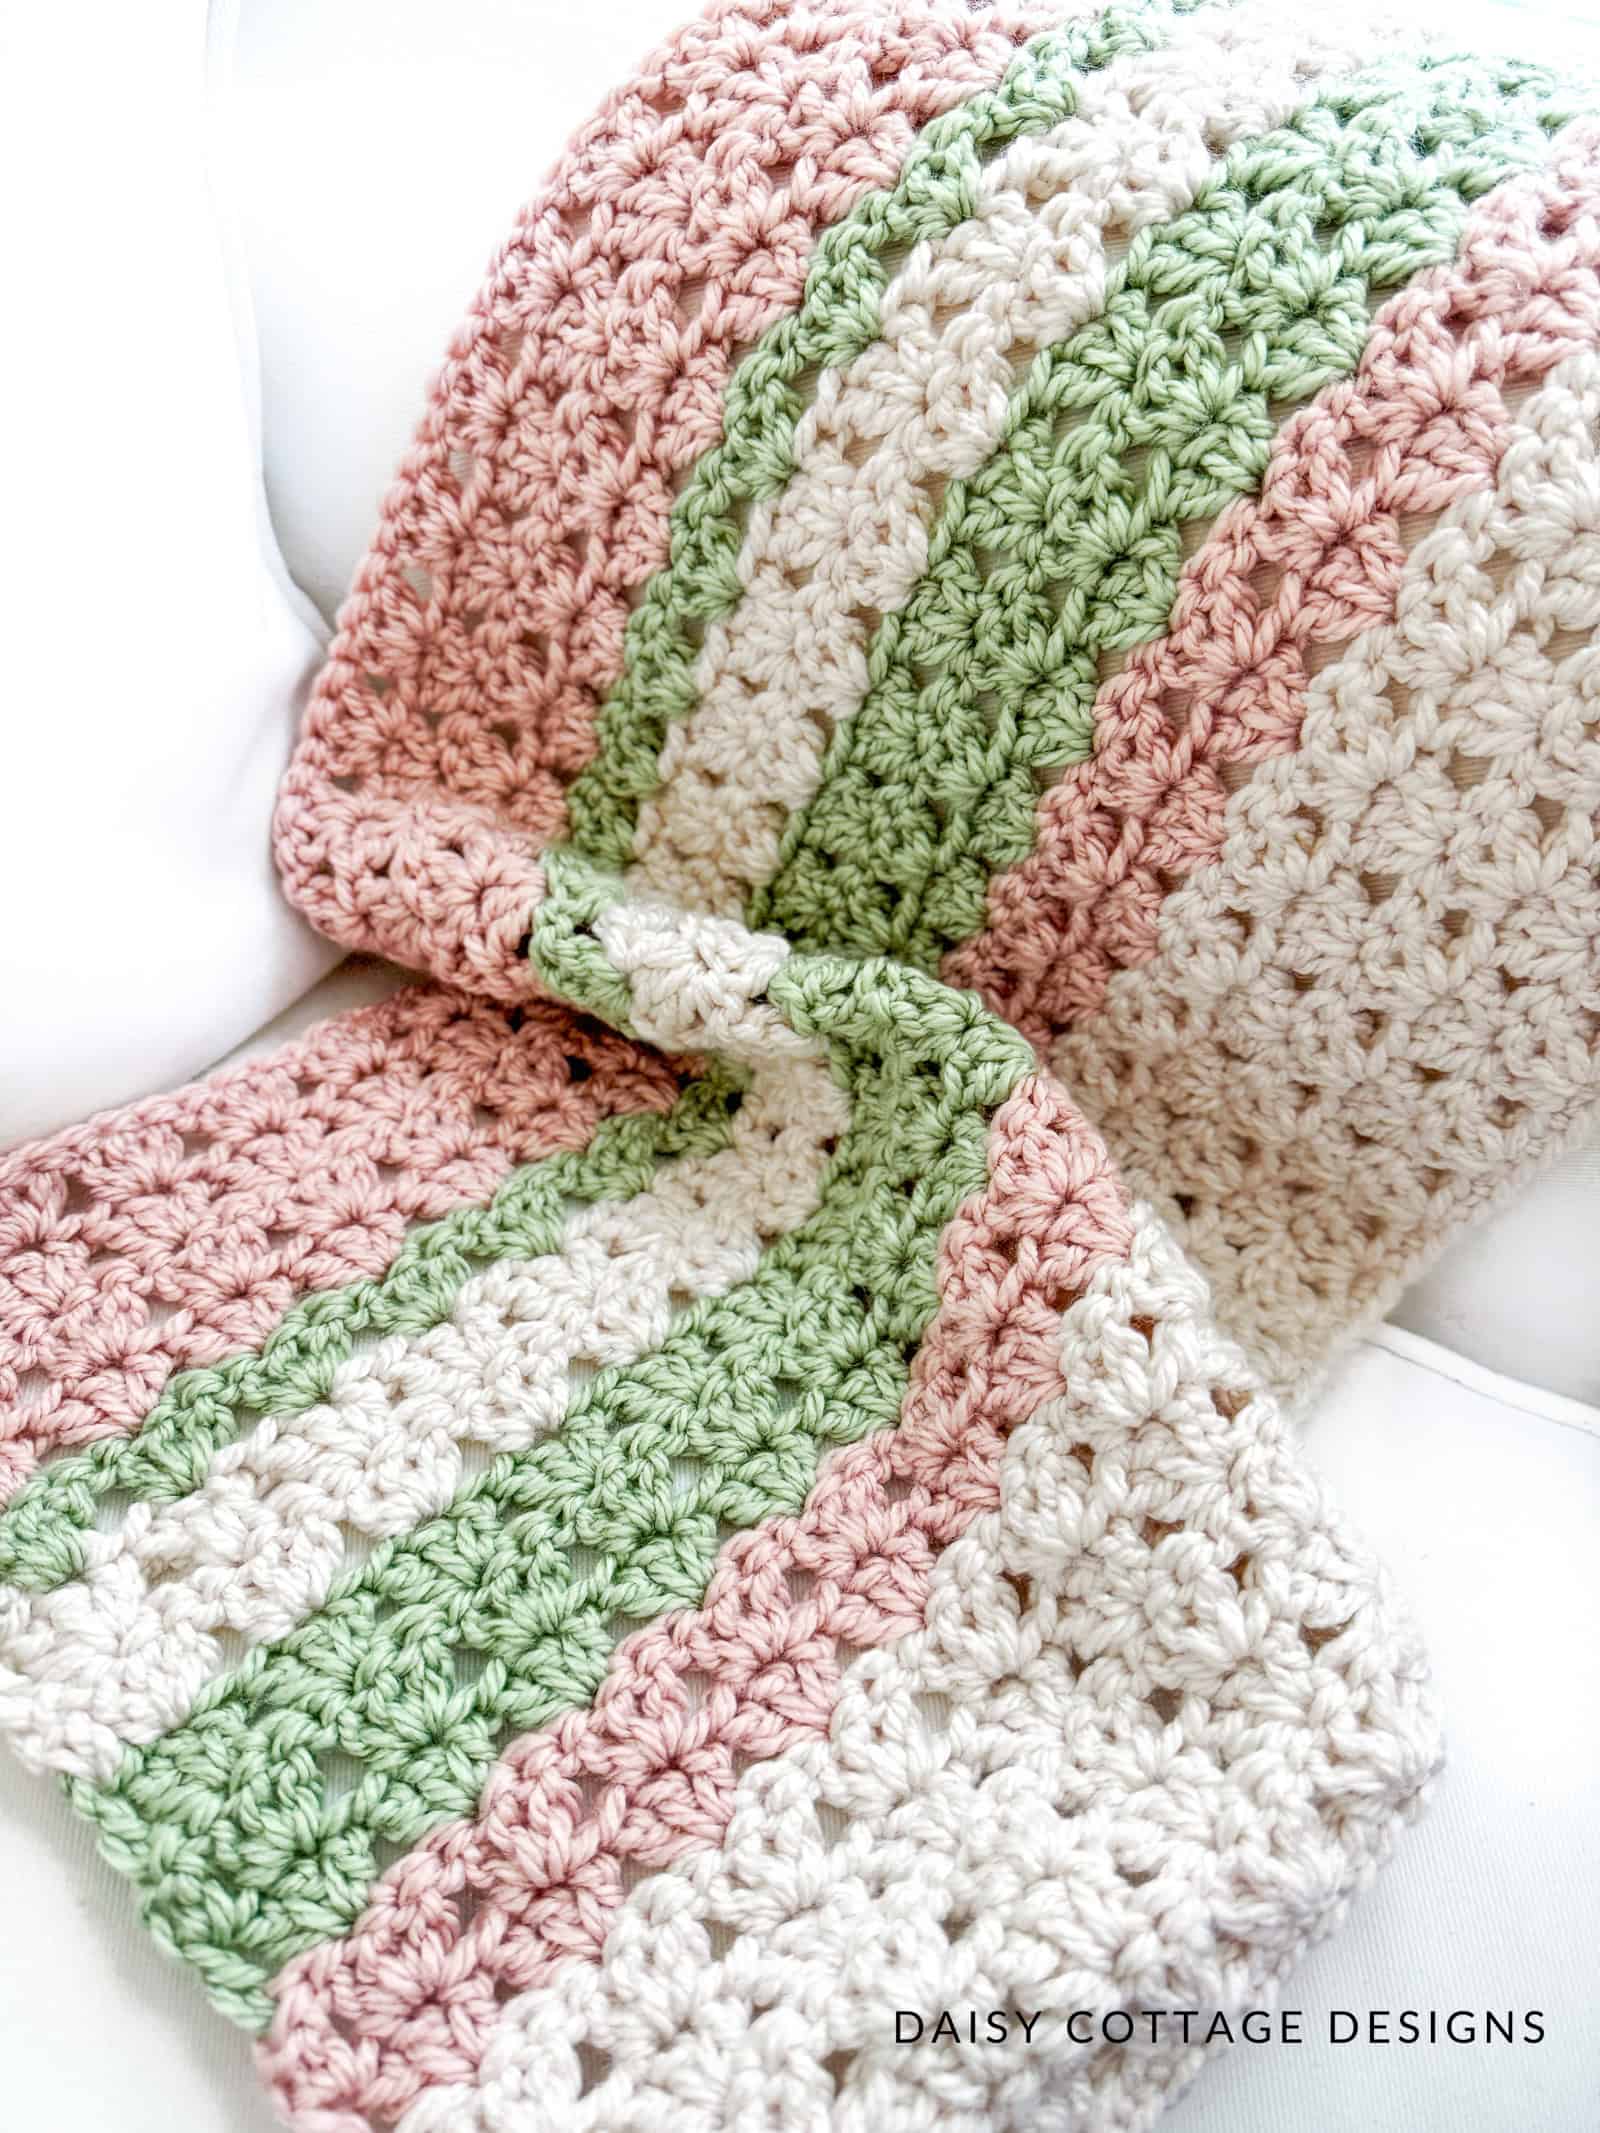
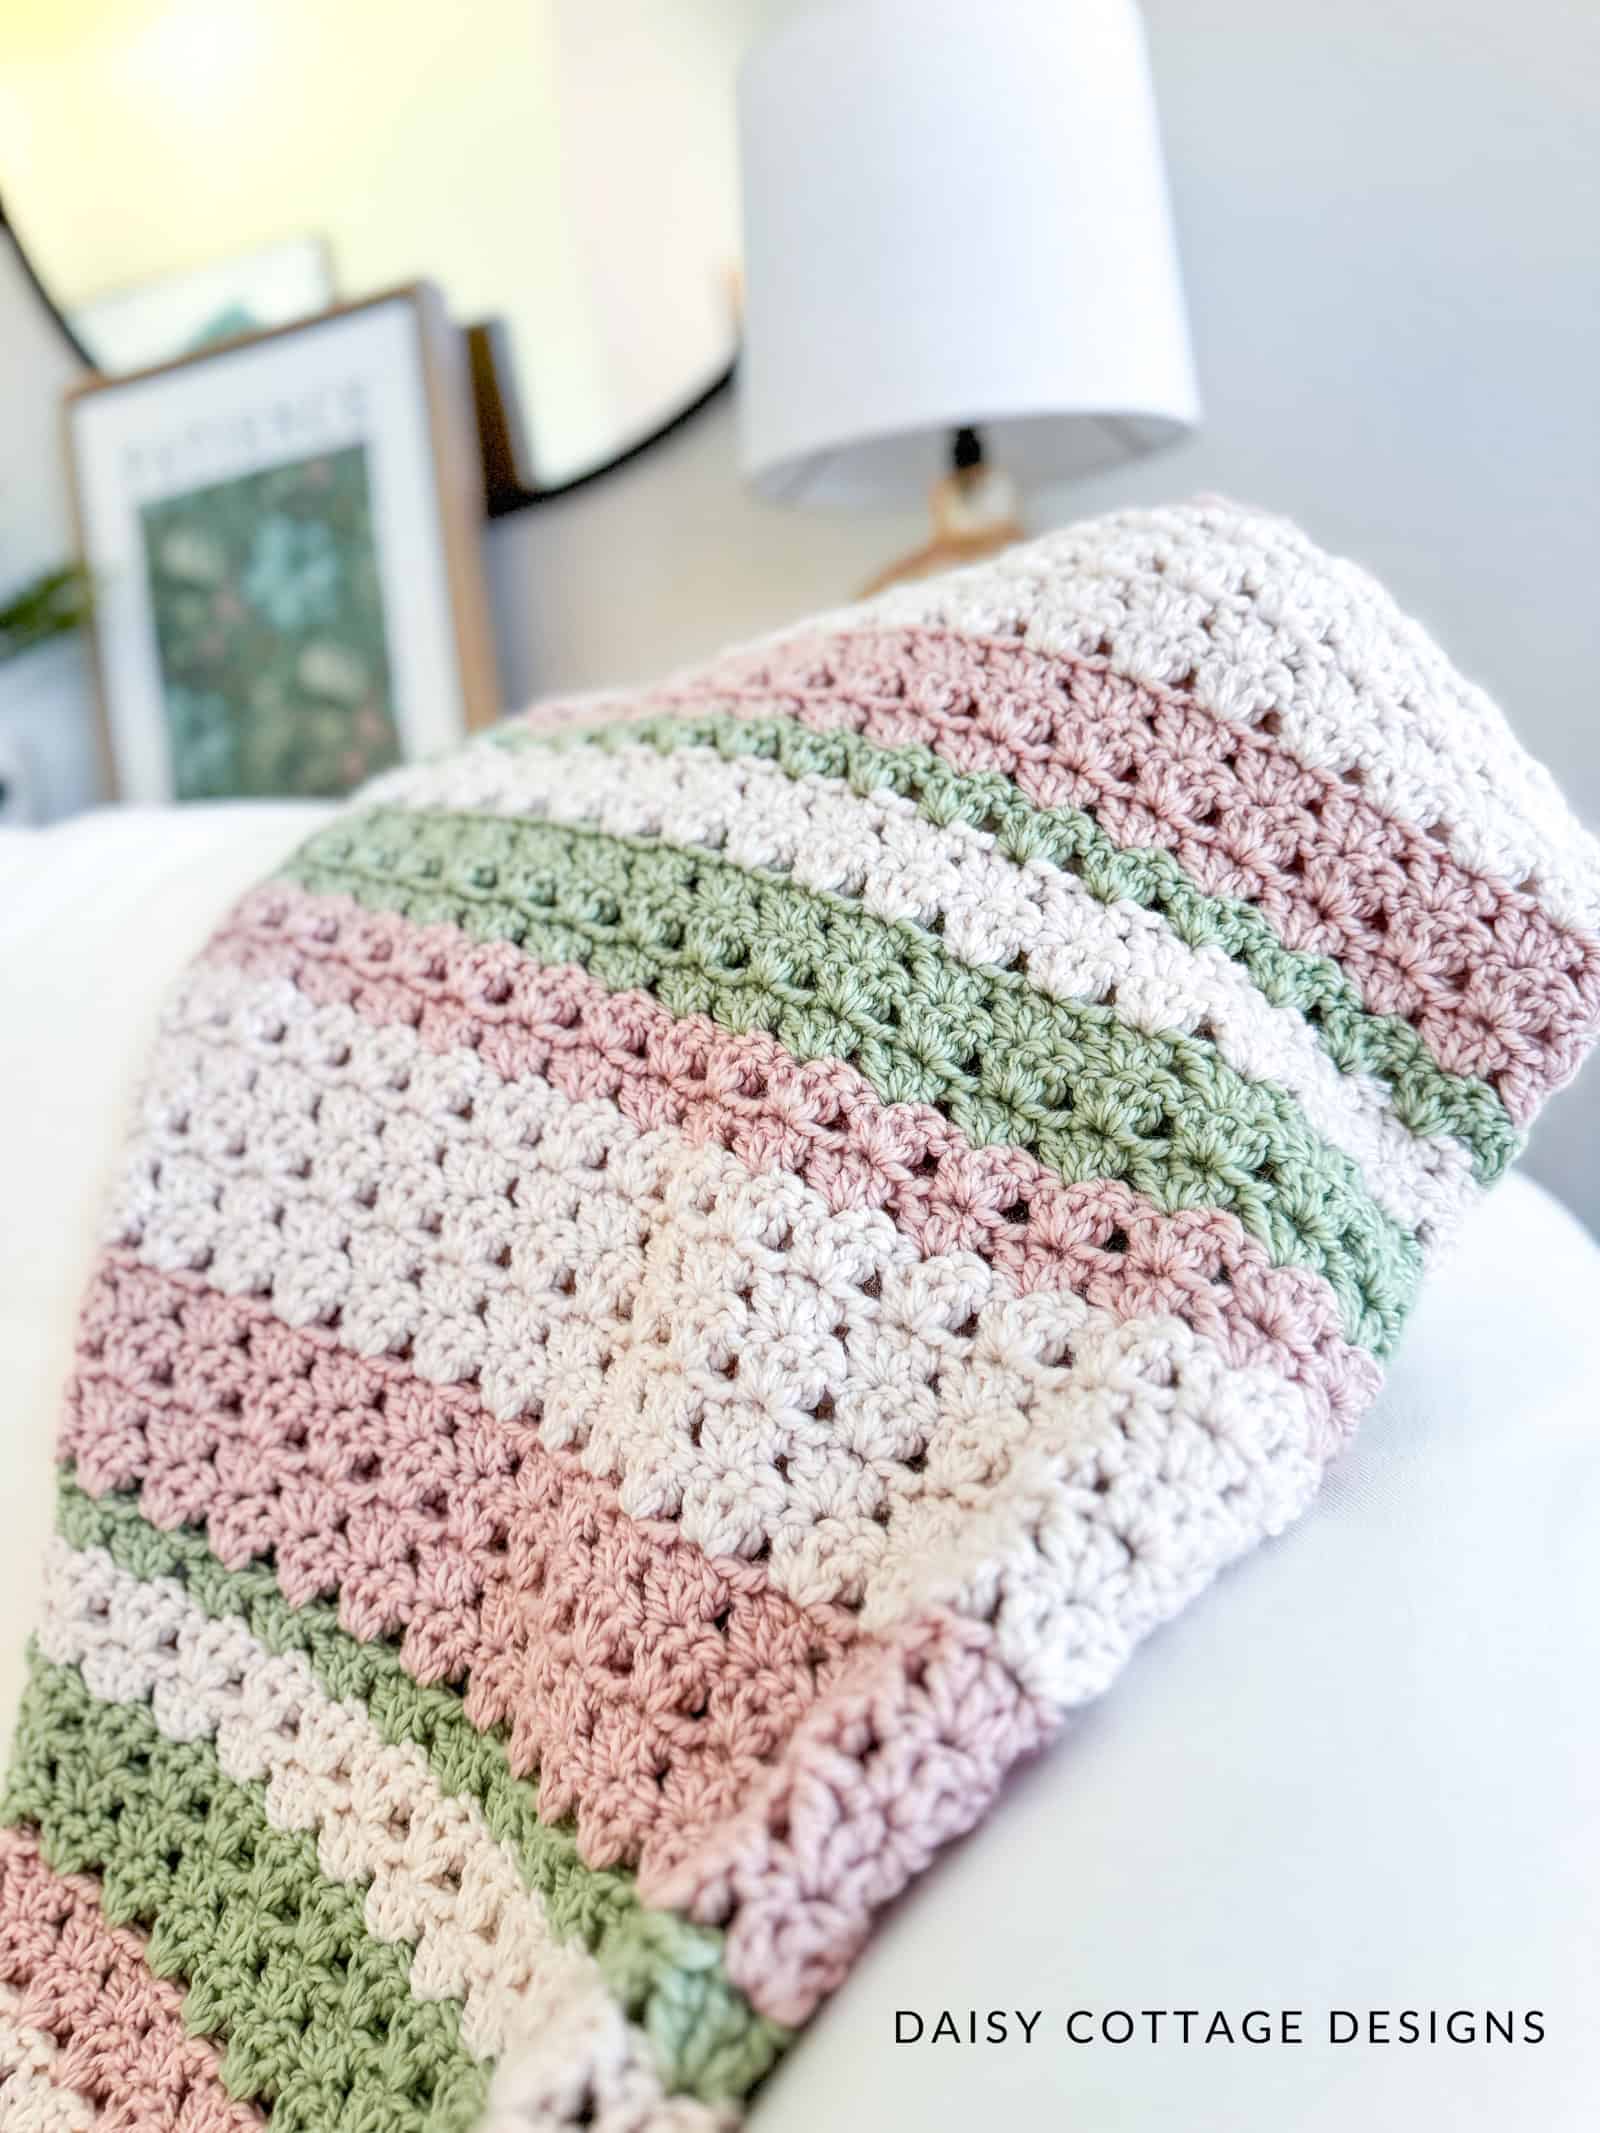
I used Premier Anti-Pilling Bamboo Chunky yarn for this blanket, which was the perfect yarn for this project! Every time my kids walked by while I was working on this blanket, they couldn’t help but touch it and comment on its softness.
I chose the shades Mochi, Apricot, and Kiwi. I love the way the pink and green came together. I am already planning a new color palette for this blanket using the same yarn.
If you want to substitute a different yarn, any Chunky #5 yarn will work.
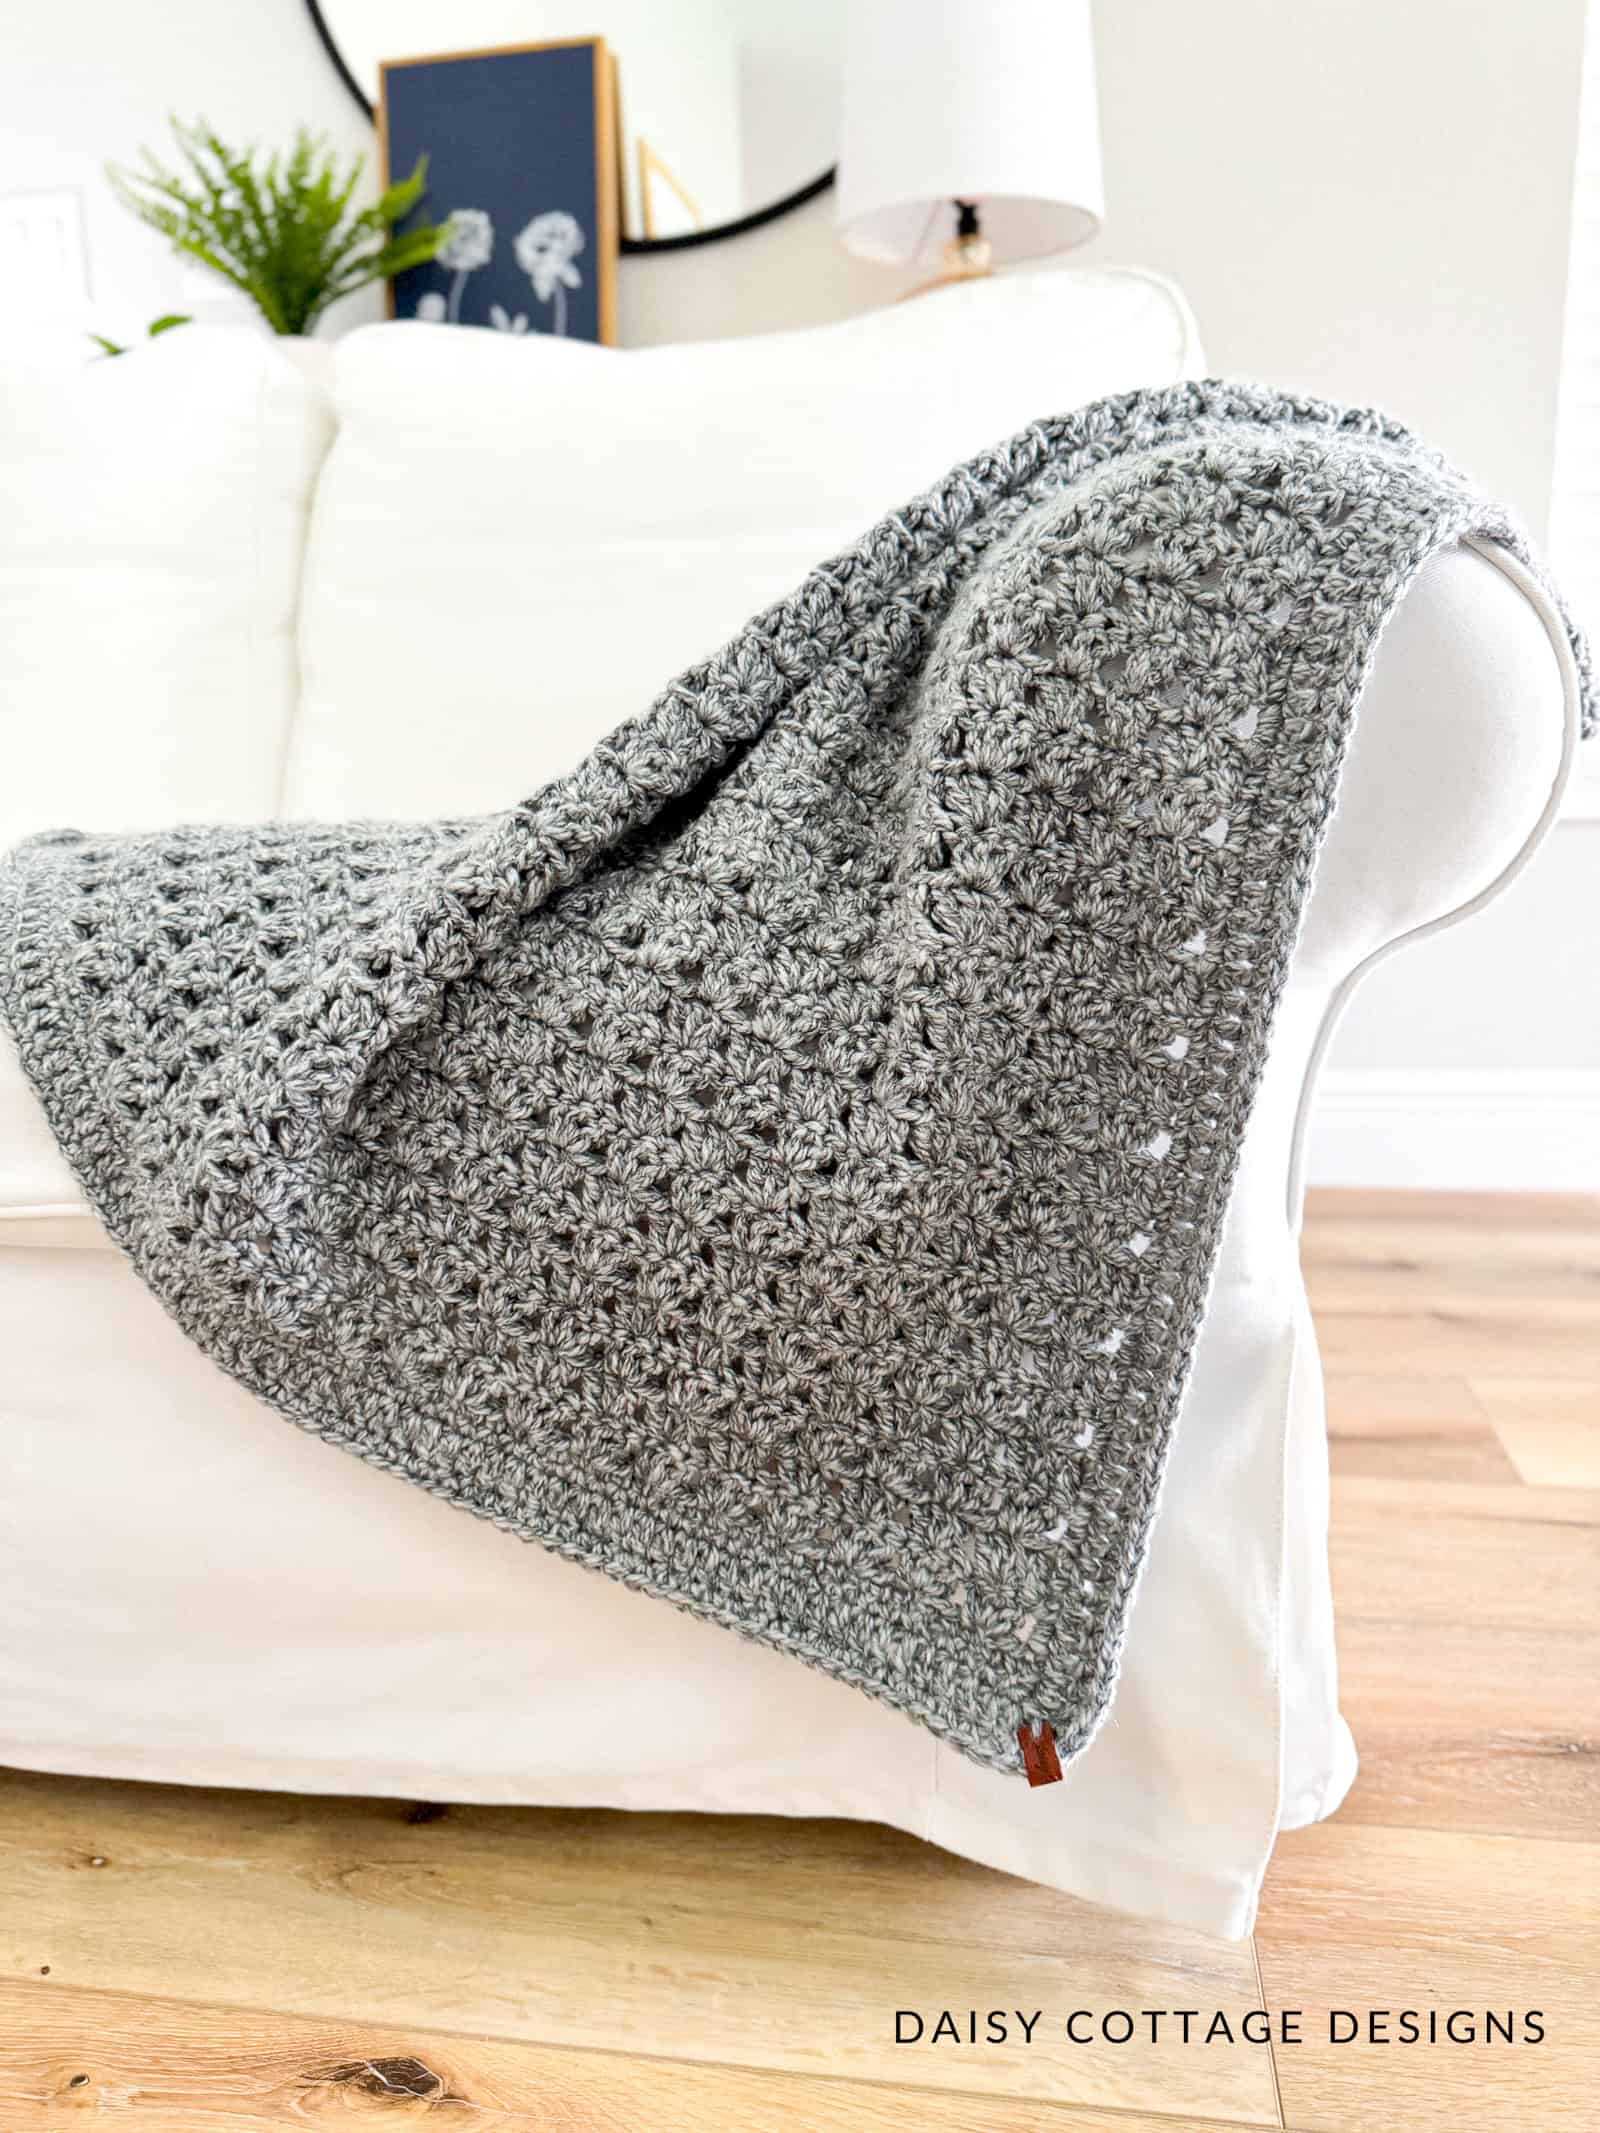
If you don’t feel like changing colors, making the entire blanket in a solid color is also a good choice. As you can see, making it in a solid color is just as beautiful! This gray version of the blanket was made using Premier Rustic yarn in the shade Dark Cloud.
Ready to make your own chunky throw blankets? Grab your #5 yarn and a big hook, and let’s get started!
Chunky Blanket Crochet Pattern
Materials
- L (8.0 mm) Crochet Hook
- Approximately 1070 yards of #5 bulky weight yarn. The size chart will show you how much yarn you need for 9 other sizes.
- I used Premier’s Anti-Pilling Bamboo Chunky in the following shades
- Mochi (495 yd/4 skeins)
- Kiwi (345 yd/3 skeins)
- Apricot (230 yd/2 skeins)
- Tapestry needle and scissors for weaving ends.
- A print-friendly PDF is available here.
Pattern Notes
- The finished size of this blanket is approximately 37″ x 42″, but there are instructions for adjusting the size of this blanket at the end of the pattern.
- Crochet hook size is not set in stone. If you know you crochet very tightly, go up to a larger hook. If your tension is loose, go down a size.
- The Ch 2 does not count as a stitch in this project.
- Gauge is not important for this project.
- You are more than welcome to sell projects you make using this pattern, but please be sure to use your own images.
- A video tutorial is available here.
Crochet Term Abbreviations
- dc – double crochet
- sc – single crochet
- sl st – slip stitch
- ch – chain
- hdc – half double crochet
Pattern:
Using Mochi, chain 102.
Row 1: sc in the second chain and in each chain across. Ch 2, turn.
(You should have 101 sc at the end of this row)
Row 2: dc in the first st. Skip the next stitch, work 3 dc into the next stitch. *Skip 2 stitches, work 3 dc into the next stitch* across until 2 stitches remain. Skip the next to the last st, dc in the last st. Ch 2, turn.
(You should have 33 groups of 3 dc at the end of this row)
Repeat row 2 for a total of 56 rows.
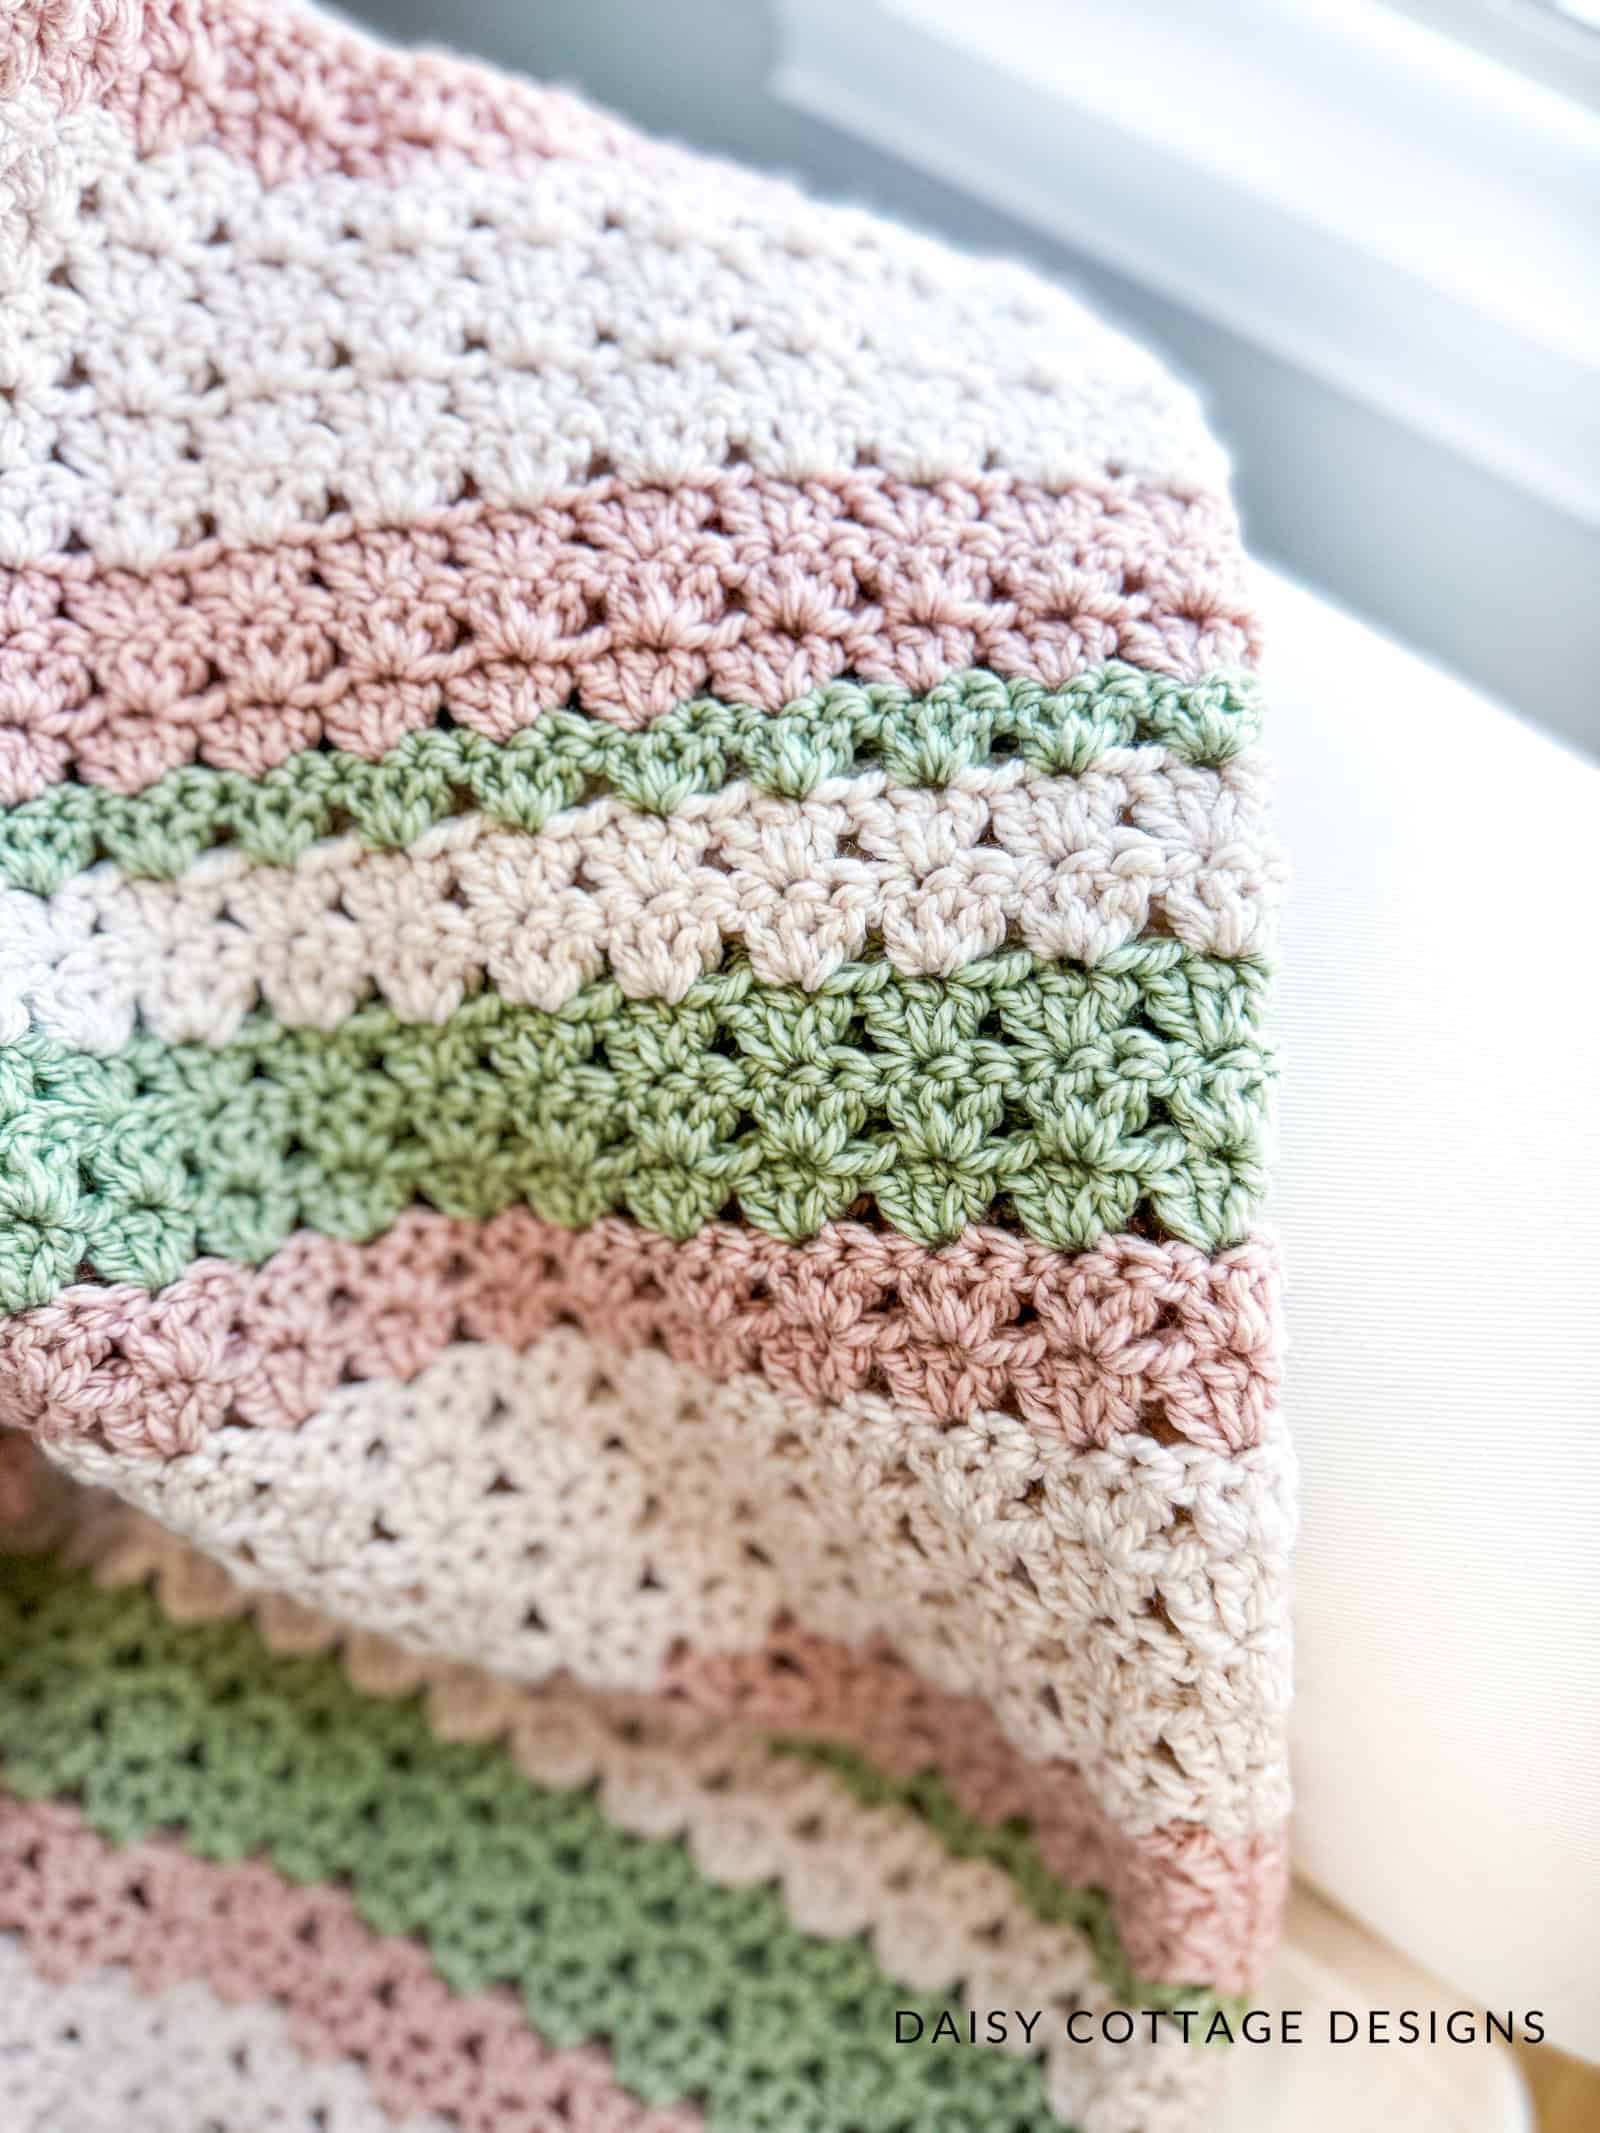
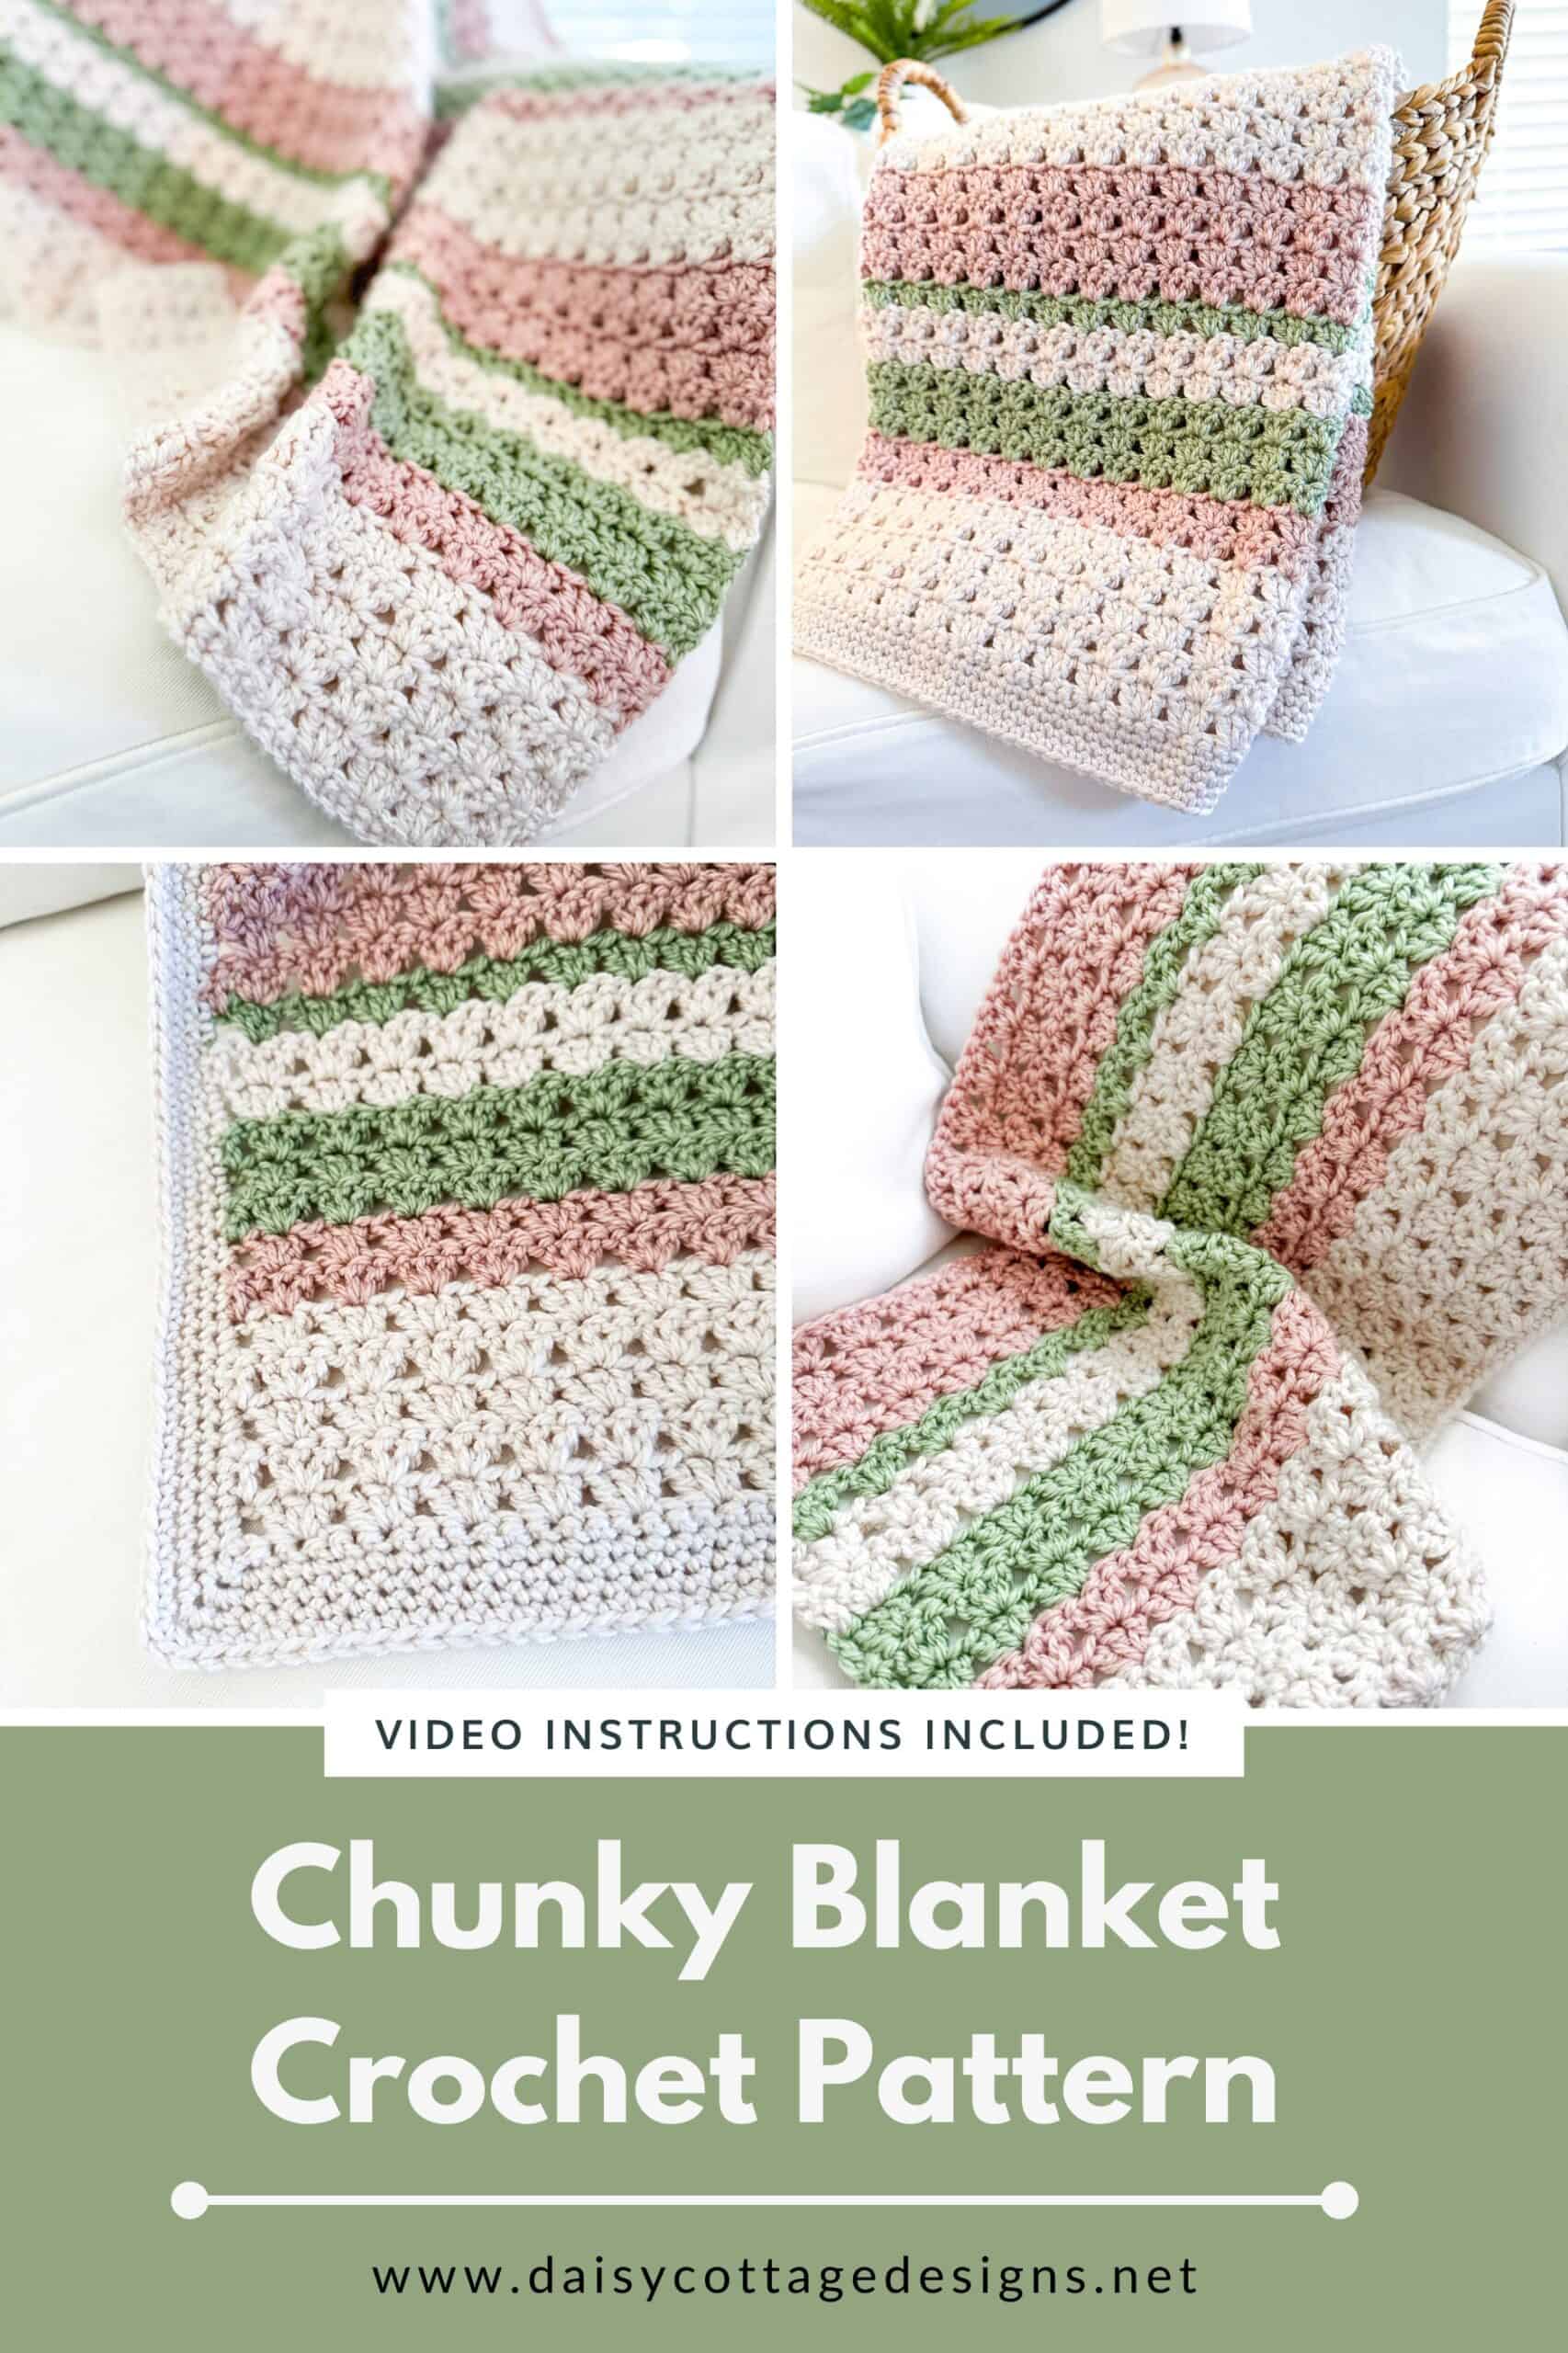
The stripe pattern is as follows:
- 5 Rows Mochi
- 2 Rows Apricot
- 3 Rows Kiwi
- 2 Rows Mochi
- 1 Row Kiwi
- 4 Rows Apricot
- 5 Rows Mochi
- 2 Rows Apricot
- 3 Rows Kiwi
- 2 Rows Mochi
- 1 Row Kiwi
- 4 Rows Apricot
- 5 Rows Mochi
- 2 Rows Apricot
- 3 Rows Kiwi
- 2 Rows Mochi
- 1 Row Kiwi
- 4 Rows Apricot
- 5 Rows Mochi
To change colors:
On the last stitch of the row, do not pull your working yarn through the final two loops to complete the last dc. Instead of pulling the yarn you’ve been working with through those final two loops, place the new yarn on your hook and pull it through the last two loops. Be sure to leave a long tail on both colors so you can weave your ends later.
If you prefer video instructions, click here for a video tutorial on changing colors.
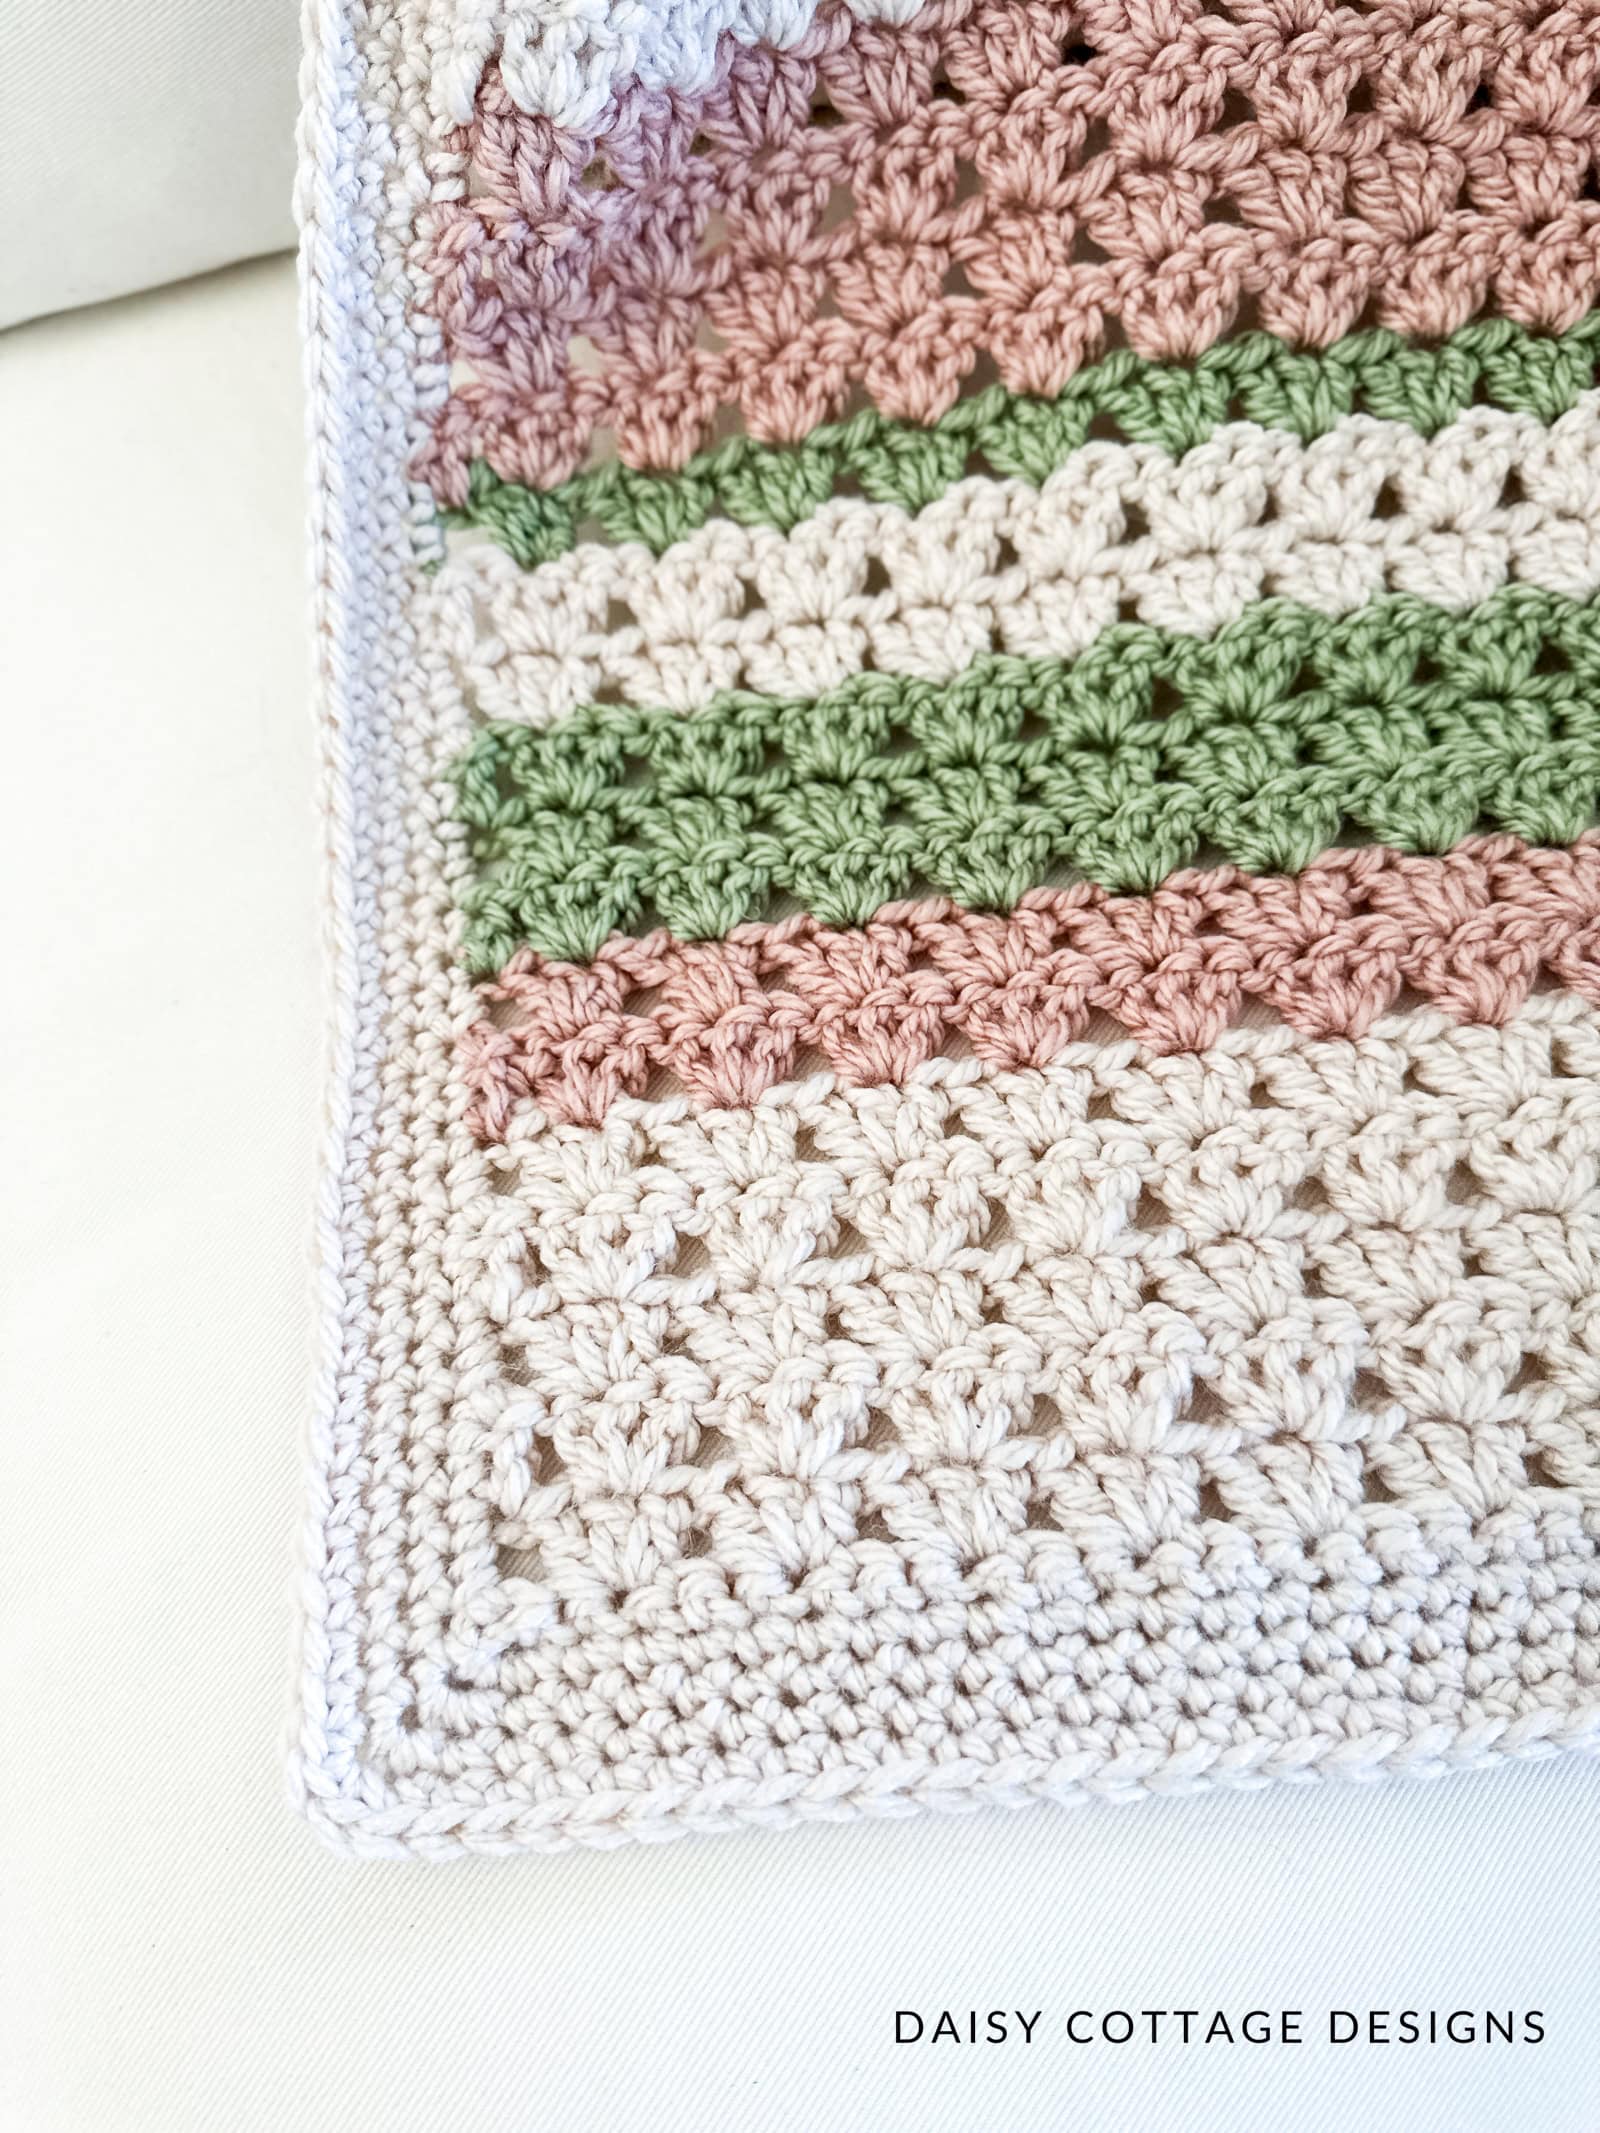
How to Crochet the Border
Round 1:
- After finishing the last row, ch 1 and turn your work.
- Sc across the top of the blanket (the row you just finished).
- Single crochet around the rest of the blanket.
- Work 2 sc into the side of each row on your raw edges.
- Work 3 sc in each corner
- Sl st to the top of the first stitch to join.
Rounds 2-4:
- Ch 1. sc in each stitch around the blanket.
- Work 3 sc in each corner.
- Sl st to the top of the first stitch to join. Cut yarn and weave ends.
Adjusting the Size of this Blanket
The blanket size chart provides all the information you’ll need for 10 different sizes. Just be aware that the skeins of yarn will not be exact if you use a different yarn.
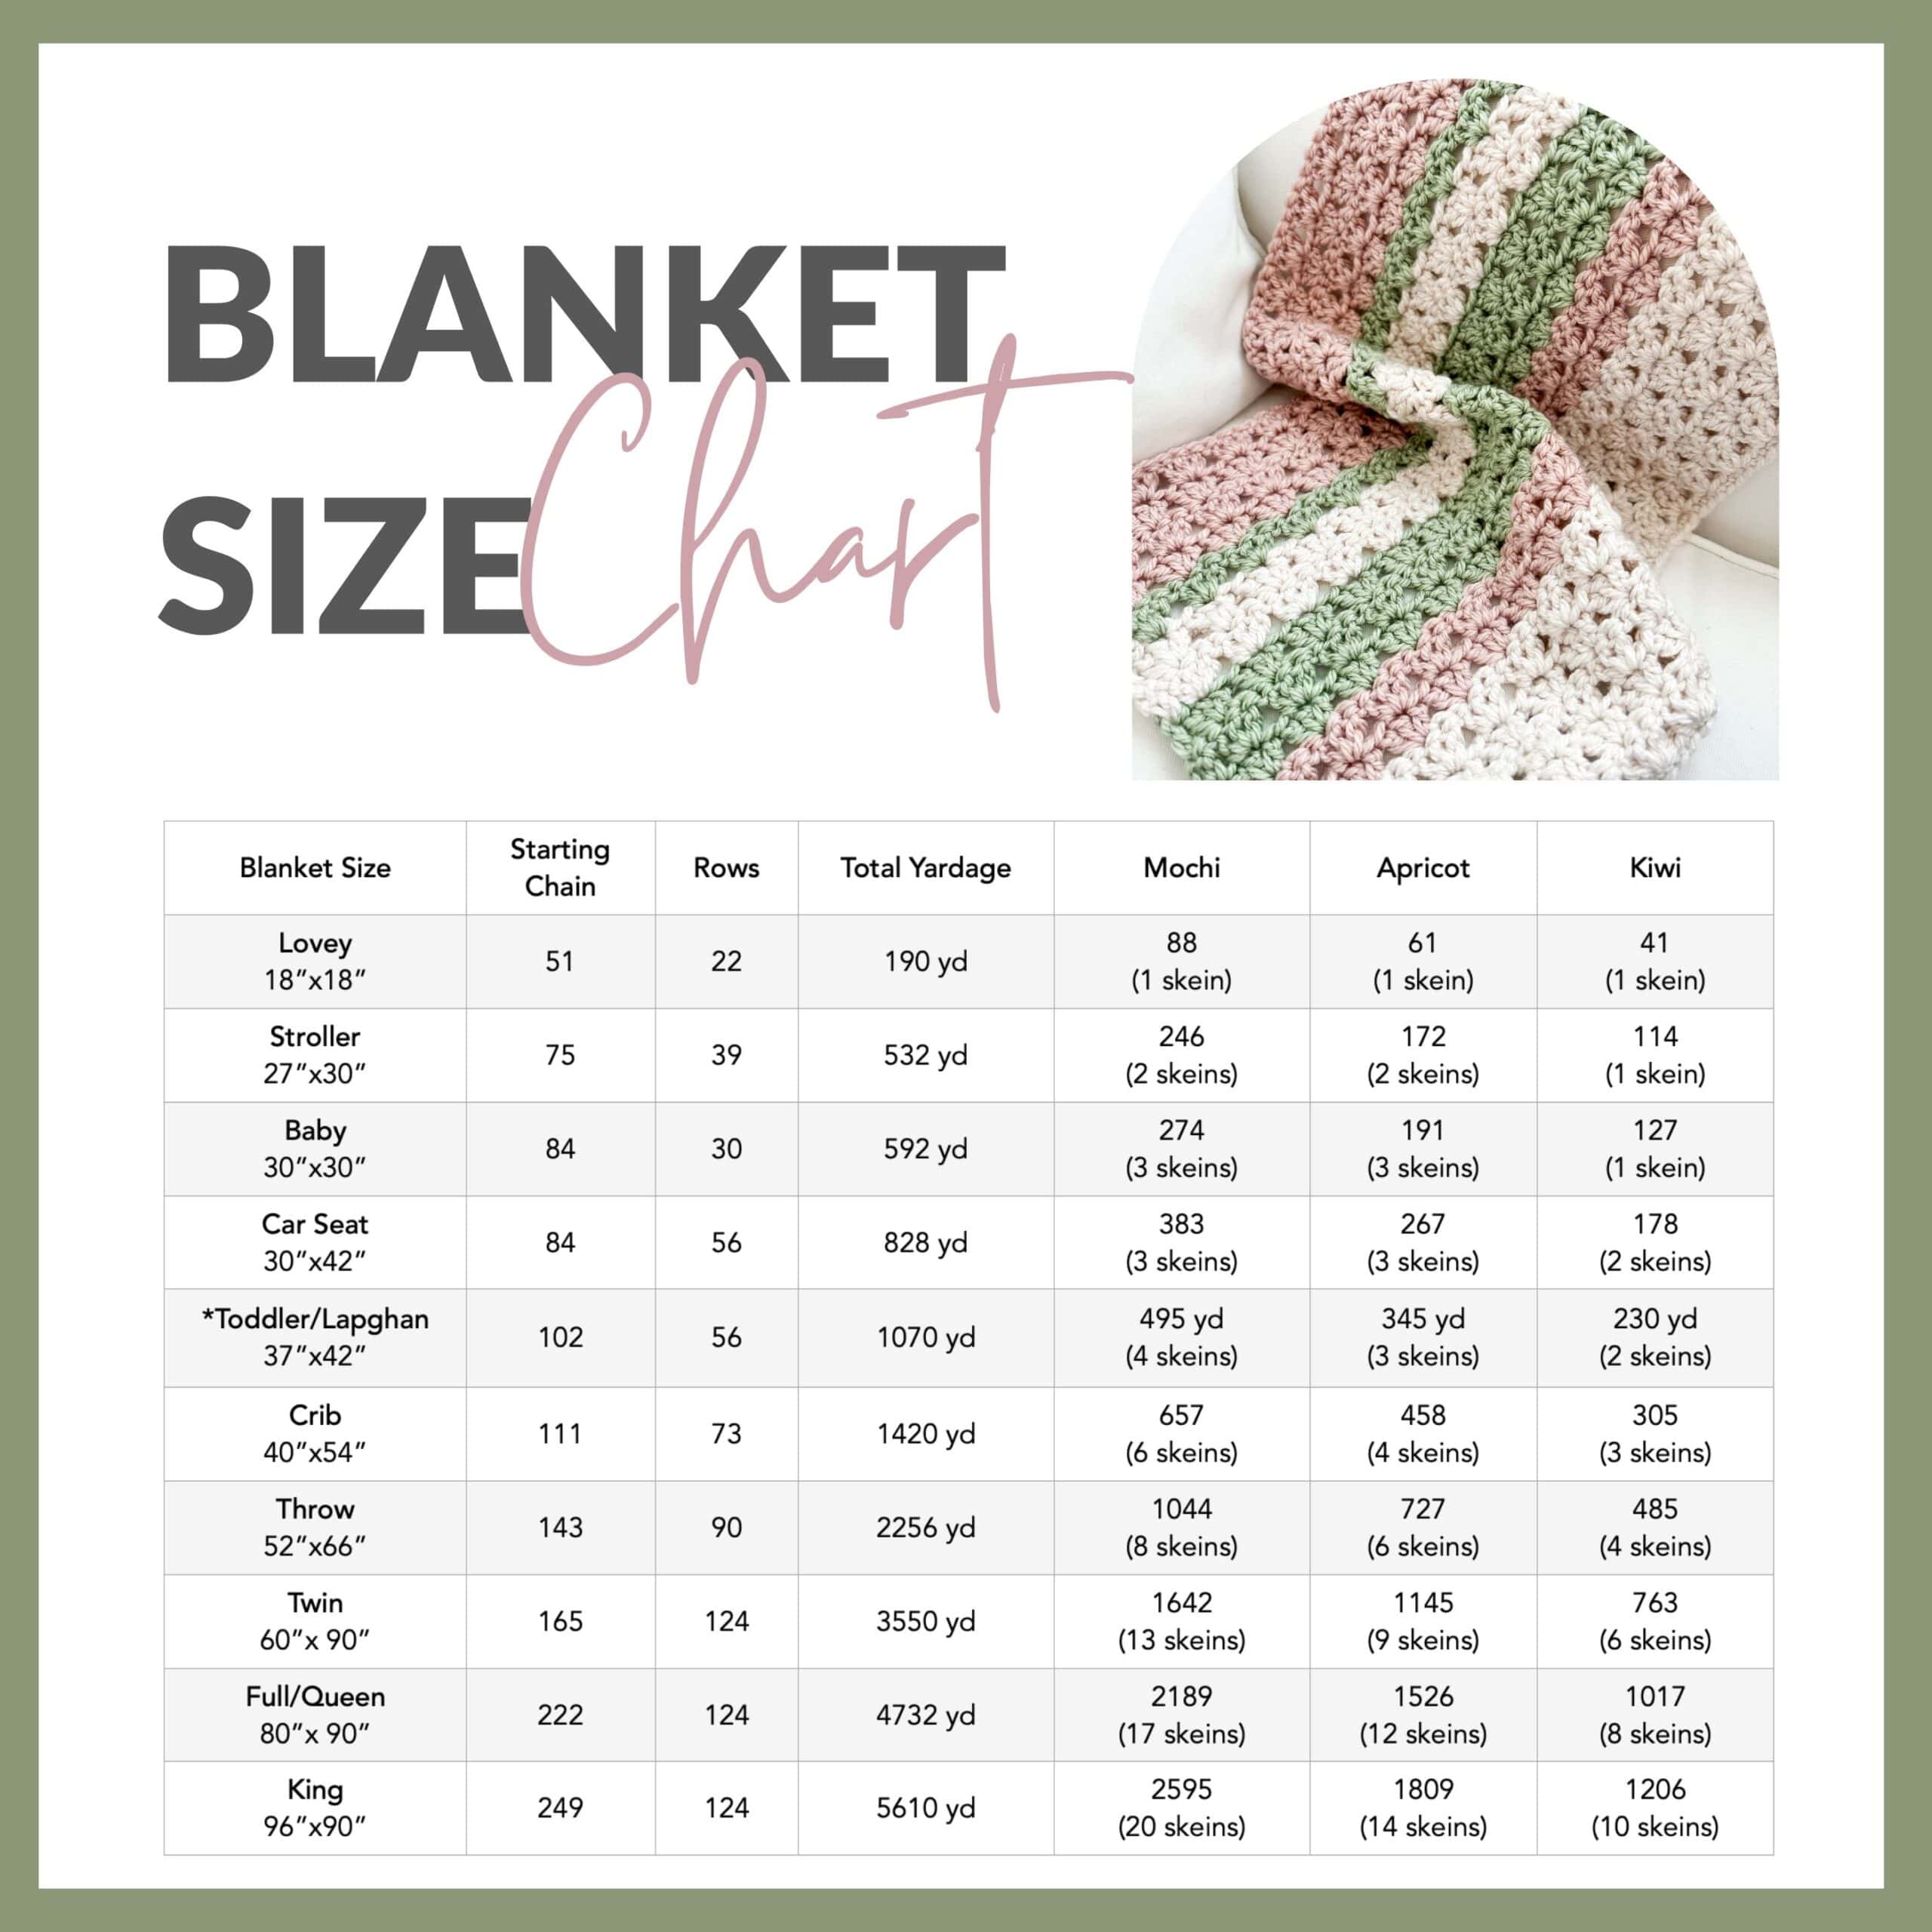
To make this blanket in any size you want, work your foundation chain in multiples of 3 until you reach the desired width.
Then, repeat this stripe pattern until your blanket is the length you want.
- 5 Rows Mochi
- 2 Rows Apricot
- 3 Rows Kiwi
- 2 Rows Mochi
- 1 Row Kiwi
- 4 Rows Apricot
End with 5 rows of Mochi.
Note: People always want to know if a crochet pattern will still turn out if a different yarn weight is used. The answer is almost always, yes! Just keep in mind that if you use a thinner yarn, you’ll have a smaller blanket. A super bulky yarn would create a larger blanket. In other words, the stitch counts will still work out just fine, but the size chart and yarn amounts won’t be accurate with a different weight yarn.
Let’s Get Social!
I’d love to see the blankets you make using this crochet pattern! Tag me on Instagram, so I can see your work.

I am addicted to patterns using hdc stitches.
Why is hdc included? Could I use hdc stitches instead of dc stitches?
Crochet Term Abbreviations
dc – double crochet
sc – single crochet
sl st – slip stitch
ch – chain
hdc – half double crochet
Hi, Jane. I think it would work! In fact, I’ve been thinking of trying it, too!
Oops! Just out of habit as most of the time I have a hdc somewhere in the pattern 🙂 You could try it with hdc stitches. I haven’t myself 🙂
Just wondered how many yards of #4 yarn do I need for the peony petals blanket? Thanks
Hi, Carolyn. I haven’t made it with #4 yarn yet. I’ll have to do the math sometime!
Please explain “work two sc into the side of each row on raw edges” found in border row 1.
When working the border, some people have a hard time knowing how many stitches to work along the raw edge. When working with dc stitches (or a stitch that height), I find that working 2 stitches into the side of each row gives me a nice, neat border. So, if I had 50 dc rows, my border would have 100 stitches along the raw edge – 2 per row 🙂
This is a lovely colorway!