Easy Paper Plate Sunshine Craft {Rainbow Craft for Kids}
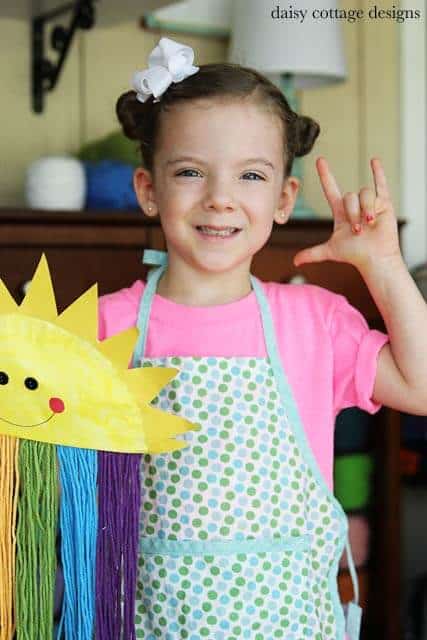
 The girls and I loved this fun paper plate craft. The supply list and instructions are below, but first, I want to share this story about how God answered our 4 year old’s prayers:
Most nights when the girls are going to bed, David prays with Riley and Caroline. They each pray out loud and sing songs before the girls go down for the night. I love hearing the things that the kids, especially Riley, pray for. “Help an astronaut not crash into our house.” You know, really serious things to a four year old.
Well, a couple of months ago, I heard Riley thank God for rainbows. Then she said, “But God, I haven’t seen one before. If you could make one and let me see it, that’d be great!” Such an adorable and sincere prayer coming from the mouth of a sweet little girl. We told Riley that we thought God would answer her prayers and that she needed to be on the lookout. Well, fast forward to Monday of this week: Riley’s prayer was answered. We were driving down the road and David and I noticed a rainbow. We pulled over and let Riley take a look. She was thrilled that “God answered her prayer!” I love that she made the connection.


- paper plates
- yellow craft paint
- paint brushes or sponges
- black buttons
- yellow construction paper
- red construction paper
- black marker
- yarn (red, orange, yellow, green blue, purple)
- scissors
- school glue
- a large book

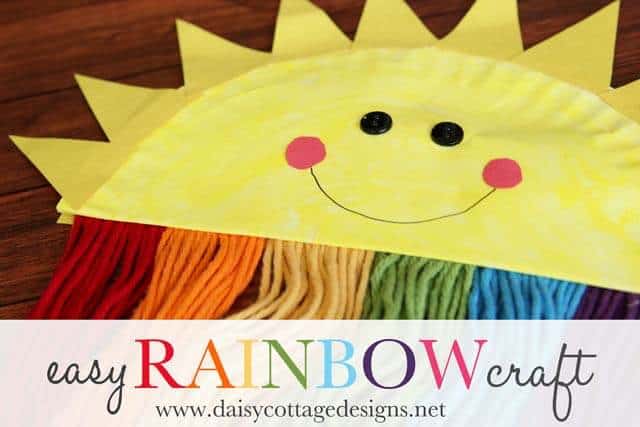
- First, have your child paint his paper plate entirely yellow. We used sponges to paint our plates, but you could use a variety of utensils. Set aside until this is complete dry.
- Cut out triangles from the yellow construction paper and small circles from the red paper.
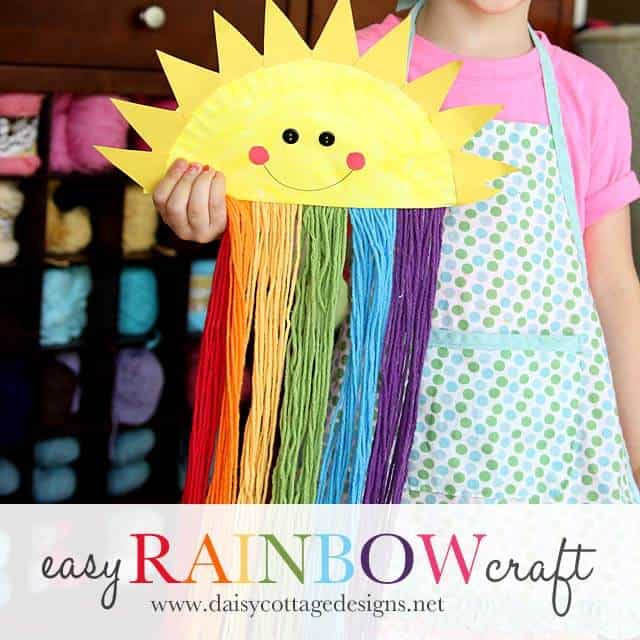
- Now it’s time to cut your yarn. Take a large book and wrap your red yarn around the longest part about 15 times. When you’re done, slide the yarn off the book and cut it at both ends to make 30 strands of yarn. Repeat with each color.
- Once the plate is dry, fold it in half with the yellow facing out. Glue the plate to secure.
- Glue yellow triangles to the paper plate to replicate rays coming from the sun.
- Glue on button eyes, draw your smiley face, and add the red circles to the smile.
- Your’e almost done! Now you need to glue your yarn to the back of the sun. I ended up helping Riley do this with a hot glue gun so our project would dry more quickly – you could just as easily use regular glue, but the craft would take much longer to dry.
- Cut a strip of yellow construction paper and glue it to the top of the yarn ends to be sure they’re secure.
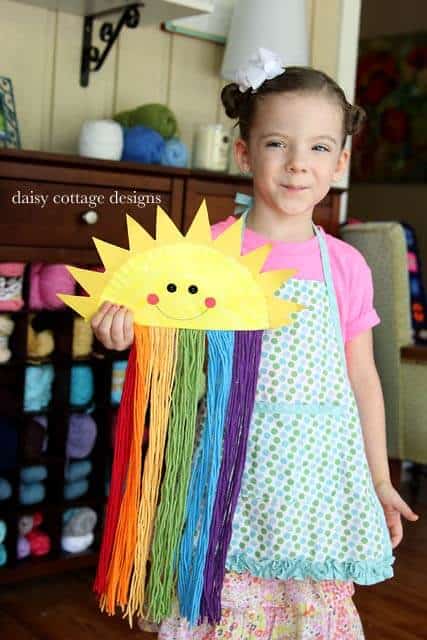
- Let your sun craft completely dry, then hang it somewhere to enjoy.

This is adorable and would be perfect to cheer one up on rainy day!
So cute and easy.
LOVE how colorful and happy your craft looks!
we will be saving this idea for the fall, when the rains come. 🙂
Great idea and photos! Thanks for sharing.<br /><br />Best,<br />Sheila<br />http://sheilazachariae.blogspot.com/2014/07/vintage-pillowcases-and-hankies.html